








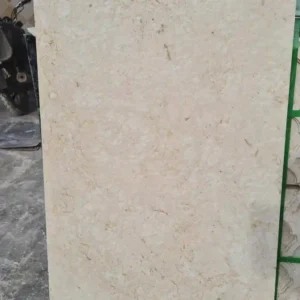

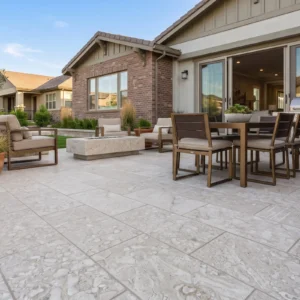
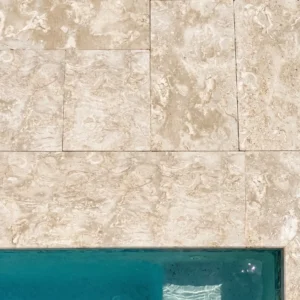
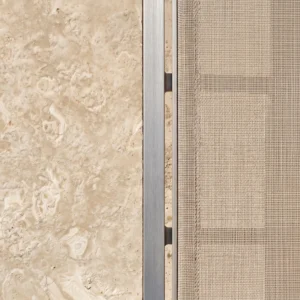
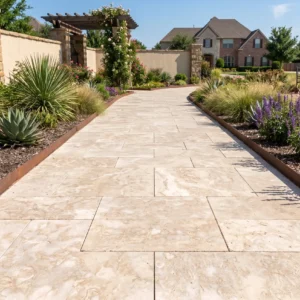
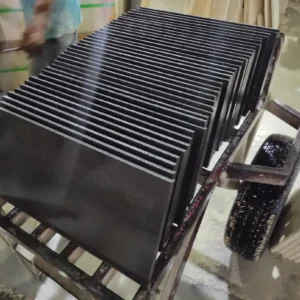
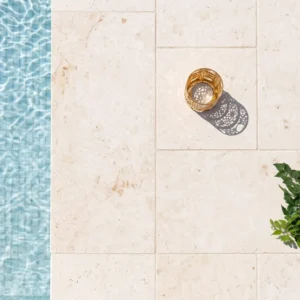
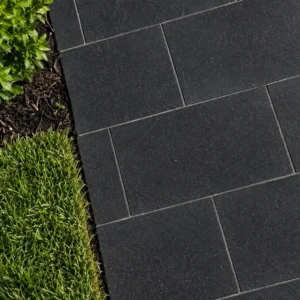

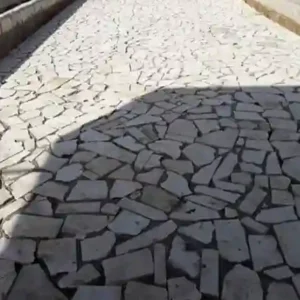
Half the callbacks on 6×12 Travertine Tile installations trace back to a number almost nobody checks at delivery — the caliber spread across the pallet, not the nominal thickness stamped on the crate. Travertine is a sedimentary carbonate with natural bedding variation, so a nominal 3/8-inch tile can measure 9mm on one piece and 12mm on the next in the same run. That spread becomes lippage, and lippage becomes the complaint. What follows is the specification and field detail that keeps a 6×12 travertine tile installation flat, dry, and serviceable for decades of service life.
What the 6×12 Travertine Tile Format Actually Solves
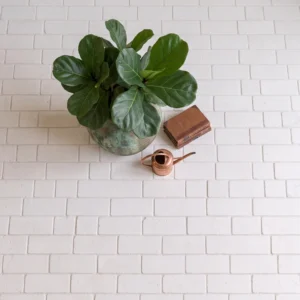
The 1:2 aspect ratio is the entire argument for this size. You get plank-like proportion without the bow risk that plagues longer, narrower units, and the 6-inch width keeps each piece inside the flatness tolerance a gang-sawn travertine block can realistically hold. That combination is why 6×12 travertine shows up on shower walls, wainscot bands, fireplace surrounds, and stair risers far more often than square formats of the same square footage.
Your layout math gets simpler too. A 12-inch length divides cleanly into standard shower niches, 48-inch vanity runs, and most stud-bay dimensions, so you cut fewer partials and your waste factor drops toward 8% instead of the 12–15% a random-length flagstone pattern demands. For a tighter, more energetic floor field, a 4×8 travertine tile laid in herringbone gives you similar visual movement at a smaller module.
Here is what the format actually buys you in the field:
- Fewer grout intersections per square foot than 3×6 travertine, which reduces the number of potential lippage points across a wall field
- Enough length to read as a linear, contemporary running bond without the exaggerated warp a 1:3 proportion tends to reveal
- Clean conversion to a stacked vertical layout when you want apparent ceiling height in a low bathroom
- Cut-friendly geometry for risers, curb wraps, and window returns where the 12-inch dimension usually lands in a single pass
- Lower handling breakage than large-format sizes, which matters on high-rise jobs with restricted elevator access
Aspect Ratio, Offset, and Lippage Control
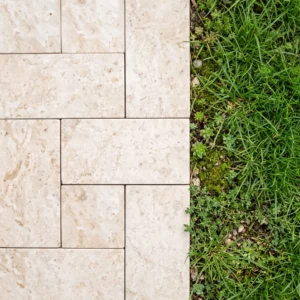
Drop your running-bond offset to a third, not a half. Tile industry guidance caps offset at 33% for long units, and while travertine 6×12 sits below the size threshold where that rule becomes mandatory, the same physics apply — the center of a stone is almost always its high point, and a 50% offset parks that crown directly against a neighbor’s corner.
The difference shows up instantly under raking light from a wall sconce or a west-facing window. A one-third offset on travertine 6×12 distributes crown mismatch across two joints instead of concentrating it at one, typically cutting perceived lippage by half with no change to the material itself. At Citadel Stone, we run caliper checks on inbound stone at the warehouse and pull dimensional outliers before crates ship, because thickness spread — not stone quality — drives most flatness disputes.
Reading Travertine Grade, Fill, and Finish Before You Buy
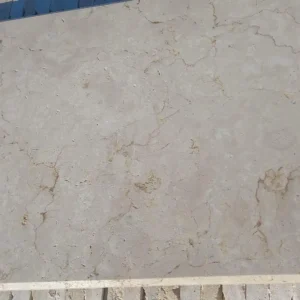
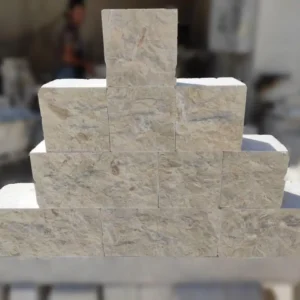
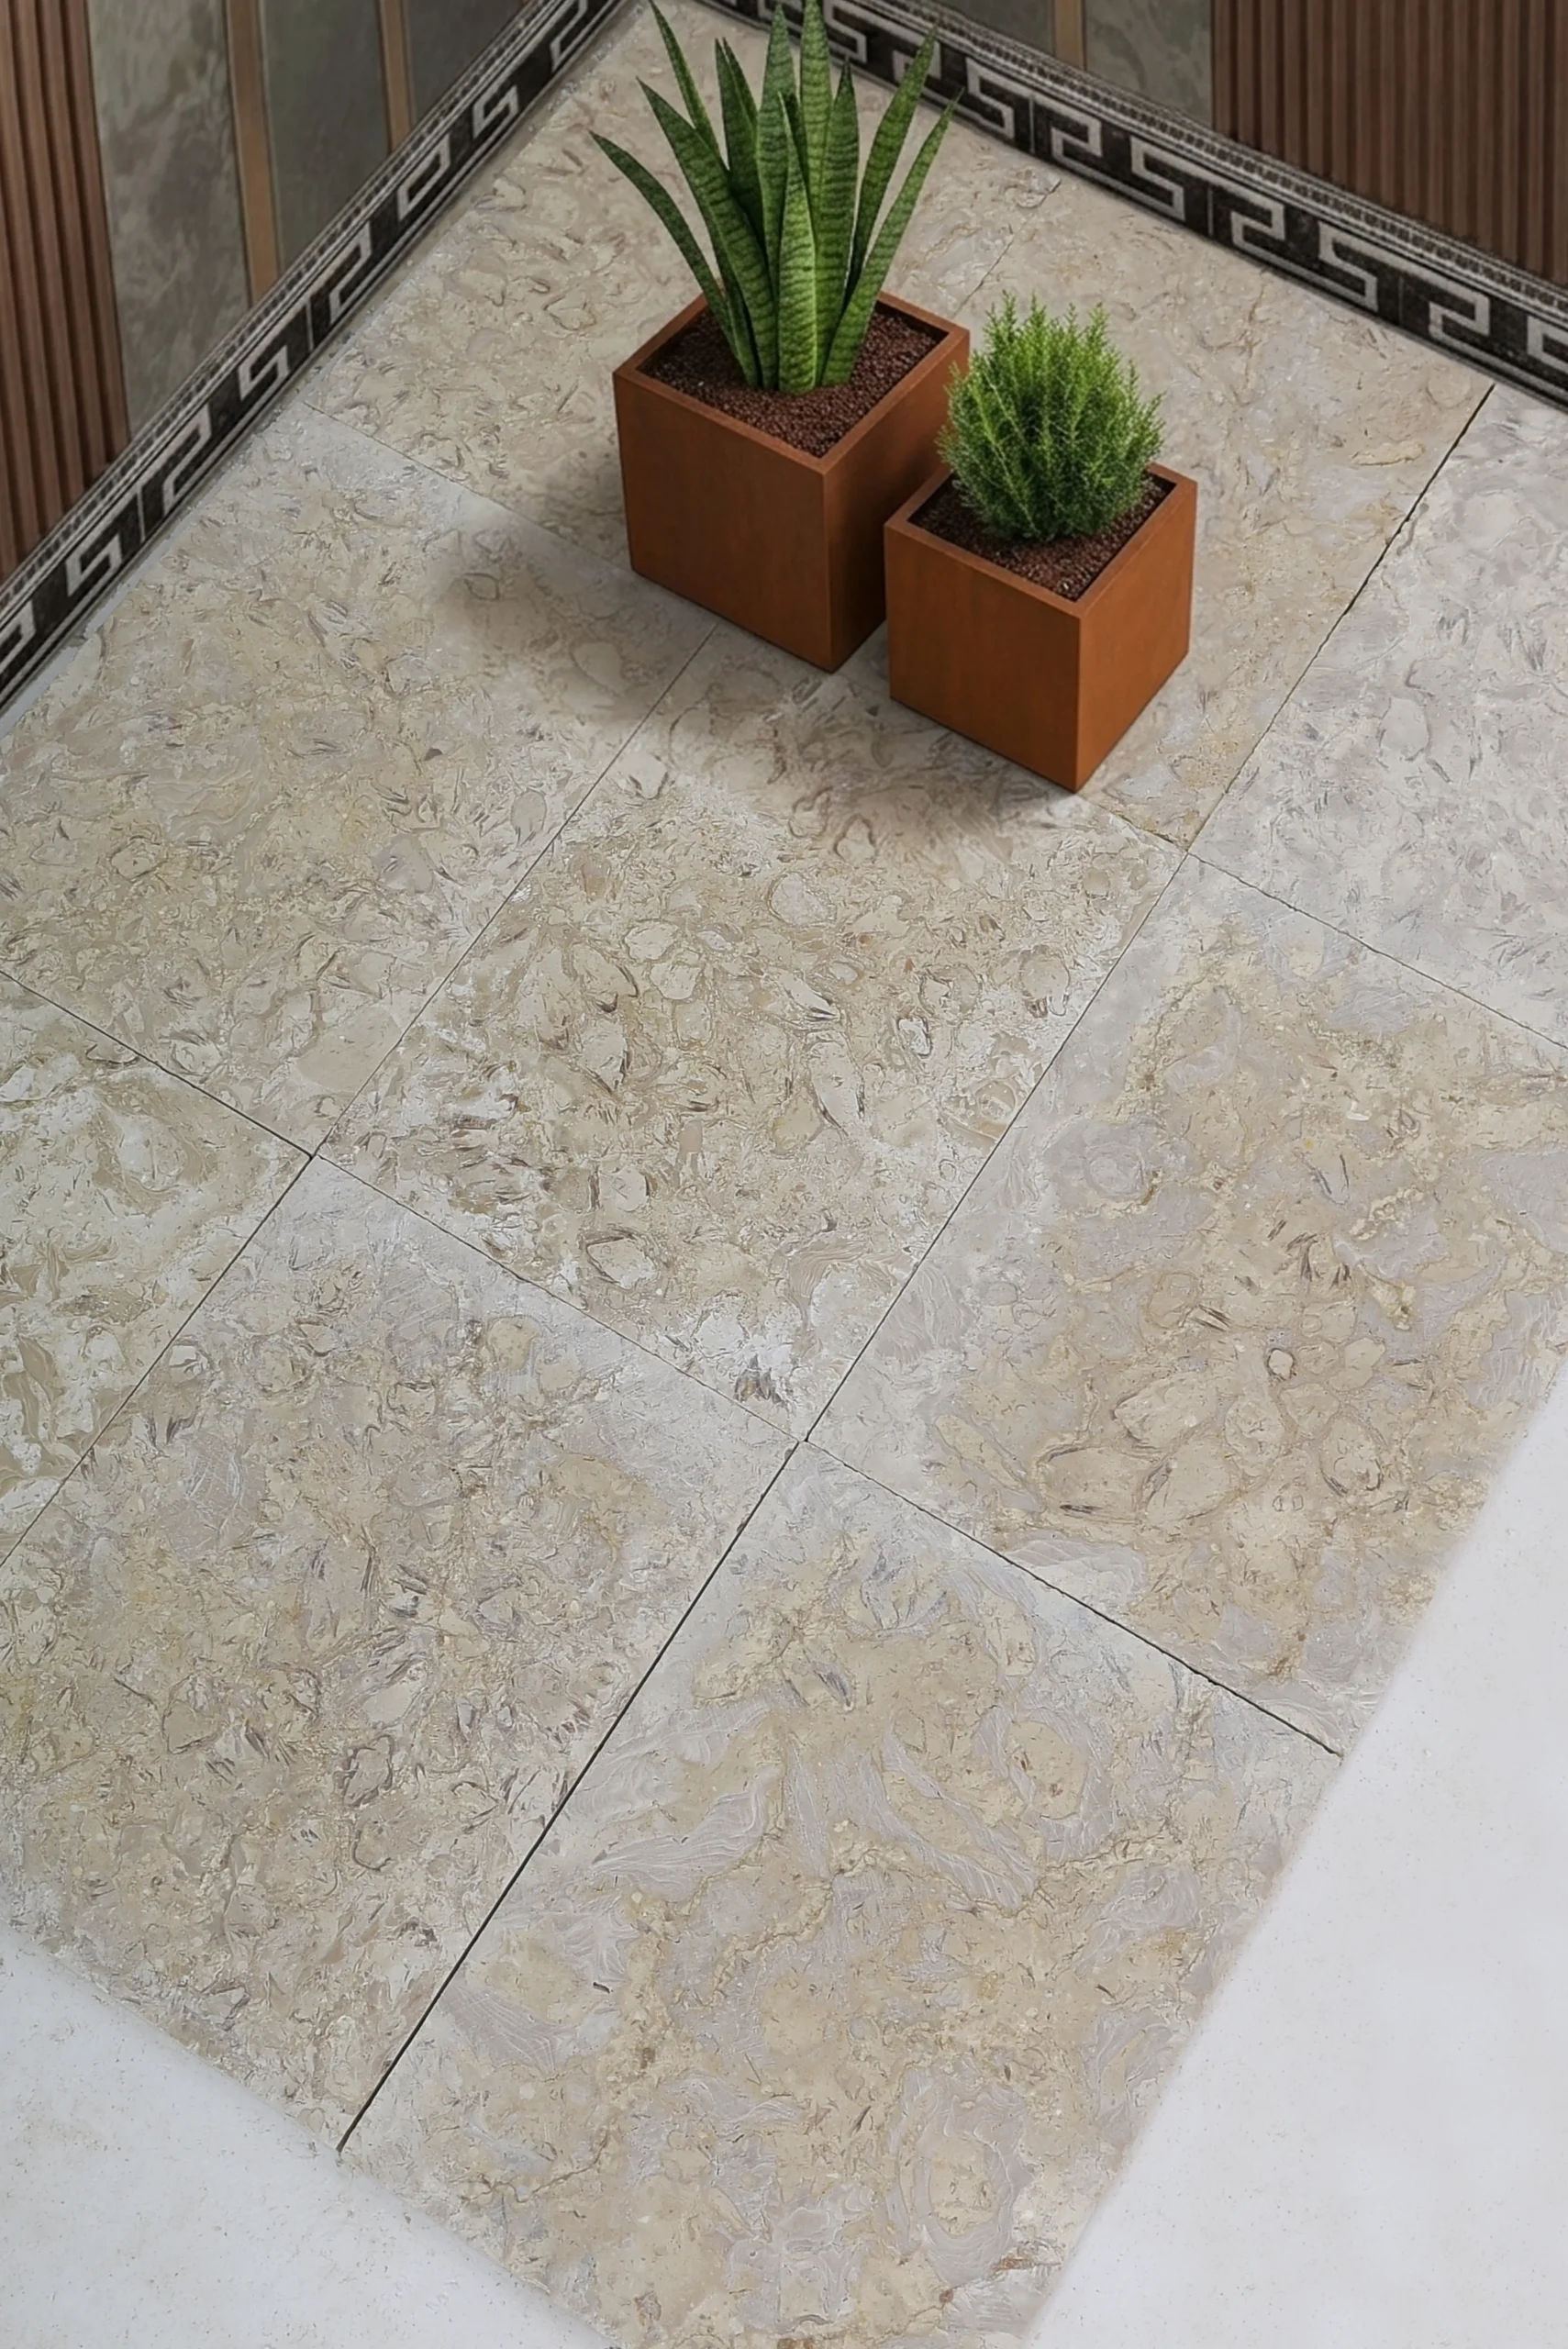
Grade nomenclature in travertine is not standardized across the trade — one supplier’s “premium” is another’s “select” — so you should evaluate three physical variables and ignore the label entirely: hole density, fill quality, and cut direction. Those three tell you how the stone will behave five years after handover. Hole density is the easiest of the three to judge on a sample board: count the voids larger than a pencil eraser on a single face, and if more than a handful appear on one 6×12 piece, expect fill maintenance sooner than the ten-year mark.
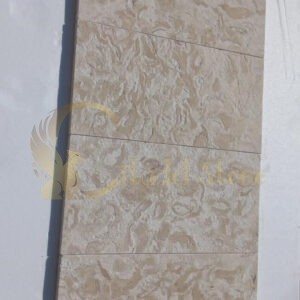
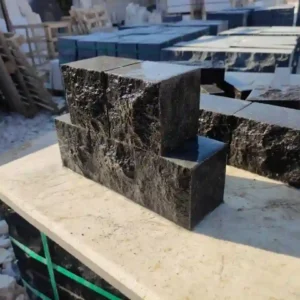
Cut direction changes everything about how a tile ages. Cross-cut slabs are sawn perpendicular to the bedding planes, producing the cloudy, flowery figure and rounder, more evenly distributed voids. Vein-cut slabs are sawn parallel to bedding, giving linear striations and elongated voids that can run the length of a piece. For 6×12 Travertine Tile on floors and wet walls, cross-cut is the more forgiving specification because its voids are shorter and its structure behaves more consistently in every direction.
Fill quality is where cheap material gives itself away. Factory fill is usually cement-based or resin-based; resin holds color better and resists pop-out under thermal movement, while cement fill is more breathable but shrinks and chips sooner. The open-pore structure is a formation characteristic rather than a defect, and industry travertine variety data explains why porosity varies so widely between quarry beds. Sourced from established quarry partners across the Mediterranean and selected quarries from the Middle East, each batch we receive is inspected for fill consistency before it enters stock.
Where Tumbled Edges Belong — and Where They Don’t
Tumbling rounds the arrises and softens the face, which does two useful things: it hides minor lippage and it disguises the chipping that inevitably happens during handling. That is why a 3×6 tumbled travertine subway tile has outlasted a dozen backsplash trends — the eased edge reads as intentional rather than damaged.
The trade-off is grout. Rounded edges create a wider effective joint at the surface, so a 3×6 tumbled travertine tile needs 1/8 to 3/16-inch joints and a grout you have tested for haze on a loose piece first. Tumbled faces grab pigment, and pulling a dark grout out of an unfilled void after cure is slow, unpleasant work.
Reserve tumbled material for vertical surfaces, borders, and low-traffic floors where the texture works with you rather than against maintenance. On a shower floor the eased edges shed water well and the added joint density improves footing, but the open pores mean that field needs a penetrating impregnator on a shorter reseal cycle than a honed surface in the same room.
Thickness, Absorption, and Freeze-Thaw Reality
Thickness selection is a structural decision, not an aesthetic one. Wall applications work fine at 3/8 inch, interior floors want 1/2 inch minimum over a properly deflection-rated substrate, and anything exterior with vehicle or heavy furniture loading belongs in 1-1/4 inch travertine pavers rather than tile. The classification system in the ASTM travertine dimension stone standard separates material by density and absorption, which is the honest way to compare two crates that look identical on a showroom board.
Absorption is the number that predicts freeze-thaw behavior. Request the absorption result for the batch you are buying, and treat a higher figure with real caution in freeze-thaw regions where water sitting in a void expands and spalls the surface. Unfilled and tumbled material sits at the more porous end by definition.
Practical thickness guidance from repeated field work:
- Shower walls and backsplashes: 3/8 inch is adequate and reduces dead load on the substrate
- Interior floors with residential traffic: 1/2 inch over a substrate meeting L/720 deflection for natural stone
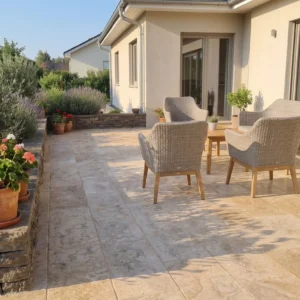
- Covered patios and porches in mild zones: 5/8 to 3/4 inch, filled, with a penetrating sealer applied before grout
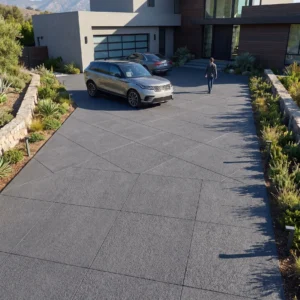
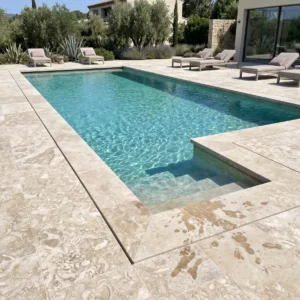
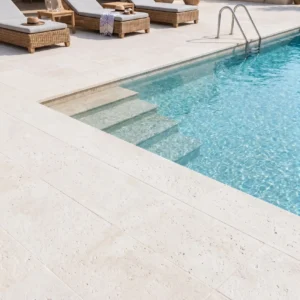
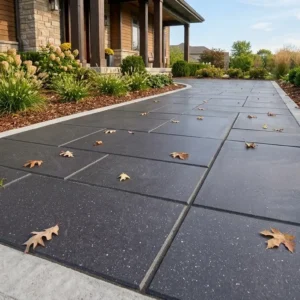
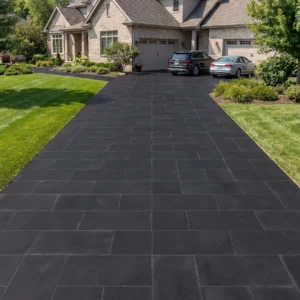
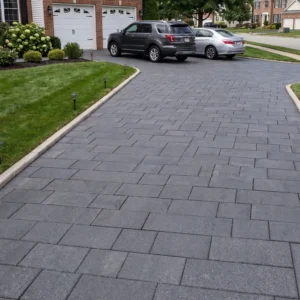
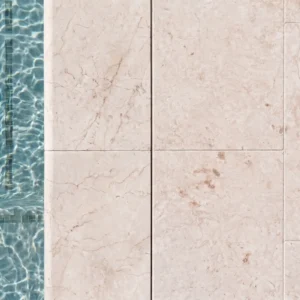
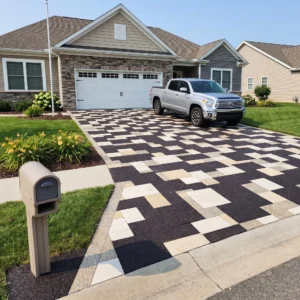
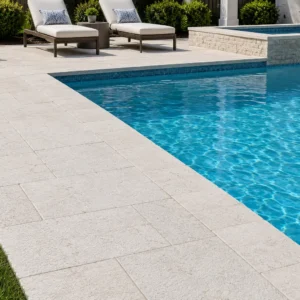
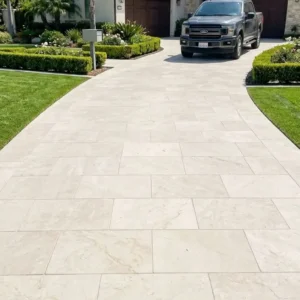
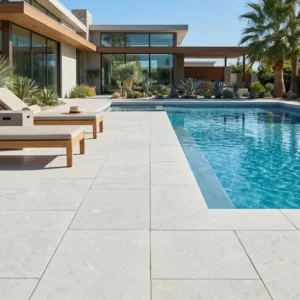
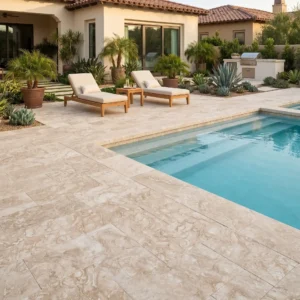
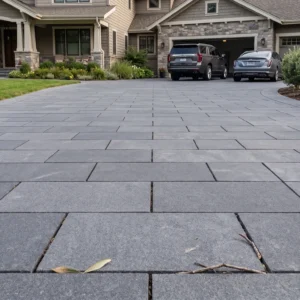
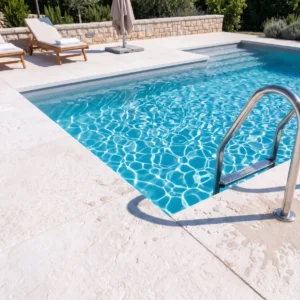
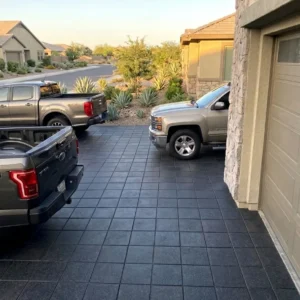
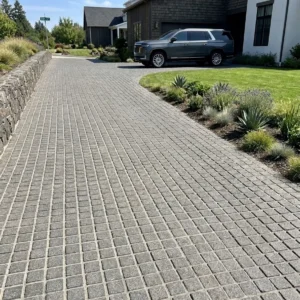
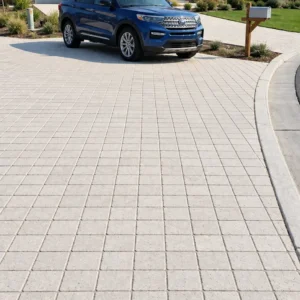
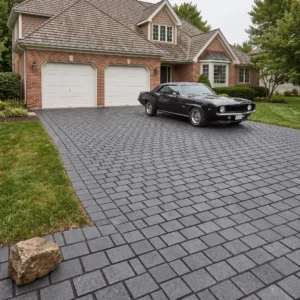
- Driveways, pool surrounds, and freeze-exposed decks: 1-1/4 inch travertine pavers set over a compacted aggregate base
- Any exterior use above 5,000 feet: specify filled material and verify absorption test data rather than assuming
You can request absorption and flexural test data alongside samples before committing to a specification — that paperwork costs nothing and settles arguments later.
Metric Sizing: Where 600 x 400 and 600 x 300 Fit Alongside Imperial Formats
Cross-referencing metric and imperial travertine trips up more specifiers than any other sourcing detail. A nominal 6×12 measures roughly 152 x 305 mm, while hard-metric stone is cut to exact millimeter dimensions with no soft conversion. Mixing the two in a single continuous field means your grout lines have to absorb a 2–4 mm discrepancy every course, and they will not do it gracefully.
The most common European field size is travertine tiles 600 x 400, which converts to roughly 23-5/8 x 15-3/4 inches — close to a 16 x 24 travertine format but not interchangeable with it. The same product is sometimes listed in centimeters as travertine tiles 60 x 40, which causes ordering confusion when a schedule mixes unit systems across pages.
For a direct proportional relative of the 6×12, look at travertine tiles 600 x 300. That size holds the identical 1:2 ratio at double scale, which makes it the natural floor companion when you carry a 6×12 pattern from a shower wall out onto an adjoining bathroom floor.
- Confirm whether a quoted metric size is nominal or calibrated before you calculate coverage
- Keep metric and imperial modules in separate fields, divided by a border, threshold, or change of plane
- Order travertine 600 x 400 and imperial sizes from the same block run when they share a sightline
- Verify thickness in millimeters too — a 20mm metric tile is not a 3/4-inch tile
- Ask for the actual piece dimension in millimeters, not the marketing size, when detailing tight niches
Base Preparation, Terrain, and Drainage on Sloped Sites
Interior substrate work is straightforward: rigid, flat within 1/8 inch in 10 feet, and stiff enough to meet L/720 for stone. Exterior work on varied terrain is where projects fail, and elevation change is usually the culprit rather than temperature.
Cut-and-fill lots are the classic problem. Half your patio sits on undisturbed native soil and half sits on engineered fill, and those two zones settle at different rates for two to three years. Running 6×12 travertine tile or larger 16 x 24 travertine units straight across that transition without a control joint guarantees a crack along the fill line. Locate the joint where the geology changes, not where the layout looks tidy.
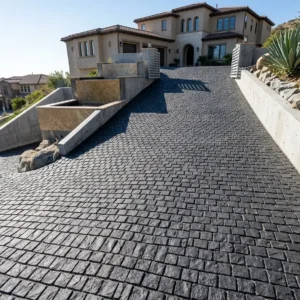
Drainage design follows the terrain, not the drawing. On sloped sites you need an interceptor drain along the uphill edge, because subsurface flow moving downhill through the soil profile will pressurize the base from underneath. Base preparation deserves the same rigor whichever format you choose, and reviewing a natural stone tile thickness guide alongside your slope calculations helps you match unit thickness to the loading your grade actually imposes. Getting the subgrade right at this stage prevents the failures that no sealer or grout will fix afterward.
- Compact aggregate base to 95% modified Proctor in lifts no thicker than 4 inches
- Maintain 2% minimum surface fall away from structures, increasing to 2.5% on long runs
- Separate base from subgrade with a woven geotextile on clay-heavy or expansive soils
- Step retaining elements rather than battering them on grades steeper than 4:1
- Plan truck staging and material drop points before excavation — steep driveways often force a second handling stage
Setting Methods, Joint Widths, and Grout That Won’t Telegraph
Use white large-and-heavy-tile mortar under every light travertine, without exception. Gray mortar shows through the pores of a filled cream tile within weeks as moisture migrates, producing blotchy shadows that look like water damage and cannot be corrected without removal.
Coverage matters more than trowel size. You want 95% mortar contact for wet areas and exteriors, 80% minimum for dry interior floors, which in practice means back-buttering every piece and beating it in with a rubber mallet along the notch direction. Pull a tile every 20 pieces to verify — that thirty-second check catches a failing bond before you have set 200 square feet.
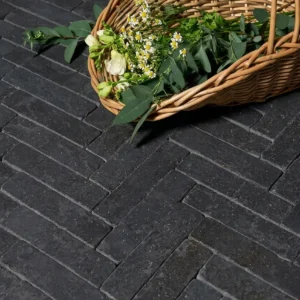
Joint width should follow edge treatment rather than personal preference. A rectified honed travertine 6×12 can take 1/16 inch; a 3×6 travertine tile with a slightly chipped arris wants 1/8; anything tumbled needs 1/8 to 3/16. Shower floors are a separate calculation — a 1×2 travertine tile mosaic conforms to a four-way slope and delivers the grout density you need for traction, which no 6-inch unit can manage.
- Seal unfilled and tumbled surfaces with a penetrating impregnator before grouting to prevent pigment staining
- Keep sanded grout away from polished faces; use a high-performance unsanded product below 1/8 inch
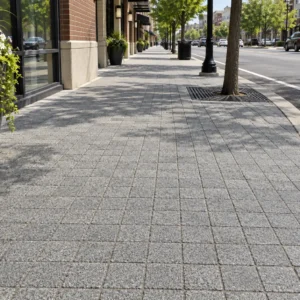
- Place movement joints every 20 to 25 feet interior, and every 8 to 12 feet in exterior fields
- Leave a soft perimeter joint at every restraining wall, column, and curb
- Grout larger metric fields such as travertine tiles 600 x 300 at 3/16 inch to absorb calibration variance
- Cut niche shelves and curb caps from 2×4 travertine tile stock to keep the module consistent
Consider how a 3×6 tumbled travertine band behaves where it meets a honed field — the height difference between a tumbled and a honed piece of identical nominal thickness can reach 1.5mm, so plan a schluter profile or a deliberate reveal at that transition.
Sealing, Fill Loss, and Maintenance Over Twenty Years
Travertine forms through mineral precipitation in flowing water, which is exactly why it carries voids that other carbonates do not. That formation process is documented in federal geological survey data on carbonate rock, and understanding it explains why sealing strategy differs from what a concrete or porcelain installation needs.
Specify a penetrating impregnator, never a topical film. Films look impressive for eighteen months, then cloud, peel, and trap vapor behind them — a genuine problem on slabs without a vapor retarder. A quality fluoropolymer or silane-siloxane impregnator sits below the surface, leaves the stone breathable, and typically holds three to five years indoors, two to three years on exteriors with UV exposure.
Fill loss is normal, not a defect. Expect a few voids to open per hundred square feet over the first decade, particularly on a 3×6 tumbled travertine tile field where the surface is already textured. Repair with a color-matched two-part epoxy, shave flush with a razor once cured, and the repair disappears.
- Clean with pH-neutral products only — vinegar, citrus cleaners, and most bathroom sprays etch carbonate surfaces permanently
- Test resealing need with the water-bead check: if water darkens the stone within two minutes, reseal
- Blot spills rather than wiping, which drives pigment into open pores
- Use felt pads under furniture; travertine abrades faster than granite under point loading
- Budget one professional deep clean and reseal every three years for high-traffic entries
Building a Format System Around 6×12 Travertine Tile
Strong stone schemes rarely use one size. They use one material family across three or four modules, scaled to the demands of each surface, which is how you get continuity without monotony. The 6×12 works as the mid-scale anchor in that system.
Scale down for wet and small surfaces. A 1×2 travertine tile mosaic handles shower pans and curved steps; a 2×4 travertine tile suits niche backs and narrow shelf returns; a 4×8 travertine tile gives you herringbone and basketweave options for entry vestibules where you want visual pause. Each smaller module increases grout percentage, which increases traction — a genuine safety consideration on any surface that gets wet.
Scale up for open floors and terraces. An 8 x 16 travertine tile keeps the 1:2 proportion while cutting joint count by roughly 40% against the 6×12, and a 16×24 travertine tile reduces it further for large living areas. On terraces, a 16 x 24 travertine field with a 6×12 soldier border reads as a designed edge rather than a cut line, and travertine 600 x 400 fills the same role in metric-specified projects.
- Keep the color family and finish constant across modules; vary size, not tone
- Use the smallest module where slope, drainage, or curvature demands conformity
- Reserve the largest module for the flattest, most visible plane
- Repeat one accent — a 3×6 travertine band or a mosaic reveal — in at least two locations so it reads as intentional
- Order all modules together so they share block runs and blend across sightlines
The one pairing to avoid is a tumbled module directly abutting a honed module of the same nominal size on the same plane. A 3×6 travertine tile in tumbled finish beside a honed field of identical dimension reads as a mistake rather than a contrast, because the eye registers the edge difference before the finish difference.
Pallet Math, Volume Pricing Tiers, and Freight Planning
Quantity planning starts with weight, not square footage. At 1/2 inch, travertine runs roughly 6 to 7 pounds per square foot, so a crate covering 220 to 250 square feet lands near 1,600 pounds before packaging. That number determines your handling equipment, your delivery cost, and whether the material can go where you want it on site.
Volume pricing on 6×12 travertine tile breaks at predictable thresholds — single crate, half-load, and full-load quantities each carry different per-square-foot economics, and the biggest jump usually happens when a shipment moves from LTL freight to a dedicated truck. Consolidating a 6×12 order with your travertine tiles 600 x 400 floor material and any travertine pavers for the exterior into one shipment often saves more than negotiating on unit price alone.
Order overage of 10% for straight-lay fields and 15% for diagonal or herringbone patterns, and buy it all in the first order. Travertine varies between block runs; a replacement crate pulled six months later will differ in tone, and no amount of blending fixes it once the field is grouted.
- Confirm whether your site can accept a 53-foot truck or requires a smaller vehicle with liftgate service
- Verify warehouse stock levels before committing to a tight installation schedule
- Ask which crates share a block run when you order multiple sizes for one sightline
- Store crates level and covered on site; uneven stacking cracks the bottom courses
- Inspect and document within 48 hours of delivery, before crates are broken down
Citadel Stone holds inventory nationwide, which typically reduces lead times to one or two weeks against the six to eight week cycle a direct import requires. That matters most when a schedule slips and you need an 8 x 16 travertine tile or 16×24 travertine tile addition without pausing the trade sequence. Popular accent items such as a 3×6 tumbled travertine subway tile run and standard travertine tiles 60 x 40 stock generally ship from existing inventory, and an added tumbled subway run can usually be attached to an in-progress shipment without a new freight charge.
6×12 Travertine Tile — Order Direct from Citadel Stone
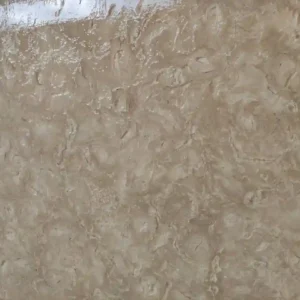
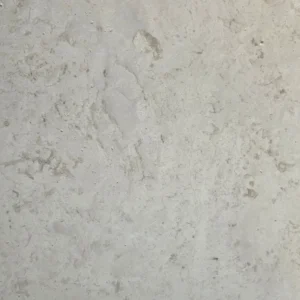
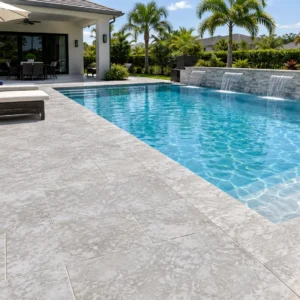
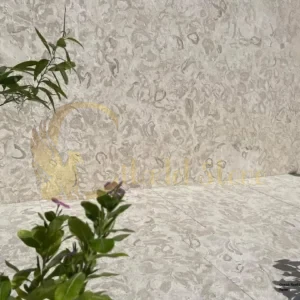
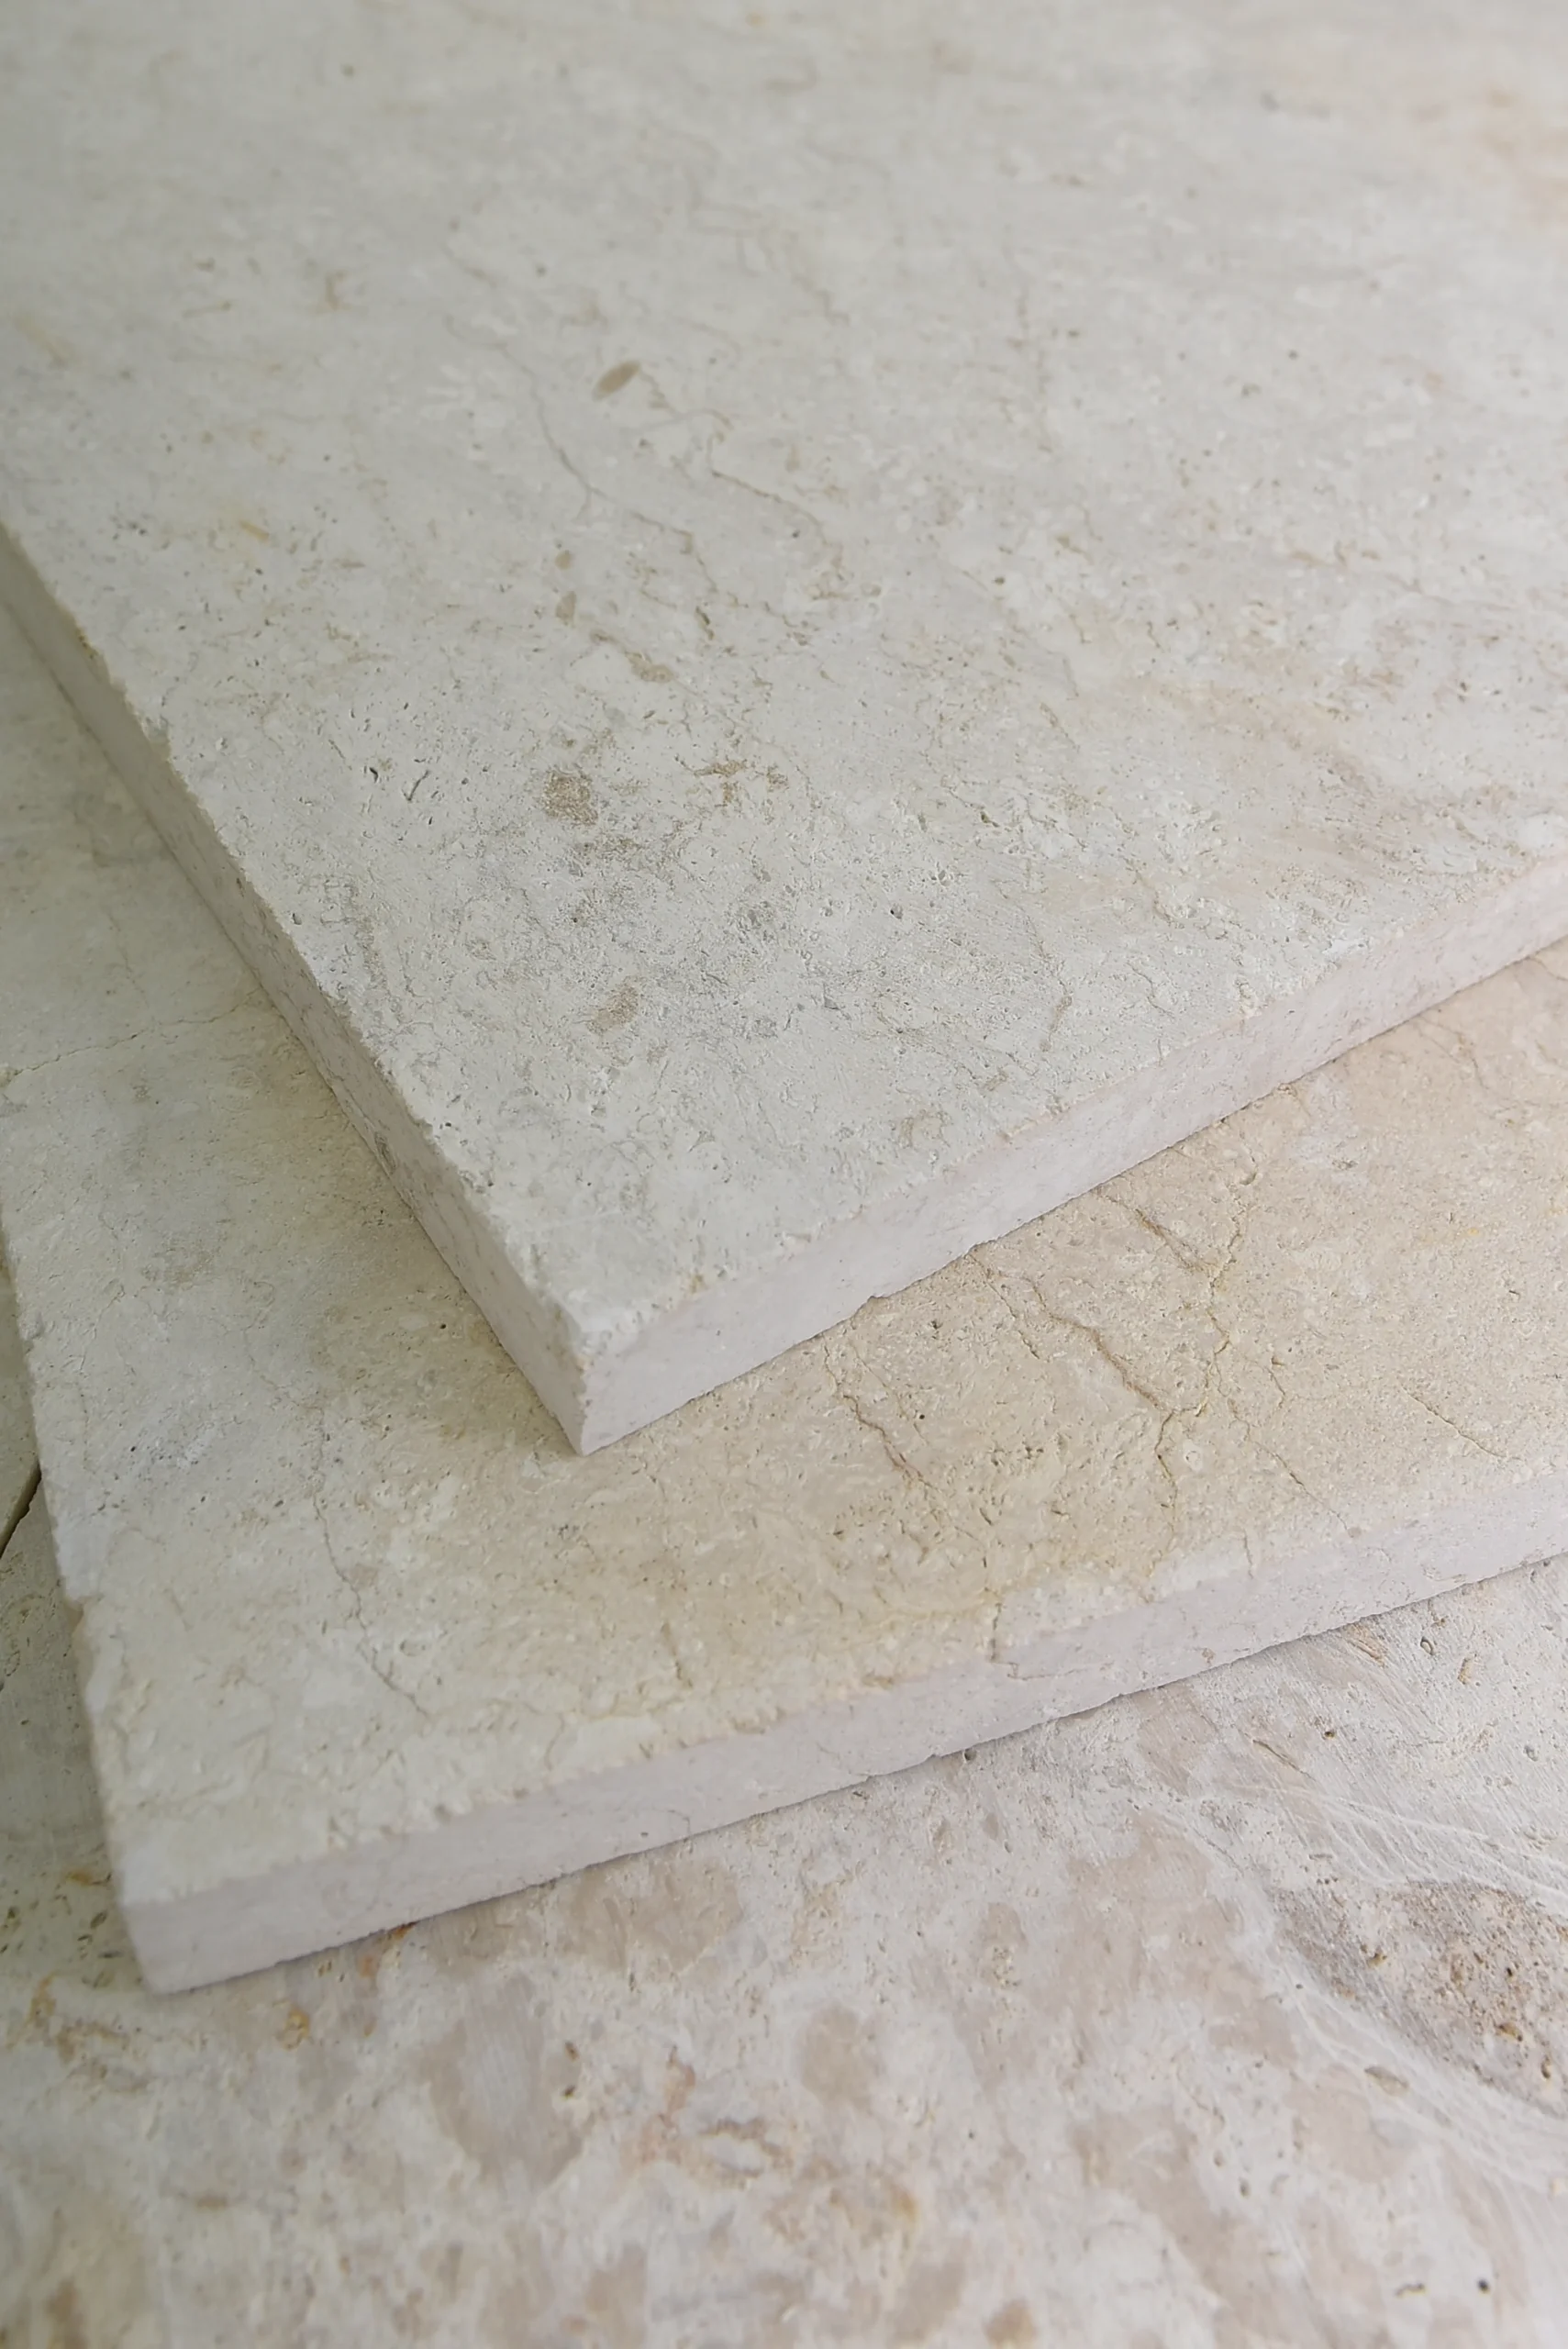
Citadel Stone stocks 6×12 Travertine Tile in filled and honed, unfilled and brushed, and tumbled finishes, across ivory, walnut, silver, and classic beige tones, at 3/8 and 1/2 inch thicknesses. Companion modules — from 3×6 travertine through the larger metric formats — are available from the same block runs so your sightlines stay consistent.
Request samples before you specify: our warehouse team ships loose pieces so you can check tone, fill quality, and finish under your actual lighting. Trade and wholesale enquiries receive tiered pricing based on crate, half-load, and full-load quantities, with freight quoted to your site conditions.
Contact our specification team for current stock, lead times, and a delivered quote covering nationwide shipping. As you finalize your format schedule, larger modules often carry the field areas that a 6×12 border frames — how large-format travertine performs on open floors covers the sizing and setting considerations that apply once your module exceeds 18 inches. Architects and builders choose Citadel Stone 6×12 Travertine Tile, sourced from quarries across the Mediterranean and Middle East, for outdoor installations.
See also: rectangular travertine tile sizes compared.
Related guides: small travertine tile installation problems · rectangular travertine tile patterns · Is Tile Considered a Stone? Natural vs. Manufactured.