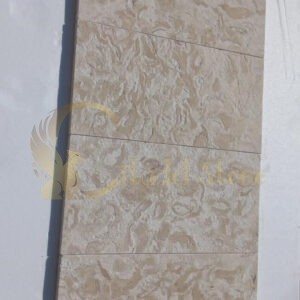
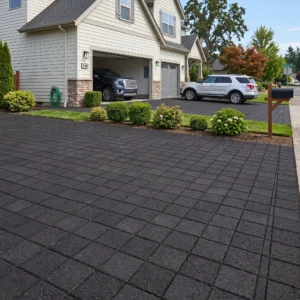
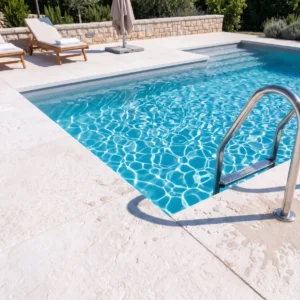
Pattern Geometry Comes First
Rectangular travertine tile patterns reward specifiers who think about joint geometry before they think about finish or color. The aspect ratio of your tile — whether you’re working with a 6×12, 4×16, or 3×12 — determines which patterns are structurally sound and which will create long-term alignment headaches at grout joints. A tile with a 2:1 ratio, like the classic 6×12, is the most versatile: it runs cleanly in herringbone, stacks with discipline in a running bond, and holds its lines in a basket-weave variation without fighting its own proportions. Taller, narrower rectangles in the 3:1 range give you a more dramatic herringbone chevron but demand tighter control over your setting bed flatness — any lippage becomes visually amplified in an angled layout.
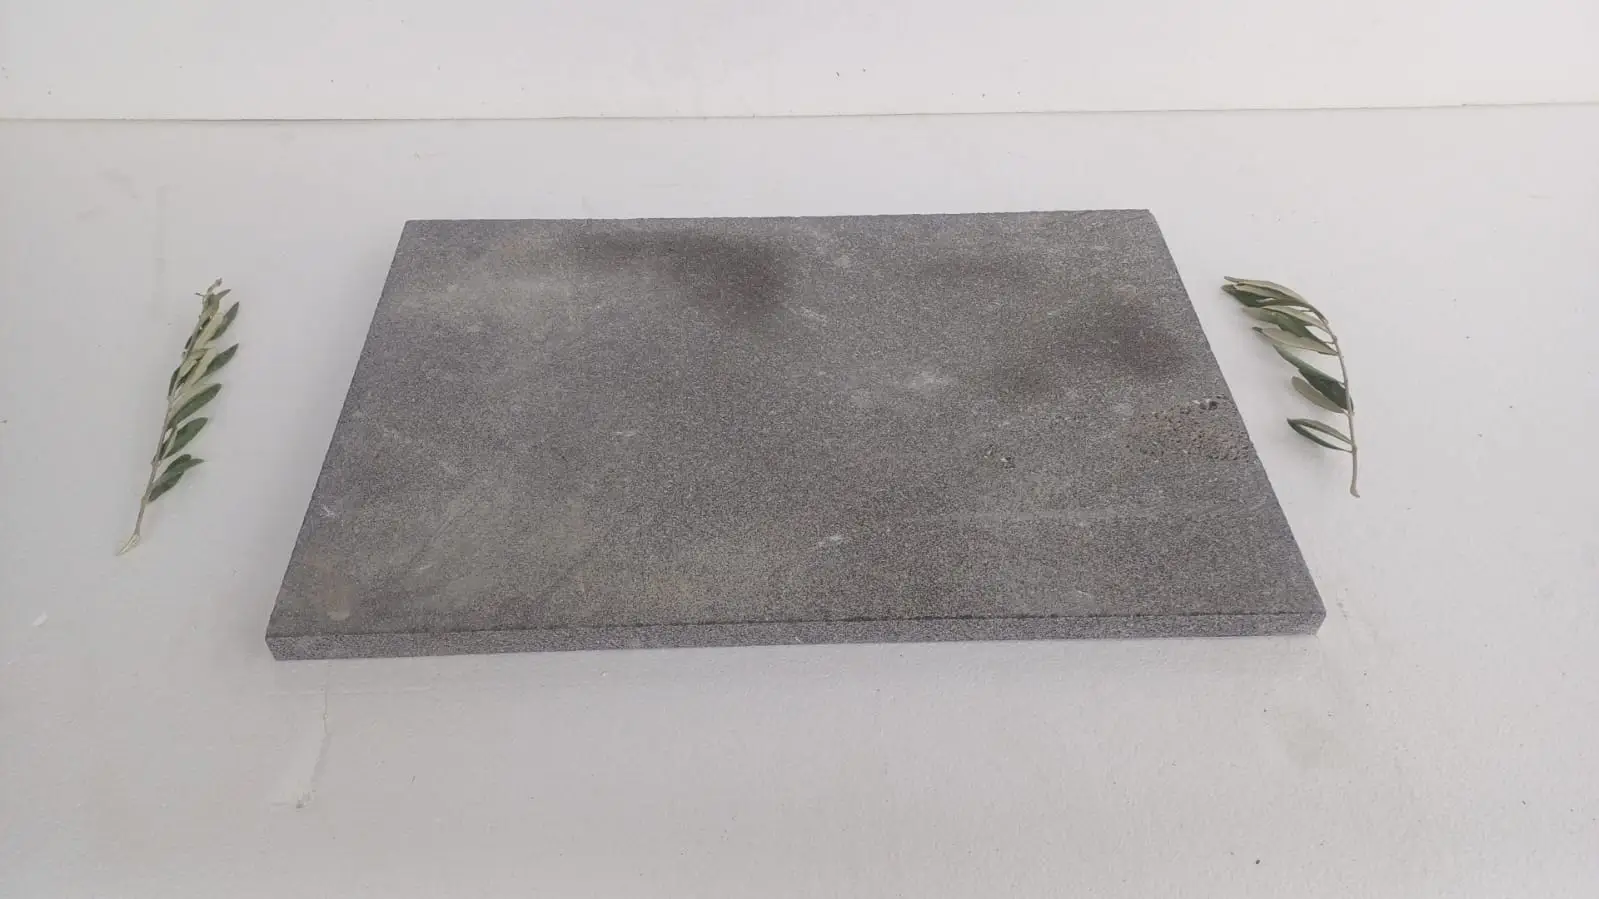
Herringbone Layout: What Most Installers Get Wrong
Herringbone is the pattern that generates the most callbacks in rectangular travertine tile installations, and almost every problem traces back to the same root cause: starting in the wrong place. You need to establish your 90-degree reference lines from the visual center of the space, not from the wall. Walls are rarely perfectly square, and travertine’s natural variation means that any deviation in your baseline reads immediately in a herringbone because the 45-degree angles amplify misalignment rather than hiding it.
The cut ratio at perimeter edges is the other sticking point. A true herringbone layout along a wall produces cuts that expose the travertine’s natural voids at the tile edge. For filled travertine, this is manageable. For unfilled travertine with open pores, those edge cuts need a targeted grout wash before installation — not after — or capillary migration carries setting-bed material into the visible face within the first wet season. That’s a detail most specifications omit entirely.
- Snap your 90-degree reference lines from the center of the room, not the wall
- Dry-lay at least three full herringbone V’s before committing to thinset — check visual balance from the room entrance
- Pre-treat cut edges on unfilled travertine with a penetrating sealer before setting
- Account for a 15–20% material waste factor on herringbone versus 10% on running bond
- Use a notched trowel that achieves at least 95% mortar contact under each tile — herringbone joints carry point loads at the chevron tips
Running Bond Offset Mechanics for Travertine
The standard 50% offset running bond — the default setting for most installers — is actually problematic for rectangular travertine tile in longer formats. According to TCNA installation standards, tiles with a length-to-width ratio exceeding 2:1 should not be installed at a 50% offset because differential movement and lippage accumulate at mid-point joints over time. The recommended offset for 6×12 and similar quarry stone tile formats is 33% (one-third), which distributes the joint load more evenly and prevents the staggered joint lines from telegraphing subfloor movement.
You’ll also notice a visual difference immediately: a one-third offset creates a longer, more linear horizontal emphasis that suits contemporary and transitional interiors better than the traditional brick-bond look. For spaces where you want to emphasize length — a narrow hallway, a pool deck run, or a long exterior terrace — the one-third offset is genuinely the superior design choice, not just a structural compromise.
Comparing Herringbone and Running-Bond Travertine Patterns
Both herringbone and running-bond travertine patterns have distinct spatial effects that should drive your selection before anything else. Herringbone creates visual energy and makes spaces feel wider — it pulls the eye in two directions simultaneously. Running bond is directional and calm; it leads the eye along its length. The decision should be based on your space’s longest dimension and the architectural mood you’re supporting.
- Herringbone amplifies room width — ideal for square or slightly short spaces
- Running bond elongates perception — best for corridors, terraces, and pool surrounds
- Herringbone requires more precision during installation and more material for cuts
- Running bond is faster to set and easier to course-correct if your reference lines drift
- Both patterns benefit from honed or brushed finishes in outdoor applications — polished travertine in angled patterns can become highly reflective at oblique sun angles
The Natural Stone Institute’s travertine properties guidance notes that travertine’s interconnected pore structure and calcium carbonate matrix respond well to both pattern types, provided the setting mortar achieves adequate coverage — a specification detail that matters more in herringbone layouts where tile edges are exposed at multiple angles.
Subgrade Stability and What It Means for Your Pattern
Soil conditions are the silent variable in rectangular travertine tile pattern performance — they don’t show up in the design drawings, but they determine whether your herringbone or running bond still looks sharp in fifteen years. Expansive clay soils are the most common challenge. Clay expands laterally when wet and contracts when dry, and that cyclical movement works directly against the rigid geometry of an angled herringbone pattern. The diagonal joint lines that make herringbone so visually compelling also create a network of stress pathways that differential subgrade movement exploits aggressively.
For installations over expansive clay, your aggregate base needs to be deeper than standard specifications — typically 6 to 8 inches of well-compacted crushed stone rather than the 4 inches that works in stable sandy or rocky soils. A geotextile fabric at the interface between native soil and aggregate prevents clay migration upward into the base over time. Sandy soils compact well initially but can migrate laterally under load, creating settlement voids beneath individual tiles. Verify compaction density at 95% Proctor for any travertine installation regardless of pattern, but it becomes critical for herringbone because a single sunken tile in the center of a V disrupts the entire visual sequence.
- Expansive clay: increase base depth to 6–8 inches, add geotextile separator, and allow full cure before loading
- Sandy soils: verify 95% Proctor compaction, check for lateral migration risk near drainage paths
- Caliche (hard calcium carbonate pan common in arid regions): scarify the surface before base placement to prevent water pooling above the impermeable layer
- Rocky subgrades: require leveling course of fine-graded aggregate to prevent point contact under tiles
Checking warehouse inventory before finalizing your tile order is worth doing at the subgrade investigation stage, not at the last minute — base preparation delays are common, and you don’t want your travertine sitting on a truck while soil remediation extends your project timeline.
Tile Sizing and Pattern Scale
Pattern scale is one of the most underspecified variables in rectangular travertine tile projects. The same herringbone executed in a 3×6 tile and a 6×12 tile reads as two completely different design languages. Smaller tiles produce a dense, intricate texture that works well in confined spaces — bathrooms, entry vestibules, kitchen backsplashes. Larger quarry stone tile formats in the 6×12 or wider range create a bolder, more architectural herringbone that suits open-plan interiors, exterior terraces, and pool surrounds where the pattern needs to read from a distance.
For exterior applications, consider exploring our rectangular travertine tile range, which includes the 6×12 format specifically optimized for outdoor herringbone and running-bond installations. The dimensional consistency in this format is tighter than standard residential grades, which matters significantly when setting diagonal patterns across large areas — cumulative dimensional variance in lower-grade tiles compounds across every course and eventually forces you to widen joints to absorb the error.
How Finish Selection Interacts with Your Pattern
Finish choice is not independent of pattern selection — the two interact in ways that aren’t obvious until you’re standing in the finished space. A polished finish on a herringbone layout creates a rhythmic light reflection pattern as the tile angles catch ambient light from multiple directions. Honed and brushed finishes are more forgiving because they diffuse light rather than reflecting it directionally, which makes the pattern geometry legible without visual noise.
According to ASTM C1527 travertine dimension stone specifications, travertine’s surface absorption characteristics vary measurably between filled and unfilled versions of the same block — a factor that affects both sealing schedules and the visual texture of cut edges in herringbone patterns. For outdoor applications, a tumbled or brushed finish delivers better traction under wet conditions and conceals the minor chipping at tile corners that diagonal cutting inevitably produces. Apply your sealing protocol before grouting in herringbone layouts — getting sealer into the grout joints afterward is significantly harder when every joint runs at 45 degrees.
Grout Joint Width and Pattern Fidelity
Grout joint width affects pattern fidelity more than most specifiers expect, particularly in herringbone. A 1/16-inch joint makes the pattern geometry tight and precise — the tiles read as a continuous surface with articulation lines. A 3/16-inch joint softens the geometry and gives the installation a more relaxed, handcrafted character. Neither is wrong, but they produce genuinely different results and the decision should be made deliberately, not defaulted to whatever the installer prefers.
- 1/16 to 1/8-inch joints: sharp geometric emphasis, requires higher dimensional consistency in tile stock
- 3/16-inch joints: more forgiving of dimensional variation, adds rustic warmth to the pattern
- Unsanded grout for joints under 1/8 inch; sanded grout for joints at 1/8 inch and wider
- Color-match grout to travertine undertone rather than the surface color — the undertone dominates in raking light
- Epoxy grout provides superior stain resistance in kitchen applications but requires faster working time in diagonal herringbone layouts
Citadel Stone’s technical team can advise on grout joint specifications based on the specific rectangular travertine tile format you’re ordering — tile-to-tile dimensional variation at our warehouse is documented by batch, which lets you calibrate joint width to actual material tolerances rather than nominal dimensions.
Ordering, Logistics, and Pattern Waste Factors
Pattern choice has a direct impact on your material order quantity. Herringbone consistently generates more waste than running bond — the diagonal cuts at perimeter edges produce offcuts that are rarely usable elsewhere in the layout. A 15–20% overage is the right planning number for herringbone in rectangular formats, compared to 10–12% for running bond. For small rooms with complex perimeters, 20% is the floor, not the ceiling.
Verify that your order comes from a single batch lot when possible. Travertine from Middle East quarries — where much of the premium travertine supply originates — exhibits natural color and density variation between quarry blocks. Setting herringbone tiles from two different batch lots side by side creates a visible tonal shift that’s extremely difficult to disguise once the installation is grouted. Citadel Stone ships nationwide and maintains warehouse stock in sufficient volume to fulfill most residential and commercial herringbone projects from a single lot, which reduces this risk considerably. Your truck delivery should be scheduled to arrive before base work is complete so the tiles can be dry-laid for visual inspection under actual site lighting conditions — not warehouse fluorescents — before any thinset is mixed.
Pattern Specification Decisions for Rectangular Travertine Tile
Getting rectangular travertine tile patterns right is ultimately a sequencing problem: geometry first, subgrade next, finish and grout decisions after that. Herringbone rewards precision and repays the extra installation effort with a visual result that no other pattern achieves. Running bond rewards efficiency and suits applications where you want the material — not the layout — to carry the design. Both are excellent choices when specified with the rigor the material deserves. As you refine your installation approach, common travertine tile installation fixes covers practical remediation strategies worth reviewing before your project reaches the setting stage. Running-bond patterns using Citadel Stone 6×12 travertine typically call for a one-third offset rather than half, which reduces the eye-catching joint alignment that disrupts visual flow.
Related reading: natural stone tile thickness · is tile considered a stone · rectangular travertine tile sizes compared.