














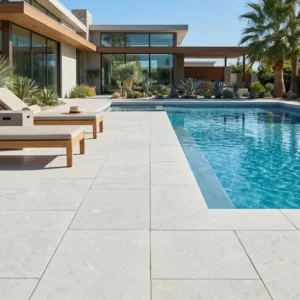
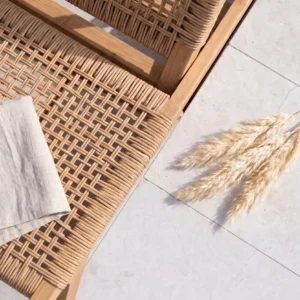
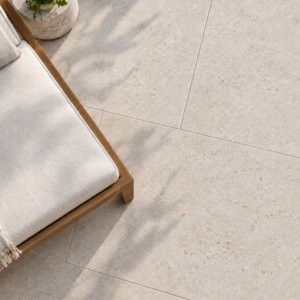
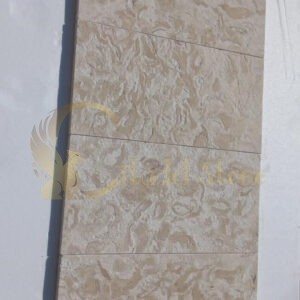













A stone floor in Bermuda has a job that stone floors in most places do not. Interiors here sit inside a building envelope designed around water collection, in a climate with four real seasons rather than one long summer, and inside a planning system that pays close attention to how a building looks and how it sheds rain. Choosing limestone tile for a Bermuda house is therefore only half a material decision. The other half is a decision about what you will be allowed to put on that floor, and about where the water that washes it ends up.
This page deals with interior tile and the thresholds that connect it to the outside: comfort across a genuinely seasonal year, finishes that behave under wet feet, formats that suit the rooms Bermuda actually builds, and the cleaning and sealing rules that follow from the island’s rainwater system. Freight, duty and site access are covered on our Bermuda pavers page, and outdoor material behavior sits on the limestone pavers page, so nothing below repeats either. What is here is the part of the specification that a supplier in a market without water catchment would never think to raise, and the part a Bermuda homeowner will notice every week for the life of the floor.
The rule that governs everything you put on the floor
Bermuda has no rivers, no streams and no freshwater lakes. The white stepped limestone roof is not decoration; it is the national water system. Rain lands on it, the porosity of Bermuda stone filters and purifies the water on the way down, and the tank below the house holds what the household will use. Water storage is regulated, with tank capacity set against roof area. Every resident understands this arrangement. A great many overseas specifiers do not, and it changes the tile conversation completely.
The flooring consequence is specific rather than atmospheric. Any sealer, cleaner or treatment applied to stone that drains toward a collection area is a real specification constraint, not a matter of preference. Interior floors are part of it, because wash water leaves the building, and terraces and thresholds sit directly in the path between the roof and the tank. Terraces are graded either to feed collection or to be deliberately excluded from it, and that decision belongs on the drawing rather than being discovered on site once the surface is laid.
- Establish early which external surfaces drain toward collection and which are excluded, and mark them on the layout.
- Choose cleaning products for the whole floor area on the assumption that some rinse water leaves the building.
- Keep aggressive acidic or solvent-based products away from anything in the collection path; they are also the products most likely to etch limestone.
- Ask the person who looks after the tank before introducing any new chemical treatment near a feed.
- Detail thresholds so interior wash water reaches drainage rather than crossing a collecting terrace by default.
Finishes for wet feet, and for a house that is damp in winter
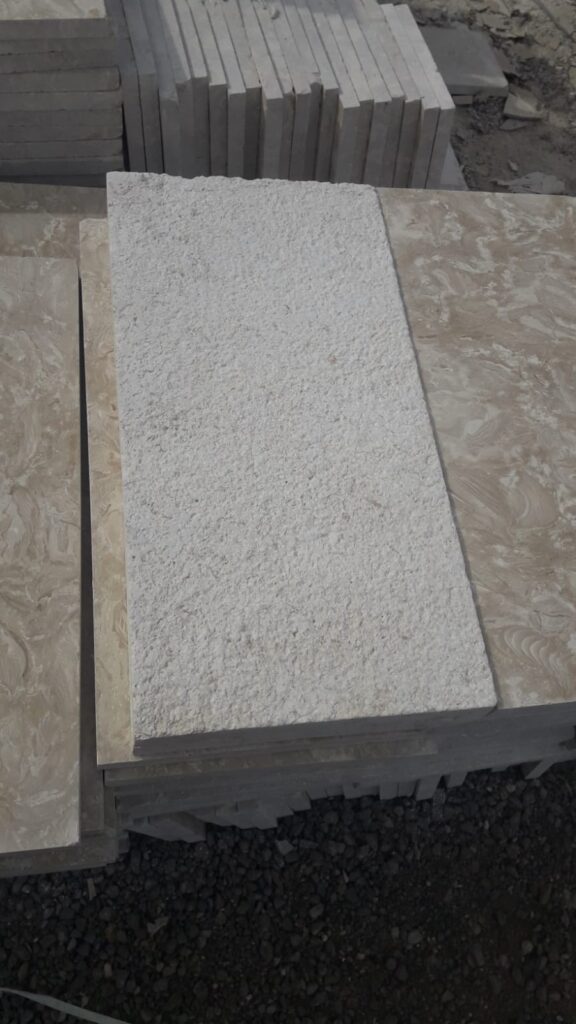
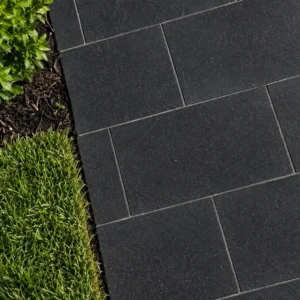
Finish does more work in a Bermuda interior than format does. A honed face is the calm, quiet choice for living rooms, halls and bedrooms, and it takes light foot traffic well. It is not the right answer for a shower floor or a wet-room threshold, where a brushed or lightly textured face gives the foot something to hold. The difference is not marketing; run a wet hand across two samples and the choice makes itself in about four seconds.
- Honed for dry interior rooms where you want an even, low-sheen surface with no glare.
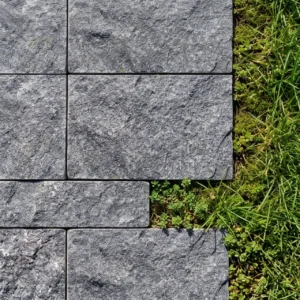
- Brushed or bush-hammered for bathrooms, shower floors, entrance halls and anywhere towels and swimwear arrive.
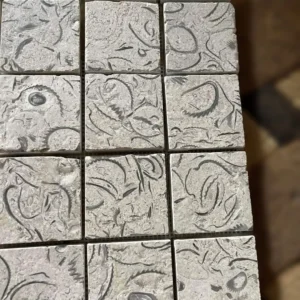
- Smaller modules for wet areas: more joint length per square meter means more grip and easier falls to the drain.
- Avoid a high-gloss polish underfoot in a house where people come in from a pool or the shore.
- Match the finish to the room rather than to the house, because one finish rarely serves both a bedroom and a wet room.
Winter matters as much as summer here. In a cool damp season a textured face holds a little more moisture and dries more slowly, while a honed face dries fast but is less forgiving under a wet foot. That trade-off resolves far more easily with pieces in your hand than on a screen, so compare the finish options we hold against how each room is genuinely used before you commit a whole floor to a single texture. A house that runs one finish for its dry rooms and another for its wet ones is usually the better for it.
Comfort across four real seasons
Pale limestone reads cool underfoot, which is exactly what a humid August wants. February is a different question. Bermuda winters are cool and damp rather than cold, and a large area of stone in a room that is not heated will hold that temperature and give it back to your feet. This is not a reason to avoid stone. It is a reason to decide, room by room, whether you want a floor that stays cool all year round.
- Bedrooms and sitting rooms used through winter benefit from rugs, warm underlays or a heated screed beneath the tile.
- Kitchens, halls, bathrooms and pool-adjacent rooms are where a cool floor is an asset in every season.
- If underfloor heating is in the design, say so at specification stage so thickness and format suit the system.
- Humid summers and damp winters both favor ventilation; a stone floor will show condensation before a timber floor does.
- Salt is tracked in from the shore all year, so a proper mat run at every external door does more for the floor than any sealer.
The seasonal swing also affects when you install. A jointing product curing in a cool damp week behaves differently from the same product in July, and rushing an interior floor in mid-winter is a false economy on an island where replacement material is a sailing away rather than a drive away. Where the program allows, tile the wet rooms first and the main living areas when the building is dry and warm, and let the grout cure at a sensible temperature rather than under a fan heater.
Formats for the rooms Bermuda actually builds
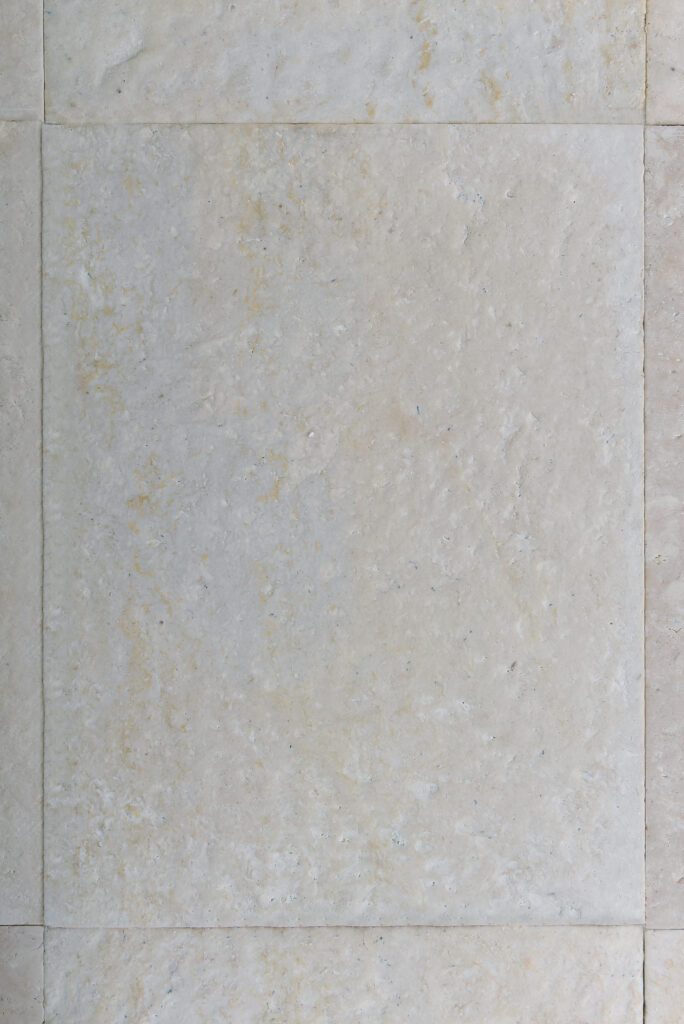
Bermuda built itself in its own limestone, and a great deal of that fabric is still in daily use. Older houses have thick masonry walls, deep reveals and rooms whose proportions were set by what the local stone and the roof structure allowed. Newer construction is mostly concrete and works to larger, more open plans. Those two contexts want quite different tile, and treating them the same is where a format decision usually goes wrong.
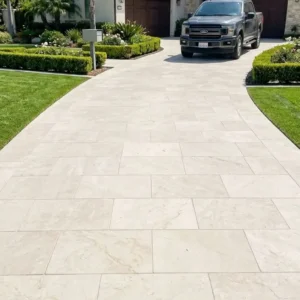
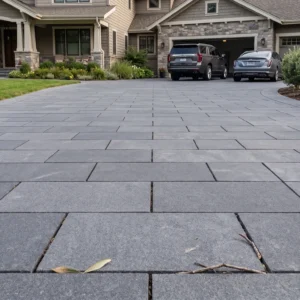
- Large-format tile suits open modern plans, where fewer joints make a room read calmer and larger.
- Modest formats and a considered layout suit older rooms, where an oversized module fights the proportions of the space.
- 2 cm is the interior convention and keeps weight down on a route where weight is charged.
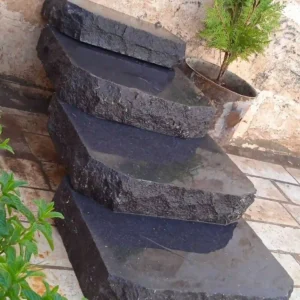
- Borders, thresholds and step treads should be cut with the main order so they come from the same batch.
- Set out from the most-seen line in the room rather than from a corner, and take the cut where nobody looks.
Because everything is cut to order rather than picked from a fixed size list, the format can follow the room instead of the room following a pallet. That is worth more in Bermuda than in most markets, because the older housing stock is genuinely irregular and a standard module often leaves a bad cut against a deep reveal or an out-of-square wall. Send dimensioned plans and we will tell you which sizes cut cleanly, which leave you fighting the walls, and where a border course will absorb an irregularity that no amount of clever setting out will hide.
Inside to outside, and the threshold in between
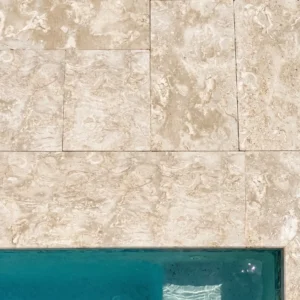
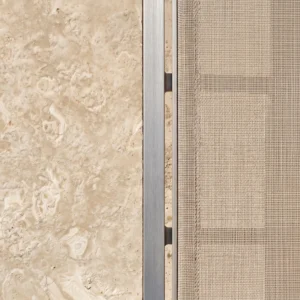
Interior and exterior stone are joined in Bermuda by a threshold that has to work as a water detail as well as a visual one. The convention is 2 cm under cover and 3 cm outside, so continuity of appearance is a matter of matching stone and finish across a change of thickness, with the bedding depth absorbing the difference. Get that right and a living room reads straight out onto a terrace. Get it wrong and you have a lip that catches a toe and a joint that channels water the wrong way.
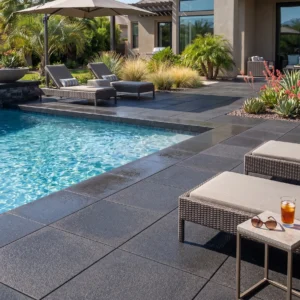
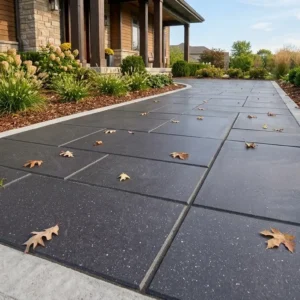
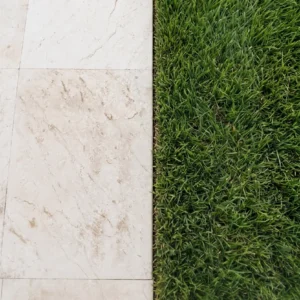
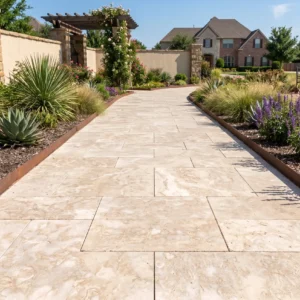
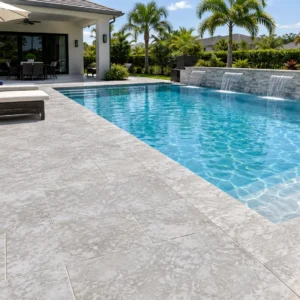
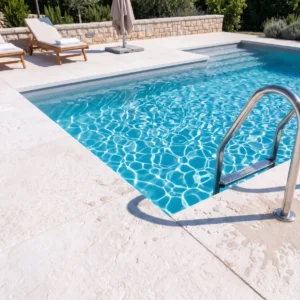
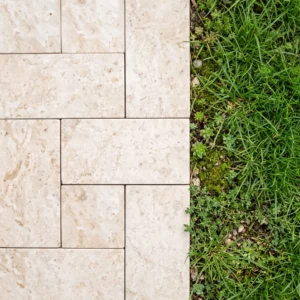
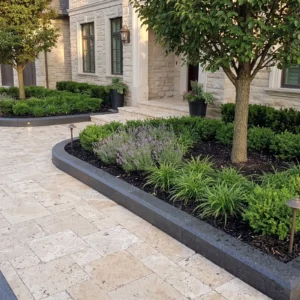
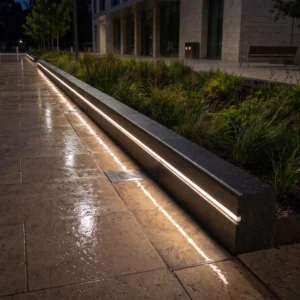
The finish should change even when the stone does not. A honed interior floor running out to a honed terrace gives you a slick surface exactly where rain and pool water land, so the same stone should carry a textured face outdoors. Run interior tile in white limestone inside and the same material with a brushed or bush-hammered face outside, and the eye reads one continuous floor while the foot reads two different surfaces. That is the detail worth spending real time on.
- Set the external level below the internal level and drain away from the building rather than toward it.
- Use a linear drain or a channel at wide openings rather than relying on fall alone.
- Match the joint width inside and out so the lines run through the opening uninterrupted.
- Change the finish at the threshold, not the stone.
- Decide at this point whether the terrace feeds the collection system or is excluded from it.
Cleaning and sealing on an island that drinks its rainwater
Day-to-day care of a limestone floor is undramatic, and in Bermuda it needs to stay that way. Sweep or vacuum grit before it is walked in, because sand and salt do far more damage than water ever will. Wash with clean water and a pH-neutral product intended for natural stone. Rinse. That is the routine, and the temptation to reach for something stronger is the single most common way a good floor gets spoiled.
Sealing is a decision rather than a default. A penetrating sealer reduces staining in kitchens and around dining tables without changing the look; a topical film changes the appearance and can peel where it is walked hard. Whatever you choose, the question on this island is not only how it performs on stone but where the runoff goes. Anything applied to an external surface in the collection path, and anything whose rinse water reaches it, belongs in a conversation with whoever maintains the tank before it is bought, not after.
- Test any new product on an offcut or a hidden corner before it goes near a whole floor.
- Never use acidic cleaners or vinegar on limestone, because acid etches the surface; keep bleach-based products off it as well, since they dull the finish and can discolor the stone.
- Keep a small quantity of the original tile in storage for repairs, because a later batch will not match perfectly.
- Re-check sealed areas around sinks, doorways and cooking zones once a year rather than resealing the whole floor.
- Ask before introducing any treatment to a surface that drains toward rainwater collection.
How a Bermuda tile order is put together
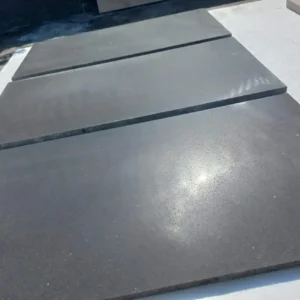
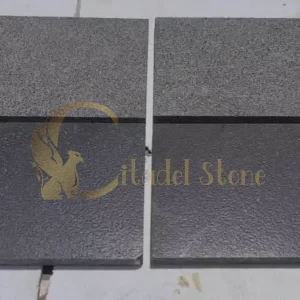
Send the plan, the room uses and the thresholds, and we will come back with formats, finishes and thicknesses per room rather than one specification for a whole house. Samples are small hand pieces meant for judging tone, texture and wet grip in the light of the room they will live in. Look at them by a window and again at night under the lighting you actually use, because pale limestone changes character between the two and clients notice the evening reading more than the daytime one.
Cutting, finishing, crating and the weekly sailing set the lead time, and thresholds, treads, skirting pieces and bullnose edges all sit inside the same cutting window when they are specified with the main order. Adding them later means a second cutting run, a second sailing and a second delivery to a site with limited storage. On an island where the next box of stone is a week away, ordering completely the first time is worth considerably more than shaving a small figure off the unit rate.
- Give us room-by-room uses so wet areas get a different finish from dry ones.
- Include thresholds, treads and edge pieces in the first order.
- Say whether underfloor heating is in the design.
- Tell us where external surfaces drain, so we can advise on finish and sealing.
- Add a sensible overage for cuts and future repairs, and store it dry and flat.
Send us the plan and the way each room is used, and we will specify the tile, the finish and the threshold detail around Bermuda’s water rules.