Slope Geometry Comes Before Stone Selection
The most persistent mistake in any stone landscape stairs guide isn’t material choice — it’s treating the slope as a fixed constraint rather than a design variable. Your rise-to-run ratio determines everything downstream: how many treads you need, how thick each stone must be, and whether a single straight run works or you need a landing to redirect traffic. For slopes between 20% and 40% grade, you’re looking at a comfortable 6-inch rise paired with a 14–16 inch run. Push the grade above 45% and you’ll need either a switchback layout or engineered retaining elements between flights.
Measuring your slope accurately before ordering stone saves you from the worst outcome in this work — running short mid-installation when your truck delivery window has closed. Use a 4-foot level and a tape measure to establish the total vertical drop across the horizontal run. Divide drop by run, multiply by 100, and you have your percent grade. That number drives your step count and your stone sizing before you ever think about aesthetics.

Choosing the Right Stone Material for Outdoor Steps
Natural stone treads used in landscape stair construction need to satisfy three performance criteria simultaneously: compressive strength above 8,000 PSI, a wet DCOF meeting the 0.42 minimum published in ANSI A326.3, and enough mass to resist frost heave without mechanical anchoring. Limestone, bluestone, and granite are all used for treads, and the test report for the stone and finish you select will tell you where it sits against these criteria, but they behave very differently under foot traffic and seasonal stress.
- Limestone treads from Middle East quarries deliver a naturally matte, lightly textured honed surface — request the wet DCOF test report for the finish you specify
- Bluestone offers a pronounced cleft-face texture and handles freeze-thaw cycling well in cold regions — request the wet DCOF test report for the finish you specify
- Granite resists surface abrasion better than either limestone or bluestone over decades of high-traffic use, making it the preferred choice for main entry approaches
- Sandstone and softer sedimentary options generally fall below the compressive strength threshold for steps wider than 48 inches — avoid them for primary circulation routes
According to Natural Stone Institute steps and treads design specifications, tread thickness for cantilevered or semi-supported stone stair applications should be calculated against the clear span between supports — not simply defaulted to 2 inches. For most residential landscape steps with full bearing support, 2-inch nominal (actual 1.75 inches finished) is the working minimum; go to 3 inches for spans wider than 5 feet.
Base Preparation: The Layer Most Installations Get Wrong
Stone landscape stairs are only as stable as the compacted aggregate beneath them. The temptation is to set treads directly on native soil, especially on a gentle slope where the ground feels firm. That approach fails within two to three seasonal cycles in most climates because soil moisture content fluctuates dramatically between wet and dry periods, and the resulting differential settlement creates rocking treads and open joints.
The correct base sequence runs like this: excavate 8–10 inches below your finished tread elevation, compact the subgrade with a plate compactor, install 6 inches of 3/4-inch crushed stone compacted in two lifts, then finish with a 1-inch setting bed of coarse concrete sand. Each lift of gravel should reach 95% compaction before the next layer goes down. Natural stone stairs built on this foundation stay level through multiple freeze-thaw seasons without requiring mortar.
- Skip the plate compactor on the subgrade and you leave soft pockets that load-cycle into voids within 18 months
- Using pea gravel instead of angular crushed stone creates a base that shears laterally under load — angular aggregate interlock is what creates stability
- Your setting bed sand should be coarse concrete sand, not fine mason sand, which compacts too tightly to allow drainage relief under the tread
- On slopes with clay-heavy subsoils, install a layer of geotextile fabric between native soil and crushed stone to prevent clay migration upward into the aggregate
Tread Sizing, Spacing, and Layout Planning
Standard step ergonomics follow a simple formula: 2R + T = 26 inches, where R is rise height and T is tread depth. For a 6-inch rise, your tread should measure 14 inches — a proportion that most adults find comfortable at a natural walking pace. Pushing the tread to 16 inches with a 5-inch rise creates a more leisurely cadence suited to garden stair approaches where the path meanders through planting beds.
Factor in overhang when calculating your stone quantity. A 1.5-inch nosing overhang on the front edge of each tread is both functional and visually refined — it casts a shadow line that emphasizes depth and helps users judge each step edge in changing light. For our natural stone tread selection, sizing runs from 36-inch to 72-inch widths in most limestone and granite profiles, giving you flexibility to match the width of your path without custom cutting.
Wider runs — anything above 60 inches — benefit from two stones set side by side rather than a single monolithic tread. A 5-foot-wide by 3-inch-thick limestone tread weighs roughly 200 pounds per linear foot. Getting that off a truck and into position on a slope without mechanical lifting equipment becomes a genuine field hazard. Two 30-inch pieces set tightly together with a dry joint achieve the same visual result at half the handling weight.
Matching Stone Stairs to Your Landscape Design Style
The structural decisions described above apply universally, but the stone you choose within those parameters should reflect the character of your broader landscape design. Natural stone stairs sit in visual dialogue with everything around them, and a material that performs perfectly can still look wrong in the wrong setting.
- Desert xeriscaping and dry garden styles pair best with buff or warm-toned limestone in a rustic or rock-pitched finish — the irregular texture echoes natural outcropping and reads as intentional rather than incidental
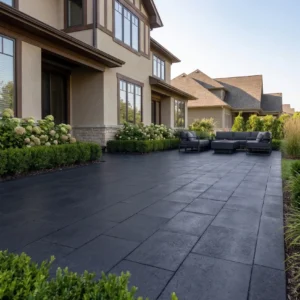
- Modern minimalist landscapes demand tighter joint tolerances and a consistent stone face — sawn-face granite in a charcoal or silver tone brings the crisp geometry these designs require
- Traditional colonial or formal garden settings suit bluestone or grey limestone with a snapped or sawn edge, laid in consistent-width courses that reinforce symmetry
- Lush tropical planting schemes work well with a darker, denser stone like basalt or black granite, where the cool tones contrast with heavy green foliage without competing
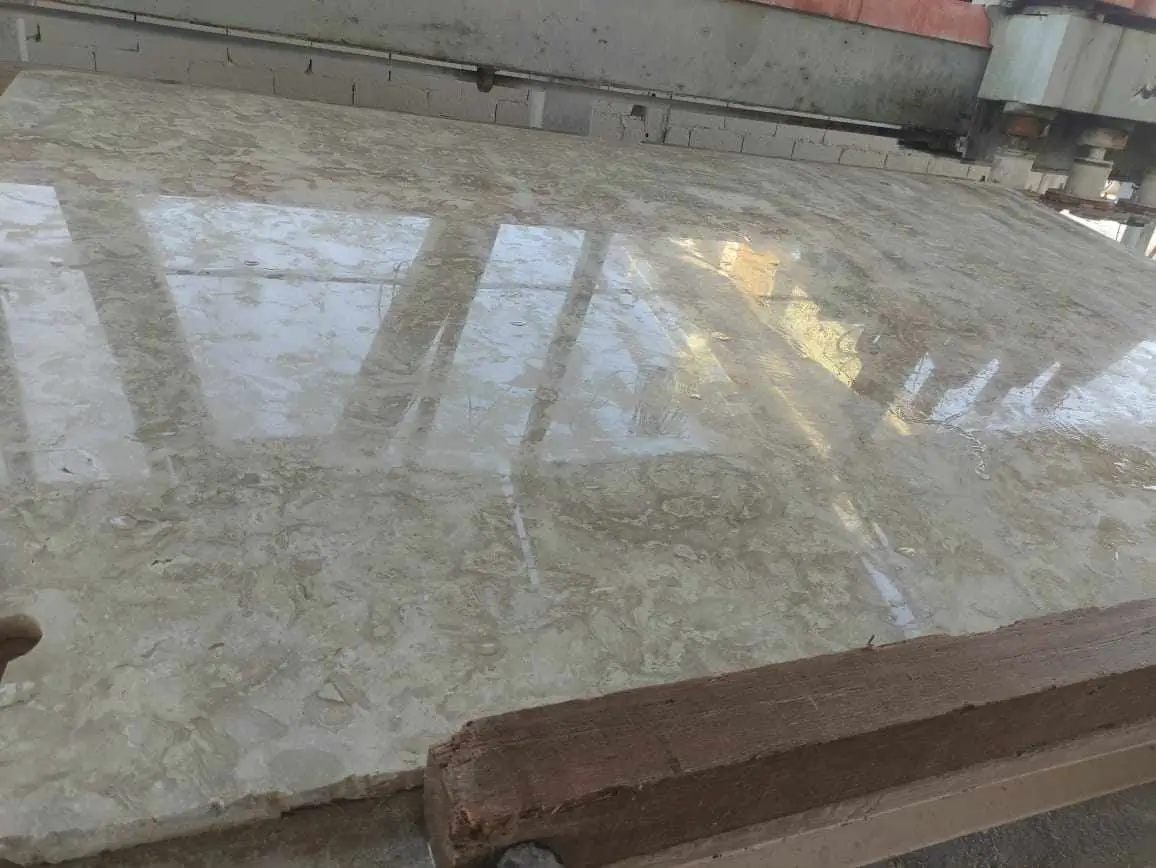
Color palette consistency across your hardscape materials also influences how substantial the stairway feels within the landscape. If your existing pathways use warm buff limestone pavers, extending the same material family into your stone landscape stairs creates a cohesive ground plane that lets the planting become the focal element. At Citadel Stone, we recommend reviewing a full material sample in your actual site lighting before committing to a finish — stone colors shift significantly between overcast and full-sun conditions, and what reads as warm beige in a warehouse can appear almost white on a south-facing slope at noon.
Drainage Design and Slip Resistance for Safe Steps
Drainage isn’t a secondary consideration for stone landscape stairs — it’s a primary structural one. Standing water beneath or around treads accelerates freeze-thaw damage, encourages moss and algae growth that compromises grip, and can undermine the compacted base over multiple wet seasons. Your step layout should include a 1–2% cross-slope or front-to-back pitch on each tread so water sheds off the surface rather than pooling.
Slip resistance performance for outdoor steps is governed by ADA surface standards and ASTM testing protocols. The ADA accessibility and slip resistance requirements for stone steps establish firm, stable, and slip-resistant as the three baseline surface criteria — a useful benchmark even for residential installations not legally required to comply. A textured or cleft stone finish consistently outperforms polished or honed surfaces on outdoor stairs where rain exposure is routine.
- Avoid polished limestone or polished granite treads on exterior steps — specify a textured finish instead and request its wet DCOF test report before committing
- Bushhammered or flamed granite surfaces hold their texture through decades of use without periodic resealing — request the wet DCOF test report for the finish you specify
- For limestone, a honed or sawn-face finish strikes the right balance between aesthetic refinement and wet-weather grip
- Installing a linear drain channel at the base of each flight prevents water from backing up against the riser face, which is the most common source of stone staining and freeze damage in cold regions
Step-by-Step Installation Sequence
Starting from the bottom of the slope and working upward is the method that gives you the most dimensional control. Set your lowest tread first, level it precisely front-to-back and side-to-side, then use that tread’s back edge as your reference point for the rise height of the next course. This approach means each step self-corrects against the actual installed position of the previous one rather than against a theoretical grade line that may not match your excavated base exactly.
For dry-set installations — which represent the majority of residential landscape stair projects — you don’t need mortar between tread and base. The stone’s mass and the compacted sand bed provide more than adequate stability. What you do need is consistent full contact between the stone face and the setting bed. Tap each tread with a rubber mallet after placement and listen for hollow spots; a hollow sound indicates a void in the sand bed that will allow rocking. Lift the stone, add sand to fill the low spot, and re-set.
- Cut each step’s excavation 3 inches wider than the tread on each side to give yourself working room during placement
- Use landscape fabric along the side cheeks of each step to prevent soil migration into the gravel base without blocking drainage
- Check each tread’s level before moving to the next course — adjustments become exponentially harder after two or three steps are in place above
- Allow 48 hours after installation before walking the steps to let the setting bed stabilize under the stone’s weight
Ordering, Quantities, and Delivery Planning
Calculating your material order for stone landscape stairs requires accounting for two variables most first-time buyers miss: breakage allowance and overage buffer. Natural stone ships in full pieces, and field cuts on a slope are inevitable — your plan will require at least some trimming to handle grade transitions and landing edges. Build a 10–15% overage into your order, and confirm with your supplier whether the stone is available in matching dye lots for future replacements.
Delivery logistics deserve as much attention as material selection. A truck carrying 2–4 tons of stone treads needs a clear path to within reasonable distance of the installation site. Steep driveways, low-clearance gates, or soft ground conditions can make a standard flatbed delivery impractical — and splitting a delivery into smaller loads adds cost and time. Every order is cut to its own specification, so the schedule is quoted with the order rather than promised from a shelf. Verify warehouse availability against your project start date, not your order date.
The USGS dimension stone production and use data confirms that domestic and import supply chains for natural stone steps and treads are subject to meaningful seasonal variation — another reason to order 3–4 weeks ahead of your installation window rather than just-in-time.
Long-Term Maintenance and Performance Expectations
Stone landscape stairs require less maintenance than timber or concrete alternatives, but they’re not zero-maintenance. Your primary annual task is clearing joint gaps of organic debris — leaf matter and soil fines pack into dry joints and create a germination medium for weeds that eventually prise apart even well-set treads. A pressure wash at 1,500–2,000 PSI once a year handles both biological growth and debris accumulation without damaging the stone surface.
Sealing is appropriate for limestone treads in high-rainfall regions where staining from iron-rich soil runoff or organic contact is a concern. A penetrating silane-siloxane sealer applied every 2–3 years maintains the stone’s natural appearance while reducing absorption. According to ASTM natural stone compressive strength and flexural standards for steps, dimensional stone used in exterior stair applications should be evaluated against absorption rate alongside strength — higher absorption accelerates both staining and freeze-thaw spalling on treads that hold surface moisture.
- Inspect each tread for rocking annually — a stone that has begun to move will continue to move, and early releveling is far easier than resetting after the base has washed out
- Address moss and algae growth promptly with a dilute bleach solution (1:10 ratio) rather than allowing biological crust to build up over multiple seasons
- Joint sand in dry-set steps depletes over time — top-dress exposed joints with polymeric sand every 3–4 years to maintain stability and reduce weed establishment
- Check for spalling at the tread nosing edge after every hard freeze — this is the highest-stress location on any step and the first place surface deterioration becomes visible
Final Perspective
A stone landscape stairs guide that stops at material selection misses the point — performance across a 20-plus-year service life is determined by the decisions you make at grade, in the aggregate base, and in the drainage geometry long before the first tread touches the ground. The stone you choose shapes the aesthetic and signals the design character of the landscape; the base you build underneath it determines whether that character holds. As you move into related stone planning for your property, using stone in your flower beds explores how natural stone performs in a complementary planting context across different design styles. A well-compacted gravel base beneath each Citadel Stone tread is the single most important factor in preventing step movement after seasonal rain.
Related reading: landscape stone colors · Natural Stone Landscape Borders: Ideas and Install Tips · Landscape Design With Stone: Front Yard to Backyard Ideas.