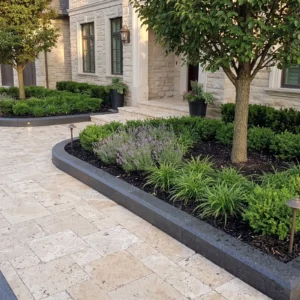
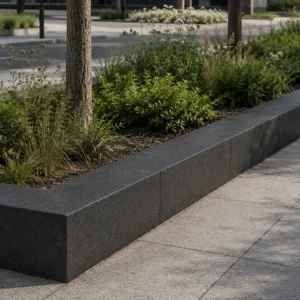
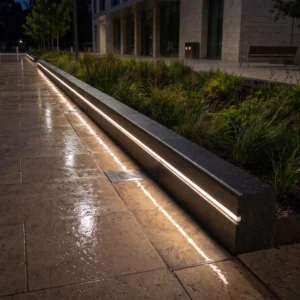
The edge line of a landscape bed does more structural work than most homeowners realize — and natural stone landscape borders are where that work either holds or fails. A border that shifts even a quarter-inch laterally opens a gap for soil migration, turf encroachment, and water channeling that progressively undermines the entire planting scheme. Getting the border right means understanding why specific stone formats, setting methods, and joint treatments perform the way they do before you ever break ground.
Why Stone Outperforms Other Edging Materials
Plastic and steel edging have their place, but natural stone landscape borders solve a problem those materials can’t — they add permanent visual mass that anchors the landscape composition while delivering structural containment simultaneously. A 4-inch-thick limestone border set on a compacted gravel base resists lateral soil pressure at a level that no thin-gauge metal strip can match. The density of natural stone also prevents the flex creep that causes plastic edging to migrate outward over several seasons, leaving gaps that require constant reinstallation.
Stone borders also age in your favor. Weathering deepens the surface character of most sedimentary and metamorphic stones, making a 10-year-old border look more intentional than it did on day one. That’s a performance curve no manufactured material replicates.
- Natural stone landscape borders provide compressive strength that far exceeds manufactured plastic or metal alternatives
- Dense stone resists freeze-thaw heaving better than hollow or thin-profile edging when set with proper base depth
- Stone borders require no painting, coating, or UV stabilizing — surface integrity is inherent to the material
- Weight and mass prevent shifting under lawn maintenance equipment and foot traffic
- Mineral variation across the stone surface blends naturally into planting beds, unlike uniform manufactured profiles
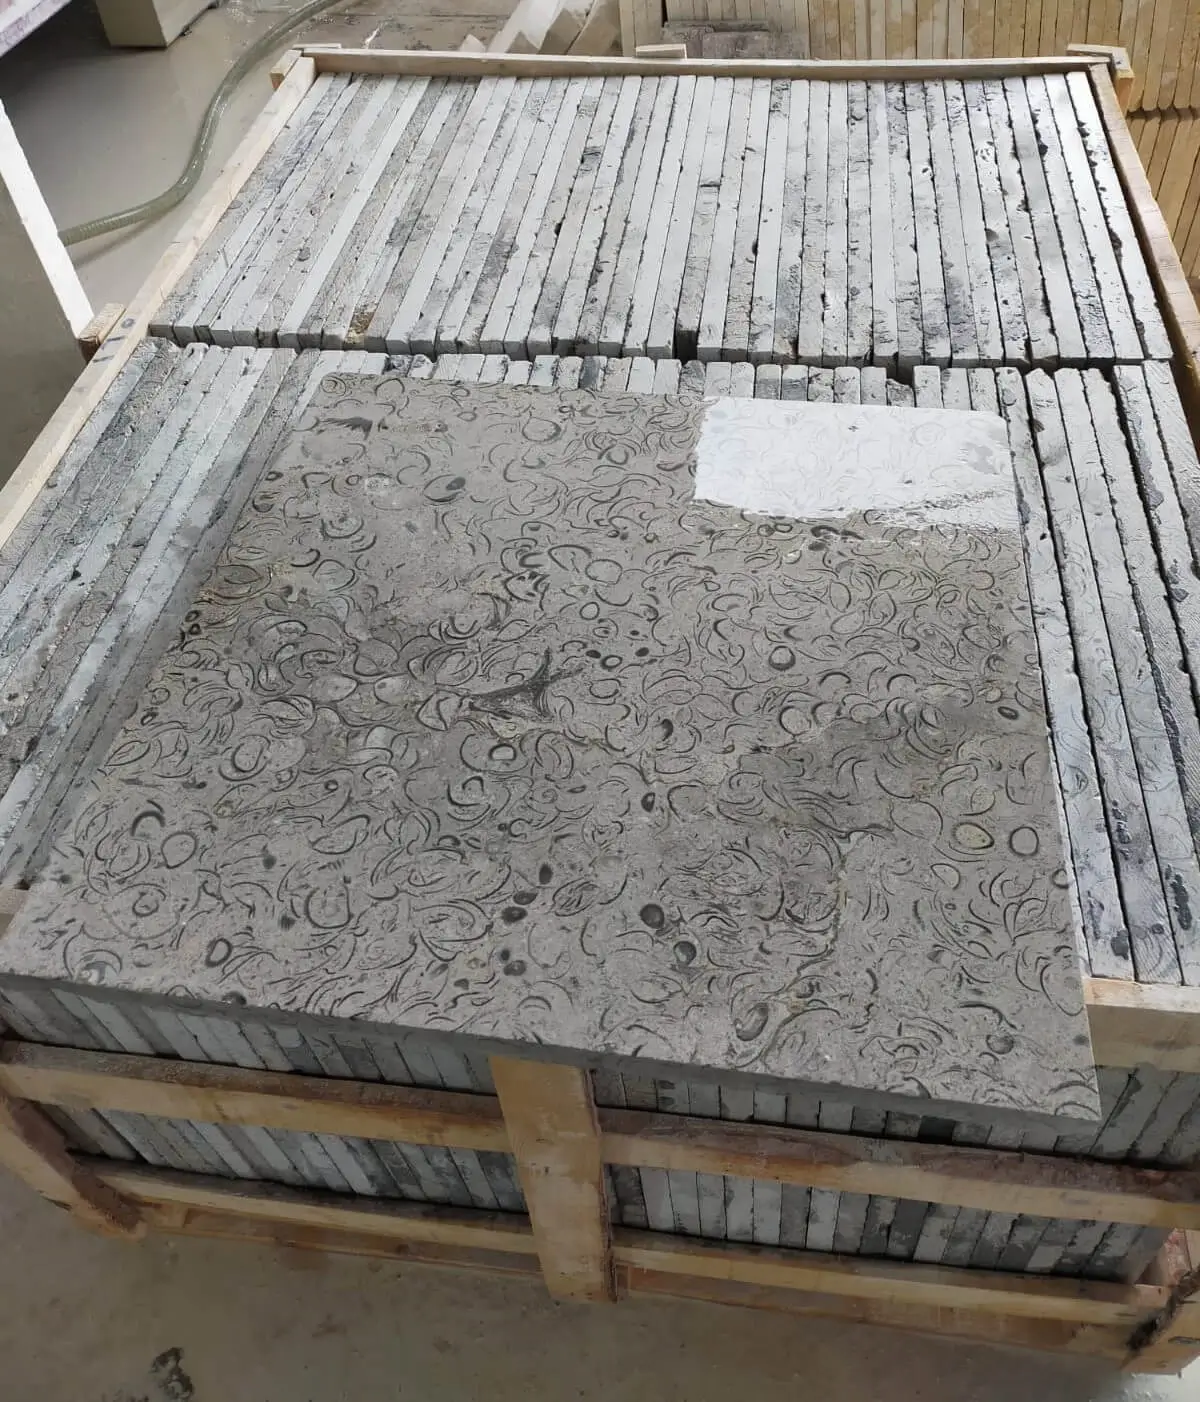
Stone Types That Work Best for Landscape Borders
Not every natural stone suits a landscape border application equally. The geometry of a border — typically narrow, linear, and partially buried — creates loading conditions that favor certain stone types over others. Thin flagstone set on edge fractures under lateral soil pressure. Conversely, a dense, blocky format set on its widest face distributes load correctly and resists tipping.
Limestone performs exceptionally well in border applications. Its consistent density, natural cleft surfaces that grip soil contact zones, and workable size ranges make it a practical choice for both formal and informal bed edges. Basalt block edging brings compressive strength above 25,000 PSI, which is useful in high-traffic areas where lawn equipment runs close to bed lines. For a stacked stone landscape border, fieldstone and quarried granite offer the irregular profile and mass that creates the layered, naturalistic look without sacrificing structural integrity. According to Natural Stone Institute stone variety specifications, dimensional consistency across a stone type is the primary factor determining how well it sets and holds in edging applications.
- Limestone block: consistent density, easy to cut, natural surface texture grips in soil-contact zones
- Basalt: extremely high compressive strength, ideal for high-traffic perimeters
- Quarried granite: dense, frost-resistant, excellent for linear formal borders
- Fieldstone: irregular geometry creates a naturalistic stacked profile for informal garden beds
- Sandstone: workable but requires a sealed surface in areas with significant freeze-thaw cycling
Design Ideas for Natural Stone Landscape Borders
Your design choices fall into three broad categories: formal linear edging, informal stacked massing, and semi-buried block edging. Each approach creates a distinct visual language and requires a different installation method. Understanding the differences lets you match the border style to your landscape’s overall geometry before you source material.
Formal Linear Border Designs
Formal borders use uniform-dimension stone — typically cut limestone or granite — set in a continuous line with consistent exposure height. The visual effect is clean and architectural, complementing structured garden layouts, symmetrical planting schemes, and contemporary hardscape. Your joint spacing should stay tight, typically 3/8 inch maximum, filled with polymeric sand that locks against weeding and ant penetration. Cut stone in the 6-inch-by-6-inch-by-4-inch range is the most common format for this application and is readily available through national stone supply channels.
Stacked Stone Landscape Border for Informal Beds
A stacked stone landscape border suits naturalistic and cottage-style gardens where soft planting blurs the line between managed space and wild growth. Stack depth of two to three courses, typically 8–12 inches total height, creates enough visual mass to anchor tall perennial plantings without overwhelming low ground covers. The key is selecting stone with naturally flat faces — fieldstone, split limestone, or quarried flagstone pieces — so each course bonds tightly without mortar. Dry-stacked borders in this style actually drain better than mortared versions because water moves freely through the joint spaces rather than pooling behind a sealed face.
Semi-Buried Block Edging for Turf Transitions
The most practical approach for lawn-to-bed transitions is the semi-buried block method. You set a substantial stone — a 6-inch-to-8-inch block — with roughly two-thirds of its mass below grade and one-third exposed. This geometry resists lateral soil pressure far better than any surface-set option and gives your lawn mower a wheel guide that prevents scalping at the bed edge. The exposed face height of 2–3 inches is enough to visually define the bed line without creating a tripping hazard across high-traffic garden paths.
Base Preparation: The Step That Determines Longevity
Here’s what separates a border that needs releveling every two years from one that holds its line for a decade or more — base preparation depth and compaction quality. The base isn’t just about drainage; it’s the load-transfer platform that prevents individual stones from tipping, sinking, or heaving independently. In freeze-thaw regions, insufficient base depth is the single most common installation failure.
Your excavation should reach 6 inches below the intended finished stone grade. Fill with crushed angular gravel — 3/4-inch minus is the right gradation — and compact in 2-inch lifts using a plate compactor. Do not use rounded river gravel or pea gravel as base material; rounded aggregate shifts laterally under point loading and undermines the compaction you’ve worked to achieve. A 1-inch bedding layer of coarse sand or stone dust on top of the compacted gravel gives you the fine grading control you need to set each stone at the correct elevation and pitch. The ASLA landscape edging design guidance consistently identifies proper base preparation as the primary determinant of long-term edging performance.
- Excavate 6 inches below finished stone grade — deeper in heavy clay soils
- Use 3/4-inch minus crushed angular gravel for base fill, not rounded aggregate
- Compact in 2-inch lifts — a single deep fill layer will not compact uniformly
- Add a 1-inch bedding layer of coarse sand or stone dust for final grade adjustment
- Check level and pitch after setting each stone — corrections get harder as more stones are placed
Installation Sequence for Natural Stone Landscape Borders
The order of operations in border installation matters more than most guides acknowledge. Starting with precise string line layout before any excavation begins prevents the compound errors that occur when you try to adjust alignment after the base is already in place.
Run a string line at your intended finished border height along the full run of the bed edge. Use stakes at every change of direction and at 10-foot intervals on straight sections. This line is your datum — every subsequent step references back to it. Excavate to your full base depth, staying 2 inches outside the string line to give yourself working room. Set and compact your base layers, then begin stone placement from a fixed corner or terminus point and work outward. Never work toward a corner from two directions simultaneously — small alignment errors compound and leave you with an unsolvable geometric problem at the meeting point.
You can browse our stacked stone edging range to see the stone profiles and formats that work best with the semi-buried and stacked installation methods described above.
Addressing the Faux Stone Edging Question
Landscape edging faux stone products — cast concrete units molded to simulate natural stone texture — occupy a different market position than genuine quarried material. They’re lighter, more dimensionally consistent, and typically less expensive per linear foot. But the performance comparison tells a more nuanced story than the upfront cost suggests.
Cast concrete faux stone landscape border units have compressive strengths in the 3,000–5,000 PSI range. Dense natural limestone or basalt block edging typically exceeds 8,000–12,000 PSI compressive strength. That difference matters in two specific scenarios: freeze-thaw cycling environments, where water infiltration into micro-cracks causes spalling in lower-strength concrete, and in high-traffic areas where equipment loading creates point-pressure stress. For low-traffic residential applications in mild climates, faux stone landscape border edging performs adequately and at a lower initial investment. For demanding applications, the long-term cost of replacement cycles tends to close the price gap with natural stone within 8–12 years. According to USGS dimension stone production data, natural stone’s durability advantage in high-stress applications is well established across construction sectors.
Budgeting for Natural Stone Borders: Cost Factors That Move the Number
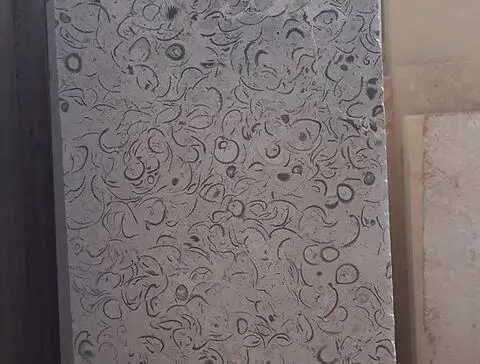
Material cost is only one input into a border project budget. Freight distance from warehouse to project site, regional labor market conditions, and material-to-labor cost ratios all affect total project cost in ways that raw material price per linear foot doesn’t capture. For natural stone landscape borders, material and delivery often represent 40–55% of total installed cost, with labor making up the balance. That ratio shifts in labor-intensive markets — notably dense urban areas and high-cost metros — where installation crews command premium day rates.
Freight is a significant variable for natural stone because of material weight. A standard truck delivery of border stone for a 200-linear-foot project can weigh 4–8 tons depending on the stone format and setting depth. Long haul distances from quarry regions — particularly when sourcing from Middle East quarries or domestic quarries in the interior — add meaningfully to delivered cost per ton. Citadel Stone maintains warehouse inventory at nationally distributed points, which reduces freight distances and typically compresses lead times to 1–2 weeks versus the 6–8 week window typical of direct quarry import cycles. Planning your material order ahead of the installation window is the simplest value engineering move available — last-minute sourcing rarely yields favorable freight rates.
- Request delivered price quotes, not just material price — freight to your project site is the variable most easily overlooked
- In labor-intensive markets, reducing installation complexity through uniform stone sizing can reduce installed cost meaningfully
- Larger stone formats require fewer setting and alignment adjustments, compressing installation hours per linear foot
- Material stored at a regional warehouse reduces truck time and delivery surcharges compared to long-haul loads
- Buying 10–15% more material than your linear footage calculation requires eliminates costly reorders when cuts produce waste
Maintenance Expectations for Stone Borders
Natural stone landscape borders set correctly on a proper base require very little maintenance — but “very little” isn’t zero. Your first seasonal inspection should check for frost heave on individual stones after the first hard freeze season. Even well-set borders occasionally see a single stone lift slightly, and catching it early — before soil migration fills the void beneath it — means a 10-minute reset rather than a larger repair.
Joint material needs attention every 3–5 years in most settings. Polymeric sand breaks down under UV exposure and weed root pressure, and refreshing it before significant gaps develop is far less work than clearing established weed growth from open joints. For naturally porous stones like limestone used in border applications, a penetrating silane-siloxane sealer applied every 3–4 years reduces staining from mulch contact and slows biological growth — moss and algae establish more slowly on sealed surfaces. The ASTM stone compressive strength and durability standards provide the material-performance benchmarks that inform realistic sealer selection for different stone types and exposure conditions.
- Check for frost heave at the beginning of each spring season and reset lifted stones promptly
- Refresh polymeric sand joints every 3–5 years to maintain weed suppression
- Apply penetrating sealer to porous stone types every 3–4 years to reduce staining
- Inspect for soil migration beneath stones after significant rainfall events in the first two years
- Keep mulch levels 1–2 inches below the top of border stones to reduce moisture retention at the stone face
Getting Natural Stone Landscape Border Specifications Right
Natural stone landscape borders reward careful upfront decisions — stone format, base depth, and compaction quality — far more than they reward expensive remediation after a failed installation. The design ideas and installation steps outlined above represent the minimum viable specification for a border that holds its geometry across seasons. Your sourcing timeline matters as much as your material choice: confirm warehouse stock availability and truck delivery logistics before finalizing your installation schedule, particularly if your project requires a specific stone format or volume. As you finalize material selections for your outdoor project, it’s also worth exploring how color relationships between stone borders and adjacent hardscape affect the overall composition — choosing landscape stone colors covers that dimension in practical detail. A properly set natural stone border from the Citadel Stone range stays flush through freeze-thaw cycles when installed over a compacted gravel base.
Related reading: Landscape Stone Cost Breakdown: What to Budget · Types of Landscape Stone: Which One Fits Your Yard.