Why Material Selection Defines the Design
Landscape design with stone rewards careful material thinking more than almost any other outdoor application — the stone you choose dictates the jointing strategy, the drainage geometry, the maintenance schedule, and ultimately how the finished space ages over decades. Most designers lock in the aesthetic first and work backward to specification, which is exactly the sequence that produces premature failure. Start with performance criteria and let the aesthetic emerge from a shortlist that already meets your structural and drainage thresholds.
Stone Types That Drive Landscape Ideas
Your stone landscape ideas will shift considerably depending on which material family you draw from. Limestone, basalt, travertine, flagstone, and granite all behave differently under load, against moisture, and through seasonal cycling — and each one produces a distinctly different visual register. Here’s a practical breakdown of how each type performs in real landscape conditions:
- Limestone delivers a warm, sedimentary texture ideal for garden paths, raised planters, and naturalistic borders — it cuts cleanly, lays flat, and responds well to a honed or brushed finish that reduces surface slip without disrupting its characteristic warmth
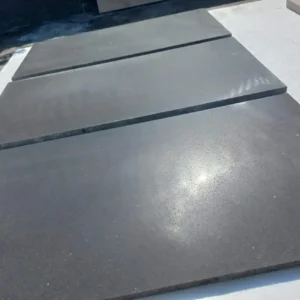
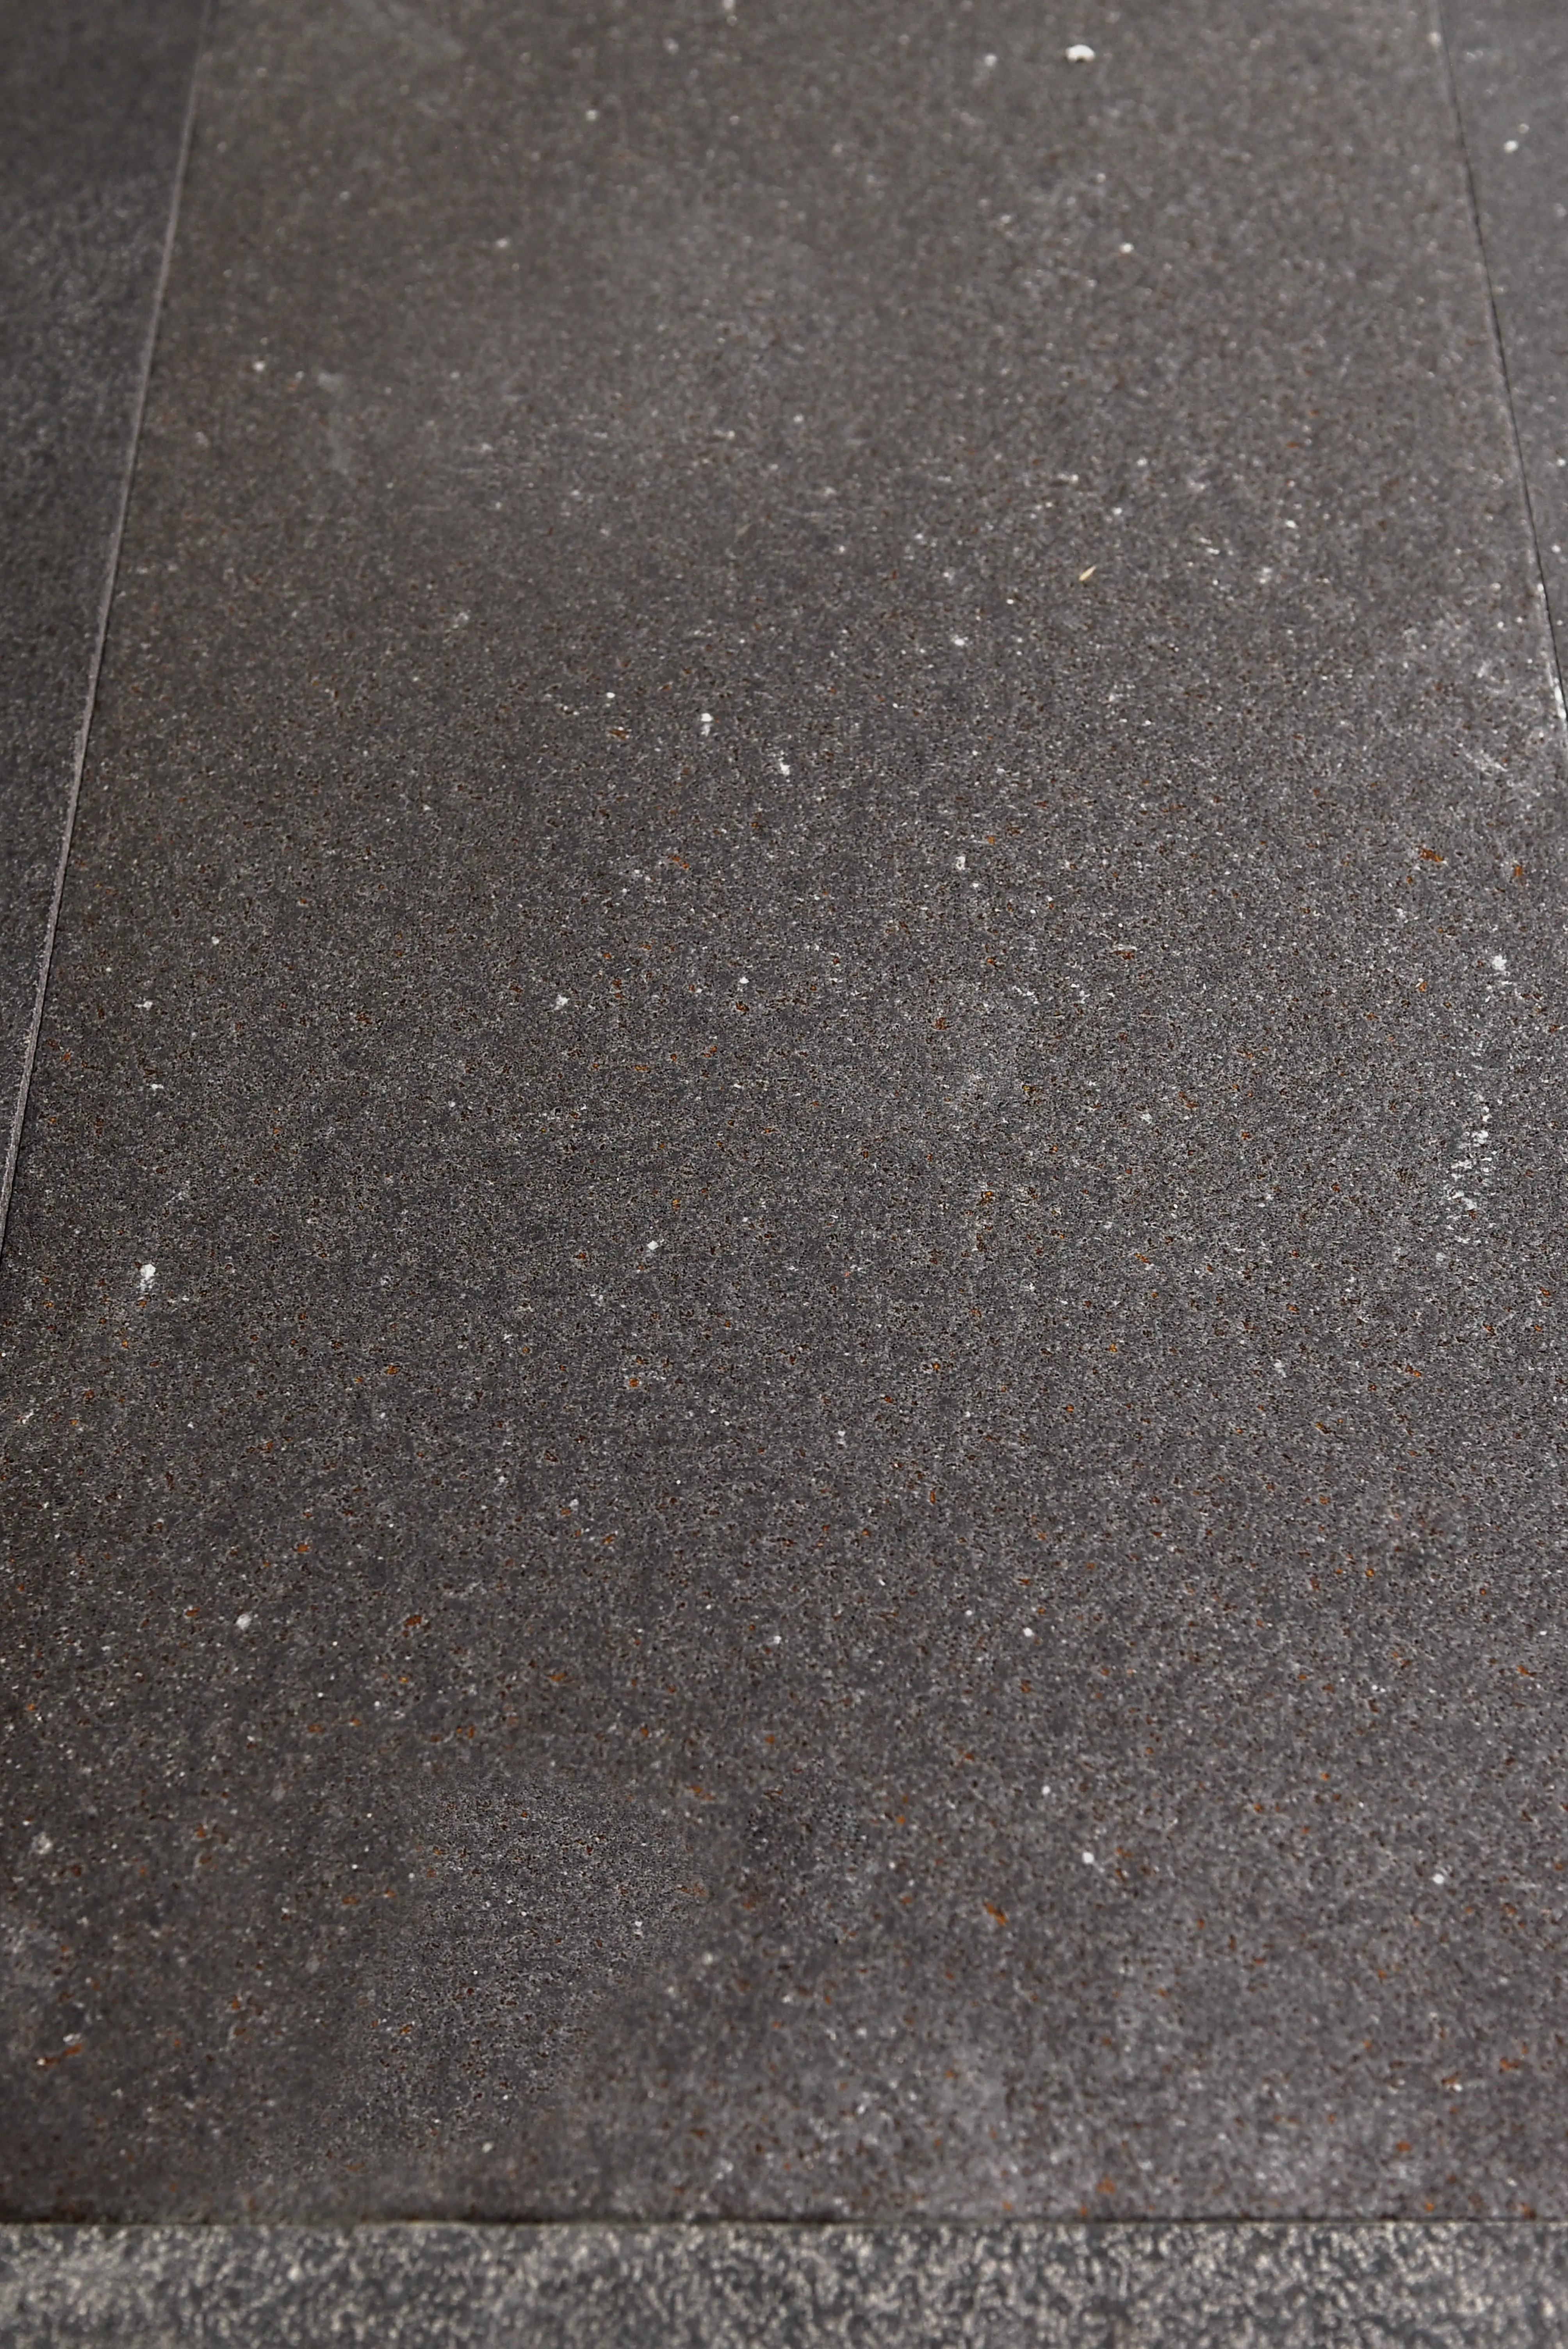
- Basalt brings a dense, volcanic gravity to modern landscape schemes — compressive strength above 25,000 PSI makes it the right call for driveways and heavy-traffic connectors where softer stones would surface-fracture under point loads
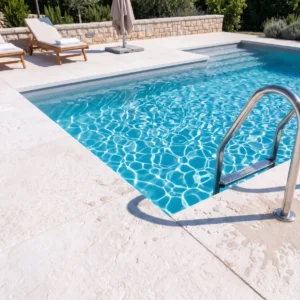
- Travertine’s open-pore structure moderates surface heat far better than dense igneous alternatives, making it the preferred choice for sun-exposed patios and pool surrounds where barefoot comfort matters
- Flagstone (especially irregular formats) suits rambling garden paths and naturalistic designs — the variation in size and shape creates visual rhythm that feels deliberate rather than accidental when laid with consistent joint spacing
- Granite setts and cobbles are the workhorses of formal landscape design with stone, lending structured permanence to driveways, courtyard grids, and stepped entries that need to handle vehicle load without shifting
The Natural Stone Institute’s landscape stone variety selection guide provides additional technical grounding on how each stone family responds to outdoor exposure — a useful cross-reference when you’re narrowing a shortlist for a demanding site.
Front Yard Stone Design: Ideas That Hold Up
The front yard presents the most public face of a property, which means the stone design has to balance curb appeal with structural reality. A few landscape with stone ideas that consistently deliver on both fronts:
- Granite cobblestone borders along driveway edges — they contain the asphalt or gravel field cleanly, resist vehicle overhang loads, and maintain their profile without the heave risk that concrete edging carries in freeze-thaw conditions
- Limestone pathway pavers from the entry gate to the front door — a 600×300 mm format in a running bond creates clear directionality and reads as intentional from the street
- Stacked limestone or basalt retaining walls for sloped front yards — they solve a grade change problem while adding the dimensional texture that flat yards lack entirely
- Irregular flagstone with planted joints across a low-traffic front garden area — the naturalistic feel contrasts effectively with the structural precision of the driveway edge and entry path
One detail most front yard specifications get wrong: the transition between the stone pathway and the step nosing at the entry. That joint between horizontal paving and the vertical riser is where water infiltration concentrates. Specify a continuous bead of flexible pointing mortar at that junction, and slope your approach paving a minimum of 2% away from the foundation — not toward it.
Backyard Landscape with Stone: Zoning and Layering
The backyard allows more complexity than the front yard because it serves multiple simultaneous uses — dining, recreation, planting, transition to lawn. Effective stone landscape ideas at the back of a property almost always use zoning: a defined patio field in one material, a connector path in a complementary material, and a border or retaining feature in a third. That layering gives the space structure without looking over-engineered.
For the primary patio zone, travertine or limestone pavers in a 600×600 mm or larger format anchor the space visually. Drop to a 300×300 mm or irregular flagstone format for the connector paths that link the patio to the garden perimeter — the scale shift signals a transition between zones and naturally slows foot traffic. For our natural stone for outdoor design, the full product range covers each of these zones with materials that are quarry-matched for compatible tone when used in combination.
Raised planter walls in dry-stack limestone or stacked basalt at the perimeter create vertical interest without requiring structural footings in most residential applications. Keep wall heights to 450 mm or below for dry-stack — beyond that threshold in most jurisdictions you’re entering engineered retaining wall territory and need a footing spec.
UV Exposure and Stone Finish Selection for Lasting Color
Sun-exposed landscape installations take a different kind of toll on natural stone than load or moisture does — UV degradation works slowly but consistently, bleaching iron-oxide tones in warm limestone and lightening the dark mineral matrix in basalt over a 5–7 year horizon if left unsealed. The finish you specify at installation has a direct bearing on how well the stone retains its initial appearance under strong sun.
Honed finishes hold up better than polished under sustained UV exposure because the open micro-texture doesn’t rely on a reflective surface layer that oxidizes and dulls. Brushed or tumbled finishes perform similarly well — they scatter light rather than reflecting it, which means UV-induced surface changes are far less visible. According to USGS natural landscape stone production and use data, natural stone’s mineral composition is the primary factor in long-term color stability, but surface finish and sealing schedule determine how that composition performs in real-world conditions.
- Seal all porous landscape stone (limestone, travertine, sandstone-based flagstone) with a penetrating impregnating sealer before first use — surface sealers film over and peel under UV cycling, while penetrating sealers remain stable
- Plan a resealing schedule every 2–3 years for sun-exposed horizontal surfaces — the sealer’s UV inhibitors deplete over time regardless of the stone’s inherent density
- For dark basalt or darker limestone in full-sun installations, use a color-enhancing penetrating sealer that stabilizes the mineral pigment rather than a neutral sealer that offers only moisture protection
- Test sealer performance on a sample piece left in direct sun for 30 days before committing to the full installation — this catches incompatibility issues between sealer chemistry and the stone’s specific absorption rate before they’re irreversible
Base Preparation: The Non-Negotiable Foundation
Landscape design with stone can be visually spectacular and still fail in year three if the base preparation doesn’t match the application. The compacted aggregate base is doing the structural work — the stone is the face. Get the base wrong and you’ll see differential settlement, joint widening, and surface cracking that no amount of pointing will fix.
For patio and pathway applications, a minimum 100 mm compacted aggregate base (typically a well-graded crushed stone product at 95% Standard Proctor compaction) underneath a 25–40 mm bedding layer is the starting point. Heavy vehicle applications — driveways, courtyard entries that receive delivery trucks — need a minimum 200 mm base, and you should be evaluating the subgrade bearing capacity before committing to any base depth. Clay-heavy subgrades that shrink and swell with moisture will push even a well-compacted base around if you don’t address the subgrade first.
- Verify subgrade bearing capacity before finalising base depth — a simple plate load test or CBR value from your geotechnical report will tell you whether you need to stabilise or over-excavate
- Install geotextile separation fabric between the subgrade and aggregate base in clay-heavy soils — it prevents fine particles from migrating up into the base and degrading its drainage capacity over time
- Slope the entire base assembly a minimum of 1.5–2% toward drainage points — water sitting in the base layer is the single most common cause of early stone movement in landscape installations
Natural Stone Pavers: Sizing and Format Decisions
The format decisions you make for your natural stone pavers — length, width, thickness, and joint spacing — have as much impact on the finished look as the stone species itself. Here’s what field experience confirms:
Larger format pavers (600×600 mm and above) read as modern and expansive — they work best in open, geometrically regular spaces where the eye can follow the grid. Smaller formats (300×300 mm and below, or irregular flagstone) work better in spaces with curves, planting beds, and naturalistic intent. Mixing two complementary sizes — a larger field paver with a smaller border or stepping detail — creates the visual layering that separates professional landscape design with stone from residential DIY installations.
Thickness matters more than most designers acknowledge. Standard 20–30 mm pavers are appropriate for pedestrian-only applications over a well-prepared base. For any vehicular loading — including the occasional delivery vehicle, heavy garden cart, or ride-on mower — step up to 40–50 mm minimum thickness. The American Society of Landscape Architects hardscape guidance consistently flags inadequate paver thickness as a primary contributor to premature surface fracture in residential landscape applications. Citadel Stone’s warehouse stock covers both thickness ranges, and our technical team can advise on the right format for your specific site conditions before your order is dispatched.
Drainage and Jointing: The Details That Extend Lifespan
Drainage design in landscape stone work gets underspecified constantly — and it’s the omission that shortens installation lifespan more reliably than any other factor. A complete drainage strategy is essential to any landscape design with stone, not just a slope direction.
- Linear drain channels at low points in the patio field prevent water from finding its own path through the jointing — which it will, and at the worst possible location
- Permeable jointing compound (polymeric sand or a natural aggregate joint mix) in pedestrian areas allows some infiltration through the joint plane while resisting weed establishment — a better long-term outcome than tight mortar jointing that cracks and requires repointing
- Mortar bedding is appropriate for formal installations or vehicular areas — but it requires saw-cut expansion joints every 3–4 metres to accommodate thermal movement, or you’ll see cracking along the mortar bed within the first two seasonal cycles
- In garden and planting-adjacent zones, consider a gravel or sand-set method with open joints — it supports infiltration, accommodates minor root movement, and is far easier to reset if individual pavers shift
Ordering, Logistics, and Project Planning
Project timelines need to account for stone lead times realistically. Warehouse stock of standard formats and materials is typically available for dispatch within 1–2 weeks — but if you’re specifying a less common material, a custom thickness, or a large volume order, build a 4–6 week buffer into your schedule. Coordinating truck delivery access to the site before the order is placed saves real money — a crane or manual offload adds cost that a scheduled forklift truck delivery eliminates entirely.
Quantity calculations for landscape stone consistently run short because wastage from cuts at borders and curves isn’t factored in adequately. Add 10% wastage to your calculated area for rectangular layouts, 15–20% for curved designs or irregular formats. For complex mixed-format designs, verify your quantities against the actual cut plan rather than relying on a simple area calculation. Citadel Stone can assist with quantity verification before your final warehouse order to prevent the cost and delay of a secondary delivery.
Before You Specify Your Stone Landscape
The specification decisions that matter most in landscape design with stone happen before a single piece of stone is ordered — base depth, drainage geometry, finish selection, jointing method, and sealer schedule are all locked in at the design stage. Getting those decisions right means you won’t be pulling up pavers in year five because the drainage failed or the base wasn’t deep enough for the actual loading. Long-term satisfaction with the installation tracks almost perfectly with how carefully these fundamentals were worked through before breaking ground.
As you refine your full hardscape plan, the perimeter and edging details deserve the same specification discipline as the main paving field. natural stone border and edging ideas explores how complementary stone elements complete a landscape design and how to specify them for long-term stability. Mixing stone sizes and textures from the Citadel Stone range adds visual depth to flat yards that a single material alone cannot achieve.
Related reading: choosing landscape stone colors · types of landscape stone · landscape stone cost.