

Fossilized limestone carries a specification variable that most buyers underestimate until they’re standing on a finished floor wondering why two slabs from the same pallet look nothing alike — fossil density and distribution are inherently non-uniform, and that variability is precisely what makes selection methodology so critical. The fossil content embedded in this fossilized limestone isn’t decorative veneer; it’s structural calcium carbonate that has been mineralised over millions of years, creating compression zones and micro-void clusters that behave differently under load than the surrounding matrix. Understanding how to evaluate, specify, and source limestone with fossils separates installations that age beautifully from those that develop differential wear within the first few seasons.
What Fossilized Limestone Actually Is
The term “fossilized limestone” gets used loosely in the trade, but the material science behind it matters for your specification. Fossilized limestone forms when organic marine material — shells, coral, crinoids, molluscs — undergoes diagenesis, a process where biological structure is replaced by calcium carbonate minerals under heat and pressure over geological timescales. The result is a sedimentary rock where fossil impressions range from faint outlines to three-dimensional relief protruding several millimetres above the matrix surface.
According to limestone formation and characteristics, the fossil record within a given limestone bed reflects the specific marine environment at the time of deposition — which explains why fossil type, size, and density vary dramatically between quarry sources and even between layers within the same quarry. You’ll encounter slabs dominated by bivalve cross-sections, others with ammonite-like spirals, and some with a fine-grained matrix interrupted only occasionally by small shell fragments. Each represents a genuinely distinct aesthetic and structural profile.
For your project, this means a single SKU from a single supplier can contain meaningful visual variation. That variability is a feature for buyers who understand it — and a source of disputes for those who don’t build selection criteria around it from the start.
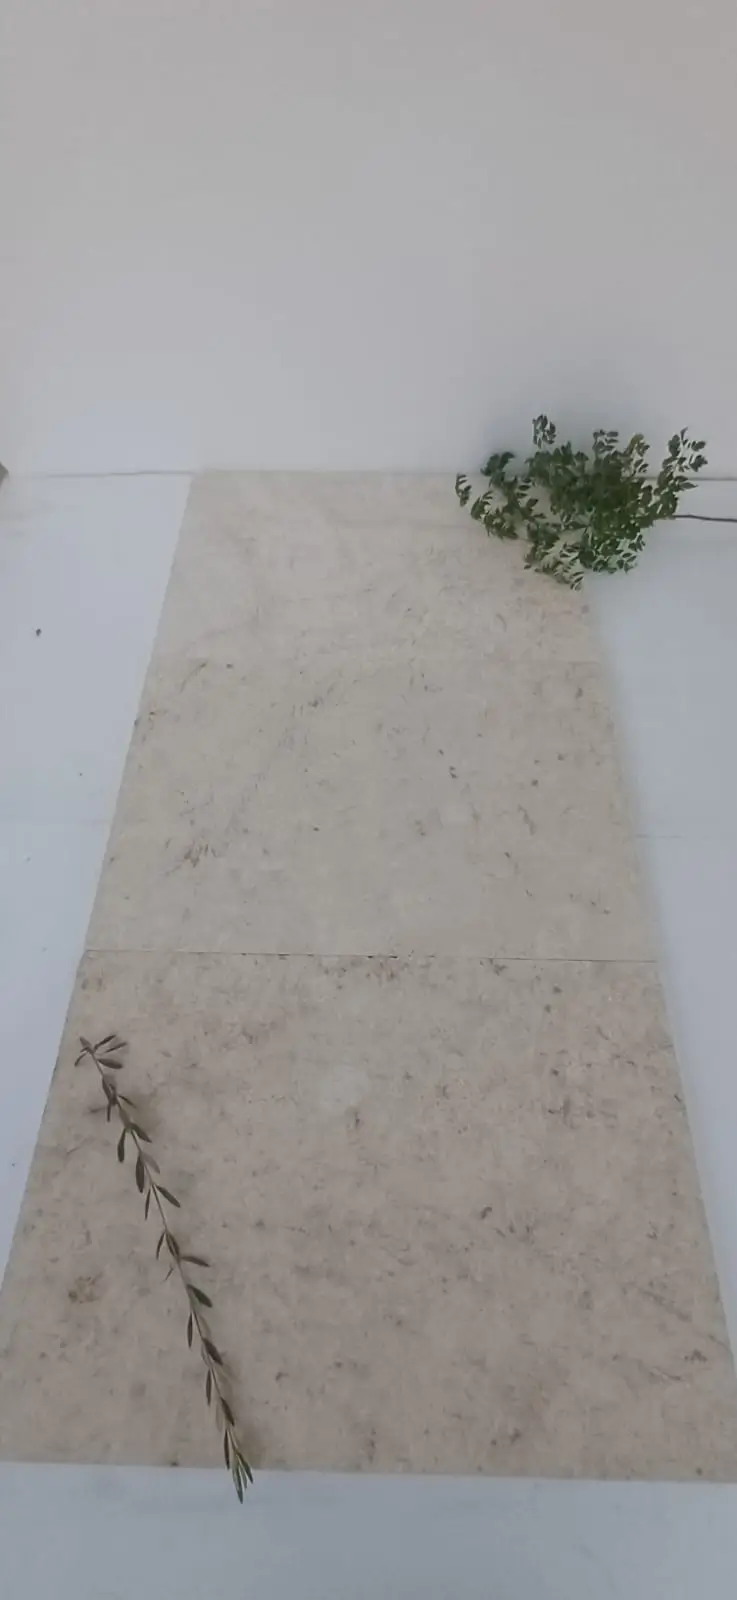
Reading Fossil Density Before You Specify
Fossil density — the percentage of slab face occupied by fossil material versus matrix — is the single most important visual parameter you’ll evaluate during material selection. High-density slabs with 40–60% fossil coverage create a busy, tactile surface that reads as intensely naturalistic at close range but can feel visually noisy in large-format applications. Low-density slabs with 5–15% fossil coverage offer a quieter field with occasional focal points, which often suits minimalist contemporary projects better.
Your specification should define a density range, not just a material name. Something like “limestone with fossils at 20–35% visible fossil coverage, predominantly bivalve cross-sections, matrix colour in the warm buff to mid-grey range” gives your supplier a real target. Without that specificity, you’re accepting whatever arrives on the truck, and reconciling client expectations after installation is a painful conversation.
- Request full-slab photography under raking light before approving a batch — raking reveals relief depth that flat photography conceals
- Specify maximum acceptable relief height for floor applications (typically 2–4mm for pedestrian surfaces, up to 8mm for feature wall use)
- Define whether you want consistent fossil type or accept mixed-species slabs — the latter are more natural but harder to match across deliveries
- Ask for a density range in percentage terms and hold suppliers to it — this is a specification, not a preference
- Review at least 10–15 representative pieces before sign-off, not the 3–4 showroom samples that represent the best of the batch
Thickness, Finish, and Structural Performance
Fossilized limestone for external paving typically runs from 20mm to 40mm nominal thickness, but the fossil structure creates localised variation that solid matrix stones don’t exhibit. A fossil cross-section that runs through the full slab thickness creates a continuous plane of a different mineral density — usually denser and more brittle than the surrounding calcite matrix. Under point loading, these boundaries can propagate micro-fractures if the slab isn’t adequately supported.
For pedestrian outdoor applications, 30mm is the minimum you should specify for limestone with fossils. At 20mm, you’re relying on a full mortar bed with zero voids, which is achievable but leaves no tolerance for base settlement. At 30mm, the increased section depth distributes point loads across a wider fossil-matrix boundary, reducing fracture risk meaningfully. Driveways and areas with occasional vehicle access should start at 40mm without exception.
Finish selection interacts with fossil relief in ways that affect both aesthetics and slip resistance. According to NSI limestone technical specifications, surface texture directly affects water management on outdoor stone — a critical consideration for any sloped or poolside application. Honed finishes reduce relief by cutting back the surface plane, which can partially or fully eliminate proud fossil detail while creating a cleaner, more consistent colour read. Tumbled finishes preserve fossil relief but soften edges, creating a more rustic character. Sawn finishes give you the full geological cross-section with maximum fossil visibility and the sharpest colour contrast between fossil and matrix.
Porosity, Sealing, and Long-Term Maintenance
The porosity of fossilized limestone sits in a wider range than most buyers expect — typically 5–18% depending on quarry source and geological age of the deposit. The matrix and the fossil inclusions often have different absorption rates, which creates a patching challenge if you apply a penetrating sealer without understanding this dynamic. A sealer that fully saturates the open-matrix area may sit partially on the surface of a dense fossil inclusion, creating a differential sheen that becomes visible at certain angles after the first rain.
Field-testing porosity before specifying a sealer is non-negotiable on high-visibility projects. Drop 3–4 small water droplets on an unfinished piece and time absorption: under 90 seconds indicates high porosity requiring a consolidating primer before topcoat sealing; 90–300 seconds is moderate porosity suitable for standard penetrating sealers; over 5 minutes suggests the material is dense enough that a light impregnator is sufficient. Apply this test to both the matrix area and directly on a limestone fossil inclusion — if the readings differ significantly, you’re dealing with a material that needs a two-stage sealing approach.
- Reapply penetrating sealer every 2–3 years on exterior applications — fossil-rich surfaces accumulate organic debris in relief channels that accelerates biological staining
- Avoid acidic cleaners entirely — fossil calcium carbonate etches faster than the surrounding matrix, creating differential surface texture over time
- For honed surfaces, a colour-enhancing sealer adds depth to fossil contrast without altering the surface finish appreciably
- Test any cleaning product on a sacrificial piece before applying to the installed field — fossilized limestone’s varied mineral composition reacts unpredictably to some chemical formulations
Installation Timing and Seasonal Scheduling
Scheduling your fossilized limestone installation around temperature and moisture conditions isn’t optional — it’s what separates a tight, stable installation from one that develops grout cracking and lippage within the first year. Mortar and adhesive manufacturers publish working temperature ranges that most installers know in principle but apply inconsistently in practice.
The optimal installation window for limestone with fossils sits between 10°C and 25°C (50°F–77°F) with relative humidity below 70%. Below 10°C, cement-based mortars hydrate slowly, extending open time unpredictably and creating inconsistent bond strength across a large installation area. Above 25°C, rapid moisture loss from the mortar bed before the stone is placed pulls the mix toward the surface and weakens the bond line — particularly problematic with the higher-porosity fossilized limestone varieties that draw moisture aggressively from the bed. In peak summer conditions, morning installation windows (before 10 a.m.) give you meaningfully better working conditions than afternoon sessions, when surface and substrate temperatures are at their daily peak.
Autumn installation windows — typically mid-September through November in most temperate regions — often deliver the most consistent conditions: moderate temperatures, lower UV intensity, and substrate temperatures that have shed summer heat without yet approaching cold-season minimums. Spring installations are viable but carry more risk from unexpected late-frost events that can compromise freshly cured mortar in the first 48 hours. If you’re scheduling a large-format fossilized limestone project, build a 2–3 day weather buffer into your timeline for each major pour phase.
- Allow freshly laid stone to cure for a minimum of 48 hours before permitting foot traffic — 72 hours in cooler conditions below 15°C
- Adjust adhesive open time expectations seasonally — the same product that gives you 20-minute working time in spring may drop to 12 minutes on a warm dry afternoon
- Never install directly after rain on an outdoor substrate — residual surface moisture in the fossil relief channels can trap air under the adhesive layer
- In freeze-thaw regions, confirm that both the stone and any grout product carry freeze-thaw cycle ratings appropriate to your local severity
Base Preparation for Fossil Limestone Paving
Fossil limestone is less forgiving of base inconsistencies than denser igneous materials because its varying internal density creates localised stiffness differences across the slab. A high-fossil-density zone in one corner of a slab behaves slightly differently under load than the surrounding matrix, which means any rocking or hollow-spot condition amplifies stress at fossil-matrix boundaries rather than distributing it uniformly.
For external fossil limestone paving, your compacted aggregate base should be a minimum of 150mm (6 inches) for pedestrian applications, with 200mm (8 inches) for any area subject to vehicular access. Use a well-graded crusher run or recycled concrete aggregate compacted to 95% Proctor density — that’s not a target you can skip on this material. Set on a full mortar bed, not a spot-bedded approach; the variable slab stiffness caused by fossil distribution makes spot bedding a long-term failure mode. Confirm your substrate drainage gradient is 1:80 minimum before you lay a single piece — fossil relief channels are minor compared to the surface pooling that occurs on an insufficiently graded base.
You can explore the full range of complementary paving formats by visiting the Citadel Stone stone paving range, which covers thickness options and format sizes across the limestone product family.
Colour Variation and Batch Management
Managing colour variation in fossilized limestone is a project administration task as much as a material one. Each quarry extraction produces stone with a characteristic colour signature — the fossil matrix colour, the background matrix tone, and the contrast ratio between them — but that signature shifts between extraction levels and seasonal quarry conditions. Limestone and fossils laid down in different sedimentary cycles produce genuinely different colour temperatures even within the same quarry designation.
The USGS dimension stone data confirms what experienced specifiers know from the field: USGS limestone composition data shows that calcite mineral ratios and trace element content vary significantly between geological strata, which is the scientific basis for the colour drift you observe between batches. Your practical response to this is to specify full project quantity in a single warehouse draw from one production run. Splitting a large project across two separate orders — even from the same supplier — introduces batch variation that becomes visible after installation when adjacent zones of the floor reflect different underlying mineral signatures.
Citadel Stone draws from multiple quarry sources in Turkey and the Mediterranean, which means our technical team can compare batch samples across origins before you commit. Confirming warehouse stock against your full project quantity before signing off on a delivery schedule is the most effective risk-reduction step available to you at the procurement stage.
Common Specification Mistakes to Avoid
The specification errors that create problems with fossilized limestone cluster around a handful of repeated patterns — most of which experienced buyers learn the hard way once, then never repeat. Understanding them before your first order saves you the project delay and client relations cost of discovering them in the field.
- Specifying by finish alone without defining fossil density — two “honed fossilized limestone” slabs from different sources can look nothing alike
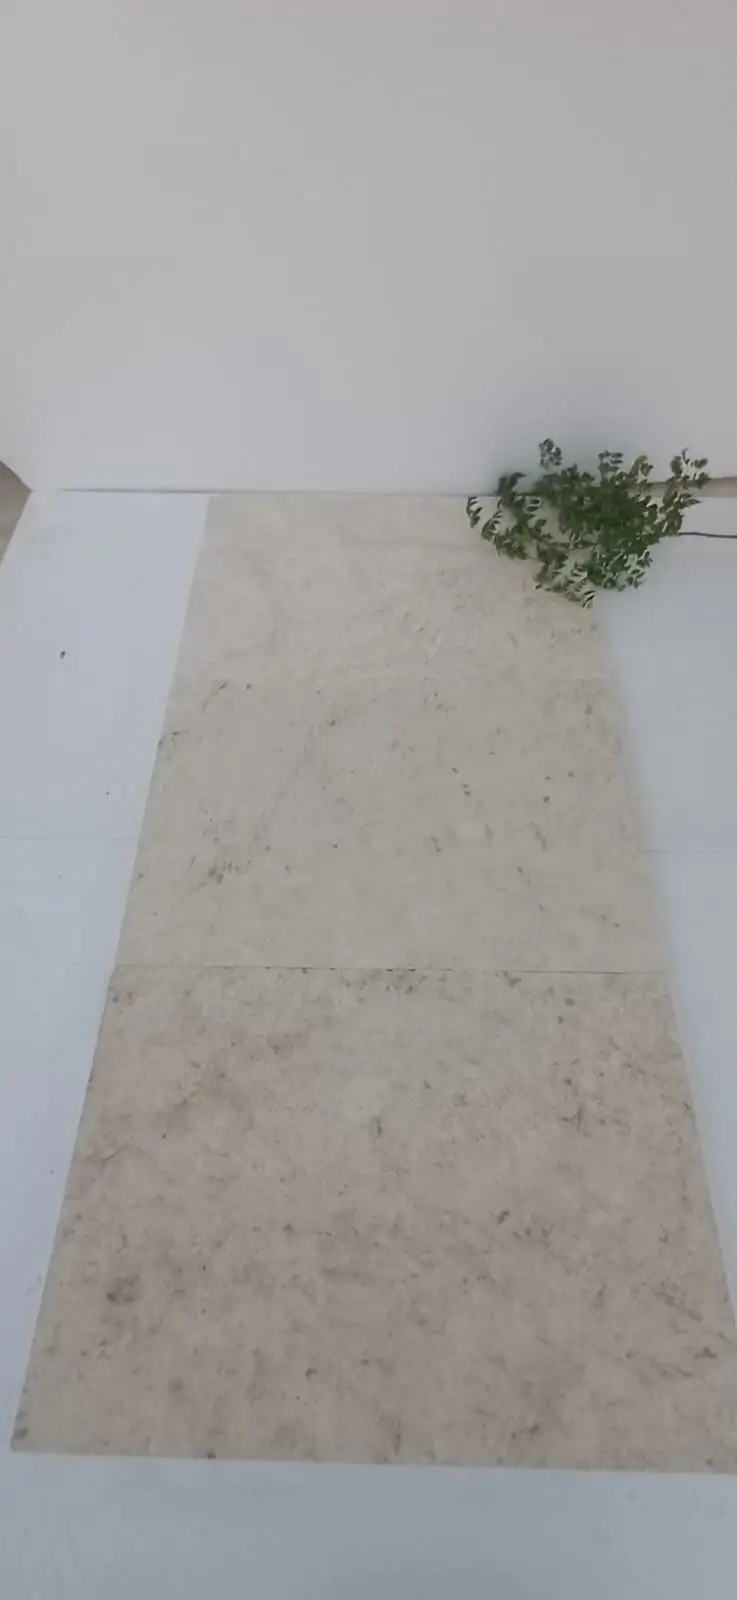
- Approving a sample without seeing a full pallet lay-down — individual sample pieces are always curated to show best-case fossil content
- Using cement grout joints under 6mm wide on high-relief fossil surfaces — narrow joints fail when fossil protrusions prevent full joint compaction
- Skipping a limestone fossil compatibility test with your chosen adhesive — some admixture formulations interact poorly with the organic mineral inclusions in fossil-rich stone
- Applying a high-gloss topcoat sealer to a tumbled fossil surface — the uneven relief creates inconsistent sheen that highlights rather than conceals variation
- Ordering square meterage without a waste allowance — irregular fossil distribution means more rejection at the cutting stage; budget a 12–15% waste factor versus the 8–10% you’d apply to plain limestone
Sourcing and Logistics for National Projects
Sourcing fossilized limestone for projects across different delivery destinations requires lead time awareness that generic purchasing timelines don’t account for. Direct import cycles from Mediterranean quarry sources typically run 8–12 weeks from order confirmation to port, plus domestic freight time. If your project timeline doesn’t accommodate that window, you need a supplier with warehouse stock already on-shore — and you need to confirm that stock is from a single consistent batch before committing.
Truck delivery logistics for large-format fossilized limestone slabs (600mm × 900mm and above) require confirmation of site access well before the delivery date. Slabs in this format are palletised at 600–800kg per pallet, and a standard flatbed truck delivering a full project quantity may arrive with 4–6 pallets that each require a forklift or telehandler to unload. Confirming your site access route, overhead clearance, and unloading equipment availability with your logistics coordinator at least one week before the scheduled truck arrival date prevents costly rebooking fees and damaged stone from improvised unloading.
At Citadel Stone, we maintain warehouse inventory across multiple formats and thicknesses, which typically reduces lead times for in-stock fossilized limestone to 1–2 weeks compared to the import cycle most projects would otherwise face. Our technical team reviews each warehouse batch for fossil density consistency before it ships, which is a quality step that protects your installation quality before the stone reaches site.
Your Fossilized Limestone Action Plan
The decisions that determine a fossilized limestone installation’s long-term performance are mostly made before the first stone is laid — in the specification stage, during batch selection, and in base preparation planning. Getting those decisions right means defining fossil density ranges in writing, confirming full-project stock from a single production run, specifying appropriate thickness for your load conditions, and building seasonal timing into your installation schedule so that adhesive and mortar performance isn’t compromised by temperature extremes.
Your maintenance programme should be established at handover, not discovered reactively when the first stain appears. A biennial penetrating sealer reapplication, pH-neutral cleaning, and prompt attention to any grout joint movement in the first two years will keep a properly installed fossilized limestone floor performing for 25 years or more. The limestone and fossils category rewards informed buyers who treat selection as a technical process rather than a visual one — the aesthetic payoff of a well-specified installation is genuinely exceptional, but it only arrives reliably when the specification work is done properly upstream. As you finalise your material decisions, it’s worth considering how moisture exposure affects limestone over time — how water interacts with limestone paving covers the performance dimensions relevant to any outdoor limestone application. Sourced direct from quarries in Turkey, the Mediterranean, and beyond, Citadel Stone fossilized limestone brings distinct natural detailing to outdoor floors.
Related reading: crushed limestone for patio · tumbled limestone paver finish · limestone patio design ideas.