Mosaic tile floor design rewards precision far more than material substitution — the grout joint width, tesserae thickness tolerance, and sheet mesh backing all interact in ways that separate an installation lasting decades from one that starts lifting within a few seasons. Most specifiers zero in on the pattern aesthetic and miss the substrate variables that actually drive long-term performance. Your mosaic tile floor needs a deflection-controlled substrate (L/360 or better) regardless of how beautiful the pattern is on paper — flex is the enemy of small-format tile adhesion in ways that 12×12 installations simply don’t expose. The considerations below will help you make confident decisions across every surface option available.
Surface Options for Mosaic Tile Floors Explained
Natural stone mosaics, porcelain chip mosaics, and glass tesserae each perform differently under the same installation conditions. Stone mosaics — marble, travertine, limestone, and basalt — carry the weight of genuine geological variation: absorption rates, surface hardness, and thermal response differ not just between species but between quarry batches of the same material. Porcelain mosaics offer highly consistent dimensional tolerances and water-resistant fired bodies, but they tend to be significantly less forgiving to thermal cycling stress at grout interfaces because the body is denser and transmits movement directly to the joint. Glass mosaic tile floors are visually striking but require epoxy-based mortars and experienced installers who understand the material’s near-zero porosity and its sensitivity to substrate movement.
According to NSI tile stone specifications, natural stone mosaic pieces should conform to ASTM absorption and modulus-of-rupture thresholds appropriate to their species — data worth verifying against your supplier’s quarry documentation before you commit to a specification. The variation between a well-graded travertine mosaic and a marginal one shows up not on delivery day but during the first full year of thermal cycling.
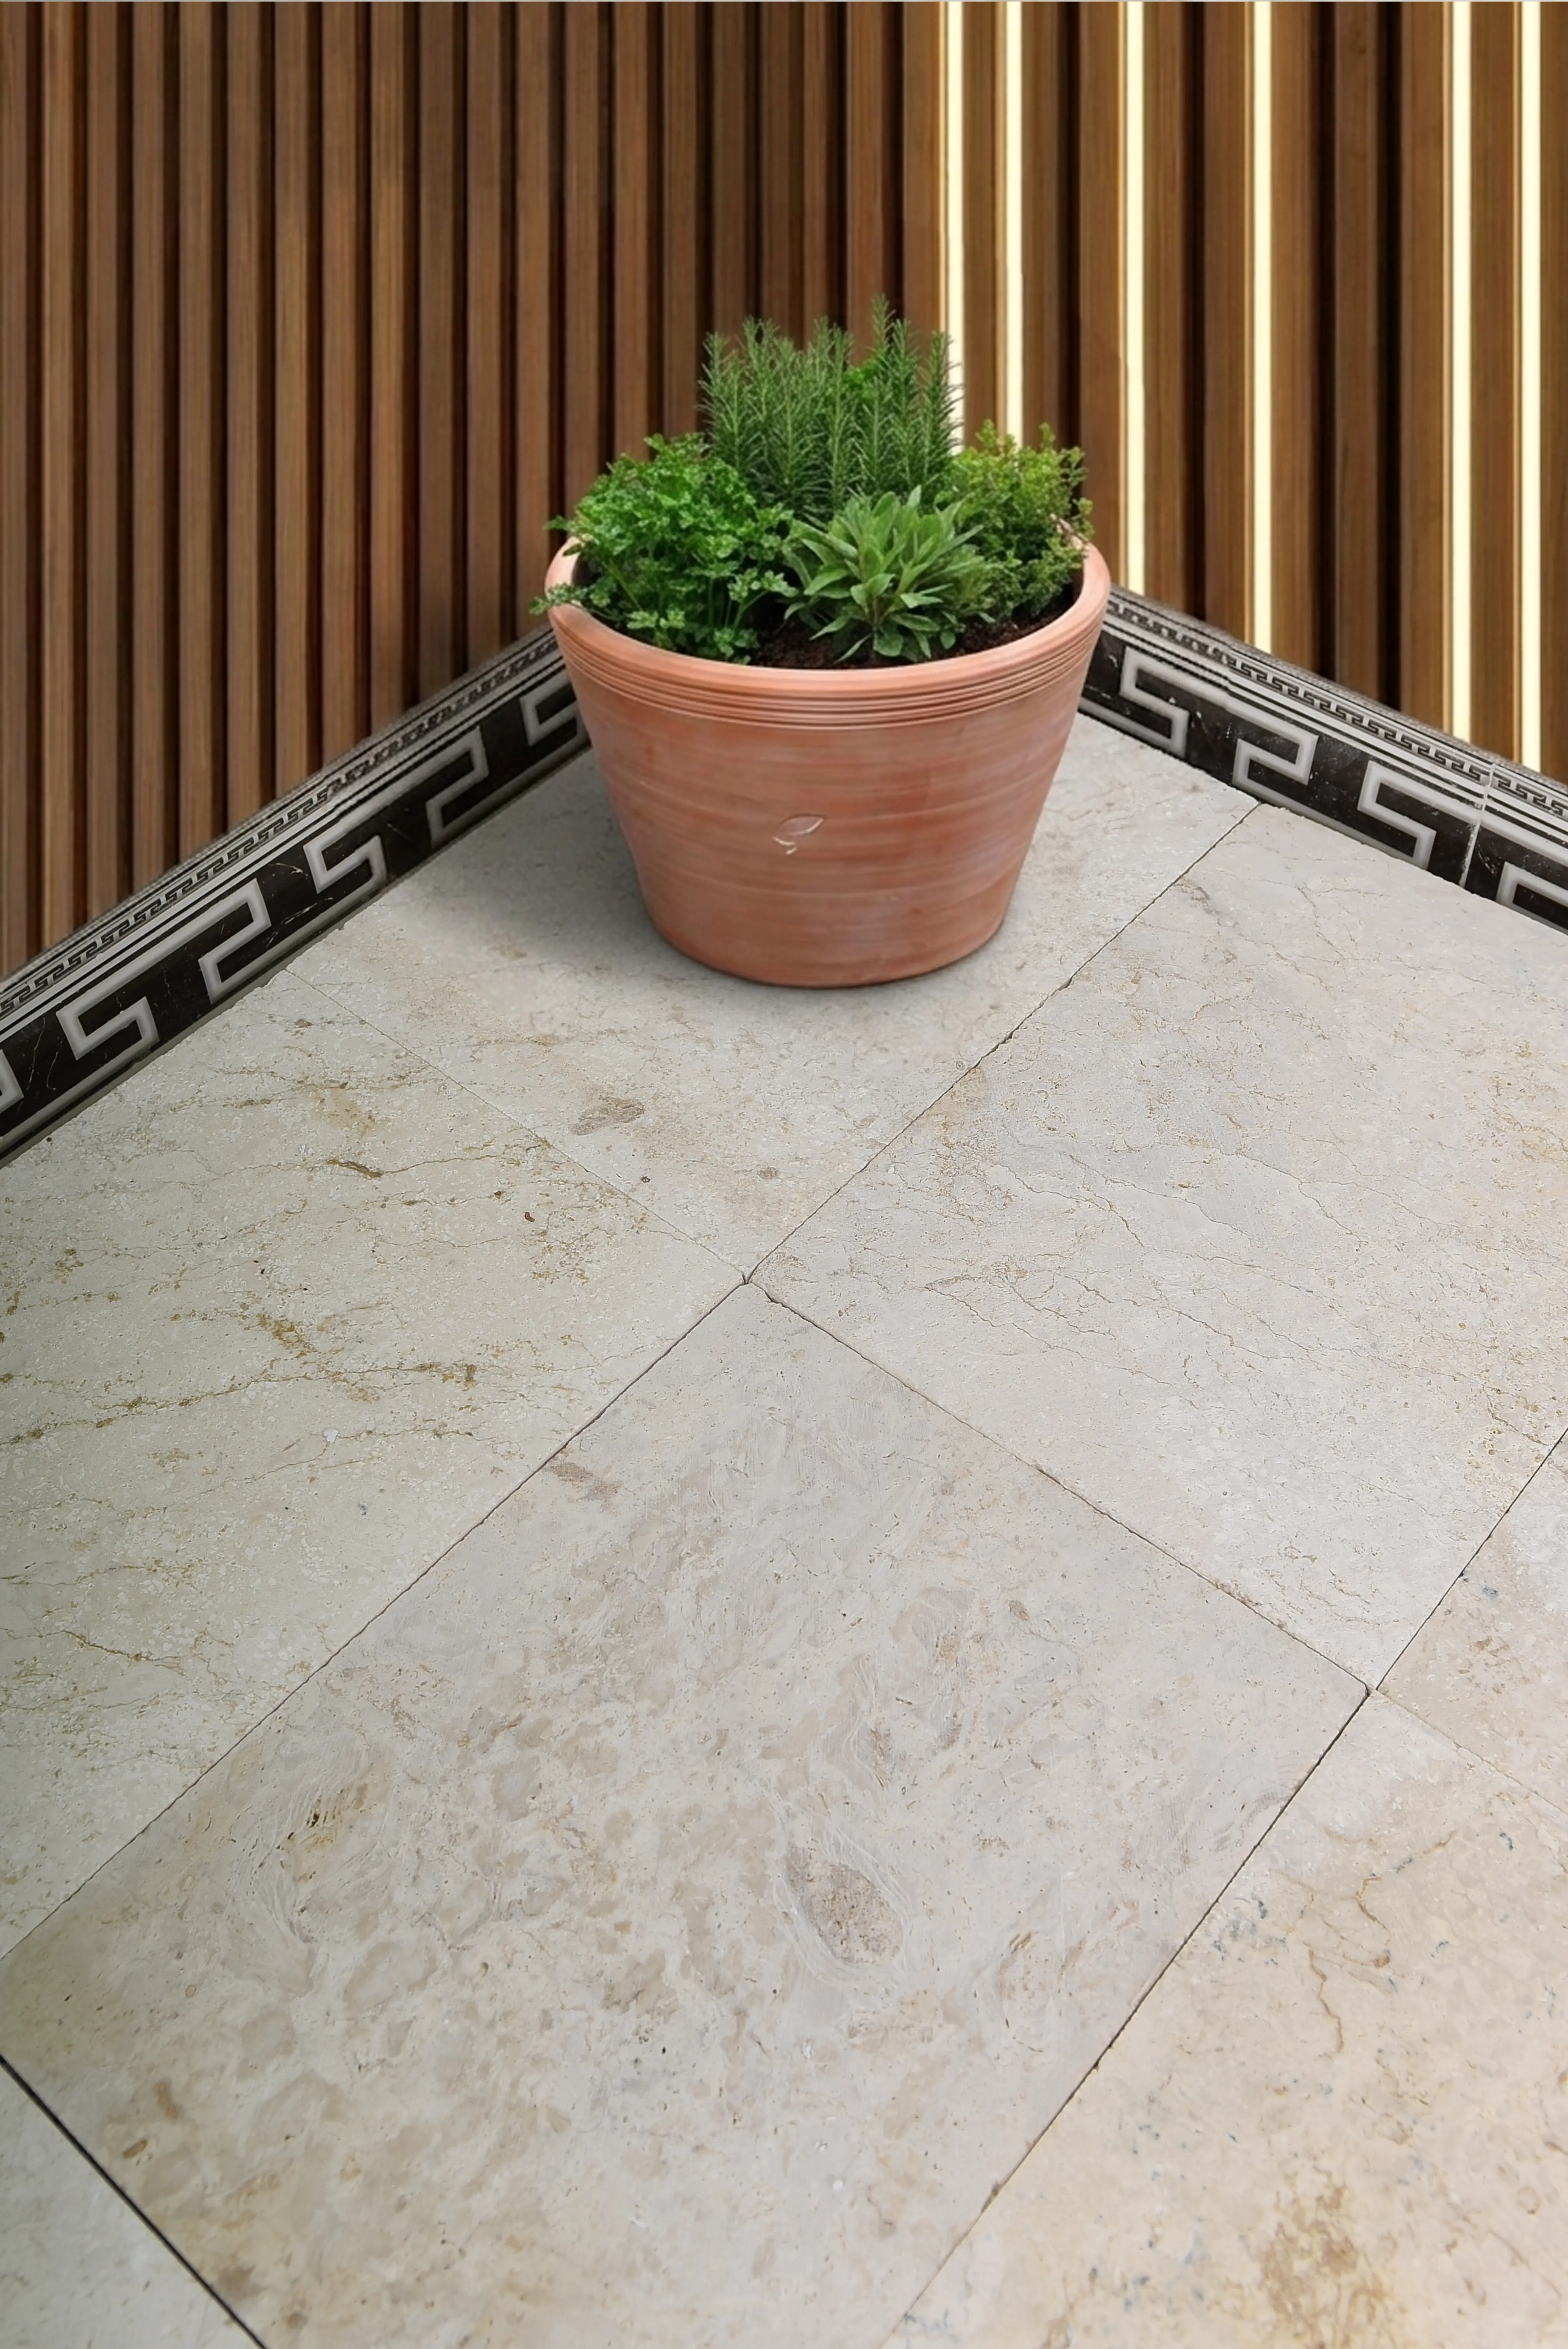
Pattern Families That Define Mosaic Floor Character
The design vocabulary of mosaic tile floors is broader than most residential clients realize until you lay samples side by side. Your core pattern families break down into these distinct categories:
- Opus vermiculatum — sinuous tesserae that follow the contour of a central motif, a technique dating to Roman-era installations and still used for high-end custom medallions
- Opus regulatum — uniform grid-set chips that read as a quiet, textile-like texture from a standing distance
- Opus sectile — larger shaped pieces cut to fit a specific composition, closer to marquetry than traditional mosaic and demanding tighter dimensional control from your fabricator
- Hexagonal chip arrangements — enormously popular in bathroom floors, offering directionless pattern flow without requiring a dominant focal axis
- Linear strip mosaics — long rectangular tesserae set in running bond or herringbone, which creates strong directional movement useful for corridors and transitional spaces
- Random broken-piece compositions — tumbled marble or travertine fragments set in irregular arrangements, producing an organic character well-suited to exterior courtyards
The pattern family you choose influences grout joint volume directly, and grout joint volume influences how the floor performs under thermal and moisture cycling. Hexagonal arrangements with narrow joints have less grout mass to absorb expansion — a detail worth factoring into your mortar and grout selection before the installation crew arrives.
Choosing Natural Stone Species for Your Mosaic Floor
Marble mosaics remain the benchmark for interior elegance, but the absorption rate of most marble (typically 0.2–0.5% by weight) means you need to seal before grouting — not after. Skipping that step allows grout slurry to penetrate the stone surface, and on light-colored marble the staining can be permanent. Travertine mosaics introduce a different challenge: the natural voids in unfilled travertine tesserae collect grout during installation, which changes the surface texture in ways that aren’t always obvious until the floor dries completely. Specify filled and honed travertine chip mosaics for floor applications unless you’re deliberately pursuing that open-pore texture.
Basalt mosaic tile floors are an underused option worth serious consideration for heavily trafficked areas. The material’s density — typically 2.7–3.0 g/cm³ — and low absorption (often below 0.2%) make it highly resistant to staining and moisture infiltration. The trade-off is a darker tonal palette that suits contemporary and industrial design directions but doesn’t fit every project brief. According to USGS basalt volcanic rock data, the material’s fine-grained crystalline structure is what drives both its hardness and its consistent coloration — qualities that matter when you’re matching mosaic sheets across a large floor area.
Limestone mosaics offer warmer tones and softer visual texture than marble, but the species varies considerably in hardness. Softer limestone mosaics (below 3 on the Mohs scale) are better suited to wall applications or low-traffic floor zones. For main living areas, specify limestone with a compressive strength above 4,000 PSI and confirm the absorption classification with your supplier’s technical documentation.
Substrate and Setting Bed Requirements
Your mosaic tile floor is only as stable as the assembly beneath it. The mesh-backed sheet format of most mosaics means the setting bed does the structural work that larger tiles partly handle through their own mass. A minimum 1.25-inch mortar bed over a waterproofed substrate is the practical starting point for wet areas; in dry interior applications, a properly bonded uncoupling membrane over concrete gives you deflection control without the weight penalty of a thick mud bed.
Tile Council of North America installation standards for natural stone tile specify that the bond coat must achieve full coverage — defined as 95% contact for interior wet areas — across the back of every mosaic sheet. On small tesserae, this is harder to achieve than it sounds. Trowel ridge height, mortar open time, and beating-in technique all interact. Your installer should back-butter individual sheets in addition to applying the trowel-ridged mortar to the substrate when working with natural stone mosaics thinner than 8mm nominal.
- Substrate flatness tolerance: maximum 1/8-inch variation in 10 feet — critical because mosaic sheets won’t bridge low spots the way large format tiles can
- Uncoupling membranes reduce transmitted stress but require full mortar fill in the membrane cavities to avoid hollow spots under the mosaic layer
- Radiant heat systems require modified-epoxy or highly polymer-modified mortars — standard unmodified thinset is not suitable
- Existing wood subfloors need a cement board or comparable decoupling layer before any stone mosaic installation
How Thermal Cycling Affects Mosaic Floor Performance
For exterior mosaic tile floors — covered porches, sunrooms with direct glazing, transitional indoor-outdoor spaces — thermal cycling is the primary long-term stress driver, often more consequential than foot traffic loads. The problem isn’t temperature in isolation; it’s the daily and seasonal swing between extremes. A floor surface that reaches 140°F on a sun-exposed afternoon and drops to 40°F overnight experiences a 100°F thermal range — and every material in the assembly (stone, mortar, grout, substrate) expands and contracts at a different rate.
Natural stone mosaics typically carry a thermal expansion coefficient between 4 and 8 × 10⁻⁶ per °F depending on species. Marble runs toward the higher end; basalt and dense limestone sit lower. The mismatch between stone tesserae and standard cementitious grout — which expands at a different coefficient — is what causes hairline grout fractures after two or three full freeze-thaw seasons. Specifying a latex-modified or epoxy grout with documented flexibility ratings significantly reduces this failure mode, particularly in joints below 3/32 inch where there’s minimal grout mass to absorb differential movement.
In freeze-thaw regions, expansion joints at approximately 8-to-10-foot intervals across exterior mosaic floors are not optional — they’re the detail that keeps the field intact. Use a compressible backer rod and flexible sealant matched to the grout color, and plan the joint layout during the design phase so it aligns with the pattern geometry rather than cutting awkwardly through a feature medallion.
Grout Joint Width and Color Strategy
Grout is a design material in mosaic floors, not just an installation requirement. The joint width — typically 1/16 to 3/16 inch for factory-sheet mosaics — determines whether the overall reading of the floor is stone-dominant or pattern-dominant. Narrow joints with a closely matched grout color let the stone read as a near-continuous field; wider joints in a contrasting tone emphasize the individual tesserae and the geometry of the arrangement.
Consider how your Citadel Stone mosaic tile options interact with grout tone under different lighting conditions — natural daylight tends to flatten contrast while raking evening light from side windows will amplify every joint line. This is worth testing with physical samples on the actual substrate before finalizing your specification. The grout color that looks right in a showroom under fluorescent lighting rarely behaves identically in the installed environment.
- Unsanded grout suits joints under 1/8 inch — use for glass and polished stone mosaics where larger aggregate would scratch the surface
- Sanded grout handles joints from 1/8 to 3/8 inch and provides better shrinkage resistance in wider joints
- Epoxy grout offers superior stain resistance and flexibility but requires experienced installation and careful temperature management during application
- Pre-sealing stone tesserae before grouting prevents slurry absorption on porous materials — particularly important for tumbled and honed limestone
Finish Options and Slip Resistance for Mosaic Floors
The finish applied to natural stone mosaics affects both aesthetics and the Dynamic Coefficient of Friction (DCOF) — the slip-resistance metric that matters most for floor applications. Polished finishes on marble or limestone mosaics read as luxurious but carry lower wet DCOF values, often below 0.42, which is the minimum threshold recommended by ASTM stone and tile testing standards for level interior floors. In wet areas — bathroom floors, pool surrounds, spa entry zones — you need a honed, brushed, or tumbled finish that increases surface texture and friction without sacrificing the warmth and character of the stone.
Tumbled travertine and tumbled marble mosaics are a practical solution for exactly this scenario. The mechanical tumbling process rounds the edges of individual tesserae, produces a gently undulating surface texture, and eliminates the sharp-edged perfection of a machine-cut chip — the result reads as aged and artisanal. The irregular surface also means wet DCOF values typically land in the 0.55–0.70 range, well above safety thresholds for bathroom and spa floor applications.
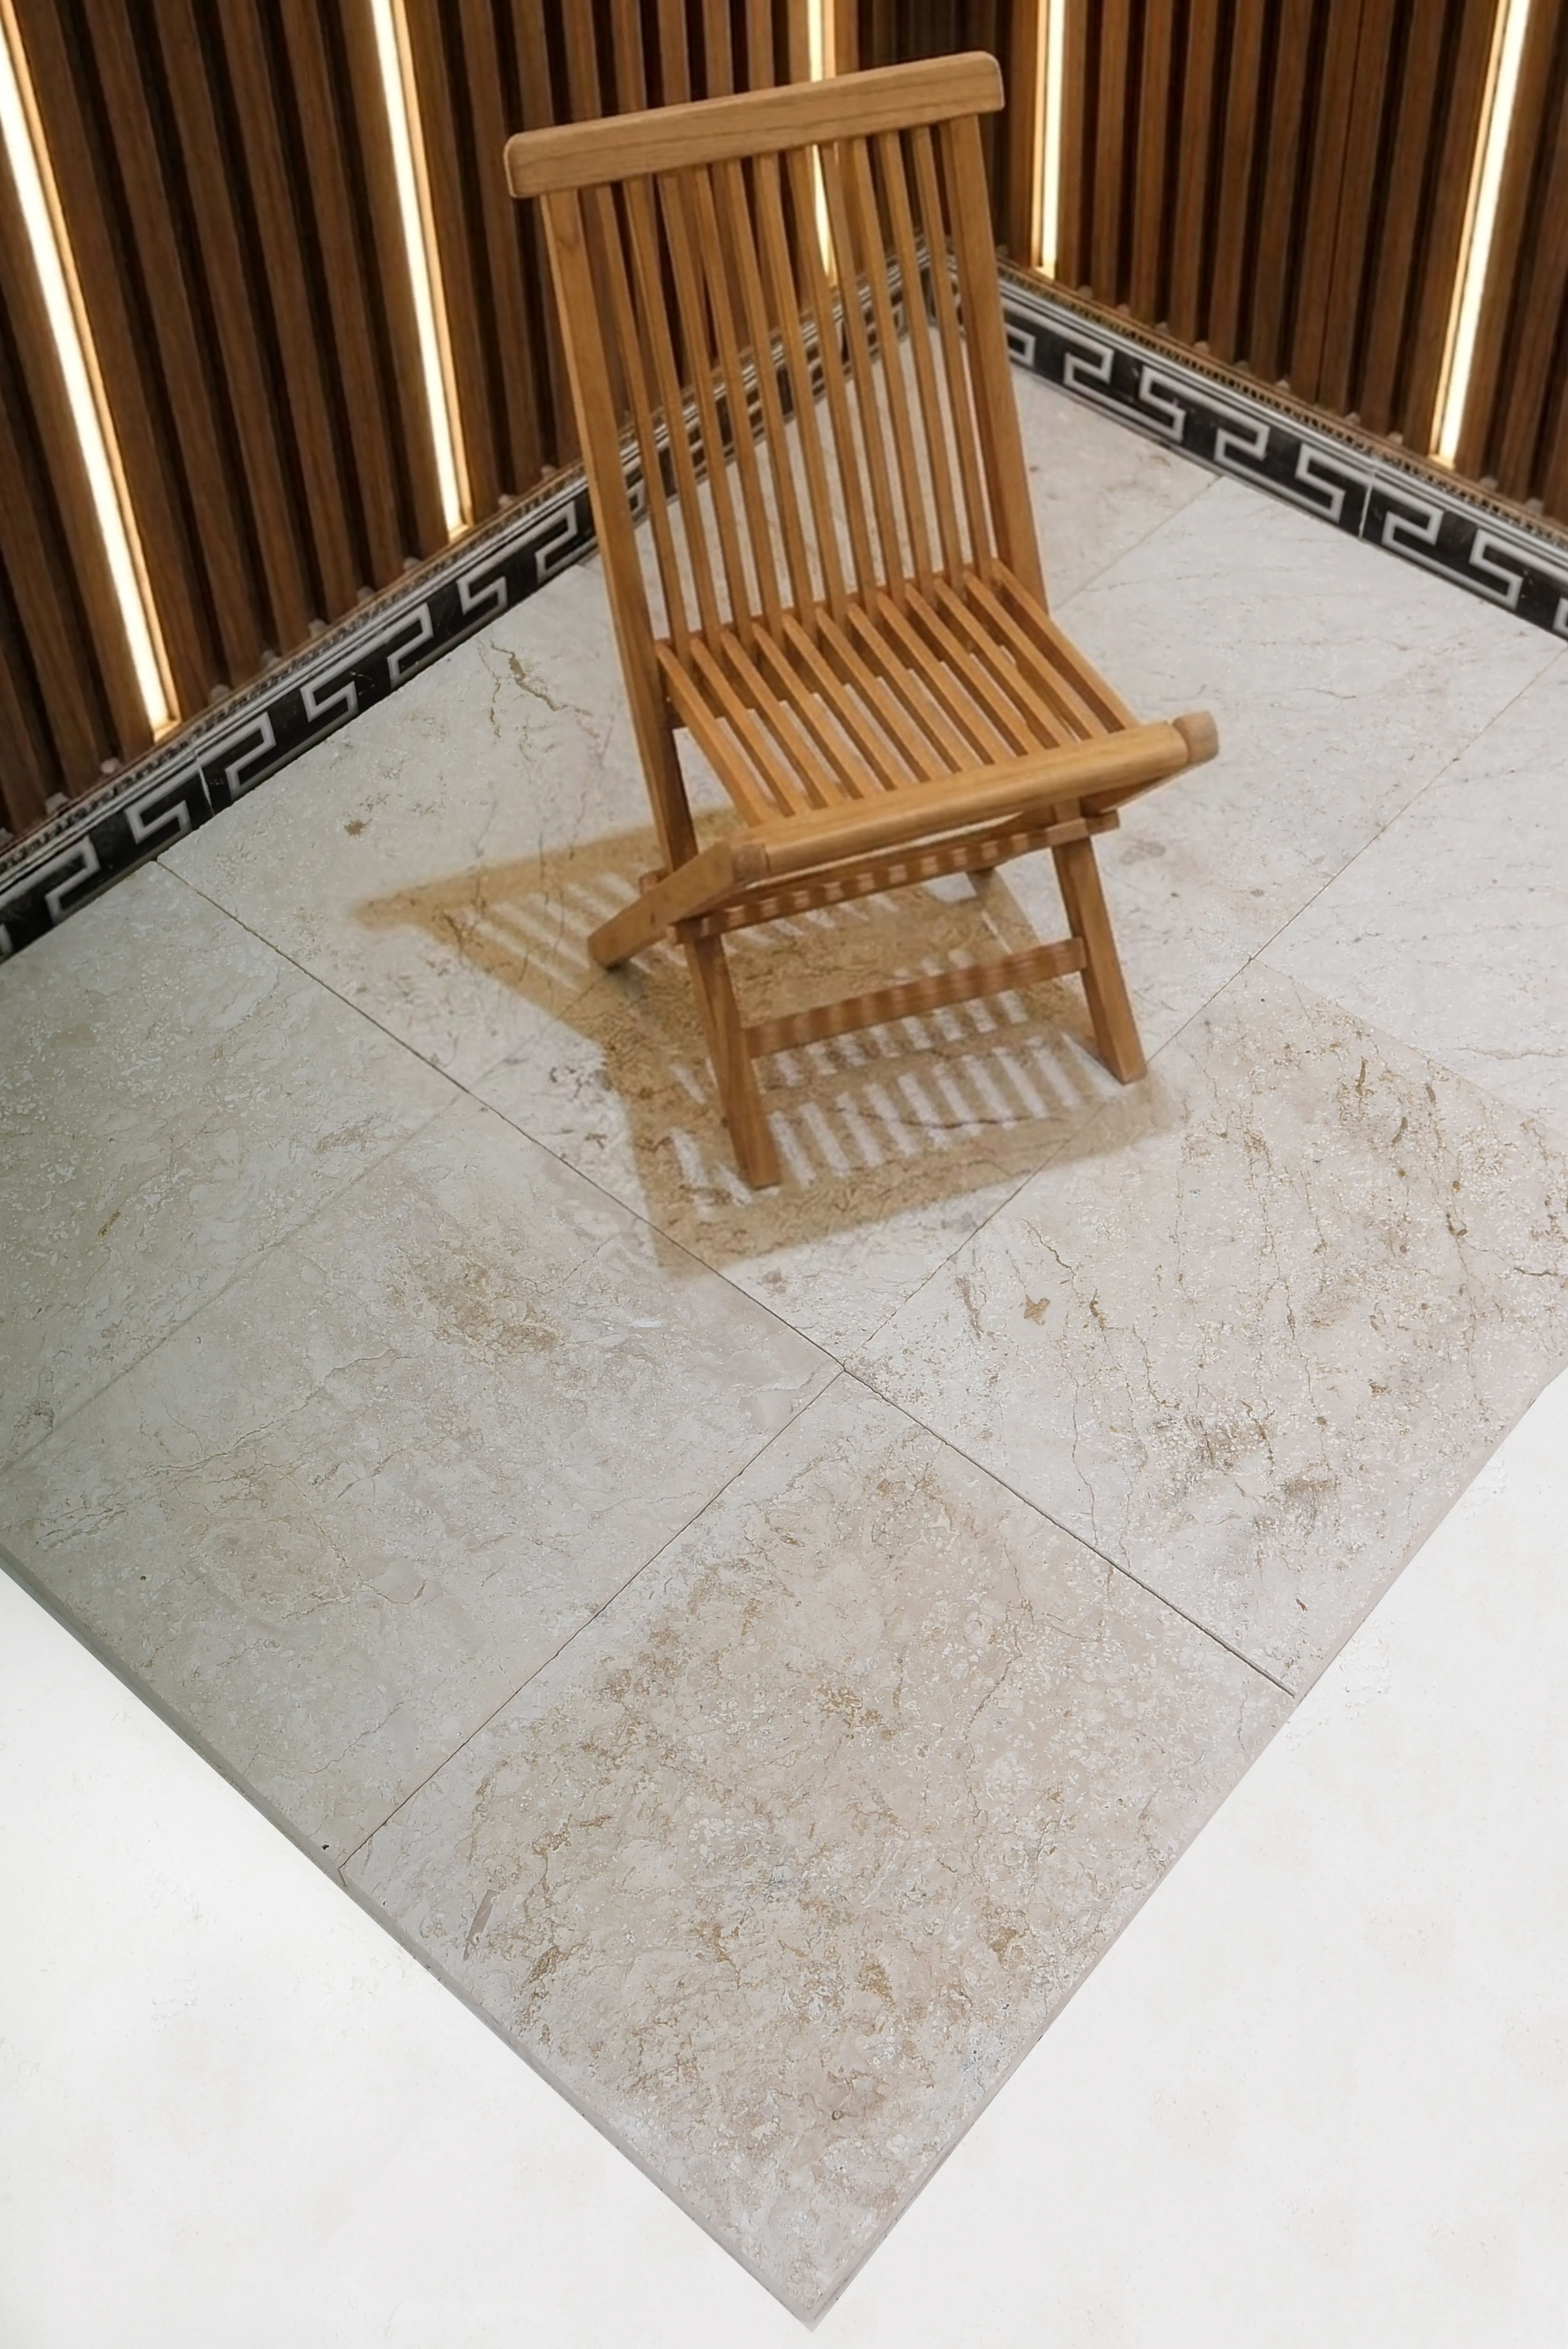
Ordering, Logistics, and Batch Consistency
Batch consistency is the sleeper issue in mosaic tile floor projects, particularly on larger installations where multiple deliveries span weeks or months. Natural stone mosaics are cut from dimensional slabs, and color variation between quarry pulls — even from the same quarry block series — can be significant enough to create visible transitions across a floor field. The practical solution is to order your full material quantity from a single warehouse inventory batch, verify the lot documentation, and stage all sheets on-site before installation begins.
Citadel Stone maintains consolidated warehouse inventory that allows you to confirm batch-matched availability before your project timeline locks in — a meaningful advantage over sourcing sheet-by-sheet from multiple distributors across a build schedule. Typical truck delivery lead times from warehouse to site run 5–10 business days depending on your location and order volume, which is short enough to coordinate with most installation schedules if you confirm the order at the point of substrate preparation rather than waiting until the installation crew arrives.
- Order a minimum 10% overage on natural stone mosaics to account for cuts, pattern matching, and future repair inventory
- Inspect sheets from multiple boxes across the full order before installation — variation between pallet positions is more common than variation within a single pallet
- Confirm that mesh backing type (fiberglass, paper face-mount, or silicone dot) is consistent across the entire order — mixed backing types affect installation technique
- Stone mosaics should be stored flat and off the ground in a climate-stable area; rolled or stacked sheets can develop waviness that complicates substrate contact during installation
Getting Your Mosaic Tile Floor Specification Right
A successful mosaic tile floor project comes down to a sequence of decisions that each constrain the next. Start with application context — interior or exterior, wet or dry, foot traffic level — and those answers narrow your stone species options immediately. From species, move to finish, which sets your slip-resistance baseline and your maintenance protocol. Finish selection informs your grout choice, grout choice informs your joint width planning, and joint width planning feeds back into the pattern geometry you can realistically execute. Working through this sequence before aesthetic decisions get finalized prevents the frustrating situation where a beautiful design concept turns out to be technically incompatible with the actual installation conditions.
At Citadel Stone, we recommend confirming substrate deflection ratings and radiant heat compatibility early — these two variables eliminate more design options than anything else during the specification phase. For complementary guidance on related wet-area stone applications, spa bathroom stone floor ideas covers additional surface and finish considerations worth reviewing alongside your mosaic tile floor specification. Sourced from quarries across the Mediterranean and Middle East, Citadel Stone mosaics keep color batches matched sheet to sheet.
Related reading: large format floor tile patterns · how to install large floor tile · kitchen floor tiles.