Why Lippage Happens With Large Format Tile
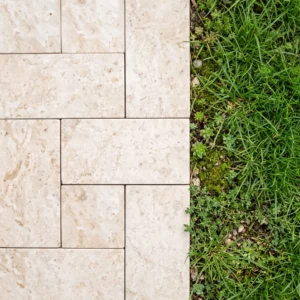
Large floor tile installation fails at the edges long before it fails at the center — and that’s the insight most spec sheets skip entirely. Lippage, the height differential between adjacent tile edges, becomes exponentially harder to control as tile size increases, because even a substrate that reads flat at 3 feet can exhibit enough bow or flex to create a 1/32-inch step once a 24×24 or 32×32 slab is set in place. Your acceptable lippage threshold under ANSI A108.02 is 1/32 inch for tiles with grout joints under 1/16 inch, and 1/16 inch for wider joints — numbers that feel generous until you’re standing in raking light watching a shadow line run across your floor.
The mechanics behind lippage trace to three compounding variables: substrate flatness tolerance, the inherent warpage in large-format stone or porcelain, and the installer’s mortar bed technique. You can control all three, but you have to address them in sequence. Fixing mortar technique on a substrate that isn’t flat enough is like tuning an engine mounted on a cracked block — the upstream problem undermines everything downstream.
Substrate Flatness: The Tolerance That Determines Everything
For large format tile installation — anything exceeding 15 inches on any edge — the industry benchmark shifts from the standard 1/4 inch in 10 feet to 1/8 inch in 10 feet, and 1/16 inch in 24 inches. That’s the TCNA-recommended flatness requirement for large-format work, and it’s non-negotiable if you want a lippage-free result. According to TCNA installation standards, the 1/8-inch-in-10-feet rule applies specifically because large tiles bridge substrate undulations rather than conform to them the way smaller tiles do.
Your substrate evaluation should happen with a 10-foot straightedge and a feeler gauge — not by eye, and not by heel-to-toe walking. Mark every high and low point with chalk before you mix a single bag of mortar. High spots get ground down with a belt sander or angle grinder fitted with a diamond cup wheel; low spots get filled with a polymer-modified floor leveling compound rated for your substrate type. Never grind over electrical conduit runs without confirming depth first.
- Concrete slabs need a minimum 28-day cure before large-format tile installation — green concrete shrinks and creates differential movement that cracks both tile and grout
- Plywood substrates require a minimum 1-1/8-inch combined thickness (subfloor plus underlayment) to meet deflection limits — L/360 for ceramic and stone, L/720 where joints exceed 1/4 inch
- Self-leveling underlayment applied over plywood must bond to a primed, dust-free surface — adhesion failure in the leveler layer is invisible until tiles start cracking
- Check for substrate flex by loading the floor near the center of each joist bay — any perceptible movement means you need to sister joists or increase underlayment thickness before proceeding
Mortar Selection for Large Format Tile
Standard polymer-modified thinset is not the right mortar for large-format work above 15 inches. You need a medium-bed or large-format mortar — products specifically engineered with higher non-sag properties and longer open time. The open time difference matters more than most installers realize: standard thinset can skin over in 10–15 minutes in a 70°F space, while large-format mortars are formulated for 20–30 minutes of working time. That extra window is what lets you properly back-butter a heavy 24×24 stone slab without racing the clock.
Mortar consistency also affects lippage directly. A mix that’s too wet will allow tiles to settle unevenly as you work across the floor. Target a consistency where the mortar holds a clean notch from your trowel without slumping — roughly the texture of peanut butter. Test your mix by pressing a golf ball-sized amount between your palms and checking that it holds its shape without cracking.
- Use a large-notch trowel — 1/2-inch × 1/2-inch square-notch is a baseline for most 24×24 formats; heavy stone may require a 3/4-inch notch to achieve full coverage
- Large-format mortar products must meet ANSI A118.15 — verify this on the bag before purchase, not after delivery
- Two-component epoxy mortars offer superior bond strength for heavy stone in high-vibration environments but require precise mixing ratios and shorter working times
- Avoid rapid-set products for large-format work unless you have an experienced crew — the compressed working window multiplies the risk of uneven placement
Back-Buttering: The Step That Defines Bond Quality
Full-coverage back-buttering is the single most debated step in large floor tile installation, and the debate is essentially over — the evidence from field inspections is clear. Tiles set without back-buttering routinely show contact percentages below 60%, which falls short of the 80% minimum for dry areas and the 95% minimum for wet areas specified under ANSI A108.5. Those voids aren’t just a bond weakness; they’re acoustic resonators that create the hollow-sounding tap that homeowners associate with imminent failure.
The correct technique is to apply mortar to both the substrate and the back of the tile. Spread a thin skim coat over the tile back first using the flat side of your trowel — this fills the surface texture and eliminates air pockets at the tile-mortar interface. Then apply your notched mortar to the substrate. When the tile goes down, use a rubber mallet and a beating block (never a bare mallet directly on large-format stone) to seat the tile while working out from the center to the edges. Check contact coverage periodically by lifting a test tile — you should see mortar contact across the full surface with no dry spots larger than a penny.
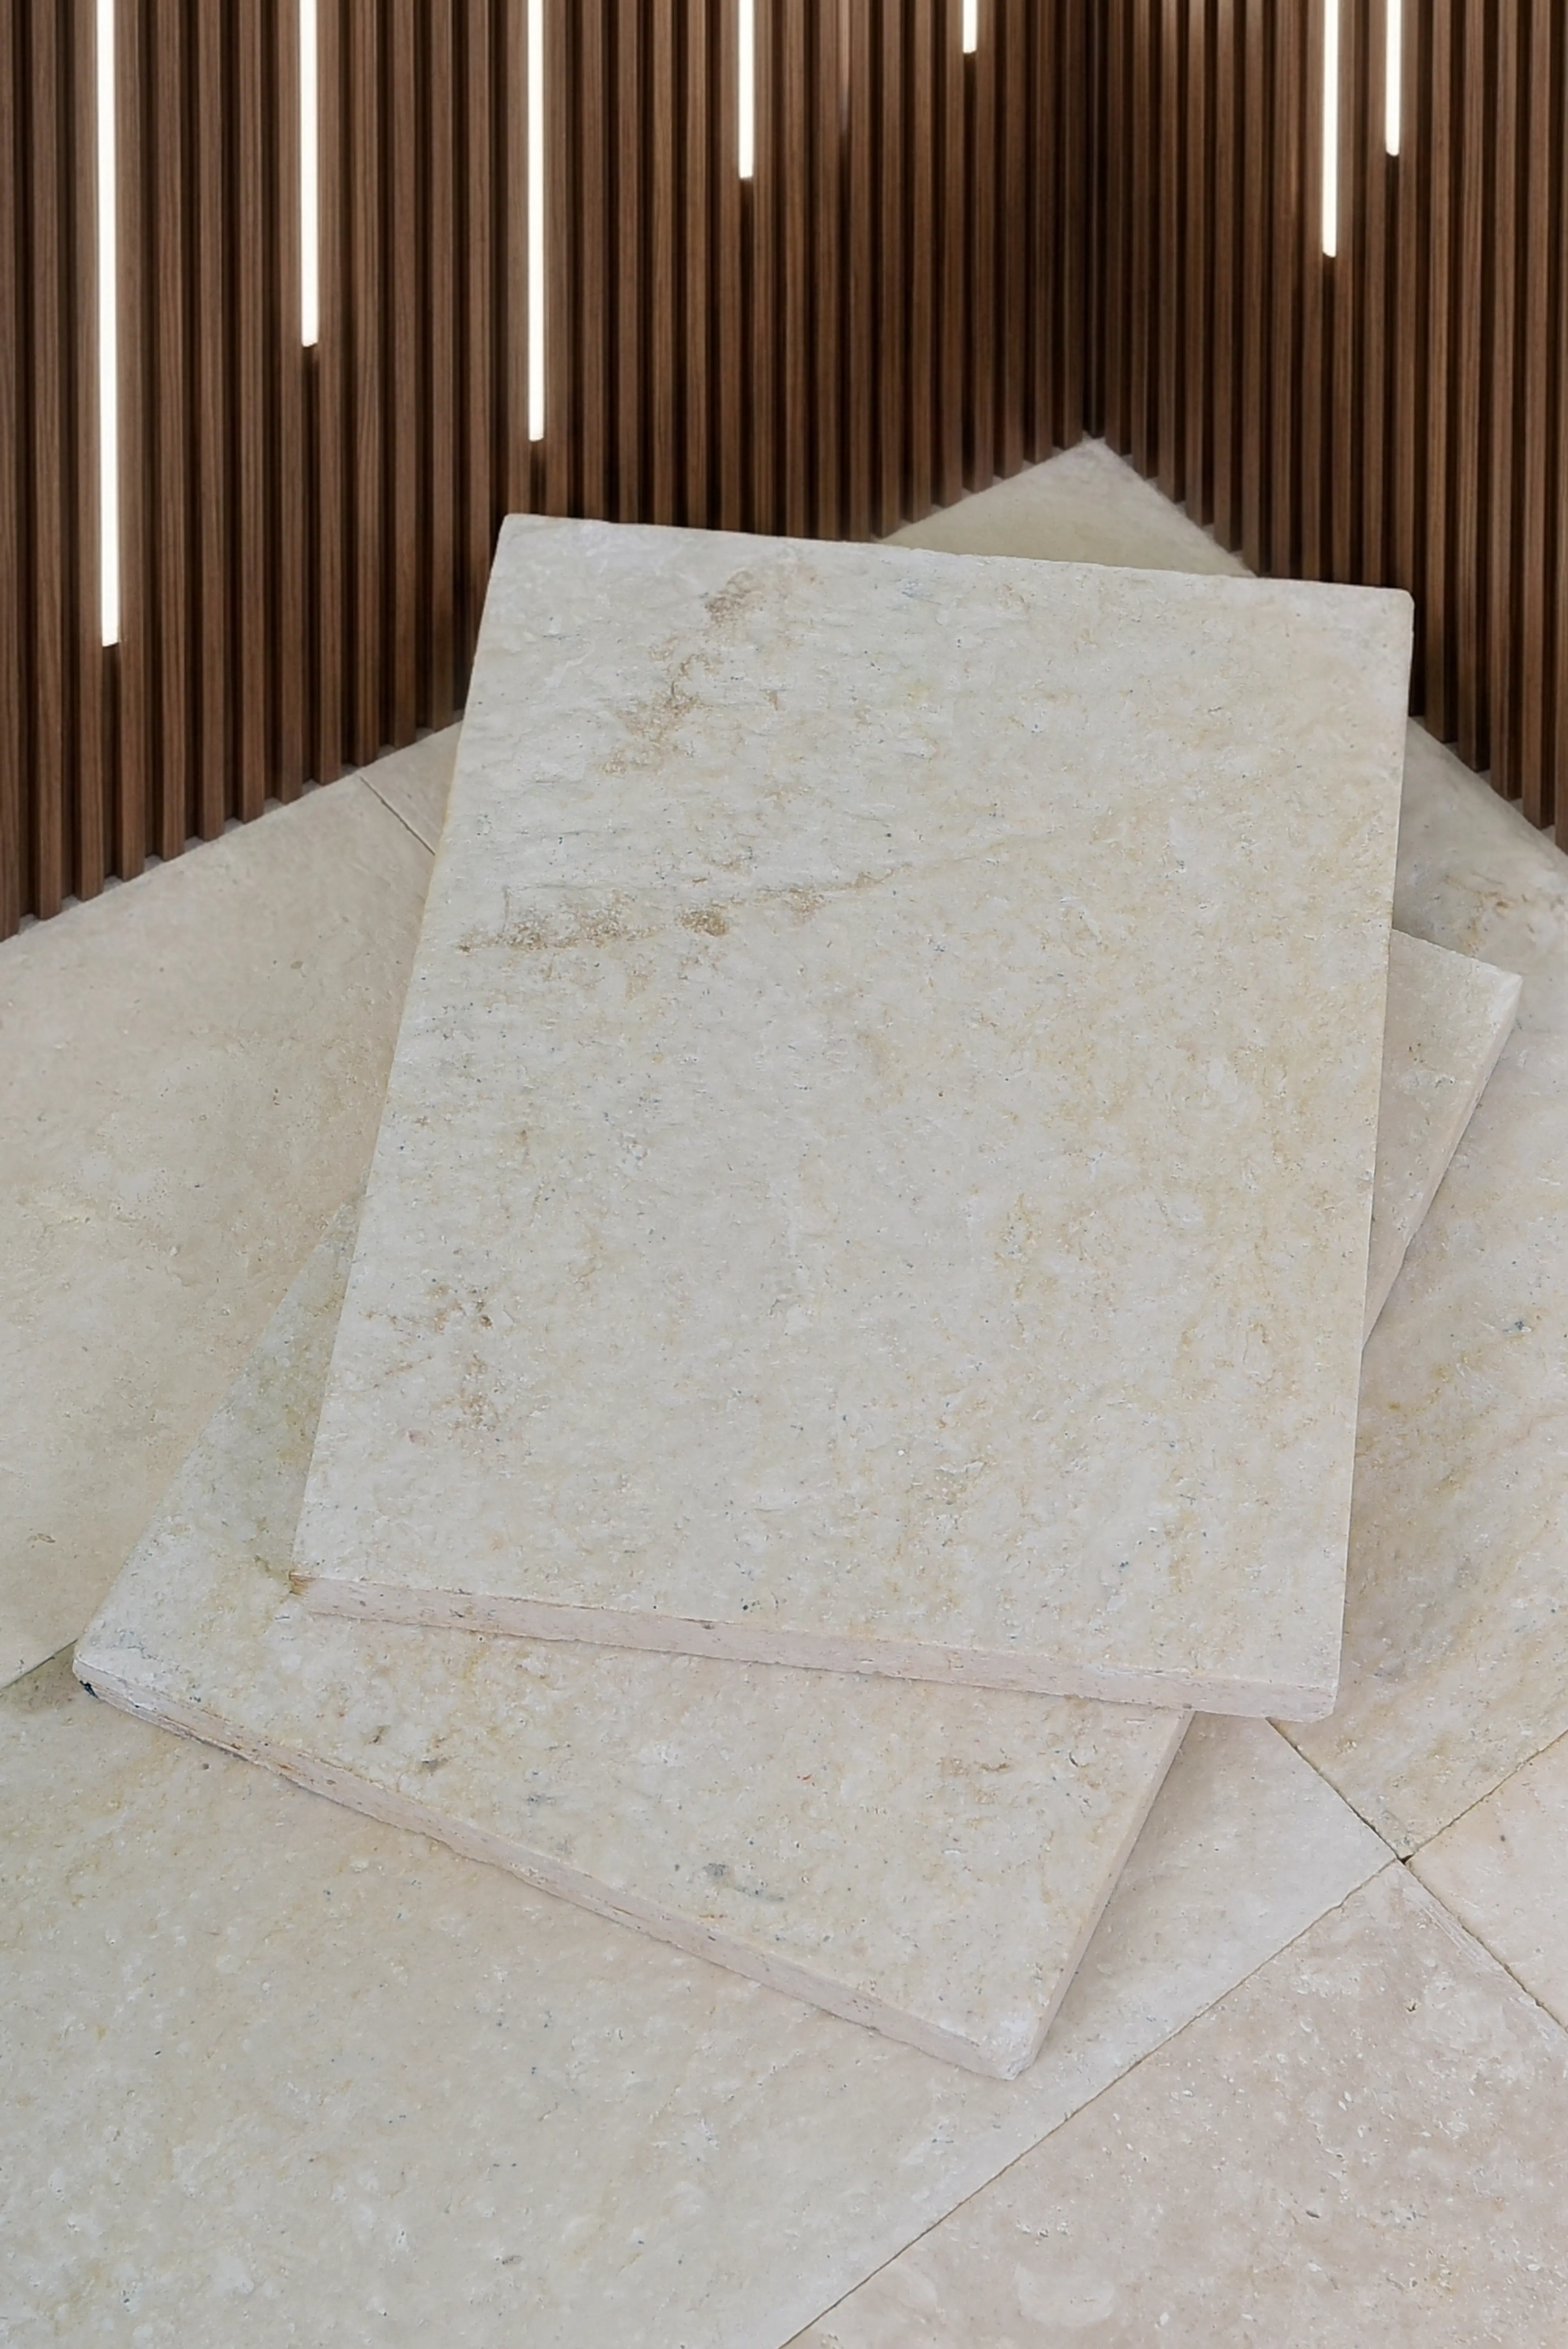
For large natural stone formats like the 24×24 Travertine Tile, back-buttering becomes especially critical because the open-pore structure of travertine requires complete mortar contact to prevent differential moisture absorption through voids — a condition that can cause progressive delamination even in interior applications.
Lippage Control Systems and Leveling Clips
Tile leveling systems — clip-and-wedge or screw-tension varieties — have transformed large floor tile installation quality over the past decade. These aren’t training wheels for inexperienced installers; they’re professional tools that compensate for the minor warpage inherent in large-format stone and porcelain that even careful back-buttering can’t fully correct. The NSI ASTM stone tile specifications acknowledge that dimensional variation within a single lot is an expected characteristic of natural stone — leveling systems manage that variation systematically.
The screw-tension systems work particularly well for heavy natural stone because they apply consistent downward and lateral force without the shear stress that wedge systems can introduce when the installer drives the wedge too aggressively. For anything over 18 inches on any side, plan on using a leveling system regardless of your substrate flatness — the investment in clips is small compared to the cost of grinding lippage after installation or, worse, pulling tiles and starting over.
- Clip spacing for large-format tile: place clips at every grout joint intersection plus at mid-span on joints exceeding 18 inches in length
- Remove clips and wedges after the mortar has set to initial firmness — typically 30–60 minutes depending on temperature and humidity — by snapping them off parallel to the floor surface, never pulling upward
- Don’t reuse clips — the tab geometry is designed for single-use fracture at the correct torque; reused clips may break at unpredictable points and leave debris in the joint
- In cold environments below 50°F, mortar set times extend significantly — verify initial set by pressing a fingernail into a test area before removing clips
Layout Planning That Prevents Problems Before They Start
Your tile layout plan determines whether the installation looks intentional or accidental — and it also determines where your most vulnerable joint alignments land relative to substrate conditions. Start by snapping your working lines from the true center of the room, not from a wall. Walls are almost never square to each other, and tiling from a wall creates cumulative error that becomes visible as you approach the opposite side.
Plan your layout to avoid cuts narrower than half a tile at any exposed perimeter. Narrow slivers at walls are harder to cut cleanly on large-format stone, they bond poorly because of reduced contact area, and they draw the eye in a way that undermines the visual continuity that large-format tile is specifically chosen to create. Adjust your working lines until perimeter cuts land at 60–70% of the full tile dimension.
The layout plan also needs to account for large floor tile installation in relation to structural movement. Expansion joints must be placed over every structural crack and control joint in the substrate — never tile across them — and field expansion joints should occur at intervals no greater than 20 to 25 feet in interior spaces, per TCNA guidelines. In spaces with forced-air HVAC that creates significant temperature cycling, reducing that interval to 15 feet is advisable. The ASTM stone tile testing and strength standards provide the baseline compressive data, but in-service temperature cycling puts a different kind of stress on joint systems than lab compression tests capture.
How Structural and Weather Stress Affect Installed Large Tile
Large-format tile installed in transitional zones — covered exterior spaces, sunrooms, entryways, or commercial spaces with high-traffic door systems — faces a category of mechanical stress that pure interior specifications don’t account for. Wind-driven rain infiltrating beneath exterior thresholds can saturate the substrate beneath large tiles, degrading the mortar bond from below. The larger the tile, the larger the area of potential moisture infiltration before the problem becomes visible at the surface.
Edge restraint integrity is particularly important in these transitional zones. Large tiles at perimeter thresholds need full-depth flexible sealant at the transition joint — not grout, which is rigid and will crack when the threshold deflects under wind loading or foot traffic impact. Heavy hail events on covered patio slabs can transmit enough impact energy through poorly bonded tiles to fracture the mortar bed at the void points — which circles back directly to back-buttering coverage. A tile with 95% mortar contact distributes impact energy across the full slab face; a tile with 55% contact concentrates that energy at the bonded islands and the unbonded spans act as crack initiators.
- Flexible sealant (ASTM C920 silicone or polyurethane) at all perimeter joints replaces grout wherever the tile field meets a restraining surface
- In freeze-thaw regions, any moisture infiltration at transition joints can expand within the mortar bed during winter freeze cycles — even a hairline void becomes a failure point
- Large-format stone in wind-exposed covered areas benefits from medium-bed mortar with higher shear strength ratings rather than standard thinset
- Verify that any substrate membrane system used in wet transitional areas is rated for the thermal movement range expected at that location
Grout Joint Width and Large Format Tile Warpage
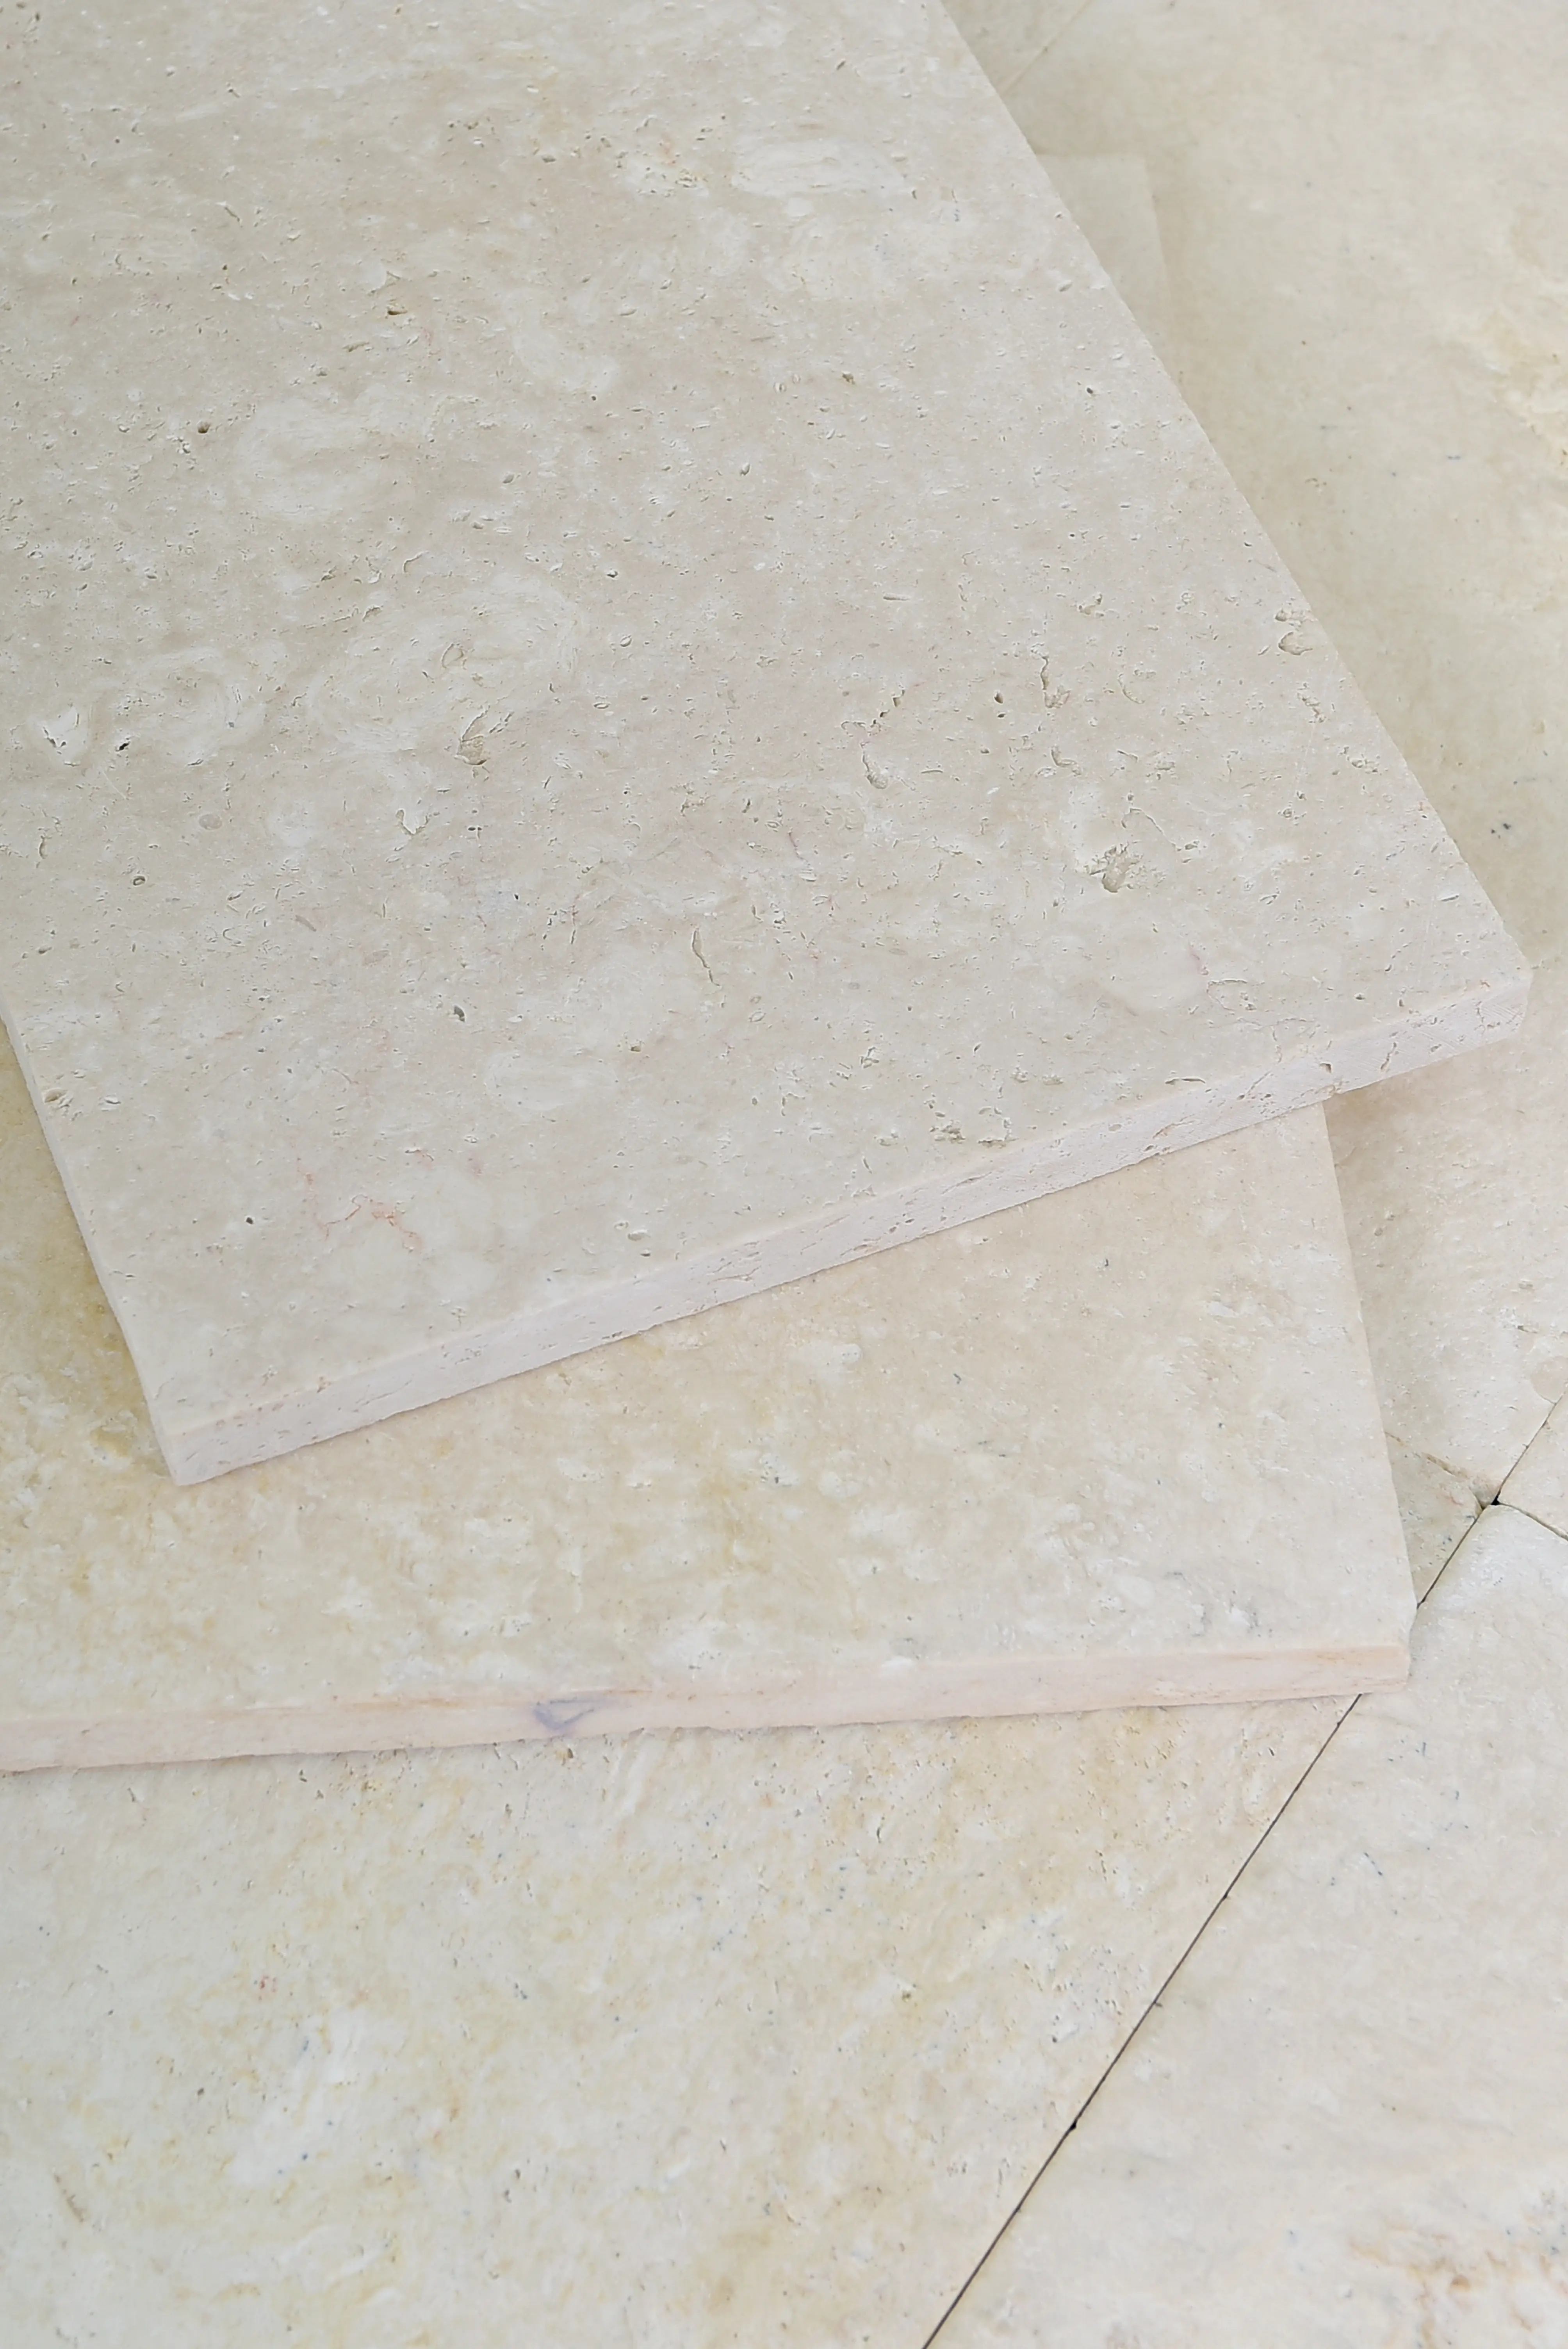
The zero-grout-joint trend looks stunning in renders and miserable in reality when large-format stone is involved. Natural stone exhibits a manufacturing variation called warpage — a slight bow across the face of the tile that is inherent to the cutting and finishing process. The degree of warpage varies by material, finish, and quarry lot, but you can expect 1/32 to 1/16 inch of center-to-face bow on many large-format natural stone products. A grout joint of at least 1/16 inch gives you the offset tolerance to manage that warpage without fighting physics — and a 1/8-inch joint gives you even more working room.
Rectified tiles — cut to precise dimensional tolerances after firing or finishing — allow smaller joints because the edges are machined, not as-cut. But rectified natural stone still exhibits face warpage, and smaller joints still demand flatter substrates. Don’t let the rectified designation lead you to believe you can drop your substrate flatness requirements. At Citadel Stone, we recommend confirming the warpage tolerance on each specific stone lot before committing to a joint width — our technical team can advise based on the specific product and format you’re sourcing.
The Correct Sequence When You Install Floor Tile at Large Scale
Sequence discipline separates clean large-format installations from problem ones. Your mortar application, tile placement, leveling clip insertion, and beating-block seating all need to happen within a defined time window — and that window narrows as room temperature rises. On a hot day in a space without climate control, your effective working window on standard large-format mortar may compress to 12–15 minutes from application to tile placement, even if the bag says 20. When you install floor tile at this scale, temperature management isn’t optional — it’s a specification variable.
Citadel Stone’s warehouse team regularly fields calls from contractors who’ve pulled tile lots from truck delivery in summer heat only to find the slab surface temperature is 30°F above ambient because the stone has been sitting in direct sun during transport. Hot stone placed on mortar accelerates skinning dramatically. The standard fix is simple: store tiles in the shade for at least two hours before installation, and shade your working area if possible. It’s a detail that doesn’t appear on most installation spec sheets but accounts for a meaningful share of bond failures in warm-weather installs.
- Establish working lines first, dry-lay your first two rows to confirm joint alignment, then begin setting from the center outward
- Never step on freshly set large-format tile — use a kneeling board that distributes your weight if you need to work across a set section
- Allow full mortar cure (minimum 24 hours for standard thinset, 16 hours for rapid-set large-format products) before grouting — premature grouting contaminates the joint and can disturb tile position
- Grout large-format natural stone with a non-sanded grout for joints under 1/8 inch, sanded grout for wider joints — check manufacturer compatibility with your specific stone type before purchase
Decision Points for Large Floor Tile Installation
Every large floor tile installation comes down to a sequence of decisions that compound — substrate flatness, mortar selection, back-buttering coverage, leveling system use, joint width, and sequence discipline. Getting any one of these wrong doesn’t just create a marginal result; it often creates a failure that requires full removal and reinstallation. The 1/8-inch-in-10-feet flatness standard and the 80–95% mortar coverage requirement aren’t conservative suggestions from engineers who don’t work in the field — they’re the thresholds below which lippage and delamination become statistically likely. Your specification should treat them as minimums, not targets to approach.
For material planning and lead times, verify warehouse stock levels before committing to a project start date. Large-format natural stone lots need to be confirmed from a single quarry pull to ensure consistent color and warpage characteristics across the full installation area — mixing lots mid-project is one of the more common sources of unexpected lippage that doesn’t trace back to technique. As you refine your project specifications, exploring large format tile layout options can help you align your pattern choice with your lippage control strategy before installation begins. Installers working with Citadel Stone’s heavy stone formats consistently cite full-coverage thinset back-buttering as the single most important step for long-term adhesion.