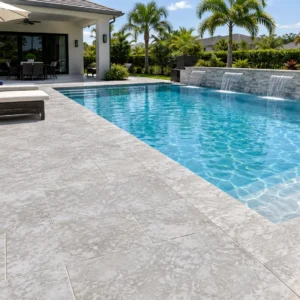
Pattern selection locks in more than aesthetics — it determines grout line continuity, lippage exposure, and how the eye reads the floor’s scale at every viewing distance. Large format floor tile patterns behave fundamentally differently from standard-sized layouts because the reduced joint count changes the visual rhythm of the entire room. A 24×24 tile in a diagonal run creates a completely different spatial perception than the same tile laid straight, and getting that call wrong at the specification stage costs significantly more to correct than it did to decide.
Why Pattern Choice Drives Large Format Performance
The pattern isn’t just a design preference — it directly affects installation complexity, substrate tolerance, and long-term joint behavior. Large format floor tile patterns amplify substrate imperfections more aggressively than smaller tiles because each unit spans a greater area without relief joints to absorb minor variation. A straight lay on an out-of-flat slab will telegraph every low spot through lippage; a rotated or stacked layout may hide some of that variation while introducing new challenges at corners and cuts.
- Straight-lay (grid) patterns require the tightest substrate flatness tolerance — typically no more than 1/8 inch over 10 feet per TCNA guidelines
- Diagonal patterns rotate the lippage exposure by 45 degrees, which can be more forgiving on slabs with directional crowning
- Offset patterns with large format tiles need careful management — standard 33% offset is generally the maximum before warpage-related lippage becomes visually prominent
- Herringbone and chevron layouts with large format tile require precision cuts that add significant labor time and material waste
- Modular and mixed-size patterns create natural visual breaks that can disguise substrate transitions between pour sections
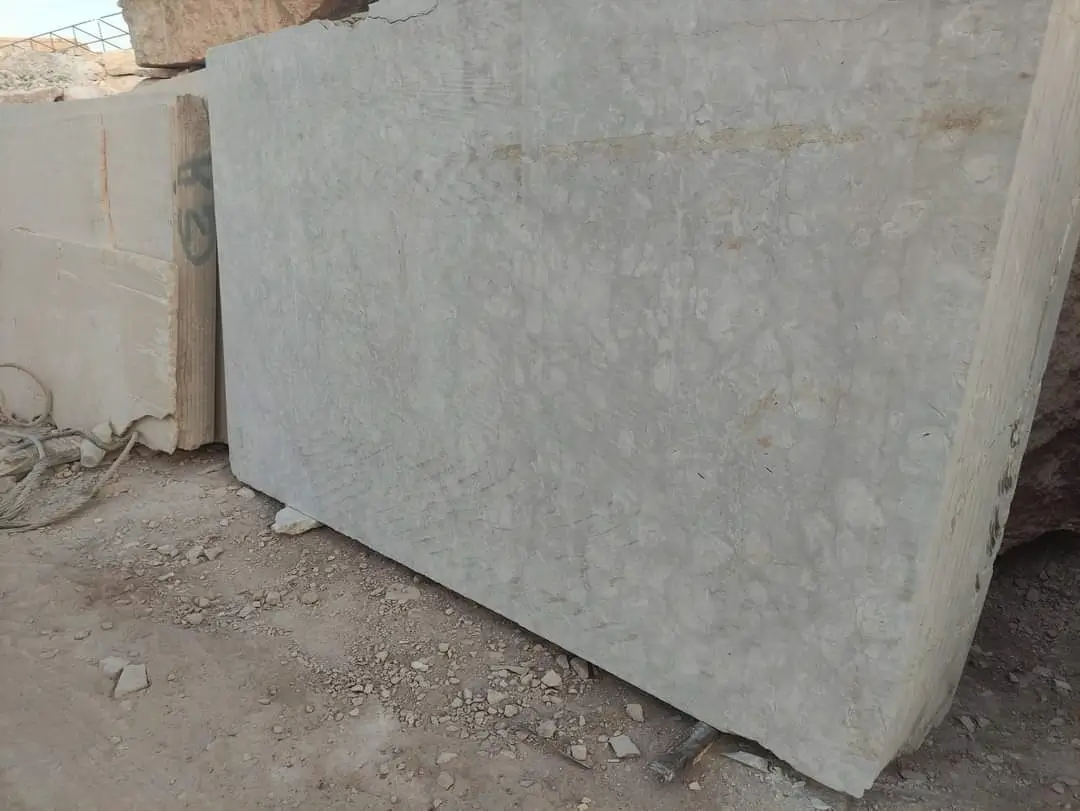
The Core Large Format Floor Tile Patterns
Understanding each layout’s trade-offs before committing to a specification saves costly field revisions. Here’s how the primary large format floor tile patterns actually perform beyond the showroom rendering.
Straight Lay (Grid)
The straight-lay grid aligns all tiles on parallel horizontal and vertical axes with consistent joint spacing — typically 1/16 to 1/8 inch for rectified large format natural stone. It’s the most demanding floor tile pattern for substrate preparation precisely because the continuous grout lines act as a reference grid that exposes any deviation in the slab. You’ll want your flatness check to run in multiple directions, not just the dominant room axis, before committing to this layout. Per TCNA installation standards, large format tiles over 15 inches on any side require an L/720 deflection rating or better in the substrate assembly.
Offset and Brick Patterns
The offset pattern staggers each row so tile joints fall at the midpoint — or some fraction — of the adjacent tile. For floor tile, the debate centers on how much offset is appropriate. A 50% offset (classic brick bond) creates significant leverage across the tile’s width when any warpage exists, which is why specifiers working with large format natural stone typically cap offset at 25–33%. Your setting mortar coverage must reach a minimum of 95% for large format tiles in wet or exterior applications — the edge support at offset joints is critical for long-term stability.
Diagonal (45-Degree) Layout
Rotating the grid 45 degrees relative to the room’s walls creates a dynamic visual effect and draws the eye toward the center of the space rather than the walls. The practical implication is that every perimeter cut becomes a diagonal, which increases waste by 10–15% compared to a straight lay. You’ll also need to establish a precise center point and work outward symmetrically — a detail that’s especially important in rectangular rooms where off-center diagonal starts create an unbalanced perimeter cut pattern.
Versailles and Modular Patterns
The Versailles pattern combines multiple tile sizes — commonly 24×24, 16×24, 16×16, and 8×16 — into a repeating module that creates organic visual complexity without diagonal cuts. This is one of the few large format floor tile patterns that genuinely disguises substrate irregularities because the varied joint lines break up the reference grid. The trade-off is layout complexity: you need to establish the module repeat carefully, and any deviation from the repeat dimension in the tile batch creates visible pattern breaks at module boundaries.
Herringbone and Chevron
Herringbone arranges rectangular tiles in a V-shaped zigzag, while chevron uses tiles cut at an angle so the pattern forms continuous V-shapes without the staggered joint of true herringbone. Both patterns are labor-intensive with large format tiles and generate substantial cut waste — budget 20% overage. These patterns work best in elongated rooms where the directional arrow of the pattern can run along the room’s longest axis, amplifying the sense of depth.
Floor Tile Selection for Pattern Performance
The pattern you choose should inform your tile selection, not the other way around. For straight-lay and offset patterns where lippage is the primary risk, rectified tiles with consistent edge geometry are essential. A calibrated tile — where dimensions are consistent but edges aren’t precision-ground — introduces enough variation in 24×24 format to create visible lippage in tight-joint applications. Natural stone tiles, including travertine, require particular attention here because quarry variation affects both dimension and warpage across a batch.
Porosity matters for grout joint sizing too. Dense, low-absorption natural stone accepts minimal joint widths cleanly; more porous stone benefits from slightly wider joints that allow grout to key in without hollow edges. If you’re working with a material like travertine for a Versailles or modular layout, consider how the filled versus unfilled finish affects grout joint blending at the varied module boundaries. The NSI ASTM tile stone specifications provide absorption class guidance that directly informs minimum joint width decisions for natural stone in wet and dry environments.
For projects calling for a classic 24×24 format with proven dimensional consistency, 24×24 Travertine Tile offers the calibrated edge geometry that straight-lay and offset patterns demand in large format applications.
Substrate Preparation by Pattern Type
Substrate prep requirements shift meaningfully based on which pattern you’ve specified. Straight-lay grids expose the slab’s flatness most aggressively and require the most intensive prep investment. Diagonal and modular patterns are somewhat more forgiving, but “more forgiving” shouldn’t become an excuse for marginal base conditions.
- Straight-lay on large format floor tile: grind or skim-coat to within 1/8 inch over 10 feet before layout
- Diagonal layout: check flatness along the 45-degree axis specifically — a slab flat on its primary axes can still crown diagonally
- Versailles and modular patterns: check flatness across the full module repeat distance, not just individual tile spans
- Herringbone: the angular cuts create points that are vulnerable to chipping if the substrate has any soft spots — use a medium-bed mortar with anti-fracture membrane in high-traffic areas
- All large format natural stone: back-butter individual tiles in addition to notched mortar application to achieve required coverage
ASTM C627 (Robinson Floor Test) provides the structural adequacy classification you should verify for large format tile assemblies in commercial applications — ASTM natural stone tile testing standards outline the test methodology and minimum ratings by use classification.
Seasonal Timing and Installation Windows
Ambient temperature and humidity at installation time affect large format floor tile patterns in ways that smaller tile formats mask. Polymer-modified thin-set mortars used for large format tiles have open time and slump specifications rated for 65–85°F ambient conditions. Outside that band, your working window and adhesive behavior shift significantly.
- In cooler installation periods (below 55°F), thin-set cure time extends considerably — delay grouting by at least 48–72 hours rather than the standard 24, and verify mortar cure before loading the floor
- Warm installation windows above 90°F accelerate open time dramatically — back-buttering technique becomes even more critical because the mortar ridges on the substrate can begin skinning before the tile is placed
- Morning installations in temperature-variable conditions allow you to work during the coolest, most stable part of the day — adhesive open time is most predictable before afternoon heat peaks
- Scheduling large format natural stone installation during moderate-temperature windows minimizes mortar behavior variability and gives you maximum working time for the precise alignment these patterns require
- Newly poured concrete slabs should cure for a minimum of 28 days before large format tile installation — moisture vapor emission rates above 3 lbs per 1,000 sq ft per 24 hours require a vapor-rated uncoupling membrane
Grout joint curing is similarly sensitive to seasonal conditions. Epoxy grouts used in commercial large format applications can become unworkable quickly in high ambient temperatures — plan your grouting sessions for early morning in warm installation seasons and avoid grouting in direct sunlight on slabs with solar exposure.
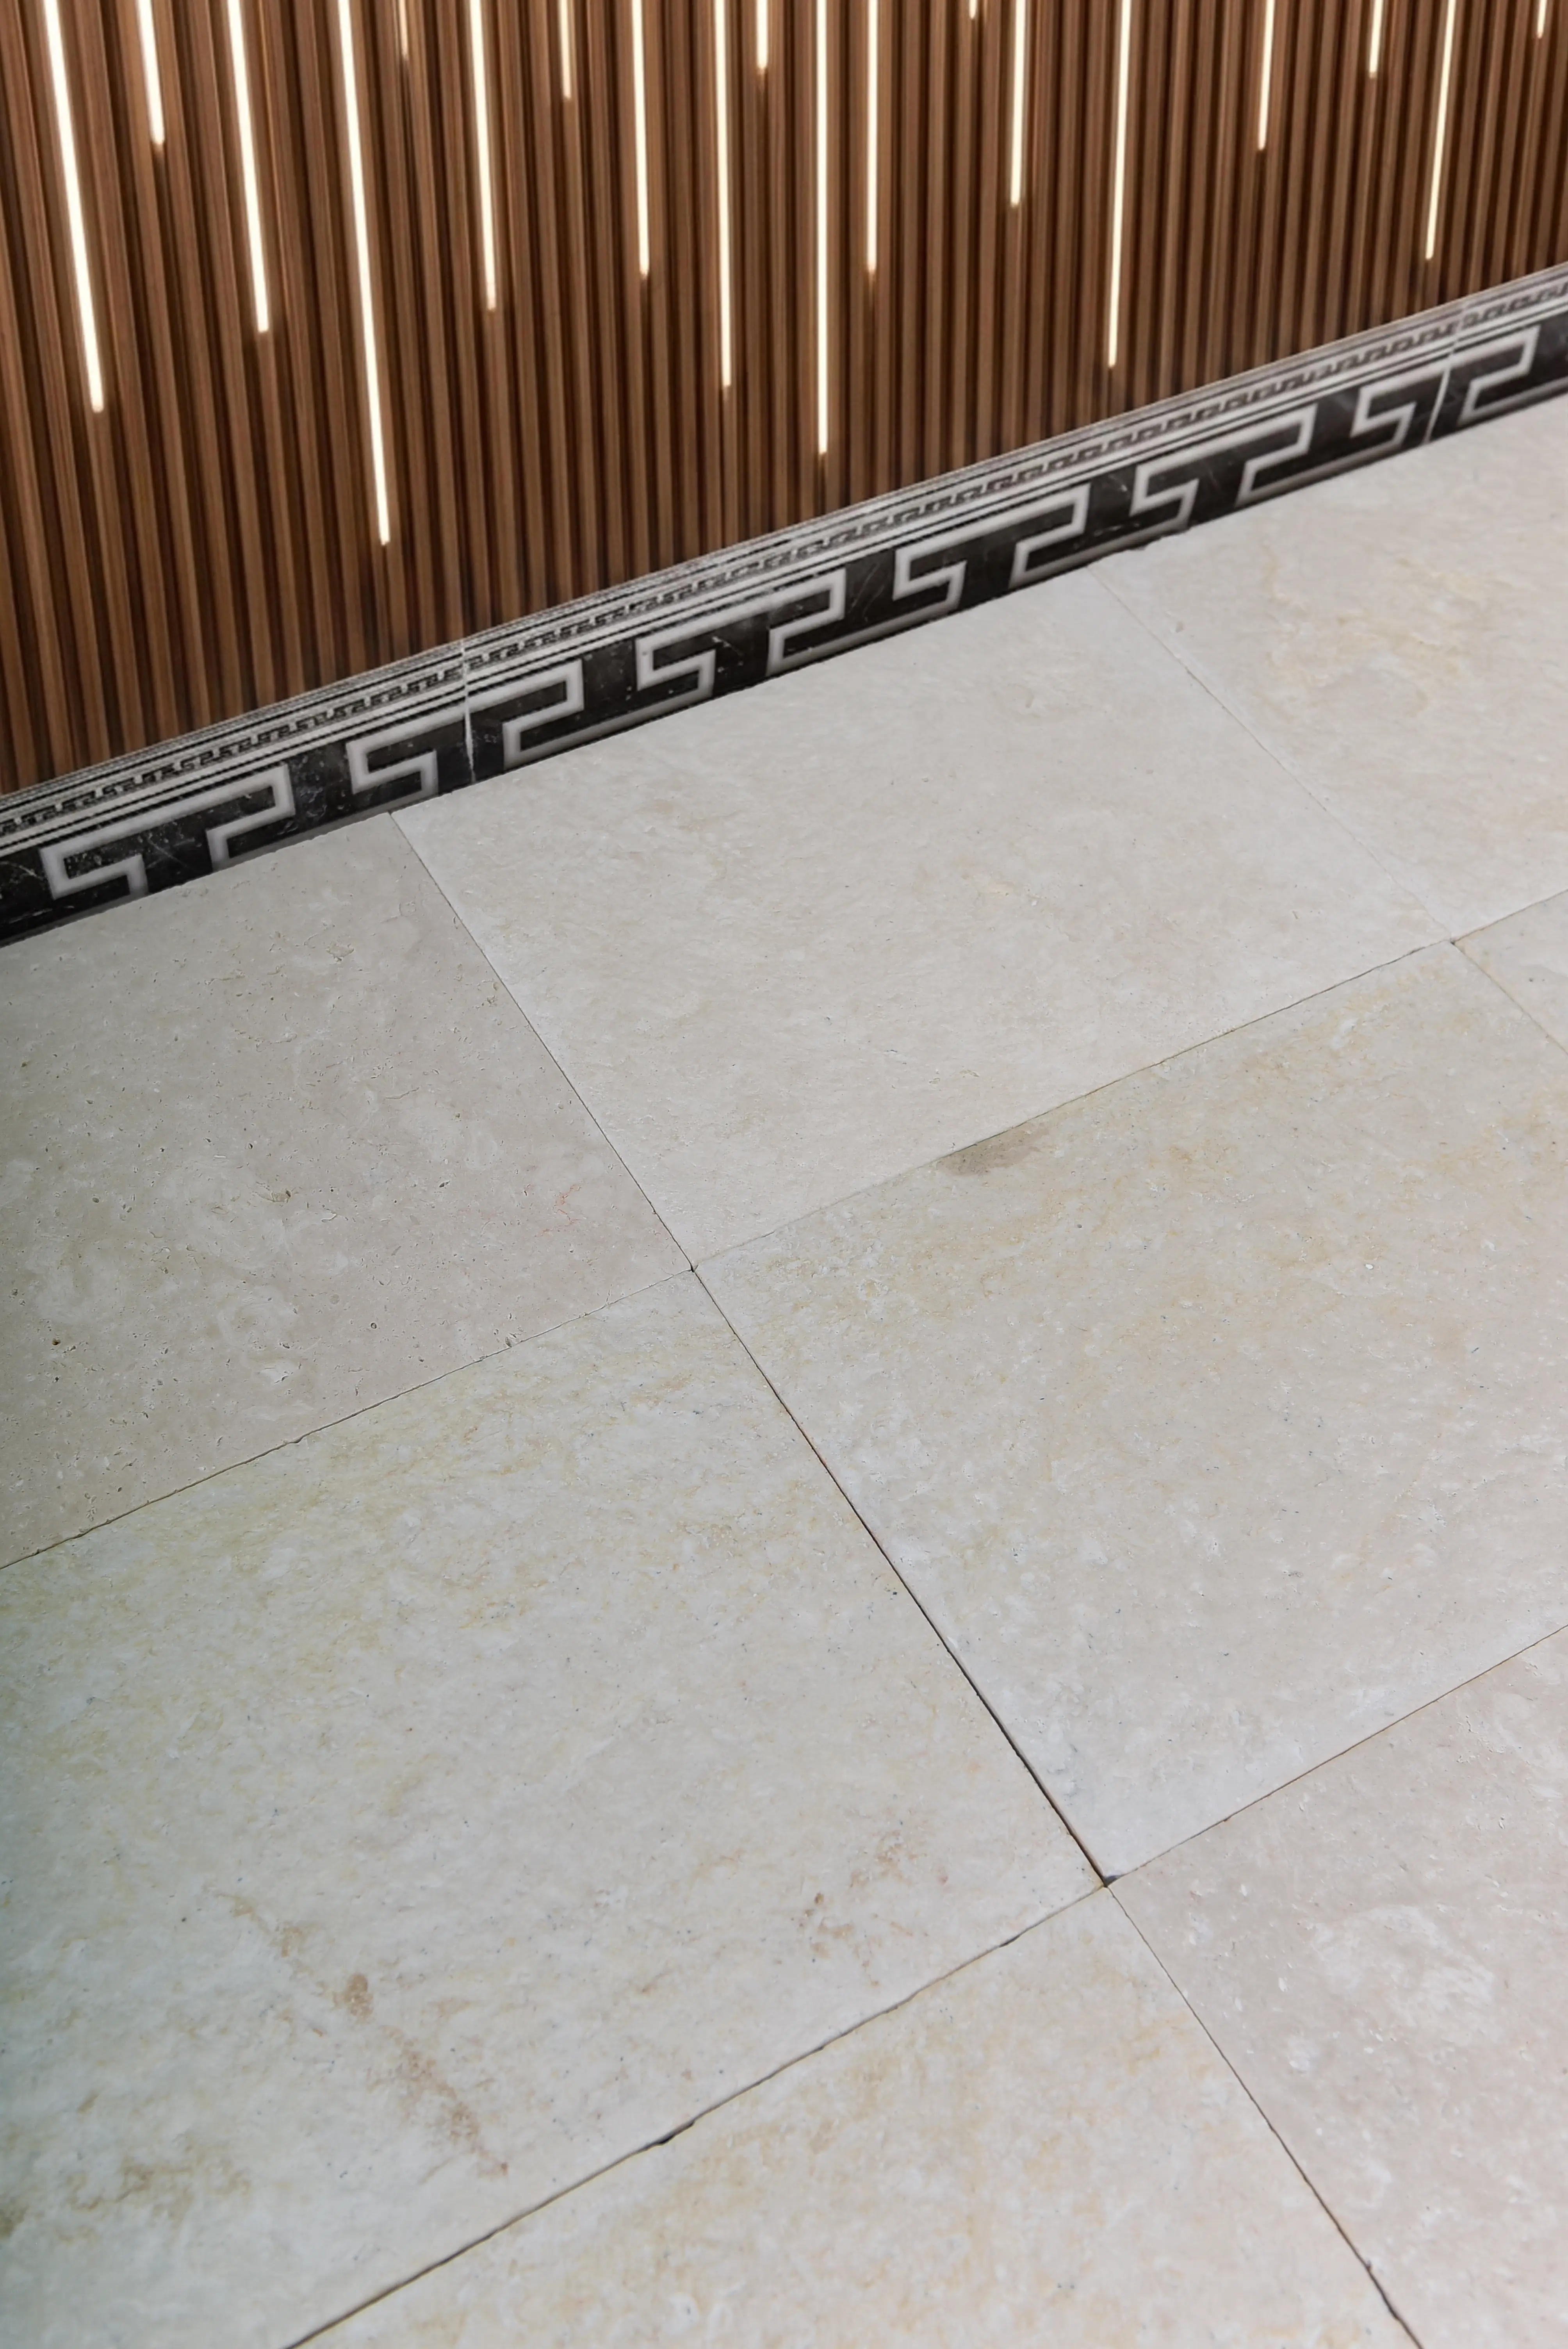
Planning Layout, Cutting, and Material Orders
Your pattern choice has a direct impact on how much material to order and how to stage delivery logistics. Waste factors vary widely across the major large format floor tile patterns, and underordering is one of the most common and costly field mistakes in large format work.
- Straight-lay grid: 10% overage for standard rooms, 12–15% for rooms with multiple protrusions and niches
- Diagonal 45-degree: add 15% minimum for perimeter cuts — more in narrow rooms where diagonal cuts dominate
- Versailles modular: 12–15% to account for module-matching cuts at perimeter and at interruptions like columns
- Herringbone and chevron: 20–22% waste factor is standard for large format natural stone due to angled cuts
At Citadel Stone, we recommend confirming your pattern and waste factor before placing a material order, because large format natural stone is typically batch-sourced and color-matching a second order from the same quarry block isn’t always possible. Warehouse lead times for large format natural stone run 1–2 weeks from confirmed stock — verify availability before finalizing your project schedule, particularly for larger orders where multiple pallets need to ship together on a single truck delivery to minimize handling damage risk.
Grout Joint Sizing and Finish Decisions
Grout joint width in large format floor tile patterns is more than an aesthetic choice — it affects the structural behavior of the tile assembly and the visual continuity of the pattern. Tight joints (1/16 inch) on rectified stone create a near-seamless plane that emphasizes the material’s veining and color. Wider joints (3/16 to 1/4 inch) allow for minor dimensional variation across the tile batch and provide more forgiveness in diagonal and offset patterns where cuts create exposed edges.
Your finish selection also interacts with pattern geometry. Honed or brushed finishes on natural stone in a straight-lay pattern create a calm, understated directional effect. Polished finishes amplify reflectivity across the continuous joint lines in a grid pattern, which makes the room feel larger but also reveals any lippage more clearly under raking light. In herringbone or chevron patterns, a honed finish tends to read better because the pattern itself provides the visual interest without competing with surface sheen.
Getting Large Format Floor Tile Pattern Specifications Right
Large format floor tile patterns reward careful pre-installation planning at every stage — pattern choice, substrate prep, material ordering, and timing all compound one another. The specifications that define long-term performance aren’t complex, but they require you to make decisions in the right sequence before the first tile goes down. Your pattern determines your substrate tolerance requirement, which determines your prep scope, which determines your schedule — getting that chain right from the start is what separates an installation that performs for decades from one that shows distress within the first few seasons. For a closer look at how material thickness relates to pattern and application decisions, stone tile thickness considerations covers the specification variables that inform large format natural stone selection. Designers working with Citadel Stone’s large-format tiles often find that straight-lay patterns amplify the stone’s natural veining into a continuous floor composition.