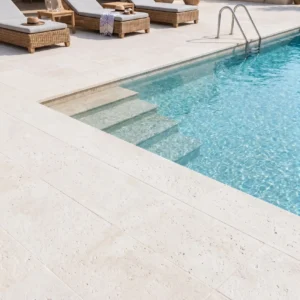
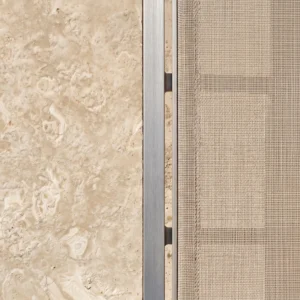
Stone kitchen floor tile ideas look straightforward on paper, but the material decisions that separate a cohesive 20-year installation from a dated 10-year one happen long before a single tile is set. The format, finish, and stone species you choose dictate everything downstream — your grout joint width, sealer schedule, and how the floor reads against vertical surfaces. Natural stone brings a depth and variation that manufactured tile can’t replicate, but it also demands more precision at the specification stage.
Why Natural Stone Works Differently in Kitchens
Kitchens are arguably the harshest interior environment a floor tile faces. You’re dealing with thermal cycling from radiant heat or underfloor systems, intermittent water exposure at the sink and dishwasher, grease migration, and point loads from dropped cast iron. Natural stone handles these demands well when it’s correctly specified, but it responds to each one in ways that engineered tile doesn’t. Porosity, for example, isn’t a weakness — it’s a characteristic you manage through finish selection and sealer maintenance. Honed and brushed finishes are significantly more forgiving in high-traffic kitchens than polished surfaces, which show scratches and etching from acidic spills faster than most homeowners anticipate.
Your finish choice also changes your slip resistance profile, which matters at the sink and near the range. According to NSI stone tile standards, honed and flamed finishes consistently outperform polished surfaces on DCOF (dynamic coefficient of friction) testing — a critical factor in any kitchen floor specification. Polished surfaces can still work in lower-traffic zones or when paired with textured runners, but you should design around their limitations rather than hope they’re not a problem.
Stone Species to Consider for Your Kitchen Floor
The stone you choose sets the tonal and textural baseline for your entire kitchen. Each species behaves differently under kitchen conditions, and understanding those differences upfront saves you from a costly correction later.
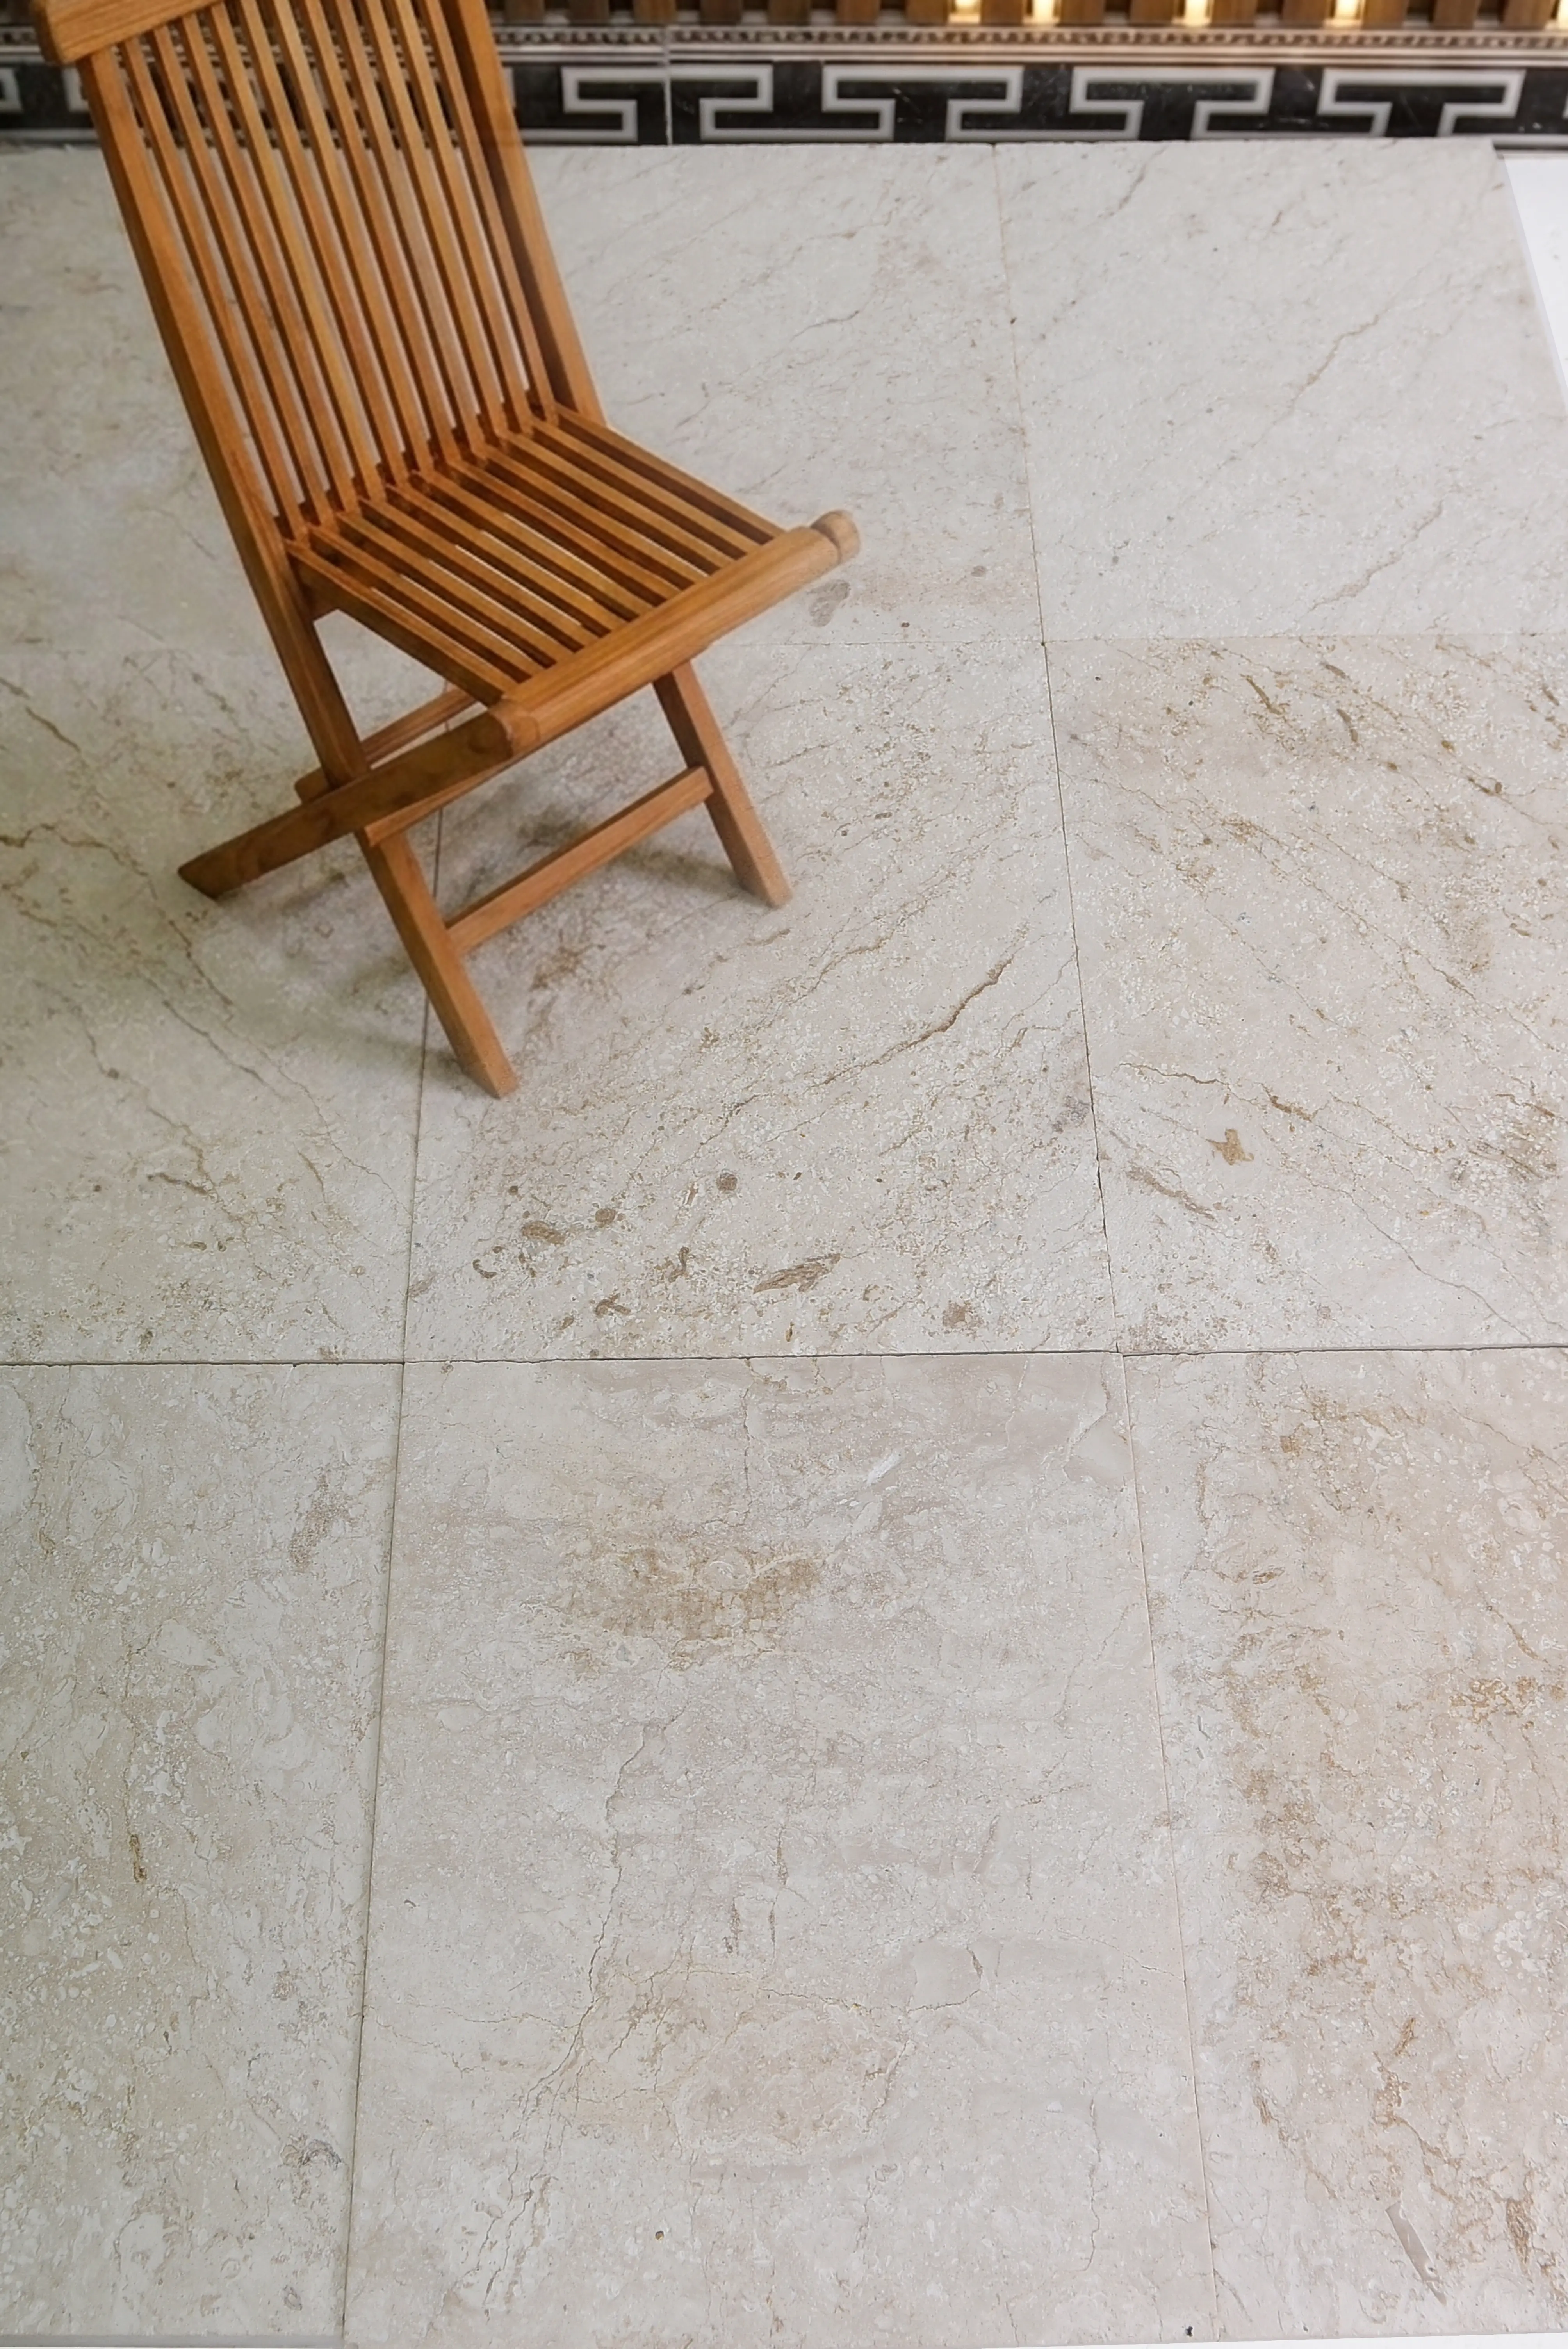
- Travertine brings warm, creamy tones that work exceptionally well alongside wood cabinetry and natural-finish metals. Its open-pore structure requires filling — either factory-filled or epoxy-filled on site — before installation in a kitchen context, where food debris and cleaning chemicals would otherwise accumulate in the voids.
- Limestone offers a quieter, more uniform appearance than travertine with excellent compressive strength. Harder limestone varieties — Belgian blue, Jura grey — hold up to heavy use and resist surface abrasion over decades of service life. Softer cream limestones are beautiful but need more diligent sealing in acidic environments.
- Basalt delivers a dense, dark-toned surface with extremely low absorption rates, making it one of the most resilient options for a busy kitchen. Its hardness means you’ll need diamond blades and experienced cutters, which adds to fabrication cost.
- Marble works in kitchen settings but demands honesty about expectations — etching from lemon juice, vinegar, and wine is a reality, not a defect. Many designers now embrace the patina that develops, but you should enter that decision with your eyes open.
- Quartzite (not to be confused with engineered quartz) is one of the hardest natural stone options available and handles kitchen conditions extremely well. Its silica-based composition makes it highly resistant to acid etching, which immediately differentiates it from calcium-carbonate stones.
Kitchen Floor Tile Ideas by Format and Layout
Format is one of the most impactful decisions in your stone kitchen floor tile design. The same travertine tile in a 12×12 format reads completely differently than in a 24×24 or a 16×16 herringbone — and each format creates different practical constraints around grout joints, lippage control, and base flatness requirements.
Large-format tiles (18×18 and above) read as expansive and contemporary. They reduce grout joint frequency, which many homeowners prefer from a maintenance standpoint, but they demand a flatter substrate — typically FL25 or better — or you’ll fight lippage throughout the installation. Smaller formats, particularly 12×12 and below, are more forgiving on substrate deviation and open up pattern options like herringbone, basketweave, and running bond that add significant visual interest without requiring exotic stone.
- Straight lay (grid): The most efficient layout for stone kitchen floor tile ideas — minimal waste, straightforward installation, works well in contemporary and transitional kitchens.
- Diagonal (45°): Visually expands smaller kitchens and adds movement. Expect 10–15% more waste in your material order to account for cut pieces at perimeter walls.
- Herringbone: A high-impact pattern that works particularly well with elongated formats like 4×12 or 6×12 stone planks. Installation is more labour-intensive, and substrate flatness becomes even more critical.
- Random ashlar: Multiple tile sizes combined in a pattern — typically three sizes in a repeating sequence. Creates an organic, old-world aesthetic that pairs well with rustic cabinetry and farmhouse kitchen styles.
- Versailles pattern: A four-piece random module pattern common in travertine installations. Requires careful layout planning to avoid awkward cuts at room boundaries.
Travertine and Limestone in Kitchen Settings
These two materials dominate residential kitchen floor tiles for good reason — their warm, mid-tone palettes work across a wide range of cabinet colours and hardware finishes, and their scale of variation (from nearly uniform to dramatically veined) gives you control over how busy the floor reads against other pattern elements in the kitchen. For projects where you need a tile that anchors the room without competing with complex cabinetry or backsplash patterns, a honed ivory travertine or a brushed cream limestone is almost always the right call.
For large-format applications specifically, the 24×24 Travertine Tile format is a practical specification choice — large enough to read well in open-plan kitchen layouts while remaining manageable for standard mortar-bed installations without the extreme substrate flatness demands of 36×36. At Citadel Stone, we source travertine directly from select quarries, and our warehouse quality checks include thickness calibration to tight tolerances, which significantly reduces lippage risk during installation.
Limestone for kitchen floors deserves a separate note on hardness grading. The Mohs hardness of limestone varies considerably by variety — from around 3 for soft calcitic types to 4–5 for denser selections. For kitchen floor tiles that will see heavy chair movement or regular foot traffic, specifying a limestone with an abrasion resistance index above 10 (per ASTM C241) will meaningfully extend your service life compared to selecting on colour alone.
Finish Selection: Practical Guidance
The finish you specify changes the functional performance of your stone kitchen floor tile as much as the species choice. This is where many projects go sideways — selecting a finish based on showroom appearance without accounting for the actual kitchen environment the floor will live in.
- Honed: Flat matte surface, low specular reflection, best DCOF performance, shows fewer fine scratches, easier to maintain in food environments. The workhorse finish for most residential kitchen floors.
- Brushed/antiqued: Textured surface with directional grain, excellent slip resistance, conceals wear and minor chipping better than any other finish. Particularly well-suited to travertine and limestone.
- Polished: High gloss, dramatic vein definition, lower DCOF — suitable in lower-traffic zones or formal kitchen spaces with limited wet exposure. Requires more frequent maintenance to preserve appearance.
- Flamed: Thermally roughened surface, extremely high slip resistance, primarily used in commercial or heavily active residential kitchens. Colour shifts significantly under the flaming process.
- Tumbled: Rounded edges and distressed surface, strongly aged aesthetic — pairs with farmhouse and Tuscan kitchen styles but the irregular surface can trap food debris if grout joints aren’t sealed correctly.
According to ASTM stone tile absorption, strength, and slip resistance standards, even within the same stone species, surface finish creates measurable differences in water absorption rates and DCOF values. A polished limestone tile will absorb liquids faster than the same tile in a honed or brushed finish because polishing partially closes surface pores on some varieties but introduces micro-scratches that become entry points over time.
Stone Kitchen Floor Tile Design for Open-Plan Spaces
Open-plan kitchens create a specific specification challenge — your stone kitchen floor tile design has to read well across the kitchen zone, the dining area, and often the living space simultaneously. A format or pattern that looks dynamic in a contained kitchen can feel chaotic when it runs through 1,500 square feet of continuous floor plane.
The most reliable approach in open-plan applications is to prioritise tonal continuity over pattern complexity. A large-format honed limestone or travertine in a consistent grid lay creates a quiet, cohesive background that lets furniture and vertical surfaces carry the visual interest. Where designers run into trouble is specifying a complex layout pattern — Versailles, herringbone, diagonal — that competes with island pendants, open shelving, and exposed structural elements for visual attention.
- In open-plan layouts over 600 sq ft, limit your layout pattern to straight or diagonal grid — pattern complexity scales poorly at large floor areas.
- Use tone shifts (darker grout, lighter stone, or a border detail) to visually define the kitchen zone without breaking the floor continuity.
- Expansion joints every 15–20 feet are non-negotiable in large continuous installations — natural stone’s thermal expansion means these joints do real work, and omitting them leads to tenting failures in year 3–5.
- At the transition between zones, avoid threshold strips where possible — a clean continuation of the same tile with a deliberate grout joint reads far more professionally than a metal transition bar.
Installation Timing and Seasonal Considerations
The timing of your stone floor installation matters more than most project schedules account for. Thinset and tile adhesive manufacturers specify application temperatures for good reason — polymer-modified mortars cure through a moisture-driven chemical process that’s highly sensitive to ambient temperature and humidity. In unheated spaces or during cool-season work, adhesive that appears set on the surface may remain green underneath for 48–72 hours longer than the printed working time suggests.
For kitchen floor installations specifically, the practical sweet spot is ambient temperatures between 50°F and 90°F throughout the setting and curing window — typically 72 hours post-installation. Cool-season projects in unheated or poorly heated spaces are among the most common root causes of debonding failures that present 12–18 months after installation, well past the point where the installer is typically still on site. If you’re scheduling an installation during colder months, verify that the space can maintain minimum temperature not just during the work day but overnight when ambient temperatures drop.
- Morning installation sessions in summer allow you to work during cooler temperatures — adhesive open time extends meaningfully below 80°F, giving you better adjustment time for large-format tiles.
- In warm months, avoid adhesive mixing or tile placement in direct sunlight — surface temperatures on stone tile can spike 20–30°F above ambient, accelerating skinning and reducing bond strength.
- Grout installation typically needs a minimum of 24 hours after thinset cure — in cool conditions, extend this to 48 hours before introducing any foot traffic or cleaning water.
- Seasonal humidity also affects grout cure — high summer humidity slows water evaporation from cement-based grouts, which can extend the window before haze removal is needed.
From a project planning standpoint, scheduling delivery from the warehouse around installation timing is equally important. Stone tile that arrives and sits in an unconditioned garage through temperature extremes for several weeks before installation should be moved to the conditioned interior 24–48 hours beforehand to equalise temperature and humidity with the substrate. This simple step eliminates a common source of adhesion inconsistency that’s easy to overlook on busy project timelines.
Sealing and Maintenance for Kitchen Stone Floors
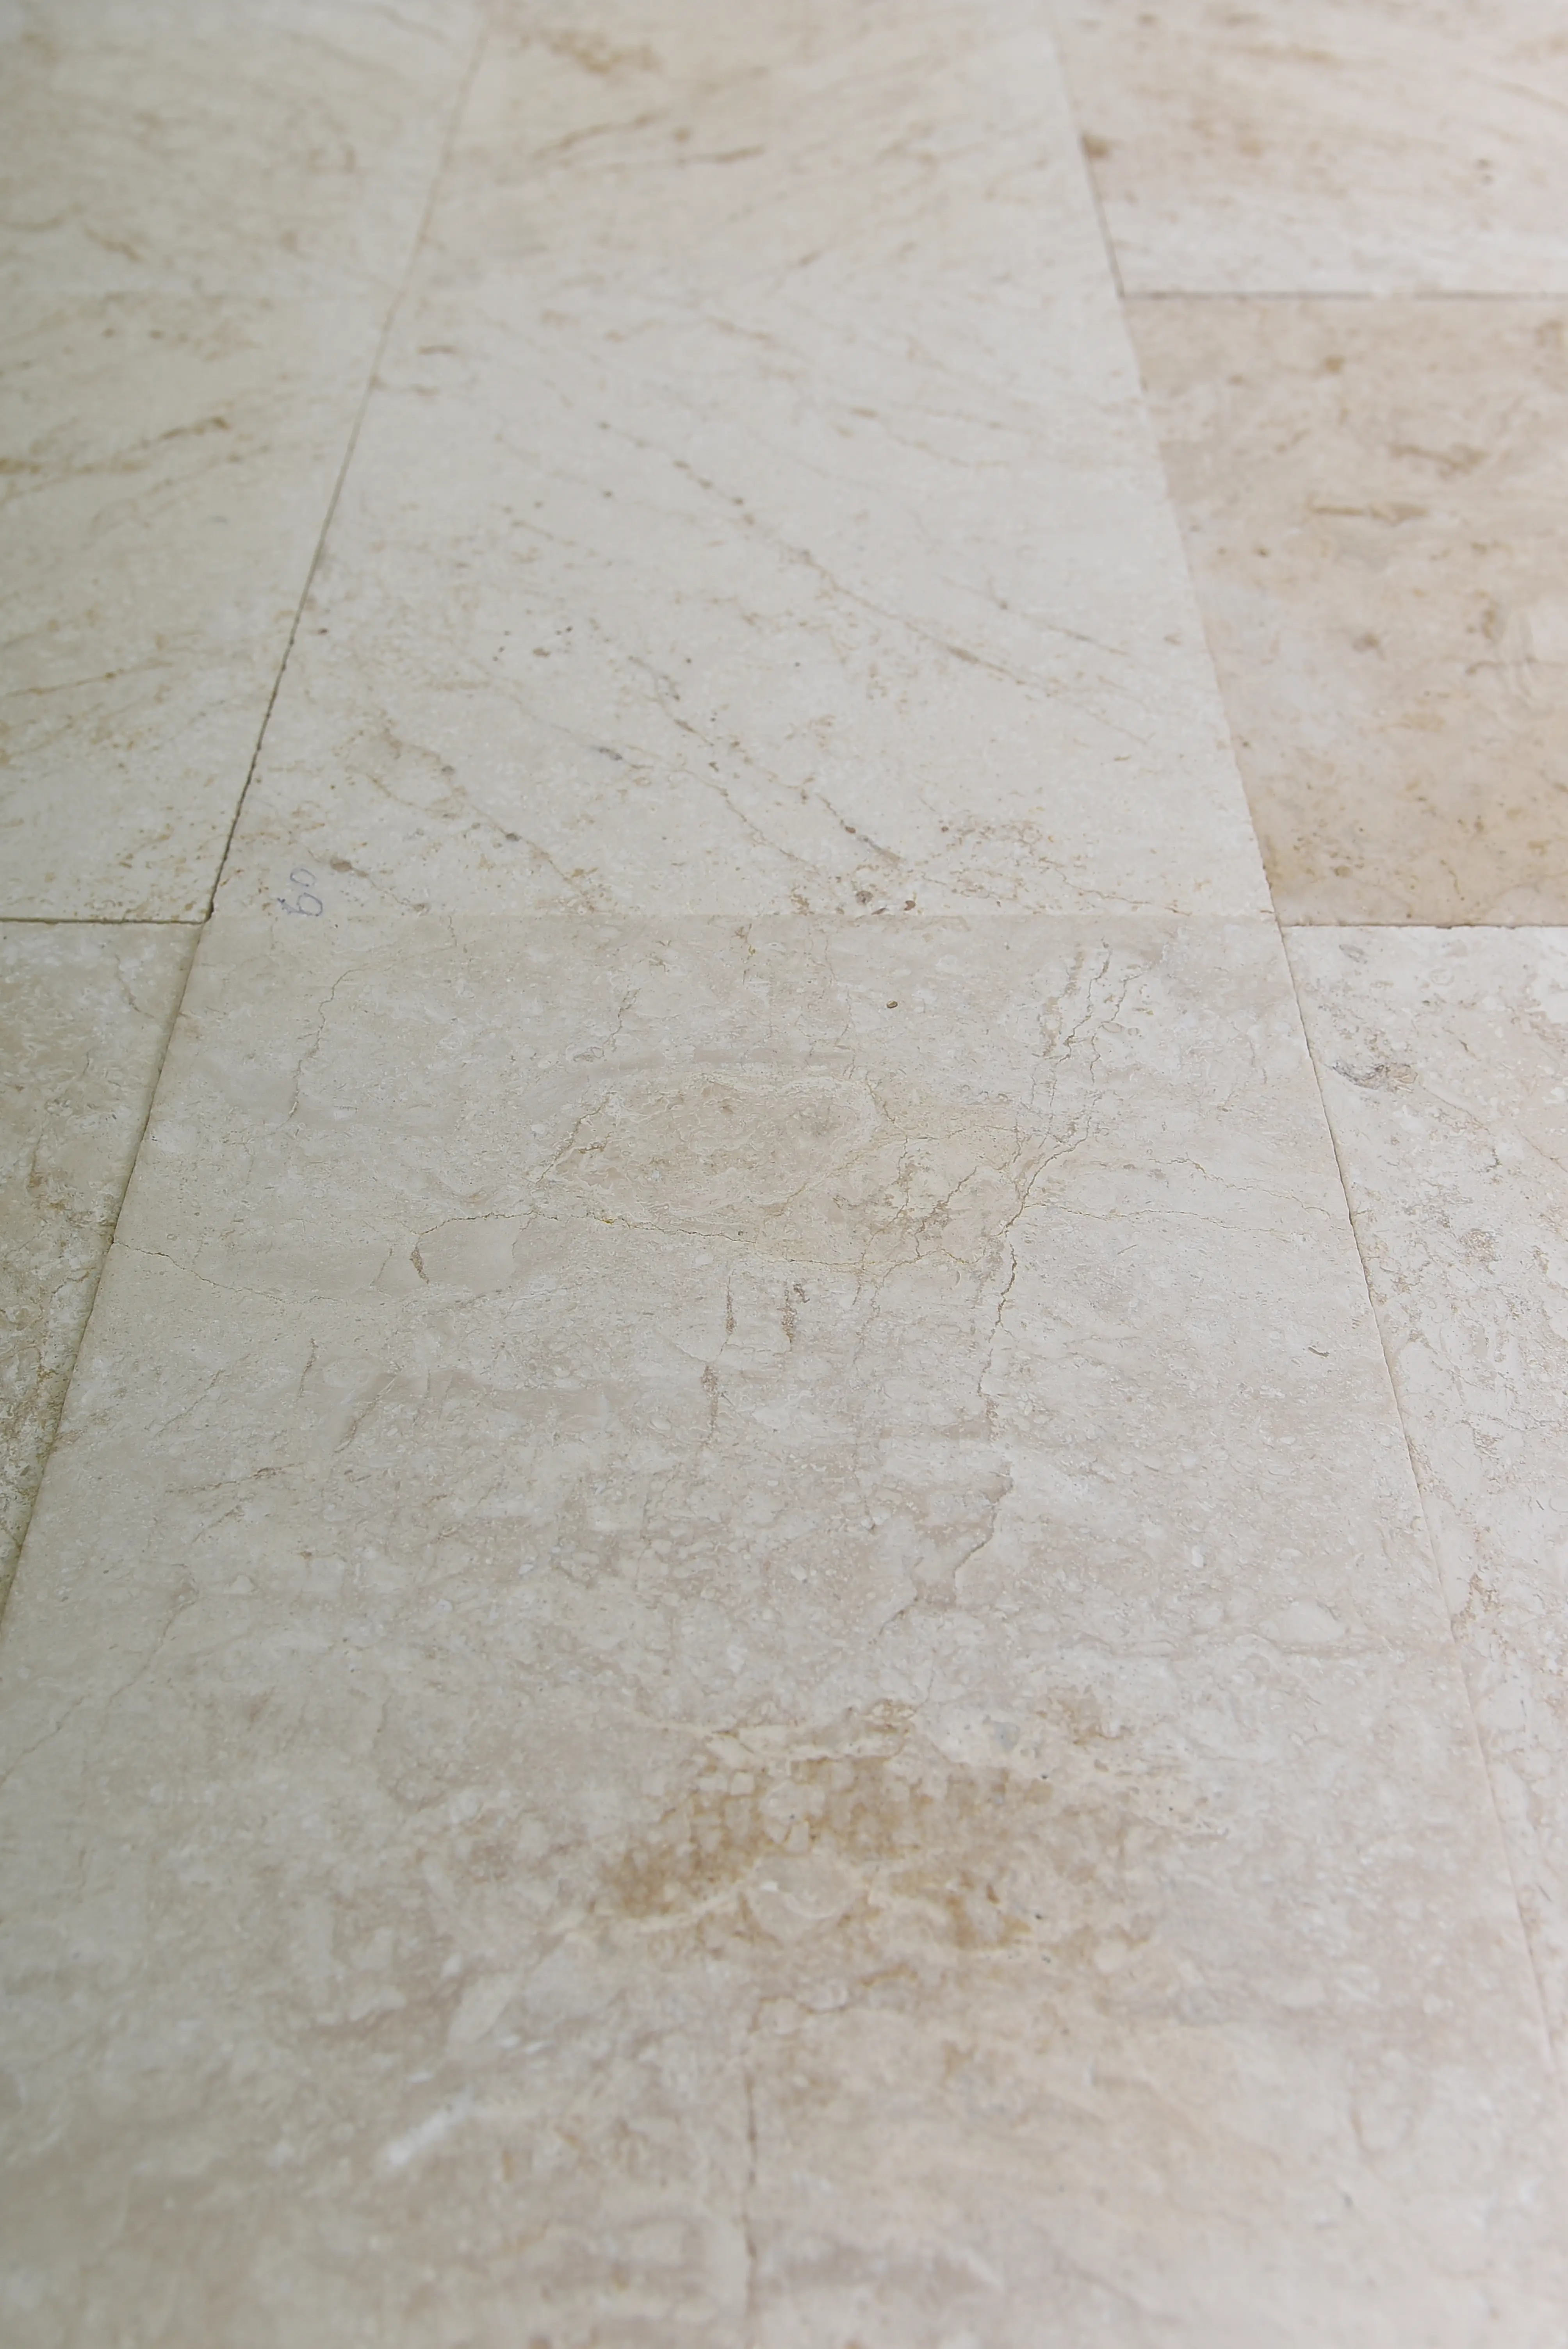
Sealing natural stone in a kitchen is not optional — it’s a scheduled maintenance task that begins before grout installation and repeats on a cycle determined by traffic and stone porosity. A penetrating impregnating sealer (silane or siloxane-based) is the right specification for kitchen floors: it penetrates the stone matrix, lines the pore walls, and repels water and oil without forming a surface film that can peel or yellow.
Surface-coating sealers (topical sealers) have no place on a kitchen floor. They build up, scratch, and require stripping rather than simple reapplication. The common failure mode is a homeowner applying a topical sealer over a penetrating one and trapping moisture underneath, which creates haze and adhesion problems that are expensive to correct.
- Apply penetrating sealer to the back face of each tile before setting where the stone is highly porous — this prevents thinset moisture from staining the stone face during installation, a common issue with unfilled travertine.
- Seal the surface and grout joints simultaneously 48–72 hours after grout cure is complete.
- Test for sealer refresh by placing a few drops of water on the surface — if it beads for 3–4 minutes, protection is adequate. If it absorbs within 60 seconds, reseal that area.
- High-traffic kitchen floors typically require sealer refresh every 12–24 months. Lower-traffic applications can extend to 36 months.
- Use pH-neutral cleaners exclusively — acidic cleaners (many common kitchen degreasers) will etch calcium-carbonate stones and degrade sealer performance faster than any foot traffic would.
The TCNA natural stone tile installation standards provide detailed guidance on substrate preparation and sealing protocols that align with what the best stone installers follow in the field. Referencing these standards in your specification document also gives you a defensible baseline if installation quality issues arise later.
Ordering and Project Planning
Material ordering for kitchen floor tile ideas requires a waste calculation that goes beyond simple square footage. For straight-lay installations on rectangular rooms, a 10% overage is usually adequate. For diagonal or herringbone layouts, move to 15%. For Versailles pattern or rooms with significant angles, alcoves, and islands, 18–20% is more appropriate. Order all tile from the same production batch (same lot number) — colour variation between production runs can be subtle enough to pass initial inspection but noticeable once installed side by side.
Citadel Stone maintains warehouse inventory across a range of travertine and limestone formats, and our team can typically confirm lot availability and coordinate truck delivery to your project within standard lead times — a meaningful advantage over special-order import timelines that can run 8–12 weeks. For time-sensitive projects, confirm warehouse stock levels before finalising your installation schedule, as format-specific inventory fluctuates with project demand.
- Verify that the tile you select is calibrated to consistent thickness tolerances — non-calibrated stone requires more mortar adjustment and increases lippage risk on large-format installations.
- Confirm that your selected quantity is available from a single production batch before committing to an installation date — splitting across two batches is manageable for small sections but can create visible tonal shifts in open-plan layouts.
- Factor in a realistic delivery window when scheduling your installer — kitchen renovations with cabinetry and appliance coordination have compressed windows where a truck delivery delay of even 3–4 days can cascade through the entire project timeline.
Getting Your Stone Kitchen Floor Specification Right
The stone kitchen floor tile ideas that produce the best long-term results share a common thread — material selection, format, finish, and installation method are treated as a connected system rather than independent choices. Your finish dictates your sealer type. Your format dictates your substrate flatness requirement. Your stone species dictates your maintenance protocol and your tolerance for etching and wear. Getting these decisions aligned before the first tile is ordered is what separates a floor that looks as good in year 15 as it did on installation day from one that’s already showing regret by year 5.
For additional context on format decisions that translate across stone flooring applications, how format choice shapes stone floor performance is worth reviewing as you finalise your kitchen floor specification. Warm-toned travertine from Citadel Stone pairs naturally with wood cabinetry, making it a recurring material in open-plan kitchen floor designs across the country.
Related reading: large format floor tile patterns · how to install large floor tile.