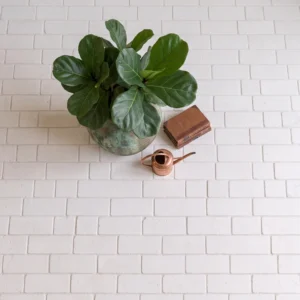
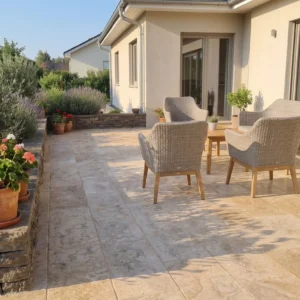
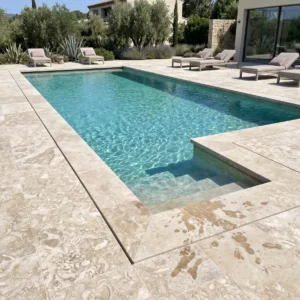
Why Format Drives Everything in Tile Selection
The 16×16 floor tile sits at a specification crossroads that most designers recognize only after they’ve committed to a layout — it’s large enough to minimize grout lines and create visual continuity, yet compact enough to navigate architectural constraints that defeat larger formats. Your tile format decision doesn’t just affect aesthetics; it determines how the substrate performs under load cycling, how thermal expansion distributes across the field, and whether your installation absorbs minor subfloor irregularities or amplifies them. Understanding these dynamics before you specify saves costly mid-project corrections.
Field performance data on 16×16 floor tile shows a consistent pattern: installations that fail within the first five years almost always trace back to substrate preparation gaps, not material defects. The format demands a deflection-resistant base — L/360 minimum for residential applications, L/480 for commercial — and any deviation from that standard shows up as lippage or grout joint cracking within two heating and cooling cycles. Get the base right, and the tile performs for decades.
Material Options for the 16×16 Format
Your choice of material within the 16×16 format shapes maintenance expectations, surface temperature behavior, and long-term structural contribution more than the format itself. Natural stone, ceramic, and porcelain each deliver a distinct performance profile — and understanding the trade-offs lets you match material to application with confidence rather than guesswork.
Natural Stone in the 16×16 Format
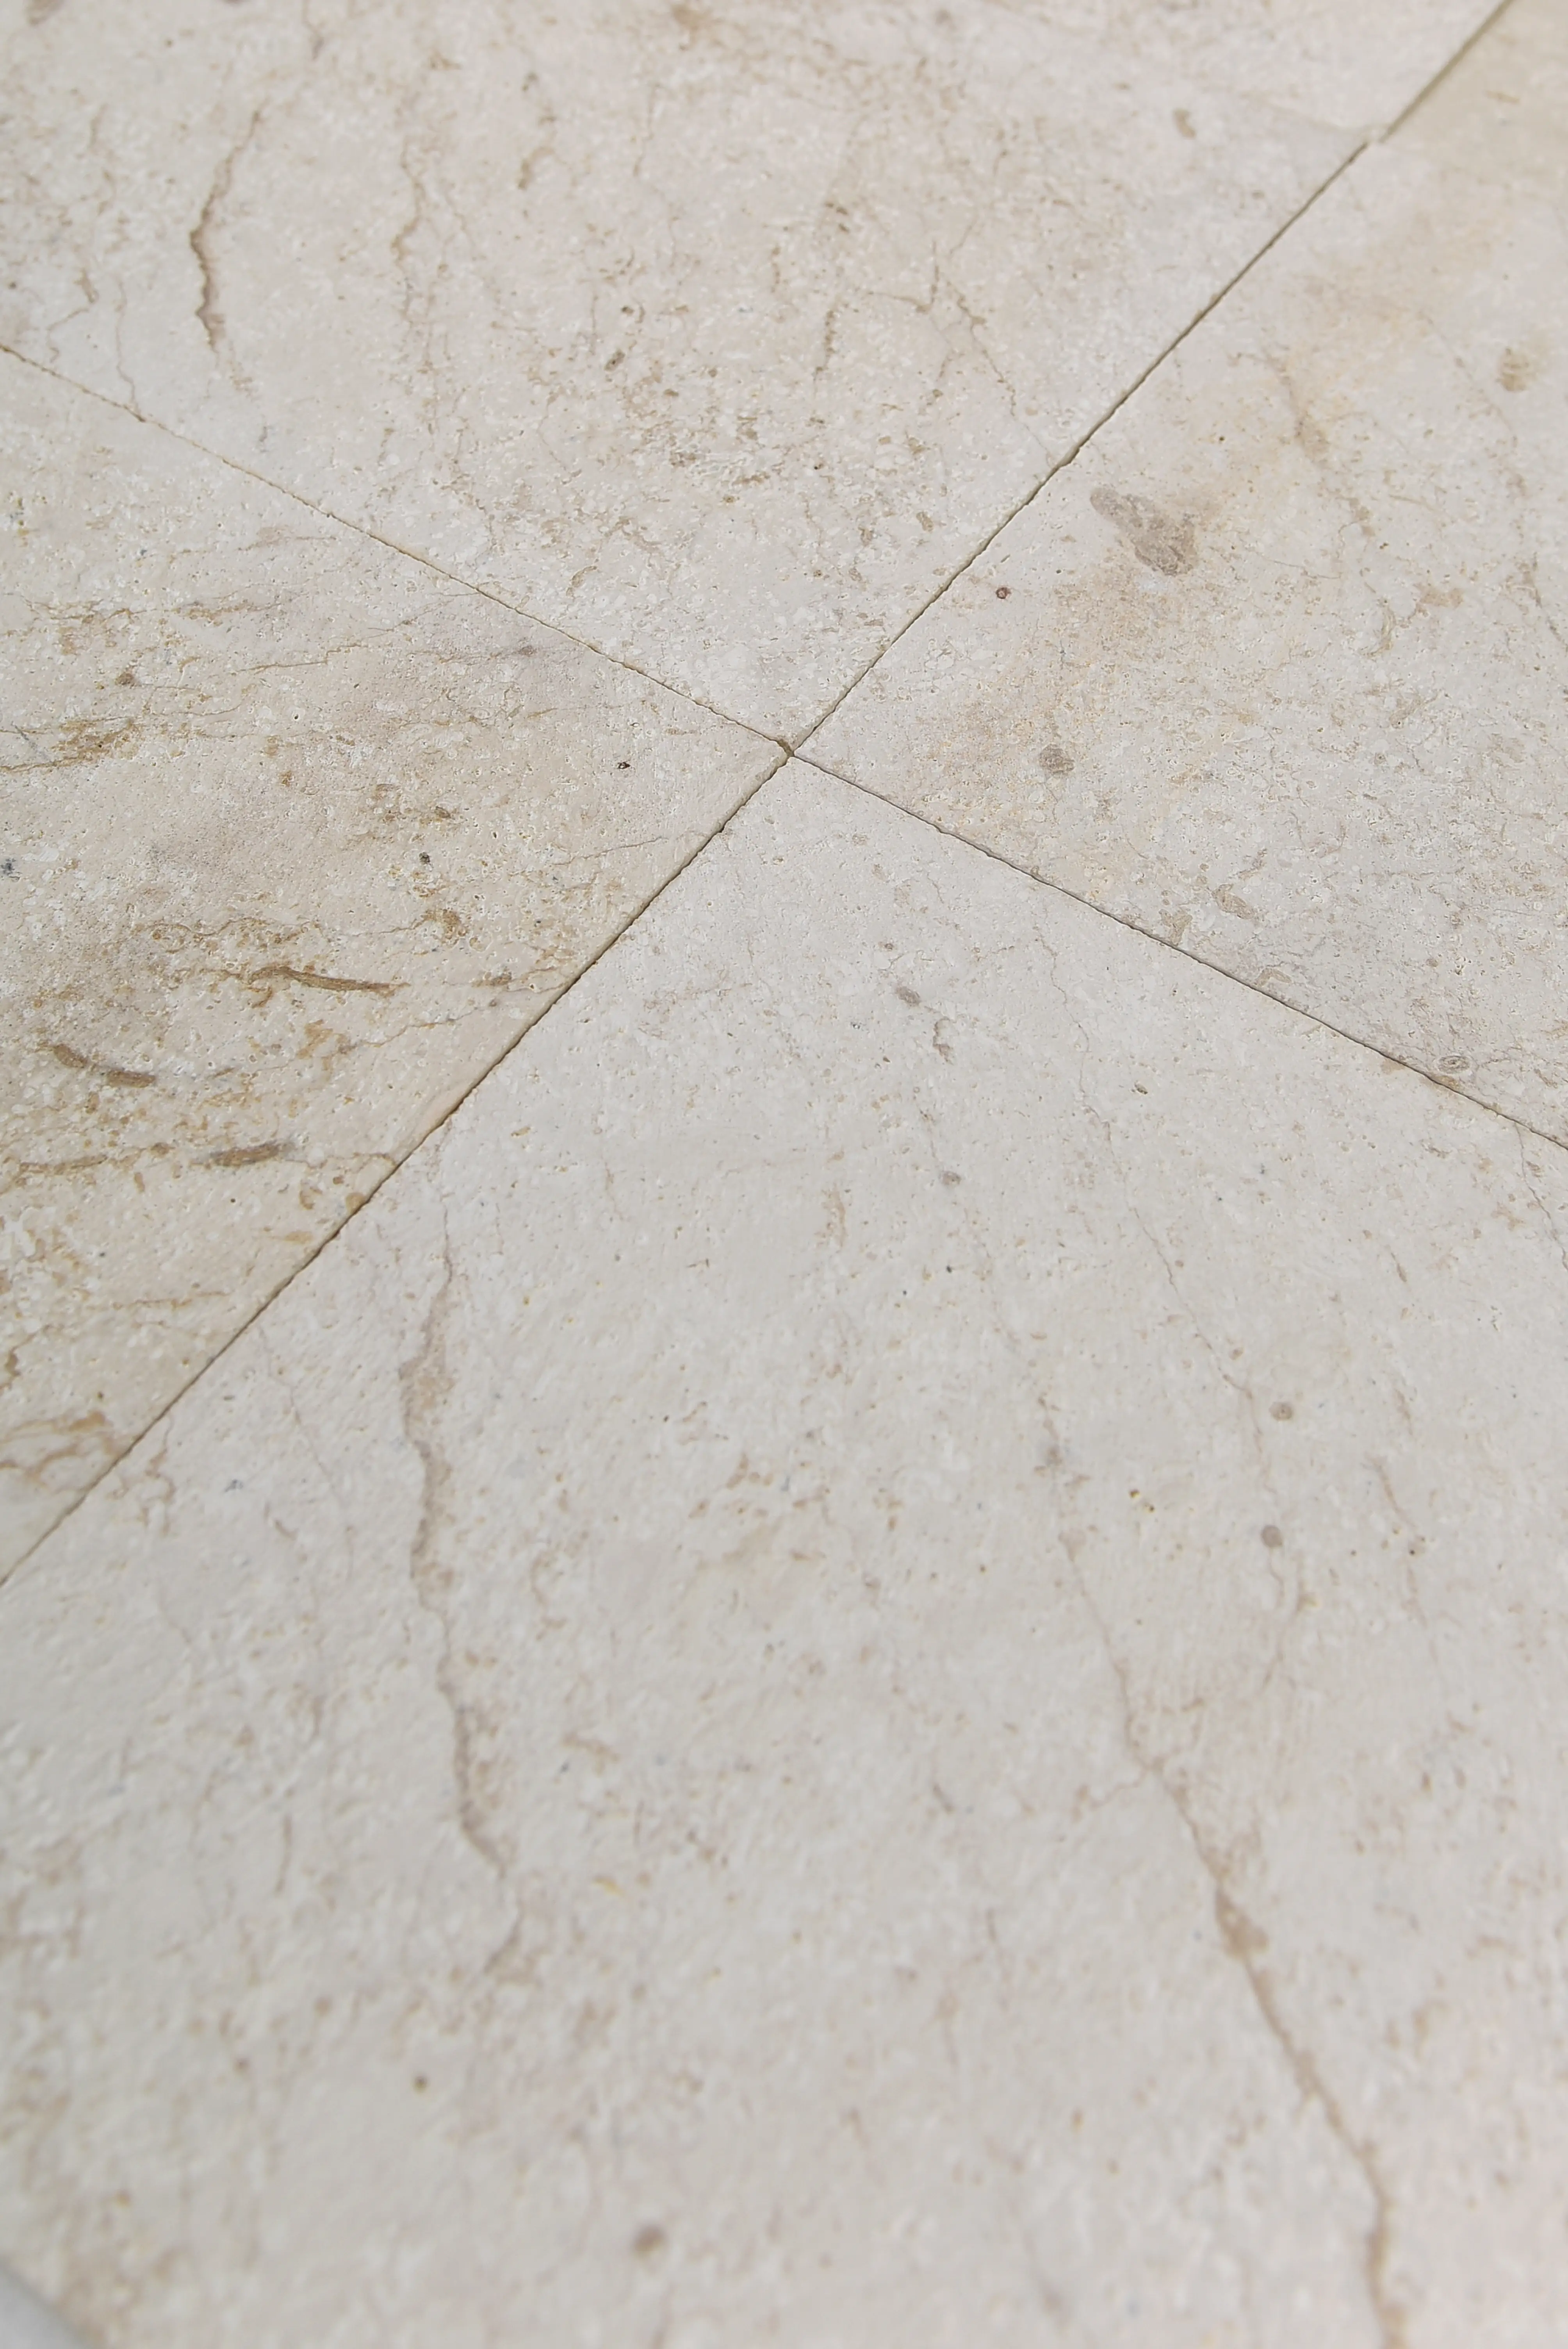
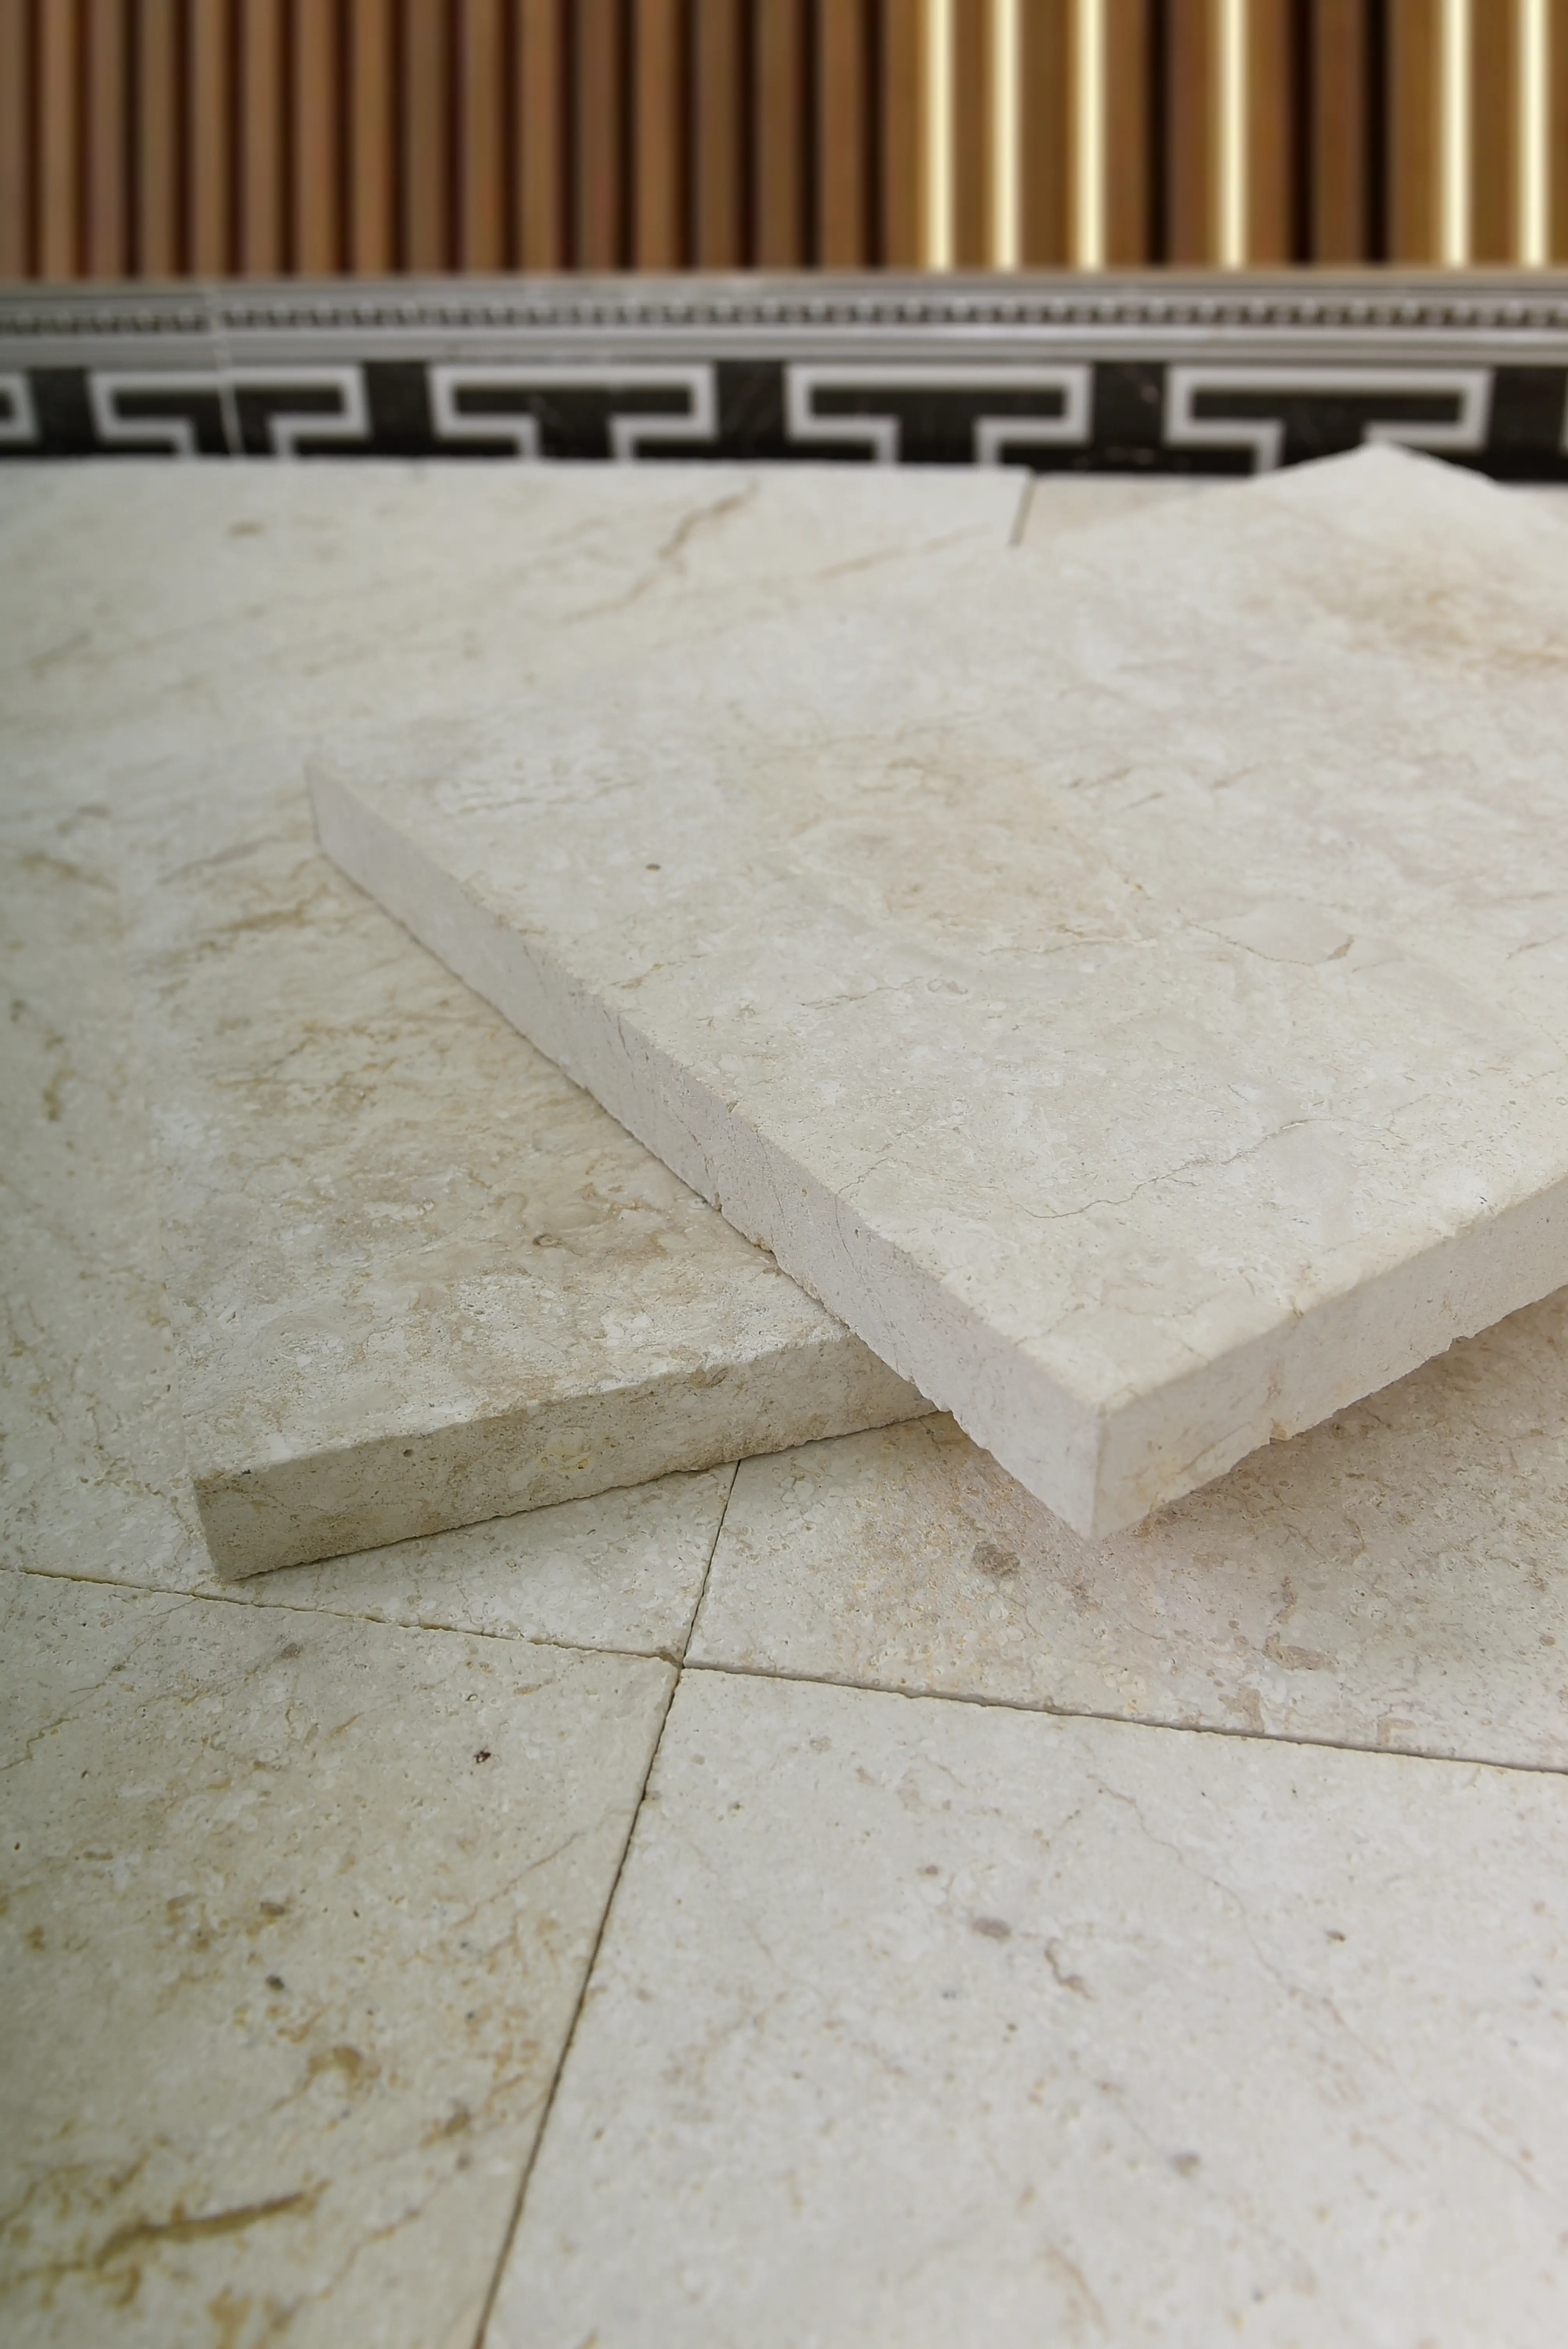
Natural stone tiles in a 16×16 format bring compressive strengths that typically exceed 10,000 PSI for limestone and push well above 19,000 PSI for denser granite variants. That structural capacity translates directly to performance under concentrated point loads — furniture legs, appliance feet, rolling equipment — without the surface micro-fracturing that softer materials develop over years of use. According to NSI stone tile specifications, natural stone tiles must meet rigorous ASTM testing thresholds for modulus of rupture and absorption before they qualify for installation standards — and those thresholds exist precisely because format size amplifies the consequences of material variability.
Travertine and limestone in a 16×16 cut deliver a surface thermal mass that dense ceramic simply can’t replicate. In radiant-heat applications, stone absorbs and re-radiates heat gradually — which means your floor feels consistently warm rather than cycling between hot and tepid. That thermal inertia also moderates surface temperatures in high-sun rooms, keeping barefoot comfort well within acceptable ranges even in south-facing installations.
16 x 16 Porcelain Floor Tile: Performance Characteristics
The 16 x 16 porcelain floor tile format offers water absorption rates below 0.5%, which places it in the vitreous-to-impervious range on the ASTM C373 classification scale. That absorption figure matters enormously in applications where moisture cycling is a regular variable — laundry rooms, mudrooms, and commercial entries that see tracked-in rain and snow. You won’t encounter the sealing maintenance schedule that natural stone requires, but you also sacrifice the thermal nuance and the material authenticity that discerning clients consistently request.
Porcelain’s fired-body hardness gives it a Mohs rating of around 7, which means abrasive grit tracked across the surface creates less cumulative wear scoring than it would on softer natural materials. For high-traffic commercial corridors and retail environments, that abrasion resistance is a genuine specification advantage. The trade-off is thermal brittleness under rapid temperature change — porcelain’s low flexibility modulus means subfloor movement that natural stone might flex through can produce a clean fracture across a 16 x 16 porcelain floor tile instead.
How 12×12 Ceramic Floor Tile Compares
Specifying 12×12 ceramic floor tile alongside a 16×16 format discussion is useful for understanding what format scaling actually changes. The smaller footprint reduces the area of any individual tile that bridges substrate irregularities — which means your subfloor flatness tolerance becomes slightly more forgiving. ANSI A108.02 requires a maximum variation of 1/8 inch in 10 feet for standard ceramic installation; moving to a 16×16 floor tile tightens that functional tolerance significantly because the larger tile bridges longer spans and reveals deflection variation that the smaller format conceals.
Ceramic’s porosity profile sits higher than porcelain — typically 3–7% absorption for standard wall-grade ceramic and 0.5–3% for floor-grade vitreous ceramic. That absorption difference means you should never use standard wall ceramic on a floor application, regardless of format, and you should verify floor-grade certification on any ceramic tile before committing to a specification. The 12×12 ceramic floor tile in a quality floor-grade product is a reliable, cost-effective solution for secondary spaces, but it’s not a substitute for the material performance that natural stone or high-density porcelain delivers in primary living areas or commercial applications.
Substrate and Base Preparation for Large-Format Tiles
Your base preparation strategy determines more about long-term performance than any material decision you make above it. Large-format tiles — and the 16×16 floor tile qualifies — are unforgiving of subfloor deficiencies precisely because they span greater distances between support points. A substrate that passes a 1/8-inch-in-10-foot flatness check for 12×12 ceramic floor tile may still produce lippage with a 16×16 format if there are localized humps or depressions within that span.
- Uncoupling membranes (Schluter Ditra or equivalent) reduce shear stress transmission from subfloor movement to tile — critical for wood-frame construction where seasonal moisture cycling creates measurable deflection
- Medium-bed mortar (minimum 3/32-inch coverage, ANSI A118.4 compliant) prevents lippage caused by high-spot bridging — standard thin-set at 1/4-inch notch trowel won’t achieve the full coverage that a 16×16 format requires
- Back-buttering every tile is non-negotiable for natural stone in this format — you’re targeting 95% mortar contact on wet areas, 80% minimum on dry interior applications
- Curing time before foot traffic should extend to 48 hours minimum for medium-bed applications, 72 hours in cold or high-humidity conditions
- Subfloor deflection testing with a 10-foot straightedge before tile layout prevents post-installation warranty disputes and identifies areas requiring self-leveling compound before work begins
The TCNA installation standards provide method-specific guidance for large-format tile over both concrete and wood substrates — referencing the appropriate method designation in your specification documents protects both the installer and the building owner if adhesion questions arise later.
Elevation, Terrain, and Drainage Considerations for Tile Installations
Terrain and site elevation don’t disappear as factors just because you’re specifying interior or semi-exterior tile rather than outdoor pavers. On sloped sites and hillside construction, the structural frame carrying your floor tile often behaves differently than a slab-on-grade — cantilever deflection under occupancy load in multi-story hillside builds can exceed L/360 in older framing, which means your uncoupling membrane selection and mortar specification need to account for a base that moves more than a flat-site equivalent.
Outdoor tile installations on elevated terraces and sloped ground-level decks require a minimum 1/8-inch-per-foot drainage fall across the tile surface — but the direction of that fall needs to work with the terrain grade, not against it. On hillside sites where the building steps down with the slope, you’ll often encounter compound drainage angles at terrace transitions. Your tile layout grid needs to be established from a reference line that accounts for the finished drain position, not from the building wall — starting from the wall on a sloped site almost always produces cut tiles at the drain that violate the 50% minimum cut width guideline.
- Low-lying sites with high water tables require waterproof mortar beds and crack-isolation membranes even for interior installations where groundwater hydrostatic pressure can migrate upward through slab capillary action
- Elevated exterior terraces on hillside sites need structural consultation to confirm frame deflection limits before tile specification — a 16×16 natural stone tile at roughly 6–7 lbs per square foot adds meaningful dead load to cantilevered structures
- Grade transitions between interior and exterior tile fields demand an expansion joint at the threshold — thermal cycling from outdoor to climate-controlled interior creates differential movement that a continuous grout joint cannot accommodate
- On flat-plain sites with minimal natural drainage gradient, engineered slope-to-drain in the mortar bed becomes the sole drainage mechanism — minimum 1/4-inch per foot toward drains for wet-area applications
Layout and Joint Spacing for the 16×16 Format
Your layout decision starts with a dry-run center-point calculation — find the room’s optical center (not necessarily the geometric center), then dry-lay two perpendicular reference lines and check what cut tiles fall at the perimeter. A balanced layout ensures no cut tile is less than half a tile width, which is the visual threshold where cuts read as errors rather than intentional design choices. For a 16×16 floor tile, that means your perimeter cuts should land between 8 and 16 inches — anything narrower requires adjusting your grid origin.
Joint width for a 16×16 floor tile in natural stone should run between 1/16 inch and 3/16 inch for rectified tiles and between 3/16 inch and 3/8 inch for calibrated (non-rectified) material. Natural stone tiles from quarried slabs carry inherent dimensional variation — even within a single pallet — so a slightly wider joint gives you the adjustment tolerance to keep grout lines visually consistent without grinding individual tile edges. Porcelain in this format, being kiln-fired to tight dimensional tolerances, can run tighter joints confidently.
- Expansion joints at every 20–25 linear feet of field tile, at all changes of plane, and at all perimeters — never fill these with grout, use a compressible backer rod and color-matched sealant
- For diagonal layouts, your reference lines rotate 45 degrees from the room’s walls, and your cut tile calculations become more complex — diagonal cuts at the perimeter are typically steeper in apparent waste percentage
- Running bond (brick-pattern) offsets should not exceed 33% for tiles longer than 15 inches — higher offsets create a lippage risk at the joint that’s difficult to correct after setting
- Grout color selection affects the visual size perception of the room — lighter grouts read the tile field as more continuous and expand the perceived space, darker grouts define each tile individually
Exploring Citadel Stone floor formats gives you a useful reference point for how neighboring format sizes compare in layout demands and visual rhythm — the step from 16×16 to larger formats isn’t just a size change, it’s a specification shift that affects everything from mortar coverage to substrate flatness requirements.
Finish Selection and Surface Performance
The finish on a 16×16 floor tile determines slip resistance, maintenance frequency, and how the material reads visually under different lighting conditions — and it’s one of the most under-specified variables in stone and tile projects. A honed finish on natural limestone delivers a matte surface with more underfoot texture than a polished one; specify against the ANSI A326.3 wet DCOF threshold (0.42).
Polished finishes on natural stone achieve their reflective quality through progressive grit abrasion that closes surface pores and creates a mirror-like crystalline surface. That same closed surface reduces wet traction — polished marble and limestone lose much of their wet traction, which places them below acceptable thresholds for bathroom and entry tile without supplemental anti-slip treatment. According to ASTM stone tile absorption and slip testing standards, finish type is a primary variable in wet COF performance, and specifiers should require finish-specific test data before signing off on polished stone in wet-prone applications.
- Brushed finishes open the surface grain slightly without sacrificing the visual character of the stone — they typically hold wet COF values 15–20% higher than polished equivalents
- Tumbled finishes on natural stone create an antiqued surface texture with irregular edges — highly resistant to slip in wet conditions but require deeper grout joints and more frequent joint maintenance
- Matte porcelain finishes achieve their surface texture through the kiln process and applied surface treatment — verify that the anti-slip texture extends uniformly to the tile edges, where traffic wear tends to concentrate
- Rectified tiles (machine-ground edges) allow tighter joint widths and more precise grid alignment than calibrated tiles — confirm whether your specified 16×16 floor tile is rectified before designing joint widths into your specification documents
Ordering, Logistics, and Project Planning
Your quantity calculation for a 16×16 floor tile installation should include a 10–15% overage for cuts, pattern matching in natural stone, and breakage during handling — bump that figure to 20% for diagonal layouts and for natural stone with strong veining or color variation that requires selective placement. Ordering short and making a supplemental order weeks later risks a dye-lot variation that shows visually in natural stone, even when sourcing from the same quarry batch.
Citadel Stone maintains warehouse inventory of floor formats that ships nationwide, which typically compresses lead times to one to two weeks compared to the six-to-eight week import cycle that project managers encounter when sourcing directly from overseas. That lead-time advantage matters considerably when a construction schedule has a tile installation window that’s fixed by subsequent trades — flooring delays cascade through millwork, baseboard, and appliance installation in ways that compress the entire project completion timeline.
Truck delivery logistics deserve attention before you confirm your order date. Most pallet deliveries of stone tile arrive via freight carriers on 48-foot trailers — if your project site has restricted access (narrow driveways, low overhead clearance on hillside properties, or urban sites with no curb staging area), you’ll need to arrange a tailgate delivery with a shorter truck or coordinate a transfer to a smaller vehicle. Confirming site access details with the warehouse team before the order ships prevents delivery failures that leave material sitting on the street.
- Acclimate natural stone tiles on-site for 24–48 hours before installation — particularly important in climates with significant indoor-outdoor temperature differentials where packaging-wrapped pallets arrive cold from the warehouse
- Inspect tiles from multiple boxes simultaneously during layout — color and veining variation between boxes is normal in natural stone and requires blending across the installation to achieve visual uniformity
- Store tiles flat on pallets, never on edge — edge-stored large-format tiles develop corner chips from pallet vibration during truck transit and on-site handling
- Confirm the weight-bearing capacity of upper-floor staging areas before moving pallets of stone tile inside — a standard pallet of 16×16 stone tile can exceed 2,500 lbs
Sealing and Maintenance for Natural Stone Tile
Natural stone in a 16×16 format requires a penetrating impregnator sealer applied before grouting and again after grout cure — this two-stage sealing protocol prevents grout pigment from migrating into the stone’s pore structure during installation, which produces a permanent staining effect that’s difficult to reverse without re-polishing. Use a fluoropolymer-based impregnator rated for the specific stone type; limestone and travertine have open-pore structures that absorb sealer quickly, while denser stones like granite and some basalts require extended dwell time for full penetration.
Resealing frequency depends on traffic volume and cleaning chemical exposure. In residential applications with neutral-pH cleaners, a high-quality penetrating sealer on limestone or travertine remains effective for three to five years under normal conditions. Commercial applications with industrial cleaning chemicals may require annual resealing. The water-bead test is your field indicator — pour a small amount of water on the sealed surface; if it beads up and sits for two to three minutes without darkening the stone, the sealer is still performing. If the water absorbs within 30–60 seconds and darkens the surface, you’re past the resealing threshold.
- Avoid acidic cleaners (vinegar, citrus-based products, many commercial tile cleaners) on limestone and travertine — acid etching dissolves the calcium carbonate surface and creates permanent dull spots that show under raking light
- Use pH-neutral stone cleaners only — the sealer formulation guidance from the Natural Stone Institute recommends stone-specific cleaning products that don’t degrade impregnator performance over time
- Grout joint maintenance is separate from tile sealing — epoxy grout in wet areas eliminates the need for grout sealing but requires mixing precision during installation; sanded cement grout joints in natural stone applications benefit from a grout-specific sealer applied after cure
- Highly resistant to staining when properly sealed, natural stone tile in this format can deliver decades of service life with the correct maintenance protocol in place from day one
Professional Summary
The 16×16 floor tile format occupies a specification position that rewards careful decision-making at every level — material selection, finish specification, substrate preparation, layout geometry, and ongoing maintenance all interact in ways that determine whether the installation performs for ten years or well beyond thirty. Your material choice between natural stone, 16 x 16 porcelain floor tile, and ceramic establishes the performance envelope, but it’s the installation variables — mortar coverage, joint width, expansion joint placement, and base flatness — that determine whether the material’s potential is actually realized in the field.
At Citadel Stone, we’ve worked through enough specification cycles to know that the questions worth asking early are the ones about substrate condition, site access, and realistic lead times — not just aesthetic preferences. The NSI ASTM tile specifications framework provides the technical backbone for defensible natural stone specifications, and pairing that with experienced sourcing guidance keeps projects on schedule without compromising material quality. As you consider related applications across your project, our coverage of marble tile in larger formats explores how the specification variables shift when you move up in format size and material density — a useful reference point for projects where the 16×16 format is one part of a broader stone palette.
Stone for nationwide projects ships from Citadel Stone with calibrated 16×16 dimensions that keep grout joints even wall to wall.
Related reading: 8×8 floor tile · 18×18 Outdoor Tile: Patio and Pool Deck Ideas · 12×24 floor tile.