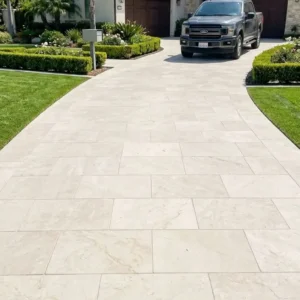
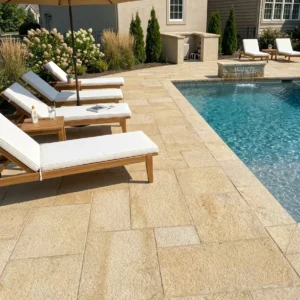
The ratio of repeat-to-offset matters more than most specifiers realize when laying out 12×24 floor tile patterns — and the standard 50% offset you’ll see in manufacturer diagrams isn’t always the right call. Lippage control, subfloor stiffness, and grout joint width all interact in ways that shift the optimal layout before a single tile goes down. Understanding those variables upfront separates a clean, stable installation from one that shows telegraphed movement within the first heating season.
Pattern Types and What They Actually Change
Your pattern choice isn’t decorative in isolation — it directly affects structural behavior. A running bond at 33% offset reduces the lippage risk compared to a 50% offset, particularly on wood subfloors with deflection ratings near the L/360 threshold. Stacked patterns eliminate the long unsupported edges that cause corner lifting, though they demand tighter dimensional consistency from your tile batch. Here’s a breakdown of the four most specified 12×24 floor tile patterns and what each one requires technically:
- Running bond (50% offset): visually dynamic, but requires subfloor deflection no greater than L/720 to prevent corner lippage — stricter than the minimum tile standard
- Running bond (33% offset): the practical field compromise that reduces lippage exposure while retaining the plank aesthetic
- Stacked (grid) layout: cleanest grout line alignment, demands tighter tile calibration (±0.5mm length tolerance), and highlights any subfloor deviation immediately
- Herringbone (90° or 45°): highest waste factor at 12–18%, but distributes joint stress more evenly across high-traffic corridors
- Brick offset with directional variation: used in mixed-zone installations where the tile bridges a transition from wet to dry areas
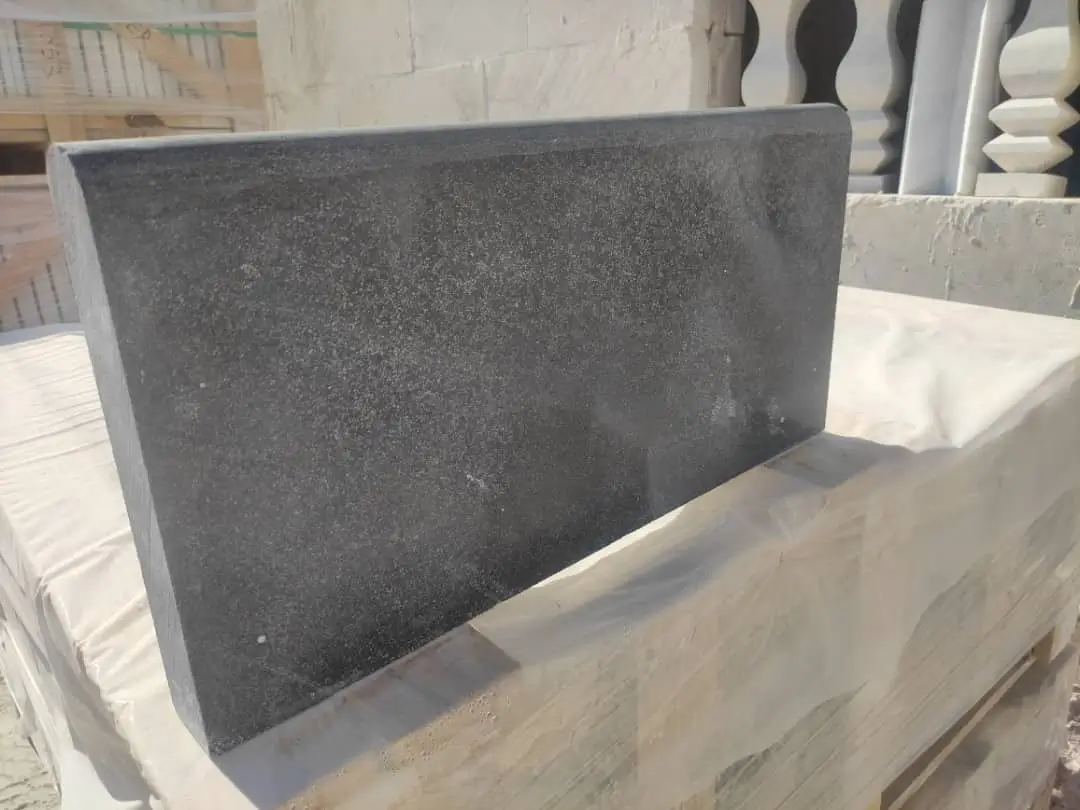
Finish and Format: How Surface Texture Changes Pattern Legibility
The finish you select amplifies or softens the visual impact of any 12 x 24 floor tile pattern. A polished surface throws grout joints into sharp relief, making stacked patterns look architectural and running bond look regimented. Honed and brushed finishes diffuse the joint lines, which is why designers favor them in herringbone layouts — the pattern reads as texture rather than geometry. According to NSI stone tile specifications, surface finish classification directly affects measured slip resistance and absorption rate, both of which feed into your finish decision for wet or high-traffic zones.
Matte and brushed tiles in the 12×24 format also give you more tolerance on joint width variation — that 1mm field drift that drives installers crazy on polished surfaces becomes invisible on a brushed travertine or honed limestone plank. Factor this into your finish spec before procurement, not after the tile arrives at the warehouse. At Citadel Stone, we routinely flag finish-pattern mismatches during the pre-order technical review because correcting them post-delivery costs real project time.
Grout Joint Width and Pattern Integrity
Joint width is where pattern intent and installation reality collide. The TCNA installation standards for large-format tile specify a minimum 3/16″ grout joint for tiles with facial dimensions over 15 inches in any direction — but a 12×24 tile sits below that threshold, giving you flexibility down to 1/16″ for rectified tiles. Here’s what that means in practice for each pattern type:
- Running bond at 33% or 50% offset: 1/8″ joint reads cleanly and holds grout color consistency across the field
- Stacked grid: 1/16″ unsanded grout joint achievable with rectified tile — demands laser layout lines, no exceptions
- Herringbone: 3/16″ joint accommodates the angle cut variation and prevents corner-point chipping at the miter
- Wider joints (3/8″+) in any 12×24 pattern shift the visual weight toward the grout, effectively dulling the tile’s plank proportion — avoid unless you’re deliberately using a contrasting grout for design effect
Rectified versus calibrated tile is a genuine decision point here. Rectified tiles give you the tight joint option and the stacked look without lippage anxiety. Calibrated tiles — particularly natural stone — carry a ±0.8mm size variation that makes sub-1/8″ joints risky. Know which type you’re specifying before finalizing the 12 x 24 floor tile pattern layout.
Directional Laying and How Light Reads the Pattern
Running the 24-inch dimension parallel to the longest room axis is standard practice, but it’s not a universal rule. In corridors under 8 feet wide, rotating the tile 90° — running the 12-inch face along the room length — creates a broader visual width that counteracts the tunnel effect. Lighting conditions matter equally: raking natural light from a south-facing window at a low angle will reveal every minor lippage imperfection in a running bond layout. In those rooms, a stacked pattern with tighter joints and a honed finish performs better visually over time.
Diagonal herringbone orientation adds a third variable — the tile now terminates against walls at 45°, generating substantial cut waste along every perimeter. Order an additional 15% material buffer above your standard 10% waste allowance for this configuration. Factor warehouse lead times into that calculation; running short on a specific batch mid-installation is a scheduling problem that compounds fast.
Subfloor and Soil Conditions That Affect Pattern Longevity
This is where installation decisions made months before tile selection come back to matter. Expansive clay soils create seasonal vertical movement in ground-bearing slabs — sometimes 1/4″ to 3/8″ of differential shift across a room’s footprint. That movement doesn’t crack a well-isolated floating installation, but it will fracture grout joints and pop tile corners in a directly bonded installation over three to five years. The ASTM tile and stone absorption and strength testing standards define the material side of the equation, but the soil side is your responsibility to specify correctly at the slab design stage.
- Expansive clay subgrades: require a full uncoupling membrane (6mm minimum) under any large-format tile pattern — the membrane absorbs differential movement before it reaches the adhesive layer
- Sandy or poorly compacted fill: demand a minimum 4″ reinforced slab with fiber additive; skipping this on slab-on-grade projects typically produces cracked running-bond fields within two freeze-thaw cycles in colder regions
- Caliche-dominant soils in arid climates: highly stable compressive base, but their low moisture retention means thermal expansion in the slab is more uniform — less risky for stacked patterns on direct-bond installs
- Rocky subgrades: excellent bearing capacity, but localized high points telegraph through slabs poured thin — grind high spots below 3/32″ variation per 10-foot straightedge before any large-format tile installation
The 12×24 format is particularly sensitive to subfloor flatness because the tile’s long dimension spans further than a 12×12, bridging undulations that a smaller tile would simply follow. Spec your flatness tolerance at FL 25 minimum for this format — more demanding than the FL 20 that satisfies most 12×12 installations.
Natural Stone Versus 12×24 Porcelain Floor Tile: Real Performance Differences
The 12×24 porcelain floor tile dominates commercial projects because it delivers consistent dimensional tolerance and low absorption — typically under 0.5% water absorption — which simplifies grout joint selection and long-term maintenance. Natural stone in the same format brings a different performance profile: higher thermal mass, genuine surface variation, and a material character that manufactured tile reproduces only partially. For pattern execution, the practical differences are these:
- Porcelain: factory-rectified edges allow 1/16″ joints; batch color variation is minimal, making stacked patterns visually consistent across large fields
- Natural stone (limestone, travertine): calibrated rather than rectified in most supply runs; 1/8″ to 3/16″ joints are more appropriate; finish variation between tiles adds depth to running bond layouts that polished porcelain cannot replicate
- Porcelain weight per square foot runs 3.8–4.2 lbs for 3/8″ thickness; natural stone at 3/4″ nominal runs 6.5–7.5 lbs — a structural load consideration for upper-floor installations
- Natural stone requires sealing before grouting; porcelain does not — factor that into your installation schedule, especially if moisture exposure from grout haze is a concern with light-colored stone
For pattern legibility in high-ambient-light environments, natural stone’s surface micro-variation reads as texture that shifts with viewing angle, keeping a simple running bond layout visually interesting without requiring a complex pattern. Citadel Stone plank tiles in natural travertine and limestone illustrate this surface behavior clearly and are worth reviewing alongside your 12×24 floor tile pattern specification.
Ordering Quantities and Warehouse Logistics
Calculating material quantities for 12×24 floor tile patterns requires accounting for your specific layout’s waste factor before placing a warehouse order. Running bond at 50% offset typically needs 10–12% overage. Herringbone at 45° needs 15–18%. Stacked grid on a rectangular room without obstacles can get to 8% if the room dimensions align to full-tile increments — which is worth checking during layout planning.
- Order all tile from a single production batch (dye lot or shade group) — mixing batches in a stacked layout produces visible color banding that no grouting technique corrects
- Confirm warehouse stock on the full quantity before committing your installation schedule — partial shipments create holding problems on active job sites
- For truck delivery on large orders, verify site access dimensions early: a standard flatbed requires 14-foot overhead clearance and a turning radius that many residential driveways don’t accommodate without advance planning
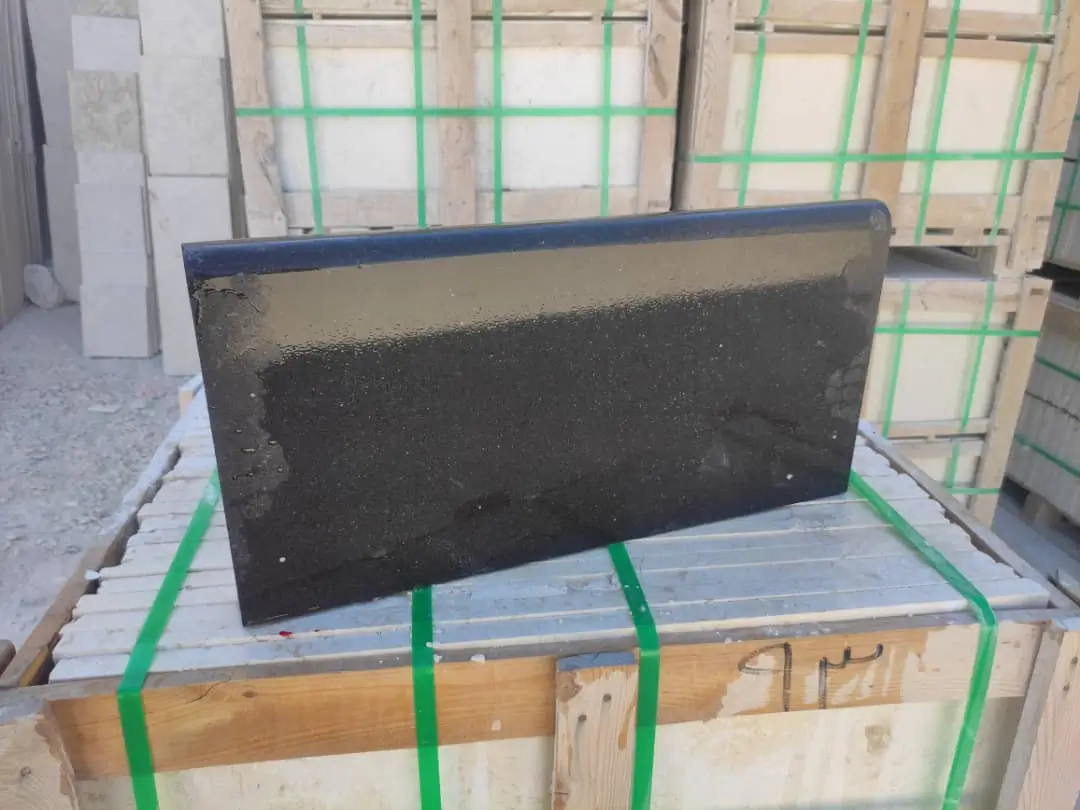
- Natural stone pallets from Middle East quarries typically arrive on 48″ x 48″ pallets at 2,200–2,800 lbs — verify your receiving surface can handle that point load before the truck arrives
Installation Sequence for Complex Patterns
Your dry-lay sequence determines whether a herringbone or diagonal pattern comes out centered and balanced or terminates awkwardly at perimeter walls. Always establish your centerline from the room’s optical center — the point the eye naturally falls to from the primary entry, not the geometric midpoint of the floor. In rectangular rooms those two points are often offset by 6–18 inches, and that shift matters when you’re setting a 45° herringbone that needs balanced cut tiles at both ends of the room.
For running bond patterns in the 12×24 format, start your field layout from the longest uninterrupted wall and work toward doorways and transition points. This approach keeps your full tiles in the primary sightline and pushes cuts to less visible thresholds. Check your offset against the centerline every 10 feet during installation — thermal expansion in the thinset bed can walk a running bond layout off-center before you notice the drift visually.
Getting 12×24 Floor Tile Patterns Right: Spec Wrap-Up
Resolving four decisions before installation begins is what separates a clean outcome from a problematic one: pattern type matched to subfloor performance, finish matched to lighting conditions and maintenance expectation, joint width matched to tile calibration, and material quantity matched to the layout’s true waste factor. Natural stone and porcelain perform differently in the same pattern — understanding those differences positions you to specify the right material for the right context rather than defaulting to one or the other. As you develop your full project scope, related stone applications are worth reviewing alongside your flooring specification — 18×18 outdoor tile ideas for patios and pool decks offers a useful reference point for how larger format stone performs in adjacent exterior spaces. Stone for nationwide projects arrives from Citadel Stone with 12×24 tile cut to consistent length for tidy running-bond patterns.
Related reading: 18×18 floor tile · floor tile sizes compared · travertine holes.