Most floor tile size comparison decisions fail at the same point — specifiers choose dimensions based on room photos rather than substrate tolerance, grout joint mechanics, and the visual compression ratios that actually govern how a space reads at eye level. Getting this right means understanding not just what looks good in a showroom, but how tile format interacts with your subfloor deflection limits, your adhesive open time, and the physical realities of a professional installation. The floor tile size comparison you make today will determine maintenance cycles, lippage risk, and visual coherence for the next two decades.
Why Format Matters Beyond Aesthetics
Field performance data shows that tile format is the single most underweighted variable in residential and light commercial stone specifications. Designers spend hours selecting veining and finish but allocate five minutes to size selection — and then wonder why the final installation looks off or develops lippage within a year. Your tile format controls grout joint frequency, visual rhythm, and the structural demands placed on your adhesive bed. These aren’t abstract concerns — they’re the difference between a clean 25-year installation and remedial work at year eight.
Smaller tiles — in the 12×12 range — require more grout joints per square foot, which creates a gridded visual pattern that can feel busy in open-plan spaces. Larger formats compress that grid and push the visual focus onto the stone surface itself. But here’s the performance trade-off most specifiers miss: larger tiles demand flatter substrates. Flatness tolerances per TCNA tile installation standards tighten significantly as tile format increases, and what’s acceptable for a 12-inch tile becomes a guaranteed lippage problem at 24 inches.
Standard Floor Tile Sizes and What Each Delivers
Your selection landscape for standard floor tile sizes breaks into four practical tiers, each with distinct performance profiles. Understanding where each tier excels — and where it creates problems — gives you a specification framework that holds up under real job-site conditions.
- 12×12 inches: The workhorse format for residential bathrooms, mudrooms, and laundry areas. Forgiving on uneven substrates, fast to install, and well-suited to spaces under 120 square feet where large formats would feel disproportionate.
- 16×16 inches: A transitional size that bridges compact and large formats. It reads as a step up from 12-inch without the substrate preparation demands of true large-format tile. Popular in mid-size kitchens and hallways.
- 18×18 inches: The practical large-format entry point. Delivers visual mass and elegance without the extreme flatness tolerances demanded by 24-inch formats. Works well in living areas, open kitchens, and entryways over 200 square feet.
- 24×24 inches: The prestige format for open-plan residential and commercial specification. Minimises grout lines, maximises slab visual effect, but requires substrate flatness within 1/8 inch over 10 feet — non-negotiable.
- Rectangular and plank formats (12×24, 12×36, 4×24): Increasingly common in contemporary interiors. Directional and elongating, but require careful layout planning to avoid stacking joints that amplify substrate irregularities.
Each of these formats is available in natural stone — travertine, limestone, basalt — and the material you pair with the format changes both the visual result and the maintenance protocol. Stone tile in larger formats reads fundamentally differently from porcelain in the same dimension because the veining, the variation, and the surface texture interact with light at scale.
The 12×12 Format: Strengths and Where It Struggles
The 12-inch format has held its ground in specification for decades because it genuinely performs in difficult conditions. Your grout joints give the installation system room to absorb thermal movement, minor substrate flex, and the point loads that come with everyday foot traffic. In freeze-thaw regions, that joint network matters — it distributes stress that would concentrate at tile edges in a large-format installation.
The limitation shows up in large, open spaces. A 40×40-foot great room tiled in 12×12 creates a repeating grid that competes visually with furniture, cabinetry, and architectural features. You end up with a floor that reads as a pattern rather than a surface. That’s appropriate in some contexts — herringbone or diagonal layouts using 12-inch tiles can be a design feature — but in rooms where you want the floor to recede and let the architecture speak, smaller formats work against you.
Per NSI stone tile specifications, 12-inch natural stone tiles tolerate substrate flatness deviations up to 3/16 inch over 10 feet under standard installation conditions. That’s a meaningful practical advantage on older residential subfloors where achieving tighter tolerances requires extensive self-leveling compound application.
The 18×18 Format: The Reliable Middle Ground
Field experience consistently shows that the 18-inch format delivers the most predictable outcome across varied project conditions. You get the visual scale of large format without the unforgiving flatness requirements that make 24-inch tiles a high-risk specification on typical residential subfloors. The grout joint frequency is low enough to read as an open, uninterrupted surface, but high enough that minor substrate variation doesn’t telegraph through as visible lippage.
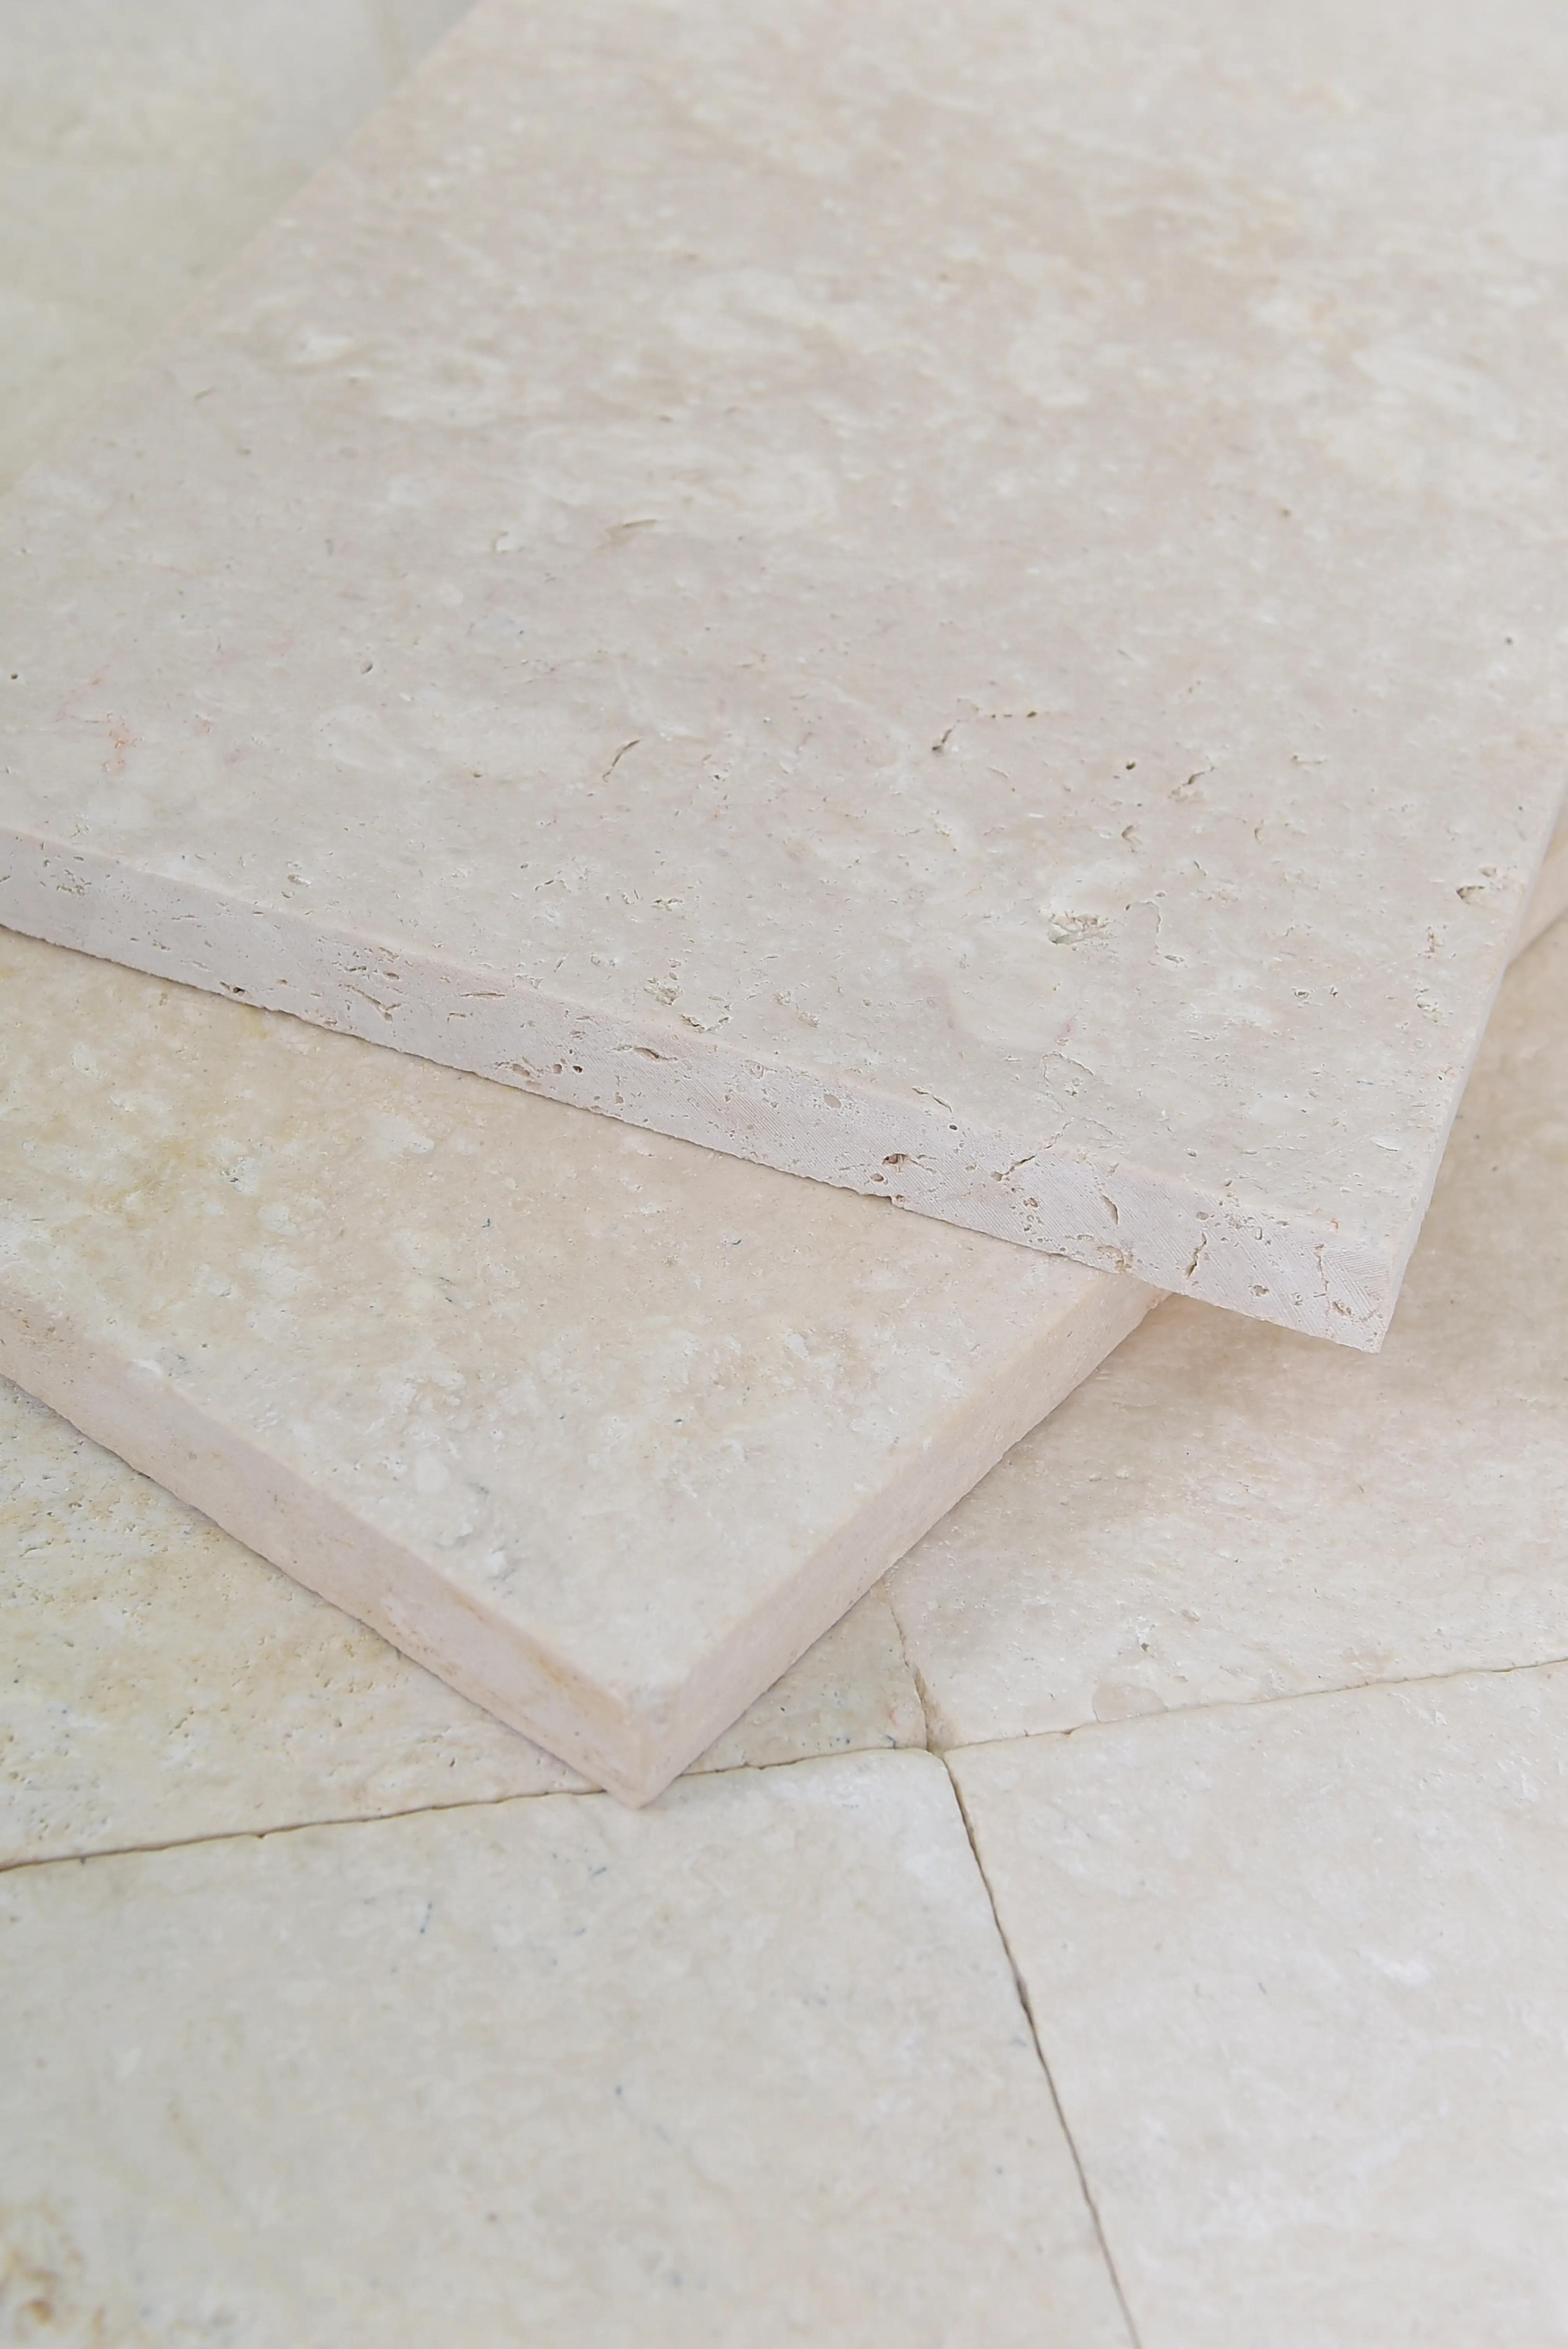
Natural stone in this format reads particularly well. The 18×18 Travertine Tile format showcases the natural variation and veining of travertine at a scale where the surface texture can be fully appreciated, while remaining manageable in terms of both installation logistics and substrate preparation demands. When you’re working through a floor tile size comparison across a full project, 18×18 is often the format where aesthetic ambition and installation practicality converge most reliably.
The weight of 18-inch natural stone tiles is also a logistical factor worth addressing early. At roughly 7–9 pounds per tile depending on material density, you can manage single-installer placement without mechanical lifting equipment. Move to 24×24 in a dense limestone or granite, and you’re often looking at pieces exceeding 18–20 pounds each — a different labour calculus entirely, with direct implications for installation speed and cost.
The 24×24 Format: Performance Demands and Visual Payoff
The 24×24 floor tile is where large-format specification gets serious. The visual payoff is real — fewer grout joints, a slab-like continuity that makes spaces feel significantly larger, and a premium aesthetic that clients immediately recognise as elevated. But the substrate tolerance demands at this format are not negotiable, and this is where projects most commonly fail.
- Substrate flatness must reach 1/8 inch over 10 feet — roughly twice as demanding as the tolerance acceptable for 12-inch formats.
- Back-buttering is not optional at this size — full coverage adhesive application is required to prevent hollow voids that lead to cracking under load.
- Lippage control requires floor tile leveling clip systems in almost every installation scenario. Without them, even 1/32-inch tile thickness variation becomes visible at raking light angles.
- Thermal expansion requires perimeter movement joints every 20–25 feet and at all changes of plane — a detail frequently omitted that causes edge cracking within 18 months.
- Adhesive open time becomes critical: large tiles need to be set before the adhesive skins over, which in warm conditions can be as short as 15–20 minutes for some polymer-modified mortars.
That last point connects directly to installation timing. In warm seasons, working in the morning hours — before substrate temperatures climb past 85°F — preserves your adhesive open time and gives you the adjustment window you need for precise lippage control on 24-inch tiles. Afternoon installation in peak heat conditions compresses that window dramatically, and the results show up as bonded tiles you can’t adjust, leading to lippage that leveling clips can no longer correct. Scheduling your 24×24 installation for morning-only shifts in warm weather isn’t a preference — it’s a performance specification.
Rectangular Formats: Layout Logic and Common Mistakes
The 12×24 and similar rectangular formats have become dominant in contemporary interiors because they deliver a plank-like visual rhythm that reads as both modern and approachable. But the layout logic for rectangular tiles is fundamentally different from square formats, and getting it wrong produces an installation that looks amateurish regardless of material quality.
Your primary layout concern is joint stacking. Rectangular tiles set in a straight horizontal stack pattern create a continuous vertical grout line that telegraphs every substrate high point. The preferred approach — offset by one-third or one-quarter of the tile length rather than the traditional 50% brick pattern — distributes joint stress more evenly and looks more intentional. The traditional 50% offset creates a pattern called “stacking joints” in some trades, but the real problem is structural: with longer tiles, a 50% offset creates a long-term stress concentration that accelerates grout cracking in zones of even minor subfloor flex.
Direction matters too. Running 12×24 tiles parallel to the longest wall in a rectangular room elongates the space visually. Running them perpendicular widens it. This is a decision that should happen at the design stage, not during installation, because it affects your cut layout at walls and determines where your most visible partial tiles land. A change of direction mid-installation adds cost and creates awkward transitions.
Seasonal Timing for Large-Format Installation
A floor tile size comparison rarely includes a discussion of when to install — but format directly affects how sensitive your project is to seasonal conditions. Larger tiles amplify every installation variable, including the ones controlled by ambient temperature and humidity at time of setting.
- Adhesive open time shortens with rising substrate temperature — a 24×24 tile that needed 25 minutes of adjustment time in a 65°F space may give you only 12–15 minutes when the substrate reaches 80°F.
- In dry conditions, thin-set mortar surface-skins more quickly, reducing bond strength if tiles are set after the window closes.
- For large-format natural stone, autumn and spring installations — when ambient temperatures hold between 55°F and 75°F — provide the most forgiving conditions for achieving full adhesive coverage and precise alignment.
- Morning installation shifts allow substrate temperatures to remain stable; afternoon work in warm periods introduces the risk of inconsistent open time across the same batch of adhesive.
- Grout curing is also temperature-dependent: most natural stone grouts require 24–72 hours of stable temperature above 50°F to achieve full bond strength. Installing in marginal conditions and then allowing overnight temperature drops below 50°F compromises the finished joint.
For projects where you’re specifying 24-inch natural stone tile — particularly dense limestone or travertine — build seasonal installation windows into your project schedule from the outset. Rushing a large-format stone floor installation into a heat wave or a cold snap to meet a client deadline creates warranty problems that outlast the schedule savings.
Room Size and Proportion: Matching Format to Space
The classic guideline — don’t use large format in small rooms — holds up in practice but needs more precision to be useful. The real principle is that your grout joint pattern should not dominate the visual field. In a 6×8-foot bathroom, 24-inch tiles produce fewer than four full tiles across the width, meaning cut tiles at both walls will be visible and prominent. That demands precise planning; otherwise the room reads as chopped up rather than elegant.
A more reliable framework is the border-tile rule: your smallest cut tile at any wall should be at least half a tile width. In a 6-foot-wide room with 24-inch tiles, that means starting your layout at center and accepting 12-inch cuts at both walls — workable but only if the room is precisely square. In rooms with walls that aren’t perfectly parallel (most older construction isn’t), those cuts become tapered, which looks worse than a smaller format would have.
Citadel Stone stocks natural stone floor tile in all major formats, and our technical team regularly helps specifiers work through layout math before material is ordered from the warehouse. Confirming your cut tile math before the truck delivers material saves expensive last-minute changes and avoids the overage wastage that comes from discovering mid-installation that your chosen format doesn’t divide cleanly into your room dimensions.
Natural Stone Floor Tile Sizes Compared by Material
Material and format interact in ways that affect both specification and long-term performance. Not every natural stone is equally well-suited to every format, and understanding these interactions sharpens your floor tile size comparison across a real project scope.
- Travertine performs well across all standard floor tile sizes but excels in 18×18 and 24×24 where its natural filled and honed surface reads as a continuous plane — the pore-fill pattern becomes a design feature at scale rather than a texture detail.
- Basalt at 12×12 and 16×16 is a high-performance specification for areas with heavy foot traffic. Its compressive strength — routinely above 15,000 PSI — means it handles point loads without the surface distress that softer limestones sometimes exhibit. According to USGS basalt volcanic rock data, its dense crystalline structure makes it one of the most durable natural stones for flooring applications.
- Limestone in large formats rewards the investment in substrate preparation. The natural colour variation and fossiliferous texture of quality limestone reads dramatically at 24×24, but mediocre substrate work shows through as shadow lines at raking light.
- Marble is almost exclusively specified at 12×12 or 18×18 in residential flooring because its susceptibility to flexural stress makes large unsupported spans riskier — particularly in formats over 20 inches where mid-tile cracking from substrate flex becomes a legitimate concern.
Format selection also affects how you’ll maintain the floor long-term. Larger formats with fewer grout joints require less frequent joint sealing maintenance but place greater demands on the field sealer you apply to the stone surface itself — more continuous stone exposure means the sealer must perform uniformly across a larger uninterrupted area. Spot-treating worn areas is harder to disguise on a 24×24 floor tile than on a 12-inch grid where the joint network visually breaks up the surface.
Ordering, Logistics, and Warehouse Considerations
Practical format selection also connects to supply chain realities that affect your project timeline. Citadel Stone maintains warehouse inventory across all major standard floor tile sizes, which means lead times for 12×12, 16×16, and 18×18 formats typically run one to two weeks from order confirmation. For 24×24 and larger format natural stone, warehouse stock can be tighter depending on material and finish, and confirming availability before finalising your specification prevents the timeline disruptions that come from discovering a six-week import cycle after the subfloor is already prepped.
Your truck access and delivery constraints also deserve attention at the planning stage. Large-format natural stone tiles — particularly 24-inch travertine or limestone at full crate weight — arrive on pallets that require forklift or pallet-jack access at the delivery point. Residential projects with tight truck access, steps, or long carry distances from the curb add to installation cost and occasionally result in on-site breakage from manual handling. Flagging these logistics realities early lets you plan delivery staging appropriately and avoids the frustration of material sitting on a driveway that can’t be moved efficiently to the work area.
Spec Wrap-Up: Getting Your Floor Tile Size Comparison Right
The floor tile size comparison that actually serves your project is one built on substrate tolerance, room proportion, installation conditions, and material performance — not on what looked compelling in a product catalogue. Match your format to what your subfloor can support, what your room dimensions can accommodate without awkward cuts, and what your installation schedule can deliver in terms of temperature-controlled adhesive open time. The investment in getting these variables right at the specification stage eliminates the remedial costs that result from format decisions made purely on visual preference. As you think through large-format installation details beyond the specification stage, how large floor tiles handle lippage is worth reviewing before your installer breaks ground. When selecting between formats, Citadel Stone’s 18×18 travertine naturally bridges the gap between compact 12-inch tiles and oversized 24-inch slabs for balanced visual results.