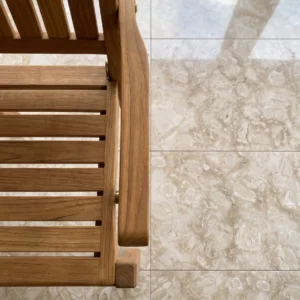
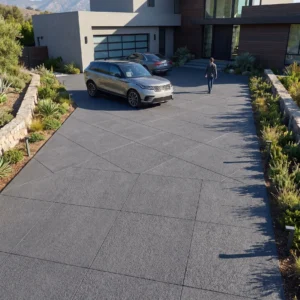
Why the 18×18 Format Changes Everything
The 18×18 floor tile sits at a precise intersection of visual scale and structural performance that smaller formats simply can’t replicate. At Citadel Stone, we handle these tiles daily across a wide range of projects, and the number one specification error we see is treating format size as a purely aesthetic decision. It isn’t. The 450mm nominal dimension creates a grout-joint geometry that directly affects load distribution, thermal movement, and long-term substrate compatibility in ways that demand deliberate planning from the first specification stage.
Your substrate flatness tolerance tightens considerably at this format. With a standard 12×12, lippage corrections in the 1/8-inch range are manageable. Move to 18×18 and that same deviation becomes visible across multiple tiles, especially under raking light. The ANSI A108.02 industry standard calls for a maximum 1/8-inch variation over 10 feet for large-format tile installations, and reaching that benchmark requires your subfloor prep to be genuinely rigorous — not just “good enough.”
Material Families That Perform Best in the 18×18 Format
Not every stone or ceramic body translates well to the 18×18 format. The tile’s mass — typically between 8 and 12 pounds per piece depending on material — means your adhesive bond strength and coverage rates need recalibrating compared to smaller tiles. Here’s how the principal material families actually compare at this scale.
Travertine at 18×18
Travertine handles the 18×18 format exceptionally well, provided you specify the correct fill and finish for your application. Filled-and-honed travertine in this format gives you a surface that reads as continuous stone, with the cross-cut vein patterns creating a subtle visual flow that polished ceramic simply can’t mimic. The material’s open-pore microstructure, documented extensively by the Natural Stone Institute travertine properties, means you’ll want to grout and seal proactively rather than reactively. Unfilled travertine in wet areas at this format is a maintenance commitment — factor that into your client conversations upfront.
Ceramic and Porcelain at 18×18
The 18×18 ceramic floor tile category has expanded substantially with the growth of through-body porcelain. Rectified porcelain in this format allows grout joints as narrow as 1/16 inch, which produces the large-slab aesthetic at a fraction of the material cost. That narrow joint does carry a trade-off: there’s almost no tolerance built into the layout for minor floor deflection, so your structural subfloor must meet or exceed L/360 deflection limits. For high-traffic commercial applications, a minimum 10mm body thickness is the practical floor — thinner bodies at this format dimension are measurably more susceptible to edge chipping under point loads.
Natural Limestone at 18×18
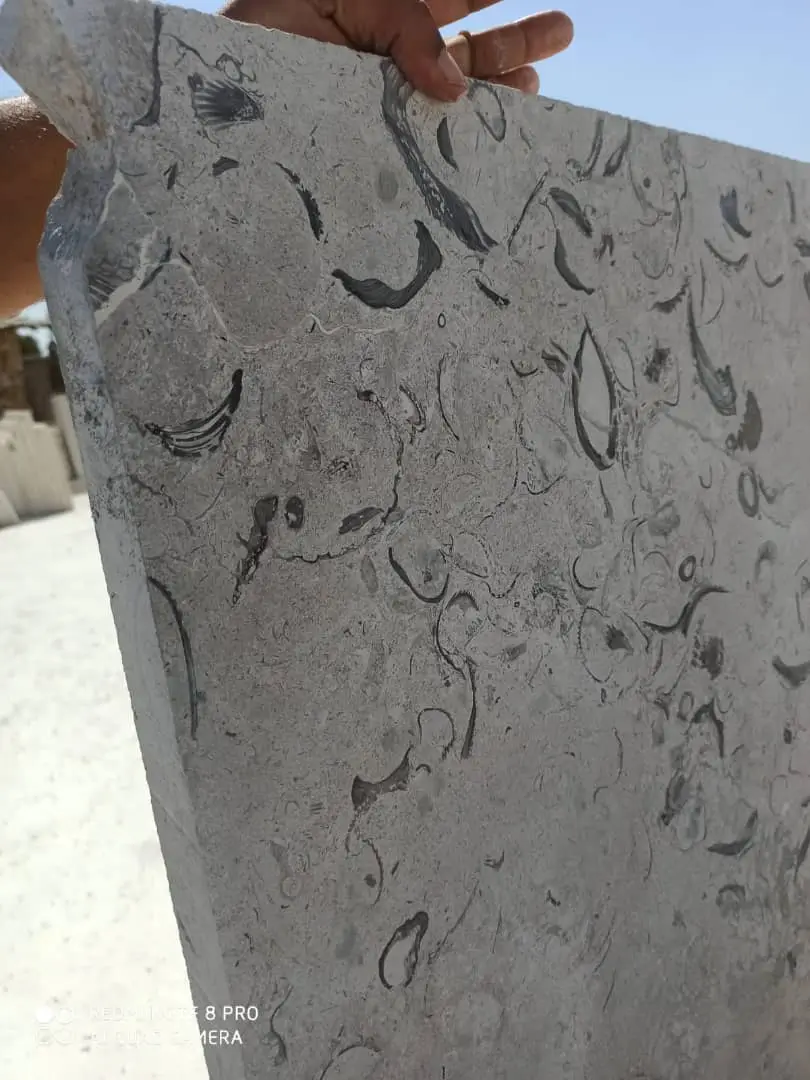
Natural limestone in the 18×18 format delivers a warmth and depth that manufactured materials consistently struggle to match. The key specification variable is absorption rate. Limestone tiles can range from under 3% to over 12% water absorption depending on density, and that range matters enormously for sealer selection and maintenance scheduling. Dense, low-absorption limestone — such as materials quarried from select quarries in the Middle East — performs reliably in applications from residential foyers to light commercial corridors. Higher-absorption domestic varieties need surface sealing every 18 to 24 months in moderate-traffic environments to maintain stain resistance.
Size Comparison: The 8×8 Floor Tile Against the 18×18
Comparing an 8×8 floor tile to the 18×18 format goes beyond aesthetics — the performance implications are genuinely different. An 8×8 grid produces roughly 2.25 times more grout joints per square foot than an 18×18 floor tile layout. In kitchens and bathrooms, that translates to substantially more linear footage of grout to seal, clean, and eventually re-grout. From a purely practical maintenance standpoint, 18×18 tiles in high-use rooms reduce your long-term grout maintenance burden significantly.
Visually, the 8×8 floor tile format creates a traditional, texture-rich floor that reads as highly patterned. The 18×18 reads as quieter and more expansive — the right choice when you want the stone itself to carry the room, not the joint pattern. In narrow corridors or small bathrooms, however, the 8×8 or even a 12×12 can work better proportionally, because an 18×18 tile laid in a space under 8 feet wide produces an awkward cut-tile situation along both walls simultaneously.
Your grout color decision amplifies the difference further. A dark grout on an 8×8 creates a strong grid pattern. The same dark grout on 18×18 produces a refined geometric frame. Light grout on 18×18 with a consistent stone material approaches a seamless-slab visual effect that’s difficult to achieve with any smaller format.
Substrate and Adhesive Requirements at Large Format
One detail that separates experienced specifiers from generalists is adhesive coverage. The Tile Council of North America’s published TCNA installation standards call for 95% mortar contact on tiles installed in wet areas and exterior locations — and at 18×18, achieving that coverage requires a back-buttering technique on virtually every tile, not just the occasional one. Trowel size jumps to a 1/2-inch x 1/2-inch square notch as the minimum for most 18×18 materials, and a larger 3/4-inch notch for heavier stone formats.
Your substrate’s composition matters as much as its flatness. Concrete substrates with a compressive strength below 2,500 PSI should be evaluated before specifying large-format natural stone — the adhesive bond is only as reliable as the surface it keys into. Uncoupling membranes have become a practical default for renovation projects where the existing substrate can’t be fully assessed, because they isolate the tile assembly from minor substrate flexion without requiring a full slab replacement.
- Minimum substrate compressive strength: 2,500 PSI for natural stone installation
- Flatness tolerance: 1/8 inch maximum variation over 10 feet per ANSI A108.02
- Mortar contact coverage: 95% minimum in wet areas and exterior applications
- Trowel selection: 1/2-inch square-notch minimum, 3/4-inch for heavier stone tiles
- Deflection limit: L/360 or better for the structural floor assembly
- Back-buttering: required on all large-format stone tiles in demanding applications
Thermal Cycling, Expansion Joints, and the 18×18 Format
Here’s what often gets overlooked in large-format tile specifications: the 18×18 format creates a larger cumulative thermal expansion mass per tile than smaller formats, and the interaction between thermal cycling and grout joint capacity is where many installations develop stress fractures over time. Natural stone expands and contracts with temperature change — limestone at approximately 4.4 × 10⁻⁶ per °F, travertine in a similar range — and those movements accumulate across a large tiled floor assembly.
Regions with significant day-to-night temperature swings — anywhere from 30°F to 50°F diurnal ranges — create repeated micro-movement cycles that stress grout joints far more aggressively than steady-temperature environments. Freeze-thaw cycles compound this effect for exterior applications: water infiltration into a tight joint, followed by ice crystal expansion at approximately 9% volume increase, can develop enough localized pressure to displace even well-bedded tiles over successive seasonal cycles.
The practical specification response is straightforward but frequently skipped. Movement accommodation joints — typically 1/4-inch minimum — should be placed at all changes of plane, perimeter walls, and column bases, with intermediate field joints at intervals no greater than 20 to 25 feet in interior heated spaces. For exterior or unconditioned spaces with significant thermal exposure, that interval should tighten to 12 to 15 feet. Sanded silicone or polyurethane sealant in those joints, rather than rigid grout, absorbs the cyclic movement without transferring stress to adjacent tile bodies.
- Interior heated spaces: movement joints every 20 to 25 feet maximum
- Exterior or unconditioned spaces: movement joints every 12 to 15 feet
- All perimeter conditions: 1/4-inch minimum compressible joint, full depth
- Joint filler: flexible sanded silicone or polyurethane — never rigid cement grout
- Freeze-thaw regions: specify ASTM C666-compliant stone with low absorption to resist ice crystal expansion
Finish Selection and Its Performance Consequences
The finish you specify on an 18×18 floor tile changes the maintenance profile, slip resistance, and light response of the entire floor — often more dramatically than the material choice itself. Polished finishes on natural stone at this format are visually stunning but practically demanding: micro-scratches from everyday foot traffic are more visible on a large polished surface than on a smaller one, because the continuous mirror-like reflection across the tile face makes every abrasion track readable.
Honed finishes are the professional default for most residential and commercial floor applications at 18×18. They retain the depth of the material’s natural color and veining without the reflectivity that ages poorly in traffic areas. Honed limestone and travertine at this format also respond better to wet conditions — a honed travertine tile carries more underfoot texture than a polished tile; specify against 0.42, the ANSI A326.3 wet DCOF threshold, though wet COF values should always be verified by material testing rather than assumed from finish category alone.
Brushed and tumbled finishes produce a more textured surface that genuinely improves wet grip performance. The trade-off is that these finishes trap particulate more readily and require more frequent cleaning to maintain an acceptable hygiene standard in food service or healthcare environments. Your finish decision should always be driven by the application’s actual use pattern — not just the aesthetic preference expressed in the first client meeting.
Layout Planning and Cut-Tile Management
A disciplined layout plan is the difference between a professional 18×18 floor tile installation and one that generates callbacks. Your first step is a dry layout run — tile the floor dry before mixing any adhesive, starting from the center of the room and working outward. You’re looking for the cut tile that appears at each wall: anything below half a tile width at a visible edge is a layout failure, and it’s caught most effectively before a single tile is set.
The NSI tile specifications and ASTM stone standards note that dimensional calibration between tiles in the same batch can vary slightly even in premium stone production. With 18×18 tiles, a calibration variance of even 1/16 inch per tile compounds significantly across a large floor — 20 tiles in a row at that variance produces a 1.25-inch cumulative drift. Always verify that tiles within your order come from the same calibration batch, and check warehouse documentation to confirm this before delivery is accepted on site.
Diagonal layouts at 45 degrees require your waste calculation to increase by 15 to 20 percent above a straight grid, because the diagonal cut produces more off-cuts that can’t be reused elsewhere. Factor this into your order quantity from the start — sourcing a supplemental batch mid-project from warehouse stock risks a color-lot mismatch that no amount of blending fully corrects.
Ordering, Warehouse Logistics, and Lead Times
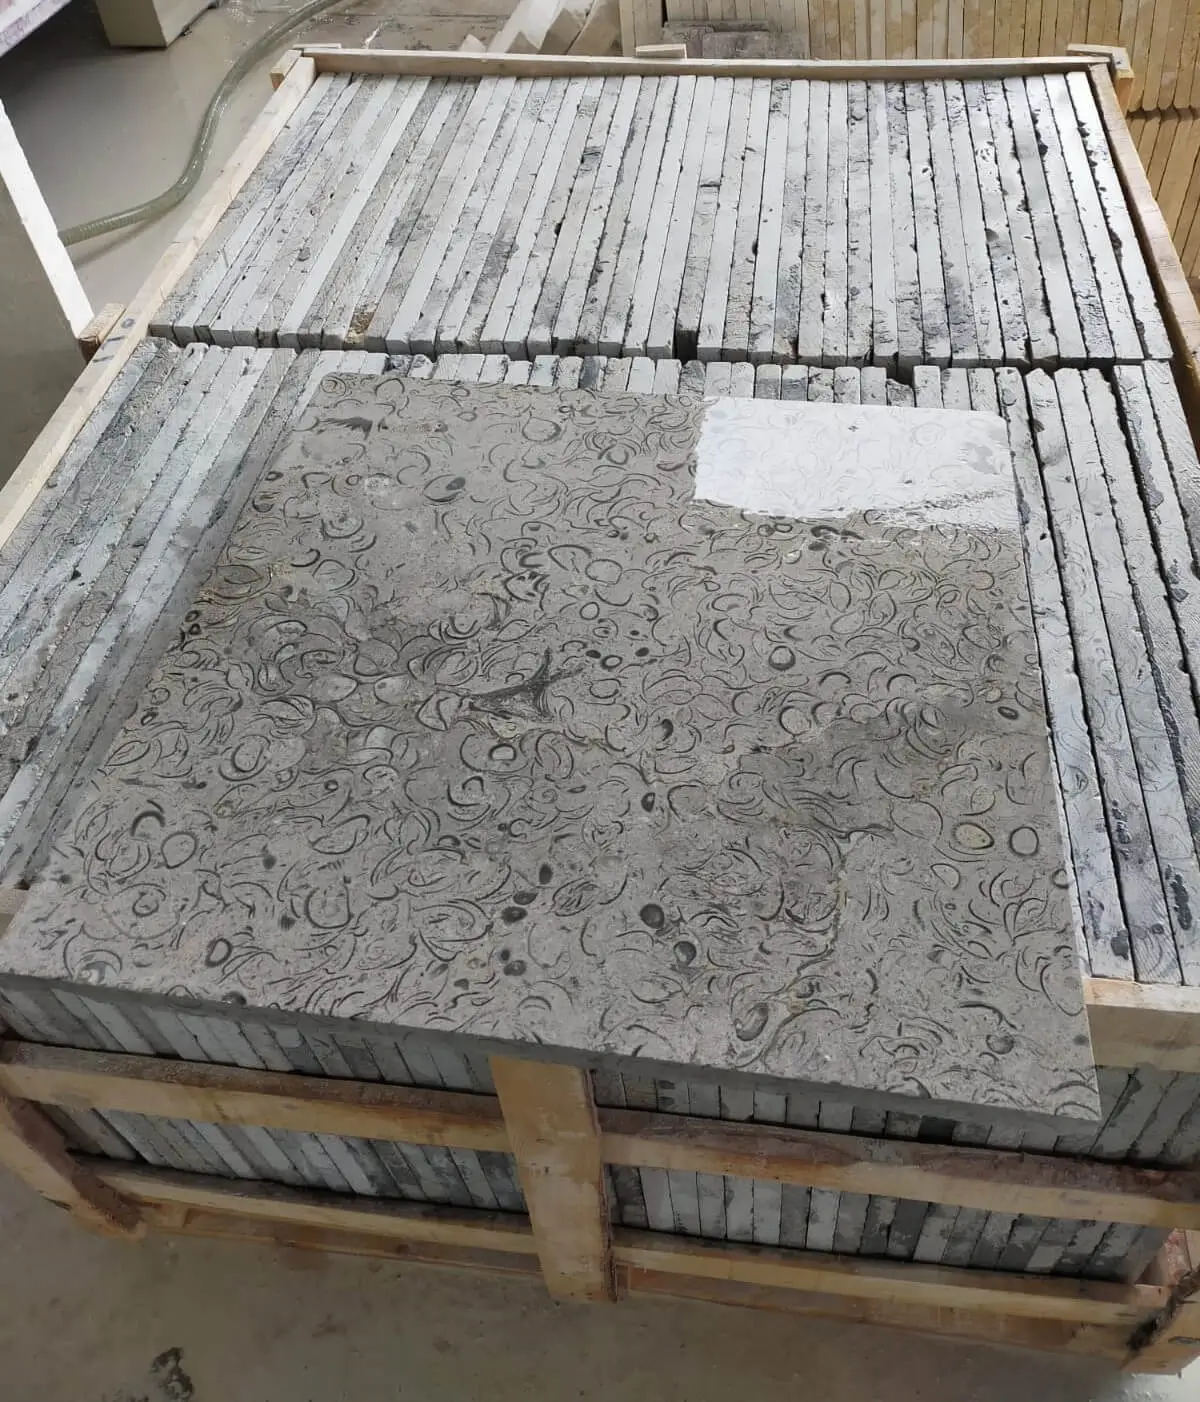
Large-format natural stone tile requires more careful ordering logistics than standard ceramic formats. At 18×18, your pallet weights are higher, your truck access requirements become a real site-planning variable, and your lead time buffers need to be longer than the product catalogue typically suggests. A standard pallet of 18×18 travertine tiles can weigh between 2,200 and 2,600 pounds depending on material density and tile thickness — not every residential site can accommodate a standard delivery truck at the unloading point without staging.
Coordinate your delivery access requirements with the supplier before finalizing your order. If the installation site has restricted access — narrow driveways, underground parking garages, or building freight elevators with weight limits — you may need to request split deliveries on smaller trucks rather than a single full pallet drop. This adds to logistics cost but prevents the more expensive problem of damaged tiles from improper site handling.
You should verify warehouse stock levels for your specific material and batch before committing to a project timeline. At Citadel Stone, our warehouse team confirms batch availability and color-lot consistency at the order stage, which typically reduces the risk of a mid-project sourcing gap. For large projects requiring more than 500 square feet, reserving your material with a confirmed batch hold is standard practice — it eliminates the scenario where the first delivery and the supplemental order come from different production runs with visible color variation.
Explore the full Citadel Stone flooring range for batch-verified 18×18 natural stone options that ship nationally with documented calibration and color-lot records.
Grout Selection for Large-Format Natural Stone
Grout selection for 18×18 floor tiles is more consequential than most specifiers treat it. The joint width you achieve — which depends on tile calibration, spacer size, and layout precision — determines which grout product class is appropriate. Unsanded grout is formulated for joints under 1/8 inch; sanded grout handles 1/8 to 1/2 inch; and at joints above 1/2 inch, you need a large-joint grout with polymer modification for adequate shrinkage control.
For natural stone tiles at 18×18, the prevailing professional recommendation is to use an epoxy or urethane grout in high-use commercial floors and in all exterior applications. These products resist staining and moisture penetration at a level that standard Portland cement grouts don’t approach, and they maintain color consistency over decades of use without periodic re-sealing of the joint itself. The ASTM C1789 standard covers performance testing for urethane grouts, and referencing it in your specification gives the installation contractor a clear compliance benchmark.
- Joints under 1/8 inch: unsanded cement grout, minimum 28-day cure before heavy traffic
- Joints 1/8 to 1/2 inch: sanded grout, polymer-modified recommended for stone
- High-traffic commercial floors: epoxy or urethane grout for superior stain resistance
- Exterior applications: frost-resistant polymer-modified grout or epoxy only
- Natural stone compatibility: always verify grout pH — high-alkali grouts can etch acid-sensitive stones including limestone and marble
- Color matching: request full-size grout mockups before committing to a joint color on a large floor
Getting Your 18×18 Floor Tile Specification Right
The 18×18 floor tile format rewards careful specification and penalizes shortcuts in a way that smaller formats don’t. Substrate flatness, adhesive coverage, movement joint placement, finish selection, and grout compatibility all interact at this scale — and getting any one of them wrong produces a result that’s both visually and structurally inferior. Natural stone in this format — travertine, limestone, or dense basalt — provides performance depth that ceramic alternatives approach technically but rarely match aesthetically over a long service life. The ASTM natural stone tile absorption, strength, and slip resistance standards exist precisely because the performance variables in large-format stone tile installation are real and measurable, not theoretical.
Your material decision at the specification stage should account for the full performance envelope: thermal cycling behavior, wet-area safety, maintenance requirements, and substrate compatibility. A honed limestone or travertine tile in the 18×18 format, properly installed on a prepared substrate with correctly spaced movement joints and a flexible sealant perimeter, will deliver decades of reliable service in residential and commercial environments alike. As you finalize your format and material selection, reviewing complementary tile options can sharpen your thinking — our 18×18 tile selection guide covers additional material and finish combinations worth evaluating before your final specification is locked.
Stone for nationwide projects ships from Citadel Stone with 18×18 floor tile graded for color and surface consistency batch to batch.
Related reading: How to Clean Travertine Floors Without Damage · 18×18 tile layout patterns · standard floor tile sizes.