Why Layout Geometry Determines Everything
Committing to 18×18 tile layout patterns is a structural decision before it is an aesthetic one. The geometry you choose dictates grout joint alignment, subfloor stress distribution, and how telegraphing from an imperfect substrate expresses itself across the finished surface. Most specifiers focus on material selection and finish, then treat the layout as an afterthought. That sequencing error is responsible for more callbacks than any other single decision in large-format tile installation.
Your substrate flatness tolerance tightens significantly with 18-inch formats. Industry guidance from the TCNA stone tile installation standards specifies a maximum variation of 1/8 inch in 10 feet for large-format tiles — and hitting that benchmark requires grinding high spots, not just floating low ones. Get the slab preparation right first, then commit to your pattern.
Straight-Set Grid: The Workhorse Pattern
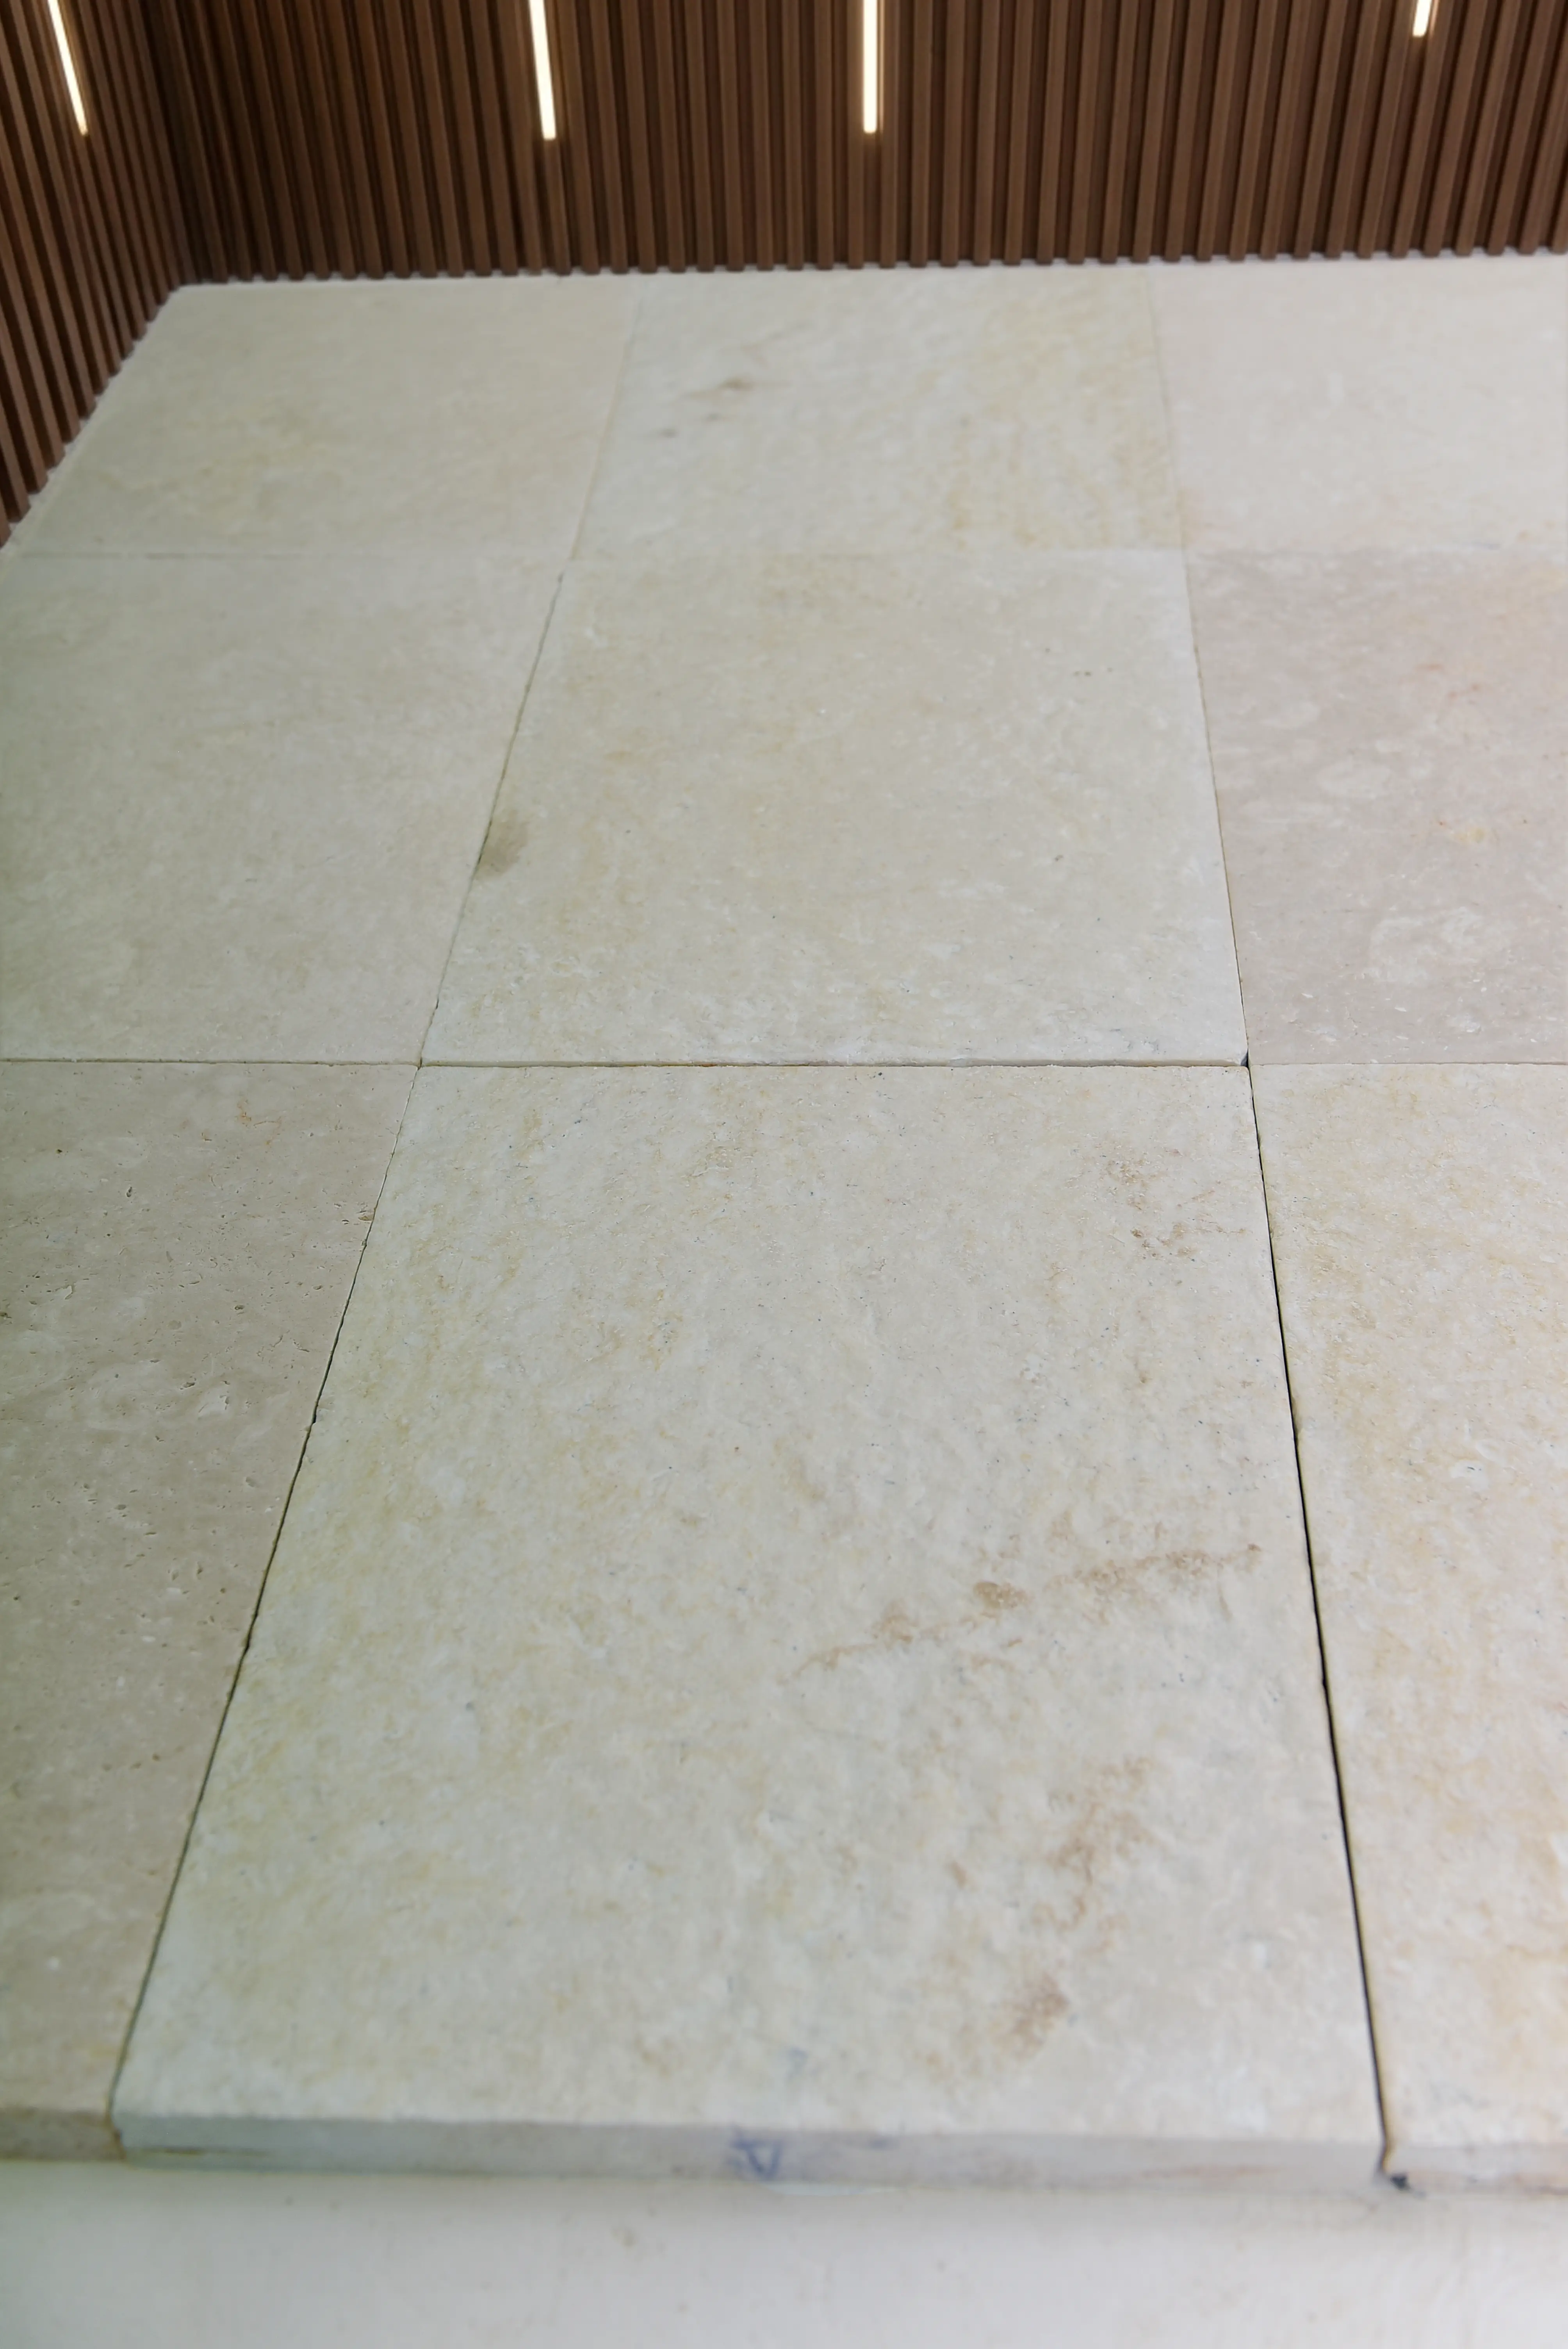
The straight-set grid is exactly what its name describes — tiles set square to the walls, joints running parallel and perpendicular to the room’s primary axis. For 18×18 floor tile patterns, this layout maximizes visual order and makes grout joint alignment a precise, measurable exercise rather than an organic one. It’s also the most demanding pattern to execute well, because every misalignment is instantly visible across the continuous joint lines.
Your starting point is always the centerline of the room, not the wall. Snapping two perpendicular reference lines from the room’s midpoint and dry-laying a quadrant before you mix a single trowel of setting material saves you from discovering a 1.5-inch sliver cut at a prominent threshold. Field performance data on straight-set installations consistently shows that proper dry-layout planning reduces waste cuts by 15–20% on average.
- Joint lines run uninterrupted, amplifying any out-of-square wall condition — check walls with a 4-foot level before committing to parallel orientation
- Grout joint width should be 3/16 inch minimum for rectified 18×18 formats to accommodate thermal movement
- Spacers maintain consistency, but large-format tiles develop lippage when adhesive coverage drops below 95% — back-butter every tile
- The straight-set grid emphasizes a room’s length when joints align with the longest axis, making it the preferred choice for rectangular spaces where you want to reinforce depth
Diagonal Offset: The Space-Expanding Pattern
Rotated 45 degrees from the wall plane, the diagonal pattern fundamentally changes how a room reads. Your eye follows the tile’s diagonal axis rather than tracking parallel to the walls, which creates a perception of width in spaces where the footprint doesn’t justify it. For narrow corridors, galley kitchens, or elongated entryways, this is the layout that works hardest for the space.
The trade-off you need to plan for is cut waste. A diagonal orientation on an 18×18 floor tile pattern generates perimeter cuts that are triangular rather than rectangular — those triangular offcuts can’t be reused. Budget an additional 12–15% material overage beyond the standard 10% allowance. You’ll also need to account for the diagonal reference line: it runs at exactly 45 degrees from your room’s centerpoint, and any deviation compounds across the field.
In spaces finished with durable natural stone like travertine, the diagonal pattern reveals directional grain variation in ways the straight-set grid conceals — which can be either an aesthetic asset or a liability depending on the stone’s veining consistency. At Citadel Stone, we recommend reviewing full-slab samples for directional veining before committing to a diagonal orientation on natural stone formats.
- Diagonal cuts at perimeter walls require a wet saw with a quality carbide blade rated for the material’s hardness
- Reference lines must be snapped at true 45 degrees — verify with a 3-4-5 triangle check before tiling begins
- Expect 20–25% total material waste including perimeter cuts and pattern-matching offcuts
- The diagonal layout makes grout joint misalignment far less visible than a straight-set grid — a practical advantage on substrates with minor flatness variation
Brick Offset: The Balanced Third Option
The 1/3 offset — sometimes called the running bond in large-format applications — staggers each row by one-third of the tile’s length rather than the traditional 50% offset used in smaller formats. This distinction matters enormously for 18×18 tile layout patterns. A 50% offset on tiles this large creates a long, unbroken diagonal stress line through the field that concentrates movement at mid-tile, dramatically increasing the risk of lippage over time.
Restricting your offset to 1/3 — or a maximum of 33% — distributes that stress more evenly and is explicitly recommended by NSI stone tile installation specifications for formats exceeding 15 inches in any dimension. The visual result still reads as dynamic and directional, but you’re working with the tile’s structural behaviour rather than against it. This is the layout pattern that most consistently survives the thermal cycling and subfloor movement that occurs in real-world installations.
- Maximum recommended offset for 18×18 formats is 33% — not 50%, regardless of what standard brick-pattern guides specify
- The 1/3 offset creates a repeating pattern unit every three tiles, which simplifies your reference line layout
- Joint lines in the running direction provide natural channels for any minor subfloor flex — a genuine durability advantage over the straight-set grid in wood-framed structures
- This pattern reads well in both formal and casual spaces, making it the most versatile of the three options discussed here
24×24 Format Comparison: When to Scale Up
Specifiers frequently ask whether the layout principles for 18×18 floor tile patterns translate directly to 24×24 floor tile patterns. The patterns themselves transfer — straight-set, diagonal, and 1/3 offset all work at the larger format. What changes is the subfloor demand. A 24-inch tile bridges substrate imperfections that an 18-inch tile would reveal, but it also amplifies any mid-span deflection in wood-framed floors. The L/360 deflection standard that’s acceptable for 18-inch formats becomes a hard minimum — not a target — at 24 inches.
Your choice between these two formats should be driven by room scale first. Rooms under 200 square feet often look visually congested with 24×24 floor tile patterns because the tile-to-grout-joint ratio leaves too few joints to define scale. In those spaces, 18×18 formats consistently deliver better proportional balance. For open-plan areas over 400 square feet, the larger format reduces total grout joint length, which simplifies maintenance over the installation’s service life.
18×18 Porcelain Tiles vs. Natural Stone: Performance Factors
The comparison between 18×18 porcelain tiles and natural stone formats comes down to where each material excels under real conditions. Porcelain at this format is highly resistant to moisture absorption — typically below 0.5% — which makes it well suited to wet applications where sealing natural stone is ongoing maintenance you’d rather avoid. Natural stone, particularly travertine, brings thermal mass behaviour and surface character that porcelain can replicate visually but not physically.
For installations that will face wind-driven rain infiltration at threshold transitions — exterior-to-interior entries, covered outdoor areas, or spaces adjacent to storm-exposed facades — the grout joint selection becomes the performance variable, not the tile itself. Sanded epoxy grout at 3/16-inch joints provides exceptional resistance to moisture infiltration under pressure, outperforming standard cement grout in joints that experience cyclic wetting from severe weather events. The tile’s dimensional stability matters here too: ASTM natural stone tile testing standards cover absorption, flexural strength, and slip resistance — all of which inform how a tile behaves at the joint level when water moves laterally under wind pressure. Where projects call for 18×18 porcelain tiles in lieu of natural stone, confirming that absorption ratings and flexural strength figures meet the application’s demands is as important as the layout pattern itself.
For high-performance applications where you want the warmth and variation of natural stone without compromising on dimensional precision, Citadel Stone large-format stone provides a vetted selection with consistent thickness tolerances that simplify large-format installation significantly.
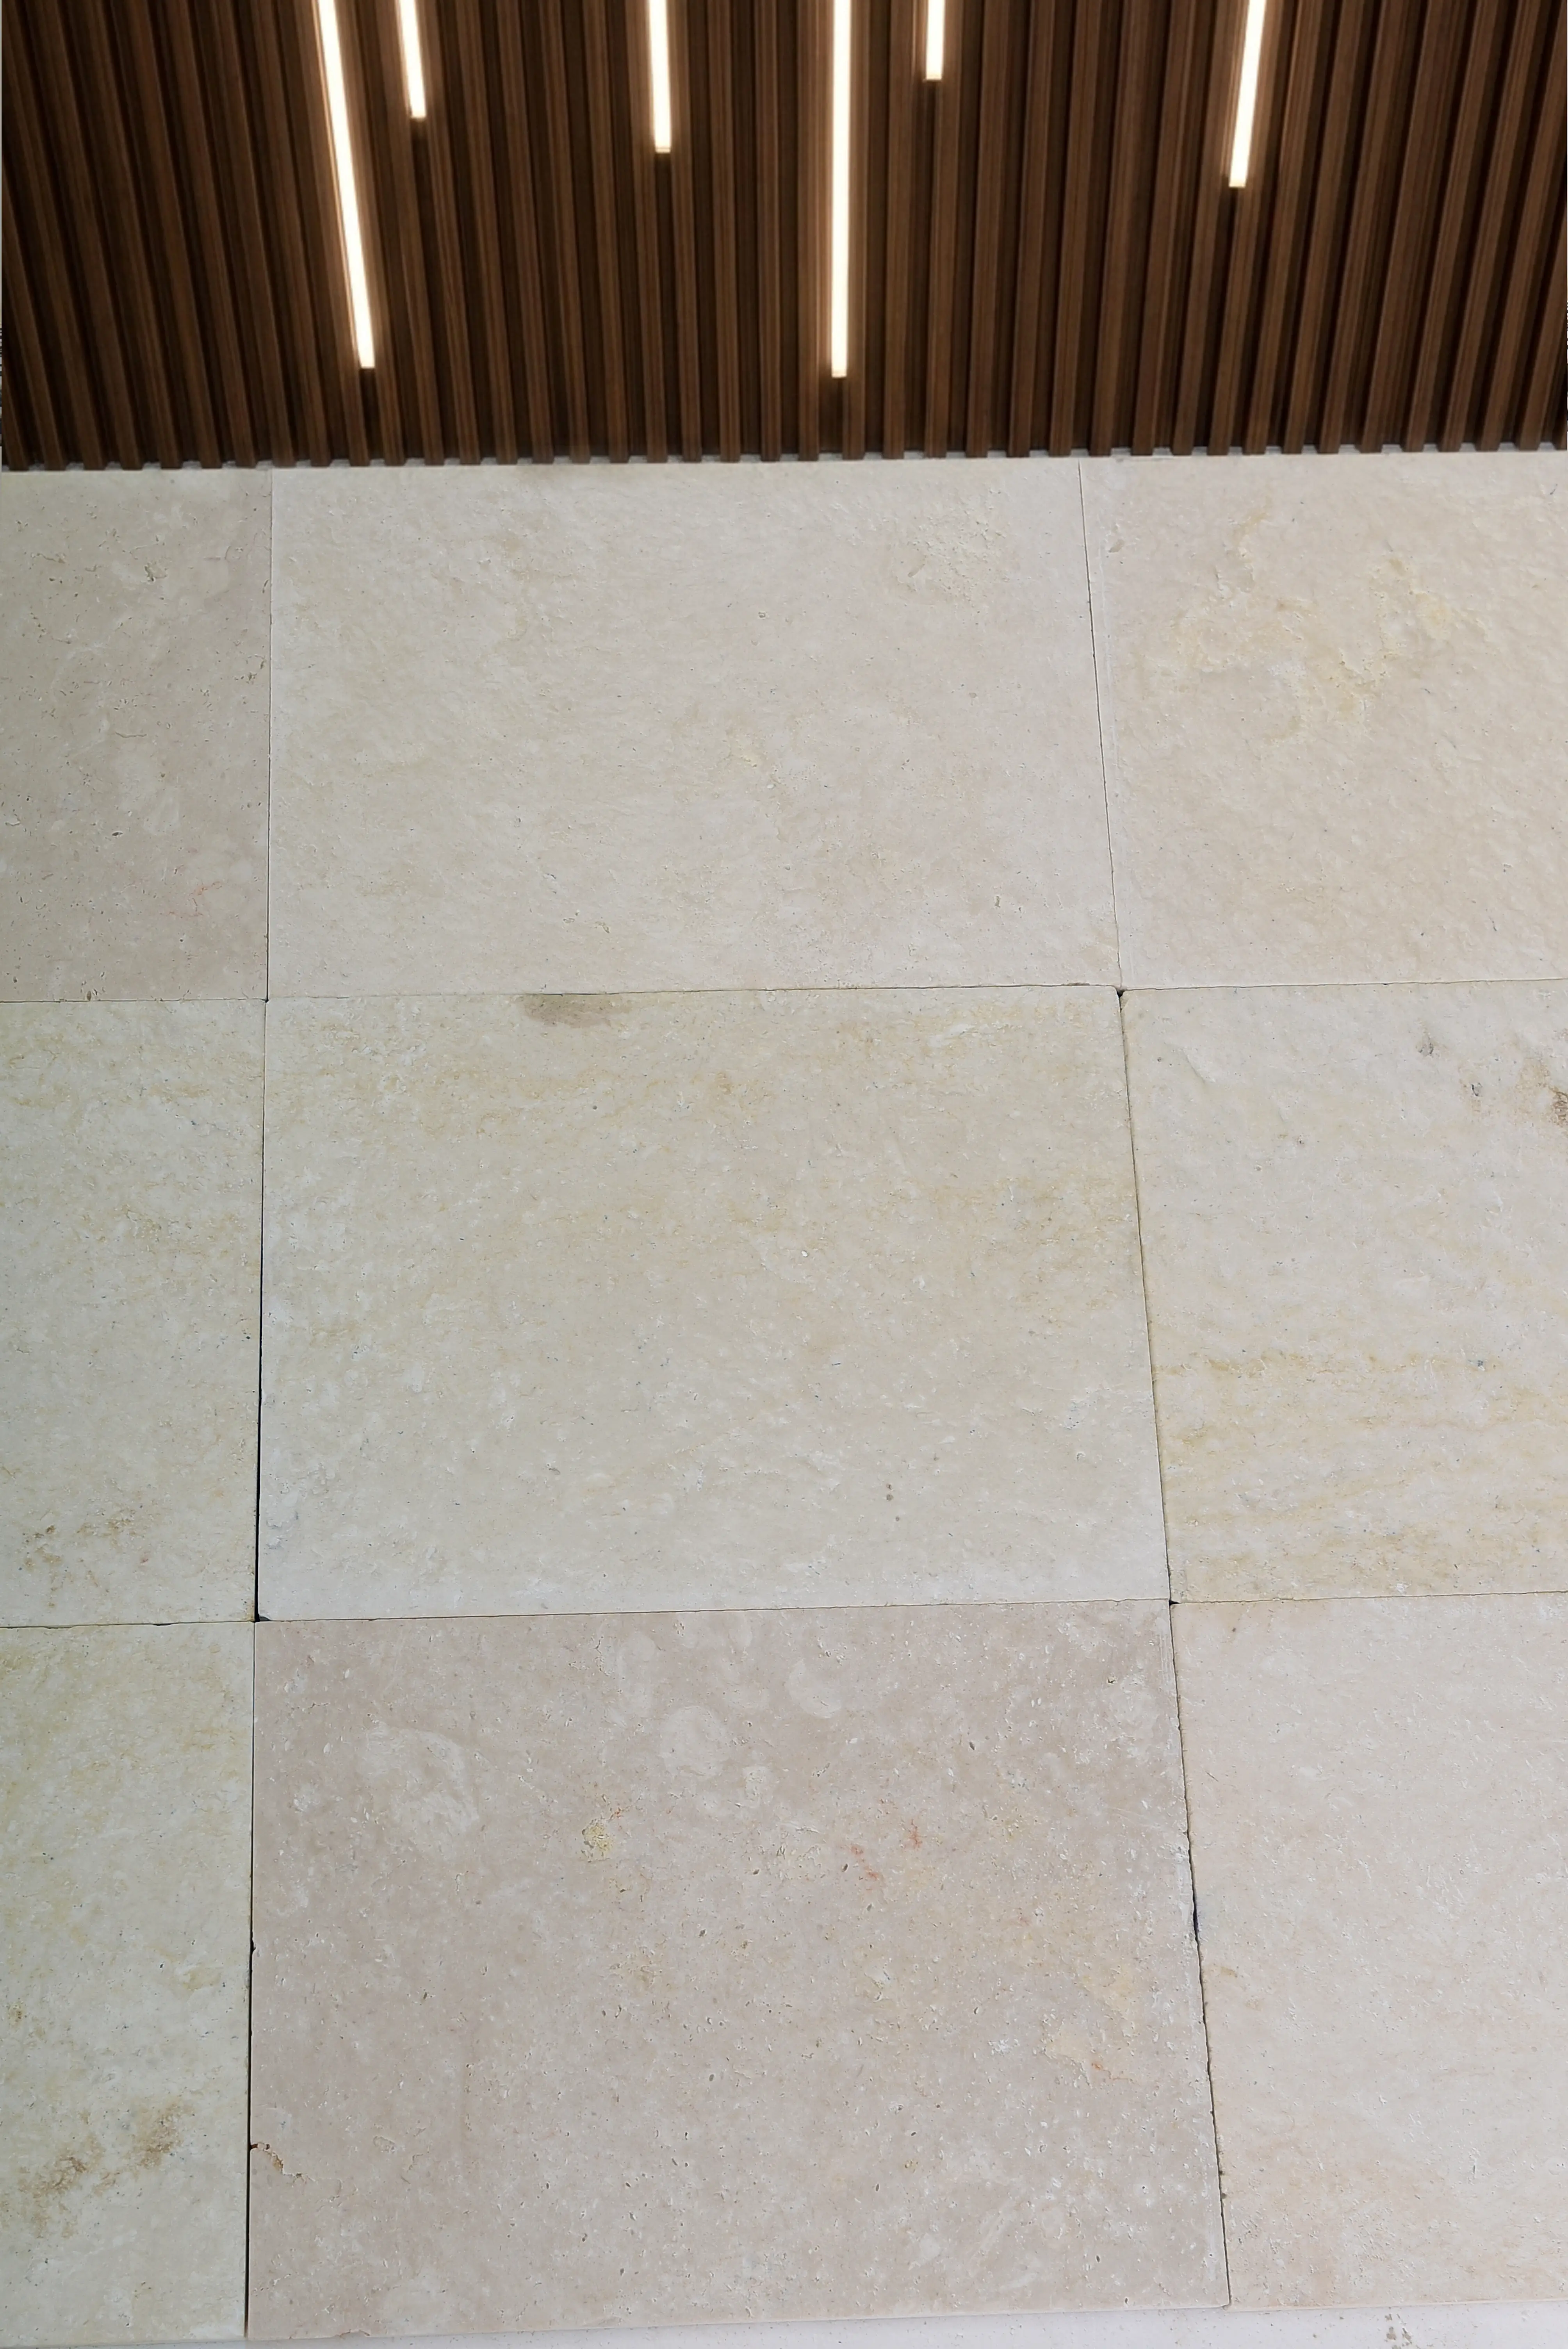
Setting Material and Joint Integrity Under Stress
Your pattern selection determines joint orientation, but your setting material determines how the installation performs when that pattern is stressed. Large-format tiles at the 18-inch threshold require a medium-bed mortar rated for the format — standard thin-set at 3/16-inch compressed thickness won’t provide the coverage or strength the tile demands. Medium-bed mortars maintain their physical properties at up to 3/4-inch depth, which is the realistic range you’ll encounter on substrates that meet flatness tolerances but aren’t perfect.
Installations in regions with significant storm exposure face an additional variable: wind-driven rain can create hydrostatic pressure at threshold joints and expansion joints that far exceeds what normal moisture management accommodates. Specifying movement joints at every 15 feet — not the 20-foot spacing sometimes seen in residential guides — creates enough relief that the setting bed absorbs thermal and mechanical stress without transferring it to the tile faces. Sealant in movement joints should be a polyurethane or hybrid formulation rated for the expected movement range, typically ±25% of joint width.
- Medium-bed mortar coverage must reach 95% contact for tiles over 15 inches — verify by back-buttering and checking pull-off coverage during the first hour of installation
- Movement joints must penetrate through the tile, mortar bed, and into (but not through) the underlayment — partial-depth joints don’t perform under thermal cycling
- Epoxy grout in high-stress joints resists the mechanical wear from joint flex better than sanded cement grout over a multi-decade service life
- At Citadel Stone, our technical team advises confirming warehouse stock of your chosen tile format before scheduling installation crews — lead times affect mortar and grout procurement timelines equally
Ordering, Planning, and Material Logistics
Your layout pattern directly affects how you calculate material quantities. The straight-set grid at 10% overage is a reasonable starting point, but the diagonal pattern demands 22–25% total overage when you account for triangular perimeter cuts and pattern-matching losses. Running bond at 1/3 offset sits between them at 12–15%. Get your pattern confirmed before ordering — changing from a diagonal to a straight-set after material delivery means returning partially cut tile that most suppliers won’t accept.
Citadel Stone maintains warehouse inventory that supports national project timelines, which typically reduces fulfillment to 1–2 weeks for standard formats. That lead time advantage matters when your installation window is fixed by a general contractor’s schedule. Coordinating tile delivery with your setting material order is worth the planning effort — receiving tile before mortar leaves your crew waiting, and truck delivery scheduling for both materials on the same date reduces site disruption significantly.
Getting Your 18×18 Tile Layout Pattern Right
Pattern geometry, substrate preparation, setting material selection, and joint specification all interact — getting any one of them wrong undermines the others. The three 18×18 tile layout patterns covered here each suit a different spatial and technical context: straight-set for formal precision, diagonal for visual expansion, and 1/3 offset running bond for the most reliable long-term mechanical performance. Your pattern choice should come after your substrate assessment, not before it. If your floor system has any doubt about deflection or flatness, that constraint narrows your pattern options more than aesthetic preference does. As you plan your natural stone tile project, the care you take with your floor tile specification often informs adjacent material choices — caring for travertine tile floors is a closely related topic worth reviewing before finalising your finish selection. A diagonal offset with Citadel Stone’s 18×18 format can visually widen narrow rooms, while a straight-set grid tends to emphasize a space’s length in longer corridor-style layouts.
Related reading: Floor Tile Sizes Compared: Which Format Is Right? · Holes in Travertine Tile? Here’s How to Fix Them.