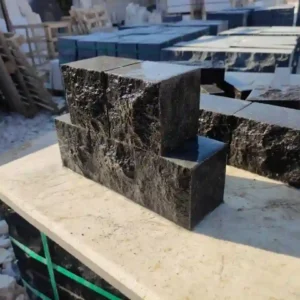
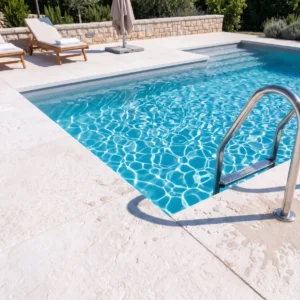
Flagstone patio installation decisions get made at the base level long before the first stone is ever set. The method you choose — dry-laid over compacted aggregate or mortar-set on a concrete slab — determines not just how the surface looks, but how it responds to load, drainage, ground movement, and decades of seasonal cycling. Most installation failures you’ll encounter in the field trace back to a method mismatch: someone chose mortar for a situation that demanded flexibility, or went dry-laid on soil that couldn’t hold a stable base. Getting this choice right from the start changes everything downstream.
Dry-Laid vs. Mortar-Set: Understanding the Core Difference
The distinction isn’t just about adhesive — it’s about how the installation responds to the forces working against it. Dry-laid flagstone sits on a compacted base of crushed aggregate or sand, allowing individual stones to shift slightly without cracking adjacent pieces. Mortar-set flagstone is bonded to a concrete slab, creating a rigid monolithic system. Both approaches deliver excellent long-term performance, but they perform well under entirely different site conditions.
Your site’s soil type, drainage characteristics, expected traffic loads, and frost line depth all factor into which method belongs on your project. According to flagstone sedimentary rock characteristics and paving use, flagstone’s natural cleavage planes and variable thickness make it well-suited to both installation methods when properly specified. The stone itself isn’t the limiting factor — the method and base preparation are.
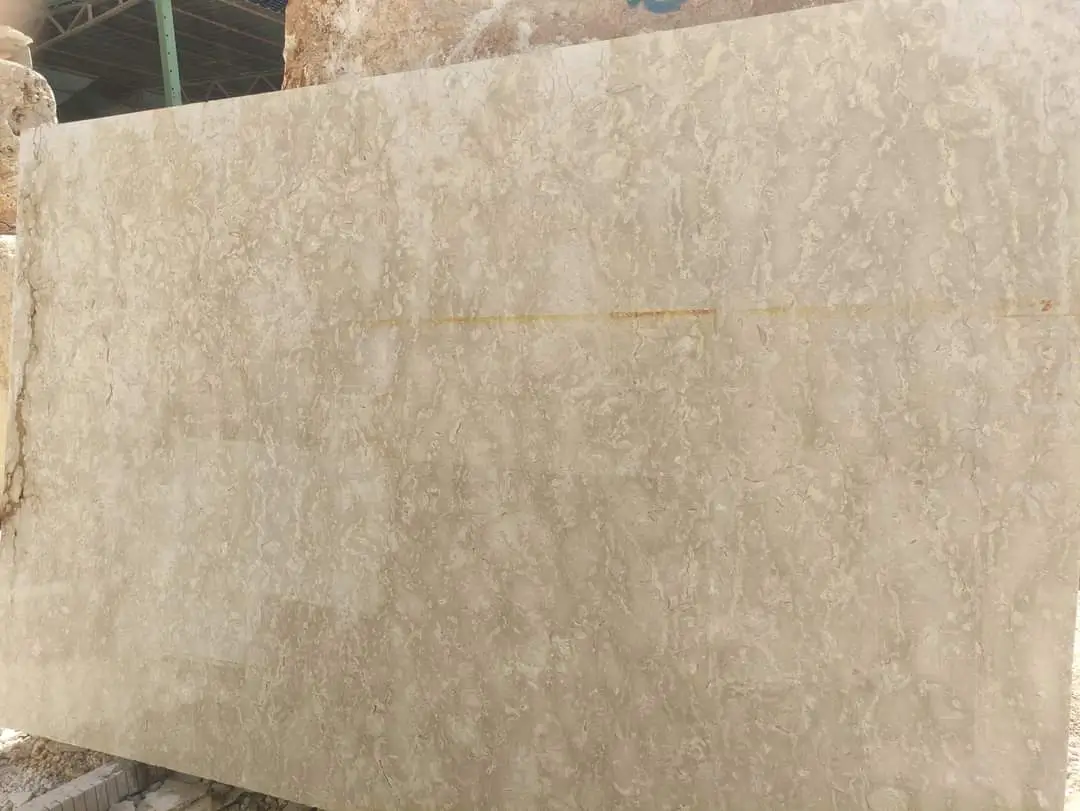
The Dry-Laid Flagstone Method: Flexibility as a Feature
Dry-laid flagstone patio installation relies on a carefully compacted base — typically 4 to 6 inches of crushed limestone or gravel, topped with a 1-inch setting layer of coarse sand or stone dust. The stones themselves are placed without bonding agent, relying on weight, tight joints, and a stable base to stay in position. This system accommodates minor ground movement without cracking the field, which makes it the preferred approach in freeze-thaw regions where frost heave is a recurring concern.
Here’s what most DIYers underestimate about dry-laid work: the quality of your base compaction matters more than anything else. A plate compactor run in multiple passes at 90-degree angles, achieving at least 95% Proctor density, is non-negotiable. Under-compacted base material settles unevenly, and you’ll be releveling stones within two seasons. The stone spec also matters — for a diy flagstone patio in dry-laid configuration, you want a minimum 1.5-inch thickness to prevent rocking under foot traffic point loads.
- Base depth: 4–6 inches of compacted crushed aggregate, increasing to 8–10 inches in regions with frost lines below 24 inches
- Setting bed: 1 inch of coarse concrete sand or #8 stone dust, screeded flat
- Stone thickness: 1.5 inches minimum for residential foot traffic, 2 inches for heavier use zones
- Joint fill: polymeric sand swept and activated with water — do not use standard play sand
- Edge restraint: spiked plastic edging or buried concrete curb to prevent lateral creep
- Drainage gradient: minimum 1/8-inch drop per foot away from any structure
The Mortar-Set Flagstone Method: Permanence and Precision
Mortar-set flagstone patio installation requires a concrete slab substrate — typically 4 inches of 3,000 PSI concrete reinforced with #4 rebar at 18-inch centers for residential applications. The flagstone is then set into a 3/4-inch mortar bed (Type S mortar is standard for exterior applications) and joints are grouted after a 24-hour cure. This system gives you a flat, rigid surface that resists lateral movement and tolerates higher point loads than dry-laid alternatives.
The trade-off is crack vulnerability. Concrete slabs move — thermally, seasonally, and in response to soil compression — and without properly detailed expansion joints, that movement telegraphs directly into your flagstone field. Control joints in the slab should carry through to the stone surface, placed no more than every 10 to 12 feet in both directions. Skipping this step is the single most common cause of mortar-set failure in residential patio work. You’ll see hairline cracks radiating from grout joints within three years if the slab moves without a relief point.
- Concrete slab: 4 inches minimum, 3,000 PSI, reinforced with rebar or welded wire mesh
- Mortar type: Type S (1 part Portland cement, 1/2 part lime, 4.5 parts sand) for exterior durability
- Setting bed thickness: 3/4 inch, back-buttered on stone for full coverage — no voids under the stone
- Expansion joints: every 10–12 feet, matching slab control joint locations
- Grout: non-sanded for joints under 1/8 inch, sanded for joints 1/8 to 1/2 inch
- Cure time: 72 hours minimum before foot traffic, 7 days before furniture or heavy loads
Base Preparation and Depth: Where Code Requirements Enter the Equation
Local building codes increasingly address patio base preparation — particularly for projects attached to a structure or exceeding a certain square footage. The International Residential Code (IRC) references frost depth as a driver for footing and base depth in connected hardscape, and many jurisdictions have adopted local amendments that go further. Your permit office is the authoritative source, but the baseline principle holds everywhere: your base must extend below the local frost line for any mortar-set flagstone patio installation to remain structurally stable over time.
Dry-laid patios have more tolerance for frost movement because the system accommodates heave without cracking. That said, edge restraints in dry-laid flagstone patio installation often require buried concrete footings when the patio connects to a structure wall — a requirement enforced at inspection in many jurisdictions. For mortar-set work, the slab must be designed as a structural element: soil bearing capacity matters, and on expansive clay soils you may need a geotextile fabric layer and deeper aggregate base regardless of frost depth. According to ASLA outdoor patio stone material selection and design guidance, base design for natural stone paving must account for drainage management as a primary structural variable, not an afterthought.
Flagstone patio installation on slopes adds another dimension — retaining the base material against lateral wash requires either buried edge beams or stepped base construction. A patio on a 2% or greater grade toward a structure almost always requires a drainage system under the slab or aggregate, and that detail should appear in your spec before breaking ground. Citadel Stone’s technical team regularly reviews base specifications with contractors before delivery to make sure the stone thickness and format ordered matches the base system being built.
Flagstone Thickness, Format, and Selection for Each Method
Stone format and thickness aren’t interchangeable between methods, and this is where outdoor patio paver designs diverge practically. Irregular flagstone in the 1.5 to 2-inch range works well for dry-laid installations because the variable thickness is managed by adjusting the sand bed depth under each piece. Mortar-set work benefits from more consistent thickness — 1.25 to 1.5 inches is the practical sweet spot — because a consistent mortar bed is easier to achieve and produces a flatter finished surface.
Large-format flagstone pieces (anything over 24 inches in any dimension) require extra attention in mortar-set work. Pieces this size have significant cantilever span between support points, and any void in the mortar bed creates a flexural stress concentration that leads to cracking. Full mortar coverage — achieved through back-buttering plus a full setting bed — is non-negotiable for large pieces. You can verify coverage after setting by lifting a freshly placed stone and checking that mortar contact covers at least 95% of the back face.
- Dry-laid irregular flagstone: 1.5–2 inches nominal, variable thickness is manageable with sand bed adjustment
- Mortar-set irregular flagstone: 1.25–1.5 inches nominal, tighter thickness tolerance preferred
- Large-format mortar-set: back-butter all pieces, verify 95% mortar coverage on back face
- Thin flagstone (under 1 inch): avoid entirely for exterior patio applications — flexural failure risk under point loads
- Color and finish: thermal or brushed finishes improve traction; honed finishes require a sealer with slip-resistance additive for exterior use
Explore our flagstone patio collection to review thickness ranges and format options available for both dry-laid and mortar-set applications before you finalize your spec.
Drainage, Waterproofing, and the Slab Interface
Drainage is where mortar-set and dry-laid flagstone patio installation part ways most sharply. A dry-laid system is inherently permeable — water infiltrates through joints and drains through the aggregate base. This makes it compatible with stormwater management requirements in many jurisdictions and reduces surface ponding. A mortar-set patio on a concrete slab creates a largely impermeable surface, which means all drainage happens at the surface plane. Your 1/8-inch-per-foot gradient toward a drain or away from the structure becomes a structural drainage requirement, not a design preference.
For mortar-set installations adjacent to a building, a waterproofing membrane between the slab and building foundation is worth specifying — particularly on slabs that slope toward the structure for any reason. Even with correct drainage gradient, wind-driven rain forces water under overhangs and against the slab edge. A 12-inch flashing overlap between the slab edge and the structure prevents moisture intrusion that shows up as efflorescence and joint deterioration within a few years. According to USGS natural stone paving production and construction use data, moisture management at installation joints is consistently cited among the top performance variables for dimension stone paving systems.
Joint Filling, Sealing, and Long-Term Maintenance
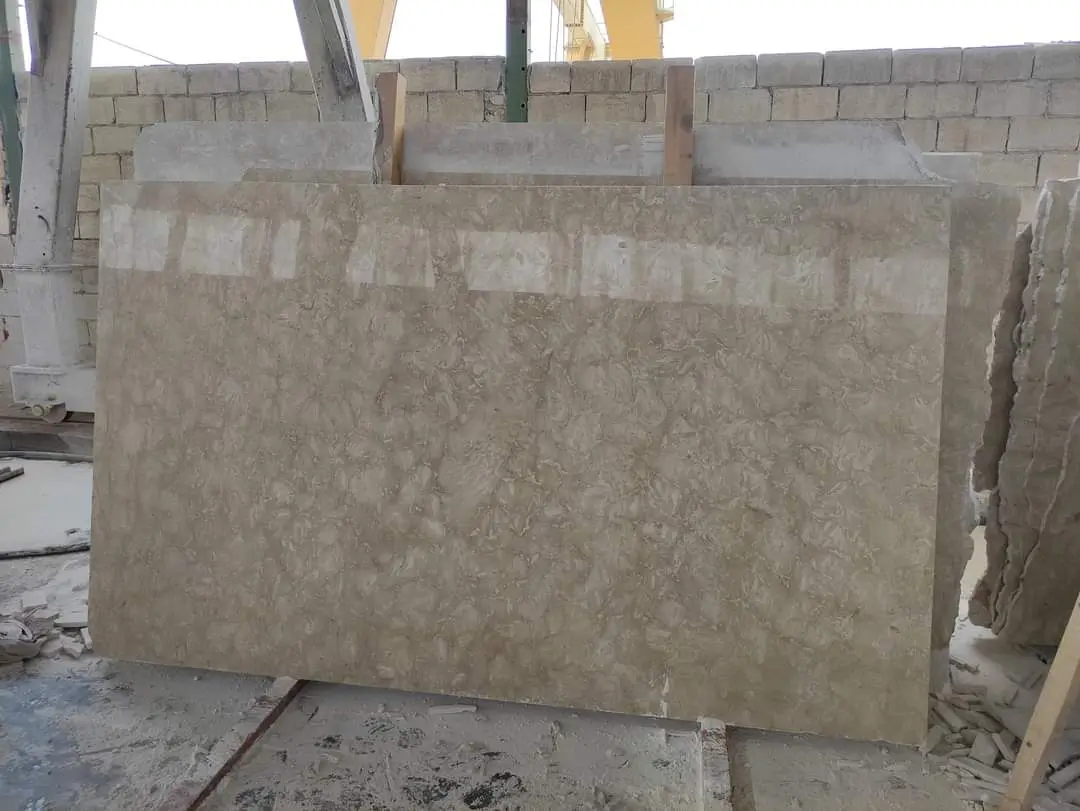
The joint system you choose has more impact on long-term durability than most people expect. For dry-laid flagstone, polymeric sand is the current standard — it locks into place when wet-activated and resists ant infiltration and weed germination far better than traditional stone dust. Reapplication every 3–5 years is realistic maintenance on a high-traffic dry-laid patio. For mortar-set installations, epoxy grout outperforms cement-based grout for exterior applications — it’s more resistant to freeze-thaw cycling, staining, and joint cracking. The trade-off is a narrower application window: epoxy grout sets up fast, and in hot conditions you’ll want to work in 10-square-foot sections maximum.
Sealing flagstone applies to both methods, but the timing and product selection differ. Dry-laid flagstone should be sealed after the polymeric sand has fully cured and any initial efflorescence has been cleaned — typically 30 days after installation. Mortar-set flagstone should be sealed after the grout cures fully, 28 days minimum. A penetrating impregnator sealer (silane-siloxane chemistry) is the correct product class for exterior natural stone — it doesn’t form a surface film that peels, and it allows vapor transmission from the stone. Film-forming sealers trap moisture under the stone surface and cause spalling in freeze-thaw conditions.
- Dry-laid joint fill: polymeric sand, applied dry and wet-activated per manufacturer instructions
- Mortar-set joint fill: Type S cement grout standard, epoxy grout preferred for high-performance applications
- Sealer type: penetrating silane-siloxane impregnator for all exterior flagstone
- Sealing schedule: 30 days post-installation for dry-laid, 28 days post-grouting for mortar-set
- Resealing: every 3–5 years depending on traffic and UV exposure
- Efflorescence: treat with diluted phosphoric acid solution before sealing — never seal over active efflorescence
The Natural Stone Institute outdoor patio stone selection guide provides detailed maintenance guidance for natural stone paving that aligns with manufacturer recommendations across stone types.
Ordering, Logistics, and Pre-Installation Planning
Your flagstone patio installation timeline depends significantly on material availability and delivery coordination. Natural flagstone is not a commodity item — pallet configurations, piece sizes, and thickness ranges vary between production runs, and ordering the wrong quantity or format after the base is poured creates costly delays. Calculate your square footage accurately, add 10–15% for cuts and natural breakage in irregular flagstone, and confirm warehouse stock availability before scheduling your base crew.
Citadel Stone ships nationwide from warehouse inventory, which typically means 1–2 week lead times rather than the 6–8 week import timelines common with special-order stone. Truck delivery access to your site matters more than most project planners anticipate — a standard flatbed truck requires a minimum 12-foot overhead clearance and 35-foot turning radius for site access. If your site has constrained access, confirm delivery logistics with your supplier before placing the order. Pallets of flagstone run 2,500–3,500 pounds, and a full truck load requires a forklift or pallet jack rated for that weight at the delivery point.
Flagstone Patio Installation: Your Action Plan
Choosing between dry-laid and mortar-set comes down to three questions: what is the frost line depth for your site, what is the soil drainage condition, and what finish flatness does the project require? Dry-laid wins on sites with active ground movement, good drainage, and where some surface variation is acceptable. Mortar-set wins where you need a flat, rigid surface, where loads exceed standard residential foot traffic, or where building code requires a structural slab connection. Neither method is universally superior — the right answer is site-specific, and committing to one approach before you’ve assessed the base conditions is where most installation problems originate.
Detail your expansion joints before you pour, confirm your base depth against local frost line data, and specify stone thickness to match your method rather than your budget. A well-executed diy flagstone patio starts with those decisions locked in before a single stone is ordered. For your next project phase, solid base construction is the foundation that makes every flagstone choice perform as intended — paver patio base preparation principles covers the technical detail that determines whether your installation holds for 10 years or 30. When filling joints on a mortar-set flagstone patio, the stone density sourced through Citadel Stone supports grout adhesion without excessive surface absorption.
Related reading: limestone sinks · flagstone patio vs pavers · how to build a paver patio.