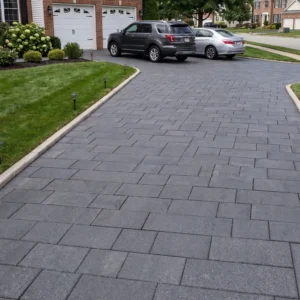
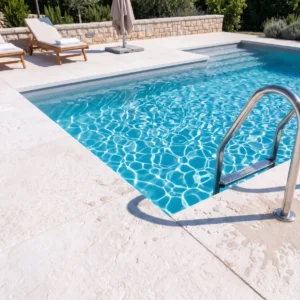
Most paver patio failures don’t start at the surface — they start 8 inches below it. Understanding how to build a paver patio correctly means understanding what’s happening beneath the surface, not just how to lay a clean pattern on top. The base preparation decisions you make before a single paver goes down will determine whether your installation looks perfect in year one and year twenty, or starts rocking and settling by year three.
The gap between a patio that lasts and one that doesn’t almost always comes down to compaction, drainage geometry, and joint sand management. Get those three variables right, and the rest of the project follows a logical sequence. Miss any one of them, and surface-level perfection won’t save you. This guide walks you through each phase in the order it actually matters — from excavation depth to final sealing — so you can build a paver patio that holds up under real use.
Planning Your Paver Patio Before You Break Ground
Your project’s outcome is largely determined by decisions you make on paper, not in the ground. Start by establishing your finished surface elevation relative to the house foundation, adjacent lawn grade, and any existing hardscape. You need a minimum 2% slope — that’s roughly 1/4 inch per foot — directing water away from the structure. Flatten that slope and you’re building a pond; steepen it beyond 3% and the surface becomes uncomfortable to use.
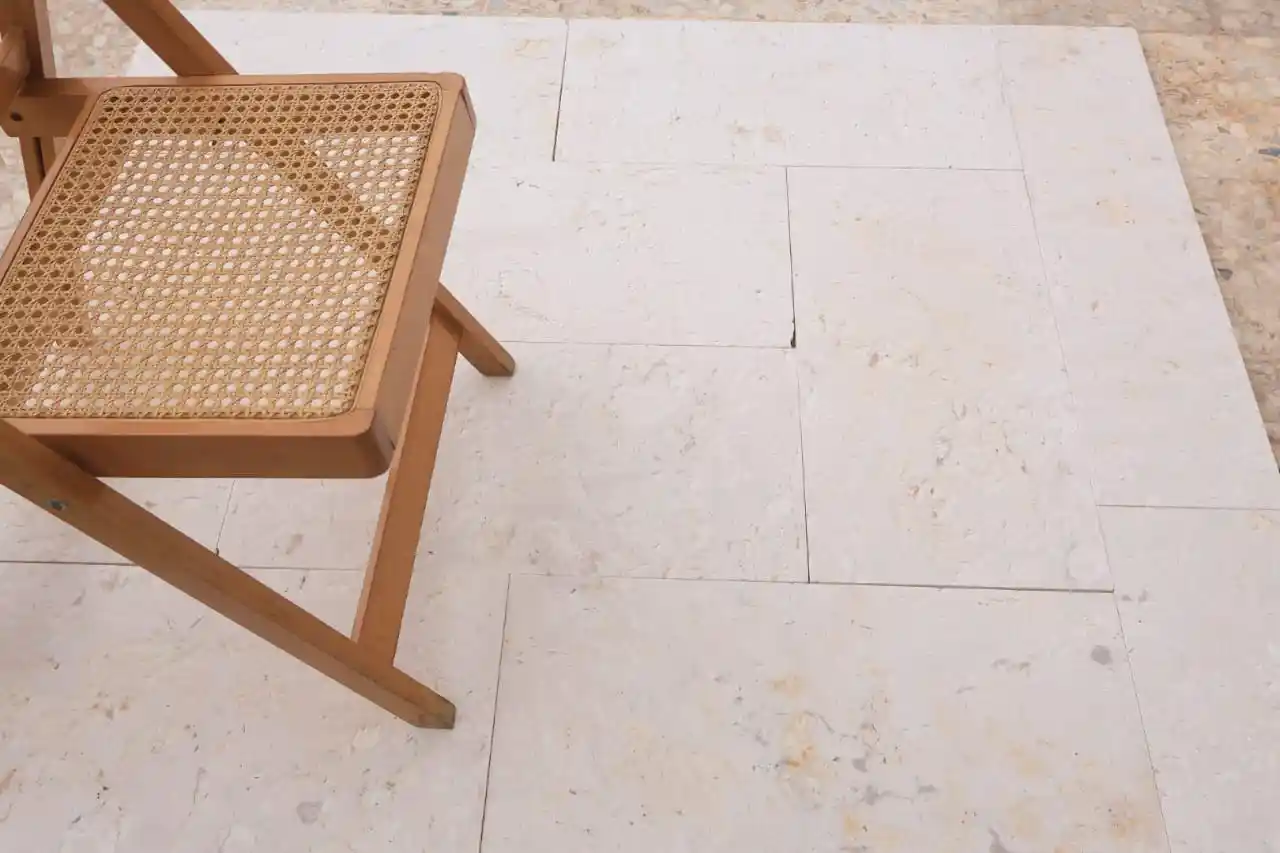
Material selection is where design intent enters the conversation. Natural stone patio pavers offer a depth of character that concrete can’t replicate, and they integrate across a wide range of landscape design styles. Whether your setting calls for clean-lined modern minimalism with large-format pieces, or a more organic traditional layout using tumbled edges and irregular courses, the stone you select needs to work with your existing architectural palette — not against it. Warm-toned limestone reads differently against a brick facade than against painted siding, and that visual relationship is worth thinking through before you order.
- Measure the patio footprint carefully and add 10% overage for cuts and breakage
- Confirm finished surface elevation against the house threshold — you want at least 2 inches of clearance below door sill plates
- Mark all underground utilities before excavating — call 811 a minimum of three business days in advance
- Identify your drainage outlet point so water has somewhere to go at the low end of your slope
- Check local permit requirements — many jurisdictions require a permit for patio surfaces over 200 square feet
Ordering your materials with enough lead time is a detail that trips up more projects than people expect. Citadel Stone maintains warehouse inventory for standard patio paver lines, which typically brings delivery windows down to one to two weeks — but if you’re specifying a less common size or finish, build in extra time and confirm stock before scheduling your excavation crew.
Excavation and Base Depth: Getting the Numbers Right
Dig to the correct total depth before anything else goes in. For a standard residential pedestrian patio, your excavation depth equals the paver thickness, plus a 1-inch sand setting bed, plus your compacted aggregate base. The base depth is where most DIY builds fall short — 4 inches is the absolute minimum for stable pedestrian use, and 6 inches is the professional standard for most soil conditions. Clay-heavy soils or areas that experience significant freeze-thaw cycling require 8 inches or more of compacted aggregate.
Add those numbers up for a typical 2-3/8-inch natural stone paver: 2.375 inches of paver + 1 inch of sand + 6 inches of compacted base = 9.375 inches of total excavation below your finished grade line. Mark that depth clearly on a stake at the center of your excavation so you can check it as you dig. Cheat on that number and you’re setting yourself up for a base that compacts unevenly under load.
- Remove all organic material — roots, topsoil, and sod — completely from the excavation zone
- Over-excavate by 1 inch, then hand-tamp the subgrade before adding base material
- Use crushed angular aggregate (Class II base rock or crushed limestone) — round river gravel does not compact correctly and will shift
- Add base material in 3-inch lifts and compact each lift separately with a plate compactor — never compact more than 3 inches at once
- Check for soft spots after compaction by walking the surface — any area that gives underfoot needs additional passes
The Natural Stone Institute outdoor paving selection guide reinforces that proper base preparation is the single most critical factor in paver patio longevity — more so than paver thickness or stone type. That alignment between material selection and structural preparation is what separates lasting work from surface-level finishes that look good for two seasons and then start failing.
Edge Restraints and Perimeter Setting
Your edge restraints go in after the base is compacted and before the sand bed goes down. This sequence matters — if you install restraints over loose sand, the spikes won’t seat properly into the aggregate, and the restraint will migrate outward under lateral load. Drive your restraint spikes through the restraint flange and into the compacted base at 12-inch intervals, not the 18-24 inches some installation guides suggest. Tighter spacing at corners and along curved sections is worth the extra hardware cost.
Plastic paver restraints are the field-standard for most residential installations, but for natural stone installations where the perimeter is visible — say, along a raised planter bed or a transition to lawn — a buried concrete curb edge gives you a cleaner look and a more rigid boundary. Pour a 4-inch-wide by 6-inch-deep concrete footing along the perimeter before installing your base aggregate, and set your first course of pavers against it. That approach locks the perimeter with zero flex.
- Always install edge restraints on all four sides — skipping a side because it borders a wall is a common mistake that allows lateral creep
- Curved edges require flexible restraint — cut straight restraint sections into short segments rather than forcing them to curve, which buckles the material
- Set restraint height so the top lip sits flush with or slightly below the finished paver surface — never proud of the surface
- For patio pavers installed adjacent to pool decking or water features, use heavy-duty aluminum restraint rated for wet-zone applications
Sand Setting Bed Preparation
Your sand setting bed is a precision layer — 1 inch deep when properly screeded, and never more than 1.5 inches. Thicker sand beds compress unevenly under load, and that differential compression is what causes individual pavers to tip and rock after a few seasons. Use coarse concrete sand (ASTM C33 gradation) — not mason sand, not play sand, and definitely not polymeric sand at this stage. Those materials either compact too tightly or shift too freely to give you the consistent bed you need.
Screed the sand using two parallel pipes set to your target bed thickness as rails. Drag a straight board across the pipes, then carefully remove the pipes and fill the voids left behind. Do not walk on the screeded bed before laying pavers — one footprint creates a low spot that telegraphs straight through to the surface. Work across the bed from one edge, kneeling on the pavers you’ve already set. This is the detail that separates a truly flat installation from one that looks flat but has subtle undulation you’ll feel every time you walk it.
- Check your screeded surface with a 6-foot level every 4 feet — tolerance is plus or minus 1/8 inch over 10 feet
- Maintain your 2% drainage slope in the sand bed, not just at the excavation stage
- In hot, dry conditions, lightly mist the sand surface before laying to prevent rapid moisture loss that can affect compaction
- Never add additional sand under individual pavers to raise low spots — the fix is to re-screed the affected area
Laying the Pavers: Pattern, Spacing, and Stone Selection
Start your layout from a straight reference line — typically the longest wall of the house — and work outward. Snap a chalk line perpendicular to that wall at your starting point and use it as a continuous reference as you lay. Natural stone patio pavers, unlike manufactured concrete pavers, can vary slightly in dimension from piece to piece. Pull from multiple pallets simultaneously as you work to blend color variation and prevent banding — where stones from one pallet cluster together and create a visible stripe in the finished surface.
The design dimension of your layout matters as much as the structural decisions. For contemporary settings with clean architectural lines, a running bond or stack bond in large-format pieces reads as intentional and refined. Traditional and colonial-inspired landscapes tend to suit a herringbone or basket weave pattern at 45 degrees to the house — the diagonal line draws the eye outward and gives the space a sense of movement. Xeriscaped or desert-inspired surroundings often work best with irregular coursing that mimics natural outcropping, which is where tumbled-edge natural stone really shines. Think about which pattern reinforces your broader landscape design before you start laying.
For a diy paver patio where you’re working alone, build from a corner and establish two perpendicular lines before committing to a run. That 90-degree starting geometry is the one thing that’s nearly impossible to correct mid-installation without pulling everything up.
- Maintain consistent joint spacing using plastic spacers — 1/8 inch for tight-joint installations, 3/16 inch for polymeric sand joints
- Set each paver by pressing straight down — never slide pavers into position, which undermines the sand bed
- Use a rubber mallet and a piece of scrap paver to seat each stone flush with its neighbors
- Check for lippage (height difference between adjacent pavers) constantly — more than 1/8 inch is a trip hazard and a structural concern
- Cut pavers for perimeter courses with a diamond-blade wet saw — angle grinders work but produce ragged edges that compromise the finished look
The ASLA outdoor patio stone material selection and design guidance notes that natural stone’s thermal and ecological performance characteristics make it a preferred material for sustainable outdoor design — a consideration worth factoring into your material selection alongside aesthetics and budget. For a closer look at premium natural stone options for your layout, Citadel Stone patio pavers includes a range of sizes and finishes suited to both traditional and contemporary patio designs.
Cutting and Fitting Border Courses
Border cuts are where building a paver patio project either looks professionally finished or looks like a DIY attempt. Mark your cut lines with a pencil on the paver face — a china marker works well on honed stone surfaces. Use a wet saw with a diamond masonry blade rated for natural stone, and cut at a consistent, slow feed rate. Rushing the cut generates heat that can fracture the stone unpredictably, especially in thinner limestone pieces.
For concave or convex curved cuts, score the line with a dry angle grinder pass first, then follow with the wet saw. Irregularly shaped cuts around posts, drains, or other penetrations are best templated in cardboard first — cut and fit the template until it’s right, then transfer it to the stone. A paver you cut wrong is a paver you’ve lost. Natural stone patio pavers aren’t so cheap that you can afford to waste them on preventable recutting mistakes.
- Always wet-cut natural stone — dry cutting produces silica dust that requires respiratory protection and generates excess heat
- Cut slightly long on your first pass and sneak up on the final dimension — you can remove more material, not add it back
- Smooth cut edges with a 60-grit diamond hand pad before setting — raw saw edges on visible perimeter courses look unfinished
- Save cut-off pieces for small infill spots rather than discarding them — those offcuts often fit somewhere useful
Compaction and Joint Sand: The Step That Locks Everything In
Once all pavers are set, run a plate compactor across the entire surface to seat the stones firmly into the sand bed. Use a rubber or urethane pad on the compactor base plate — bare steel will scratch and chip natural stone surfaces. Make two full passes in perpendicular directions. You’ll notice the surface drop slightly as it settles — that’s the sand bed consolidating under compaction load, and it’s exactly what you want to happen now rather than later under foot traffic.
Joint sand goes in after the first compaction pass. For installations you plan to seal, polymeric sand is the professional-grade choice — it binds under moisture activation and resists ant intrusion, weed germination, and joint washout from rain. Spread dry polymeric sand across the surface and sweep it into the joints with a broom, working in multiple directions to ensure joints fill completely. Run the compactor again to vibrate sand deeper into the joints, then re-sweep and refill until joints are within 1/8 inch of the surface. Activate the polymeric sand with a fine mist — not a direct stream — across the entire surface, then keep the patio dry for 24 hours minimum.
- Do not apply polymeric sand in temperatures below 32°F or above 90°F — the binding agents don’t activate correctly at temperature extremes
- Blow excess polymeric sand off paver surfaces before misting — dried polymeric residue on stone faces requires significant effort to remove
- For non-sealed installations, kiln-dried sand works well but requires annual top-up as it gradually migrates from joints
- Fill all joints completely before misting — gaps that look minor before activation become visible voids after the sand binds
According to USGS natural stone paving production and construction use data, dimensional natural stone continues to be among the most specified materials for residential outdoor hardscape — partly because of its longevity when correctly installed, and partly because properly jointed and compacted stone installations consistently outlast alternative surface materials under equivalent traffic loads.
Sealing Your Paver Patio
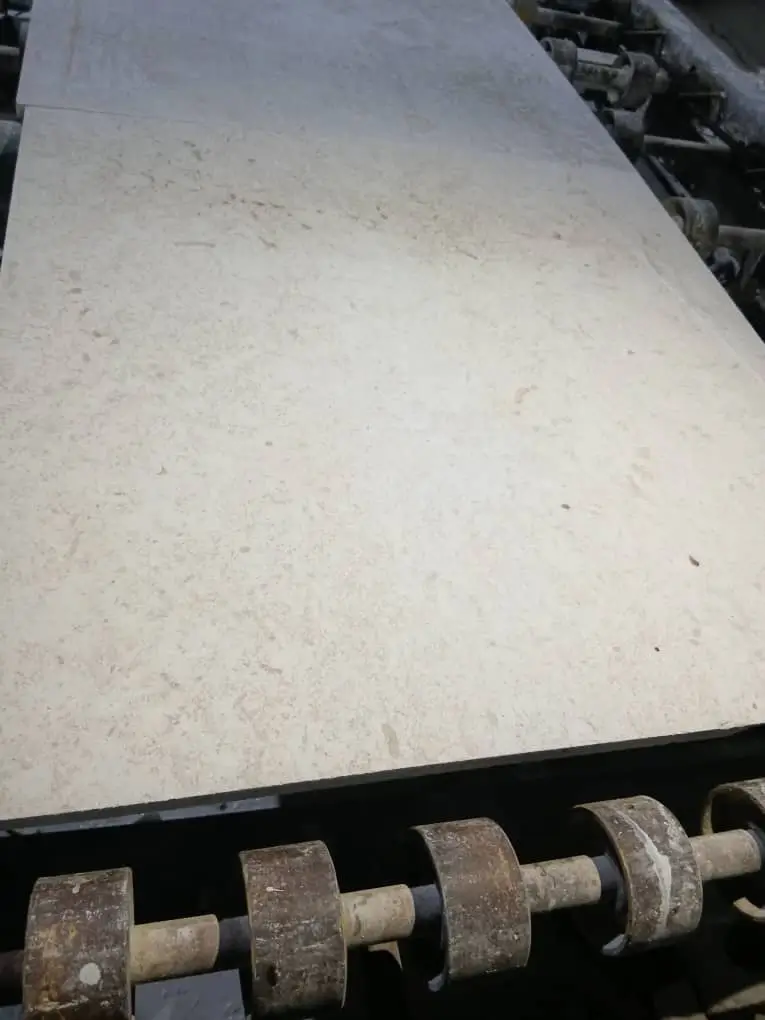
Sealing is optional for some stone types and essentially mandatory for others. Limestone and sandstone-based patio pavers absorb staining agents quickly and benefit significantly from a penetrating sealer applied before the surface sees any use. Granite and basalt pavers are dense enough that sealing is more about surface enhancement than protection, though a penetrating sealer still reduces long-term maintenance effort on any natural stone surface.
Apply your first sealer coat no earlier than 30 days after installation — the jointing sand needs time to fully cure and settle before you introduce sealer into the joint system. Use a penetrating silane-siloxane sealer for outdoor applications rather than a film-forming sealer. Film formers look glossy when new but trap moisture beneath the surface in freeze-thaw conditions and peel within two to three seasons. A penetrating sealer soaks into the stone matrix, repels water and oil, and doesn’t change the surface’s slip-resistance characteristics — which matters for a surface you’re walking on in wet conditions.
- Apply sealer in two thin coats rather than one thick coat — thick application causes pooling and uneven absorption
- Work the sealer in while it’s still wet on the surface — buff away any excess before it dries to prevent a sticky residue
- Plan to reseal every two to three years for high-traffic patios, or when water no longer beads on the surface
- In regions with hard winters, seal in late summer so the sealer has fully cured before freeze-thaw stress begins
- Clean the surface thoroughly with a pH-neutral stone cleaner before applying sealer — sealing over dirt or algae locks contaminants into the stone
Troubleshooting Common Patio Problems
Rocking or shifting pavers almost always trace back to one of two causes: insufficient base compaction or a sand bed that was too thick and compressed unevenly. To fix a rocking paver, pull it up, check the sand bed depth beneath it, re-screed if needed, and reset. Don’t try to shim it with sand poured around the edges — that never holds under load. Pull the paver, fix the bed, reset properly.
Efflorescence — the white salt deposits that sometimes appear on natural stone surfaces — is a moisture-transport issue. It occurs when water moving through the stone or base carries dissolved minerals to the surface and deposits them as the water evaporates. It’s more common in the first year as residual moisture from the installation process works its way out. Treat it with a diluted white vinegar solution or a dedicated efflorescence cleaner, then ensure your drainage slope is moving water away from the slab efficiently. Persistent efflorescence that continues beyond year two usually indicates a drainage problem at the base level, not just a surface issue.
- Low spots that hold puddles indicate a drainage slope problem — they require pulling and resetting an entire section, not just the low paver
- Joint sand erosion from rain suggests your slope is creating sheet flow across the surface — consider adding a perimeter drain to intercept runoff
- Cracked pavers near the perimeter typically indicate edge restraint failure — check whether the restraint has migrated and reset it before replacing pavers
- Paver color fade in high-sun areas is normal for some stone types and can be refreshed with a color-enhancing sealer at the next resealing cycle
What Matters Most When You Build a Paver Patio
The install paver patio projects that hold up for twenty-plus years share three consistent attributes: a properly prepared and compacted aggregate base, a disciplined sand bed set to exactly 1 inch, and fully filled polymeric joints that are sealed before the surface sees regular use. Everything else — the pattern choice, the stone type, the finish — matters for aesthetics, but those three structural decisions are what determine longevity. If you shortcut the base, the surface will tell you about it within a few years, and remediation means pulling the entire installation up and starting again.
Knowing how to build a paver patio that performs over the long term also means choosing materials that support that structural discipline. Your material choice shapes both the longevity and the design character of the finished space. At Citadel Stone, we work directly with quarry sources to verify dimensional tolerances before materials ship — consistent thickness across a pallet makes the difference between a sand bed that stays level and one that requires constant micro-adjustment during installation. Our technical team is available to help you confirm specifications, pallet quantities, and truck delivery logistics before your project timeline is locked in. As you think through your full hardscape plan, it’s also worth exploring how your patio material relates to adjacent surfaces — how flagstone and pavers compare for outdoor patios breaks down the trade-offs between the two approaches in useful detail. Stone sourced through Citadel Stone is selected for dimensional consistency, which reduces the leveling effort common with irregular field-cut materials.
Related reading: Crushed Limestone vs Paver Patio: Which Wins? · how limestone weathers outdoors.