Most paver patio base preparation failures don’t start at the surface — they start two feet below it, in decisions made before a single paver is set. The depth, composition, and compaction sequence of your sub-base determines whether your finished patio holds its grade and joint alignment for 25 years or begins showing settlement, edge creep, and hollow spots within five. Getting those foundational decisions right requires more than following a generic depth chart; it requires understanding how each layer interacts with the one above and below it under real load conditions.
Why Base Depth Is Not One-Size-Fits-All
Your site’s soil classification is the first variable that changes everything. Compacted granular soil tolerates shallower aggregate bases than expansive clay, which can move laterally and vertically with moisture cycles regardless of how well you’ve prepared the surface layers. Before you pull out the excavator, probe or core-sample your native soil to at least 18 inches. Clay-heavy subgrades that hold water need a minimum 8-inch aggregate base — some professionals extend that to 10 or 12 inches — while well-draining sandy loam sites can often perform reliably at 6 inches.
Freeze-thaw regions present a specific complication. Water trapped in a poorly drained patio paver base expands on freezing, heaving pavers upward in a pattern that’s almost impossible to predict or control. The solution isn’t just depth — it’s drainage geometry. Your base needs a continuous 1–2% fall toward a drain or permeable edge, built into the sub-base excavation itself, not corrected afterward with surface manipulation.
According to ASLA outdoor patio stone material selection guidance, base preparation quality is the single greatest determinant of long-term patio performance — outweighing even material selection in most residential applications. That perspective aligns with what field experience confirms: you can set premium natural stone pavers on a compromised base and still be re-setting them within a decade.
Excavation Depth and Subgrade Compaction
Your total excavation depth equals the sum of your paver thickness, your bedding sand layer, and your aggregate base — plus roughly half an inch for the compaction that will occur after installation. For a standard 2.5-inch natural stone paver, a 1-inch sand bed, and an 8-inch aggregate base, you’re excavating to approximately 11.5 to 12 inches below finished grade. Mark that depth at multiple points across the patio footprint before you start — inconsistent excavation creates uneven base compaction, and uneven compaction creates the wavy surface pattern that ruins an otherwise good installation.
After excavation, compact the native subgrade itself with a plate compactor before any aggregate goes down. This step gets skipped more often than it should, and it’s where many paver patio base preparation projects quietly fail. Loose or disturbed native soil beneath your aggregate will consolidate gradually under foot traffic and furniture loads, pulling the aggregate base down unevenly over time. Two or three passes with a plate compactor on the native subgrade takes fifteen minutes and eliminates a failure mode that would take years to manifest and weeks to fix.
- Probe native soil to at least 18 inches before excavating — confirm soil classification and drainage characteristics
- Mark excavation depth at 4-foot intervals across the entire footprint to ensure consistent depth
- Compact native subgrade with a plate compactor before placing any aggregate material
- In clay-heavy soils, consider a geotextile separation fabric between native soil and aggregate base to prevent migration
- Build your drainage fall into the subgrade excavation itself — 1 to 2 percent minimum gradient toward drainage
Choosing the Right Patio Paver Base Aggregate
Crushed stone aggregate — typically ASTM No. 21A or equivalent angular crushed limestone or granite — is the professional standard for paver patio base construction. The angular particle shape is what makes it work. Angular aggregate locks together under compaction, creating internal friction that resists lateral movement. Round aggregate, including pea gravel or river stone, compacts poorly and allows pavers to shift horizontally over time, opening joints and disrupting surface alignment.
Your aggregate gradation should include a range of particle sizes from roughly three-quarter inch down to fines, which allows the material to self-interlock during compaction. Clean angular stone with no clay content is non-negotiable — clay contamination in your base aggregate is one of the most common causes of settlement in residential patio installations, and it’s often introduced when contractors use recycled mixed demolition material rather than clean quarried aggregate.
The aggregate layer should be placed in lifts of no more than 4 inches and compacted thoroughly between lifts. Attempting to compact 8 inches in a single pass undercompacts the lower section, leaving a soft zone that won’t be detectable until the paver patio materials start showing differential movement. Each lift needs a minimum of three plate compactor passes — more if your equipment is lightweight or your aggregate is coarse.
- Use angular crushed stone aggregate — ASTM No. 21A or equivalent — not round gravel
- Confirm aggregate is free of clay contamination before accepting delivery
- Place aggregate in maximum 4-inch lifts, compacting between each lift
- Three passes minimum with a plate compactor per lift — more for coarser gradations
- Final compacted surface should be firm and unyielding underfoot with no detectable soft spots
Bedding Sand Layer: Precision Matters Here
The bedding sand layer is the most precision-sensitive component of paver patio base preparation. It’s the layer that allows final elevation and surface plane correction during paver placement, and it has strict performance requirements that are easy to violate without realizing it. Coarse washed concrete sand — ASTM C33 specification — is the professional standard. It compacts predictably, drains freely, and doesn’t shift under foot traffic the way finer masonry sand does.
Bedding sand depth should be consistent at exactly 1 inch — screeded flat across the compacted aggregate surface using 1-inch diameter conduit pipes as depth guides. Depth variation in the bedding sand layer is the primary cause of surface plane irregularities in finished patios. Sections with excess sand compress more than sections with the correct depth, creating low spots that appear during or shortly after installation. The sand layer corrects minor surface irregularities in the aggregate base — it doesn’t compensate for major ones.
One detail that often separates professional results from DIY outcomes: never compact the bedding sand before placing pavers. The sand compacts as pavers are set and as a plate compactor passes over the finished surface. Pre-compacting the sand eliminates your ability to make fine elevation corrections during placement. Set pavers directly onto screeded, uncompacted sand, check your surface plane continuously with a long straightedge, and save compaction for after the full surface is placed.
Edge Restraint Systems and Storm Load Resistance
Edge restraints are where paver patio base preparation intersects directly with long-term structural integrity. Wind-driven rain infiltration at unrestrained paver edges is one of the most underestimated failure mechanisms in residential patio construction. Water that enters at an unsecured perimeter can hydraulically displace bedding sand, undermine edge courses, and create a progressive failure pattern that migrates inward across the entire patio over multiple storm seasons.
Plastic edge restraint systems spiked directly into the compacted aggregate base are the industry minimum. The spikes need to penetrate at least 6 inches into the aggregate layer — not just the sand — to resist lateral forces from saturated soil expansion and wind-load stress on the paver field. For larger patio installations or sites with significant soil movement potential, concrete edge restraints or steel spike systems provide superior resistance to the lateral forces that storm events generate at patio perimeters.
Joint integrity under wind-driven rain deserves equal attention. Polymeric jointing sand — swept into joints and activated with water — creates a semi-rigid bond between pavers that resists hydraulic displacement from rainfall impact and surface runoff. Standard sand joints erode progressively under storm conditions, creating entry points for weed growth and accelerating edge restraint failure. According to the Natural Stone Institute outdoor stone selection guide, joint material selection significantly affects long-term paving performance in exposed outdoor environments — a specification decision that’s made at the base preparation stage, not as an afterthought.
- Install edge restraints before placing any pavers — secure spikes minimum 6 inches into aggregate base
- Use polymeric jointing sand rather than standard sand — resists hydraulic displacement under storm rainfall
- Check that edge restraint spike patterns follow manufacturer load-rating guidance for the patio’s perimeter length
- Where soil adjacent to the patio is prone to saturation, extend aggregate base drainage to outlet away from the patio perimeter
- Inspect edge restraint integrity after any significant storm event during the first two years following installation
Natural Stone Paver Selection for Base Compatibility
Paver selection feeds directly back into base design — specifically, paver thickness and density affect the load calculations that determine aggregate base depth. Thinner natural stone pavers in the 1.5-inch range require a stiffer, more precisely prepared base than 2.5-inch or 3-inch stone because they distribute point loads across a smaller cross-section. Setting thin pavers on an underprepared base accelerates cracking at stress concentration points — corners, edges, and areas subjected to furniture or planter loads.
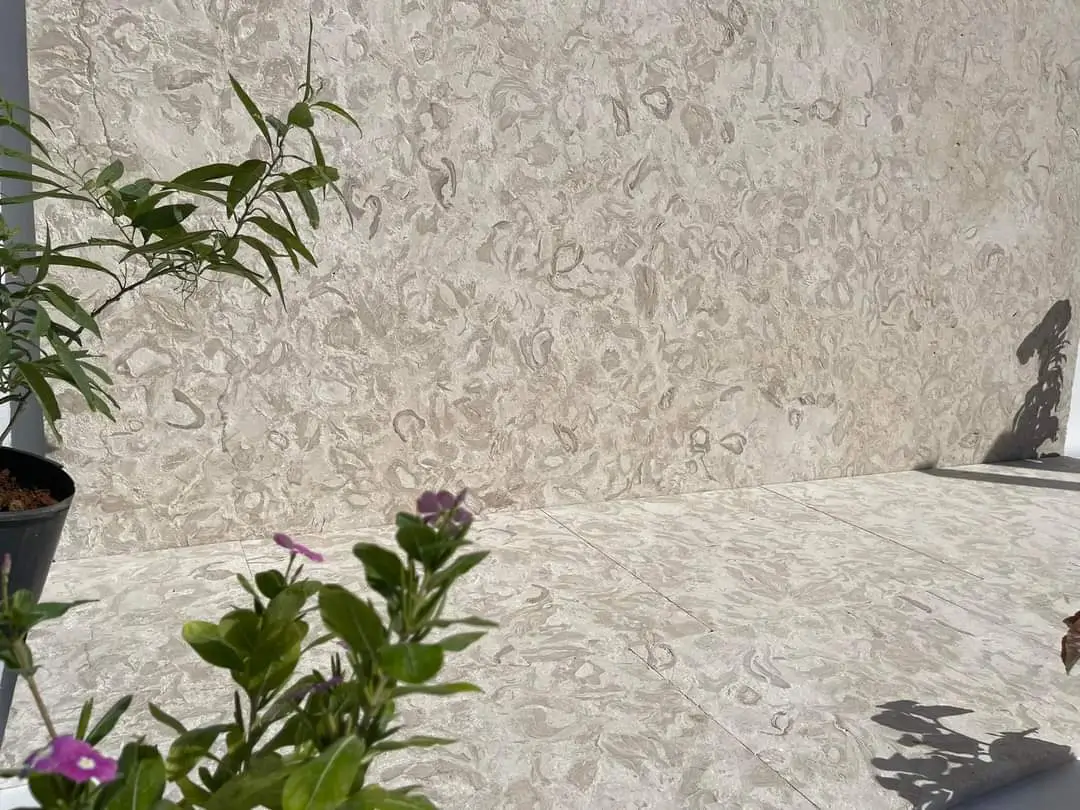
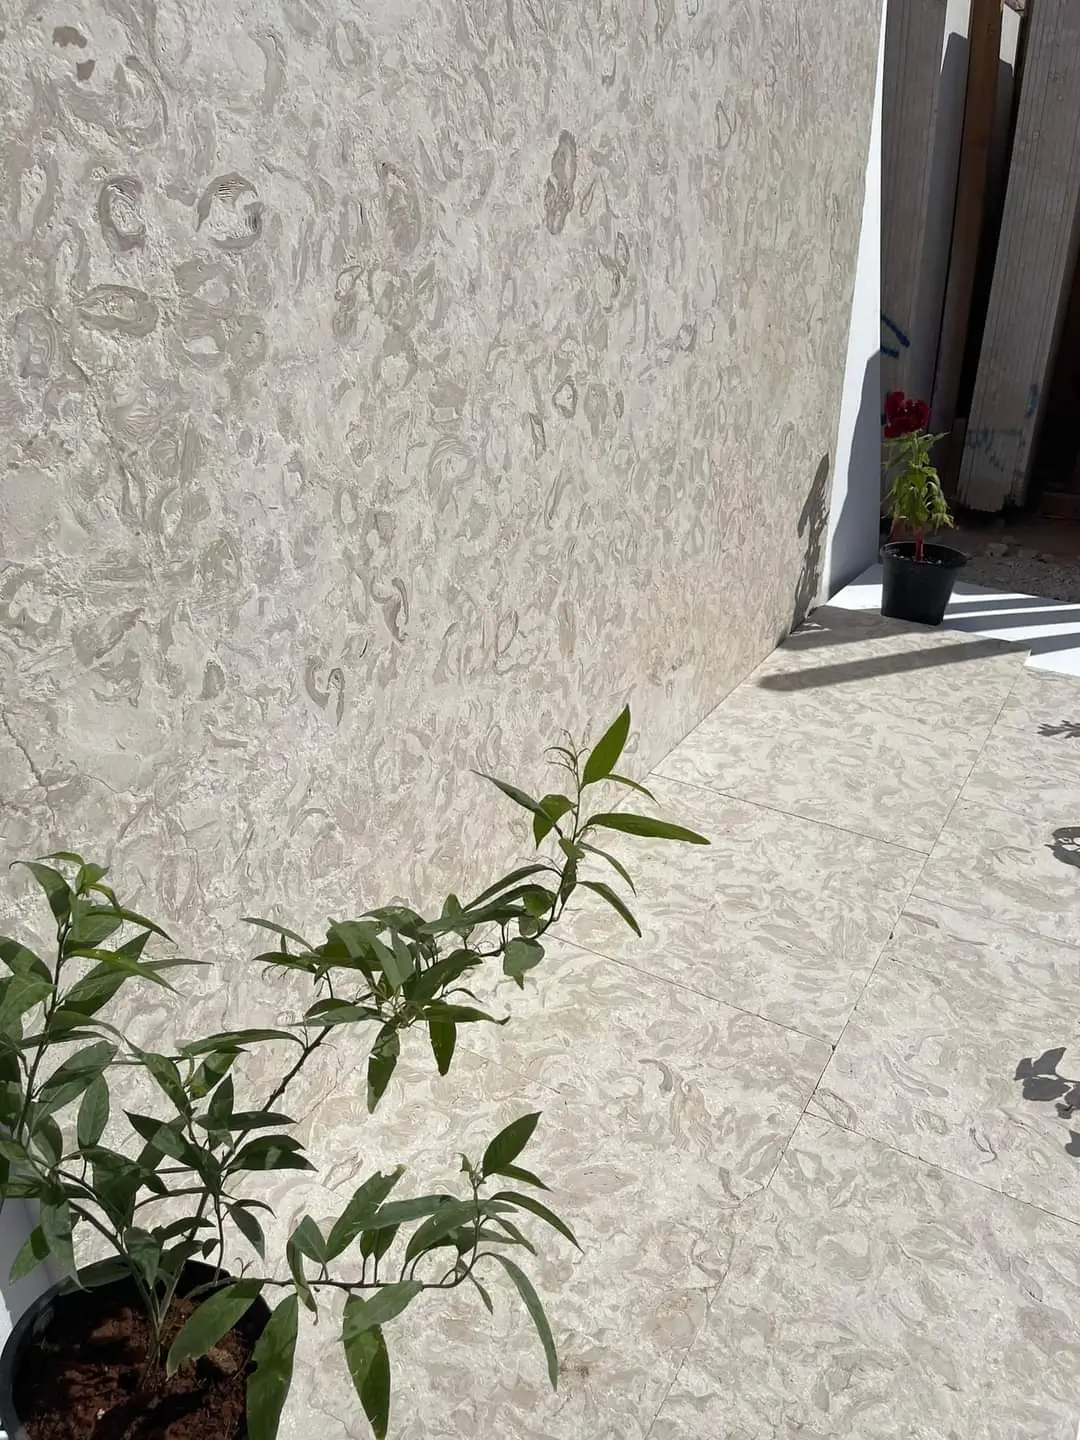
For patio applications where aesthetics and durability are both priorities, our limestone patio pavers offer a practical combination of visual appeal and workable thickness ranges that suit properly prepared residential and commercial bases. Limestone’s natural density and dimensional stability make it forgiving of minor base inconsistencies while still rewarding a well-prepared sub-base with decades of service life.
The USGS dimension stone production and construction use data confirms that natural stone paving continues to represent a significant share of professional hardscape installations — reflecting the material’s proven performance record across varied conditions when properly specified and installed. That performance track record depends on paver patio base preparation quality more than any other single factor.
Small Patio Layouts and Base Scale Considerations
Small patio paver ideas often focus on pattern and material selection — but the base requirements for a small patio deserve the same rigor as a large one. In fact, confined patio areas present a specific challenge: you have less margin to work with when correcting surface plane errors, and edge restraints make up a higher proportion of the perimeter-to-area ratio, meaning edge-related failures affect a larger share of the total surface.
For compact patio formats under 200 square feet, the base preparation process is identical to larger installations — but the geometry demands more attention to transition details at adjacent surfaces. Where your patio meets a lawn edge, a garden bed, or a stepping stone path, the aggregate base should extend a minimum of 6 inches beyond the paver field to support the edge restraint system and prevent undermining at the transition. This detail gets omitted frequently in small patio installations, and it’s consistently where failures initiate.
Paver patio materials for smaller formats also benefit from slightly larger individual paver dimensions relative to the overall patio size. A 12×12-inch paver on a 10×10-foot patio gives you adequate mass per unit without creating the installation complexity of large-format stone. Larger pavers require a flatter, more precisely screeded sand bed — achievable on a small site but demanding in terms of the care required during bedding sand preparation.
Delivery Logistics and Ordering for Base Materials
Coordinating material delivery for paver patio base preparation requires sequencing that many project managers underestimate. Your aggregate base material and your pavers shouldn’t arrive simultaneously — the aggregate needs to be placed, compacted, and allowed to stabilize before you bring pavers onto the site. Scheduling your aggregate delivery 3 to 5 days ahead of your paver delivery gives you time to complete base preparation and verify compaction quality before the pavers arrive.
Truck access to the site affects your delivery options more than most homeowners anticipate. A standard aggregate delivery truck needs a turning radius and clear access path that may not exist on properties with mature landscaping, narrow driveways, or low-clearance obstacles. Confirm truck access dimensions with your supplier before scheduling delivery — an inaccessible site means hand-carrying material from the street, which adds significant labor cost and time to your project timeline.
At Citadel Stone, we coordinate nationwide warehouse inventory to support project timelines that require staged deliveries. Confirming warehouse stock availability for your paver specification before finalizing your base preparation schedule prevents the gap scenario where your base is ready but your stone is delayed — a gap that exposes your prepared base to weather damage and compaction disruption from foot traffic or equipment movement on the site.
- Order aggregate base material 3 to 5 days ahead of paver delivery to allow base preparation and compaction verification
- Confirm truck access dimensions — turning radius, overhead clearance, load weight restrictions — before scheduling delivery
- Check warehouse stock for your specific paver specification before committing to a base preparation start date
- Factor in weather windows — heavy rainfall after base preparation but before paver installation can displace screeded sand and require re-preparation
- Have a tarp or cover material available to protect the screeded sand bed if paver installation is delayed by weather or delivery timing
Getting Paver Patio Base Preparation Right
Paver patio base preparation is not a preliminary task to rush through before the real work begins — it is the real work. Every decision about excavation depth, aggregate selection, compaction sequence, drainage geometry, and edge restraint installation directly determines the service life and structural integrity of the finished surface. The pavers themselves are almost secondary; the base they sit on either supports decades of stable performance or undermines it systematically from the moment installation is complete.
Your paver patio materials, joint system, and edge restraint specifications all need to be resolved before you excavate — because each variable influences base design decisions. The common pattern of choosing pavers first and designing the base afterward inverts the logical sequence and frequently results in undersized bases for the paver weights and loading conditions involved. Design the base for your specific site conditions, soil type, drainage geometry, and anticipated loads — then select pavers that are compatible with that base specification.
For projects where you’re weighing material options beyond the patio itself, understanding how natural stone performs across different applications can sharpen your specification instincts. how natural and man-made stone compare is a useful reference point when evaluating material decisions for interconnected hardscape elements around the same property. Pavers from Citadel Stone are supplied at uniform depth tolerances, making bedding sand calibration more predictable during base finishing.
Related reading: flagstone patio vs pavers · how to build a paver patio · crushed limestone patio comparison.