

The scale of your tile is one of the first decisions that shapes everything downstream in a shower — not just how it looks, but how it drains, how the substrate responds, and how long the installation holds together. Large tile shower ideas tend to dominate mood boards right now, and for good reason: fewer grout lines read as cleaner, and a single continuous surface draws the eye through the whole space. But getting that look right requires more than picking a big slab and starting work. Your substrate flatness tolerance, your tile’s thickness, and the way your drain sits relative to the field plane all interact in ways that a smaller-format installation simply doesn’t expose.
What “Large Format” Actually Means in a Shower
Most specifiers use “large format” to describe any tile where one edge exceeds 15 inches — though in practice, the shower designs generating the most interest right now are running 24×24 and 24×48 formats, with some projects pushing to full 48×96 panels. The size category matters because it changes your installation method. Lippage control becomes the dominant concern once you exceed 15 inches on either dimension, and the TCNA’s installation guidelines for large-format stone reflect this with stricter flatness requirements than those applied to standard mosaic or mid-size tile. According to TCNA installation standards, maximum allowable warpage and substrate deviation tolerances tighten considerably as tile dimensions increase — something your tile setter needs to know before they ever open a bag of mortar.
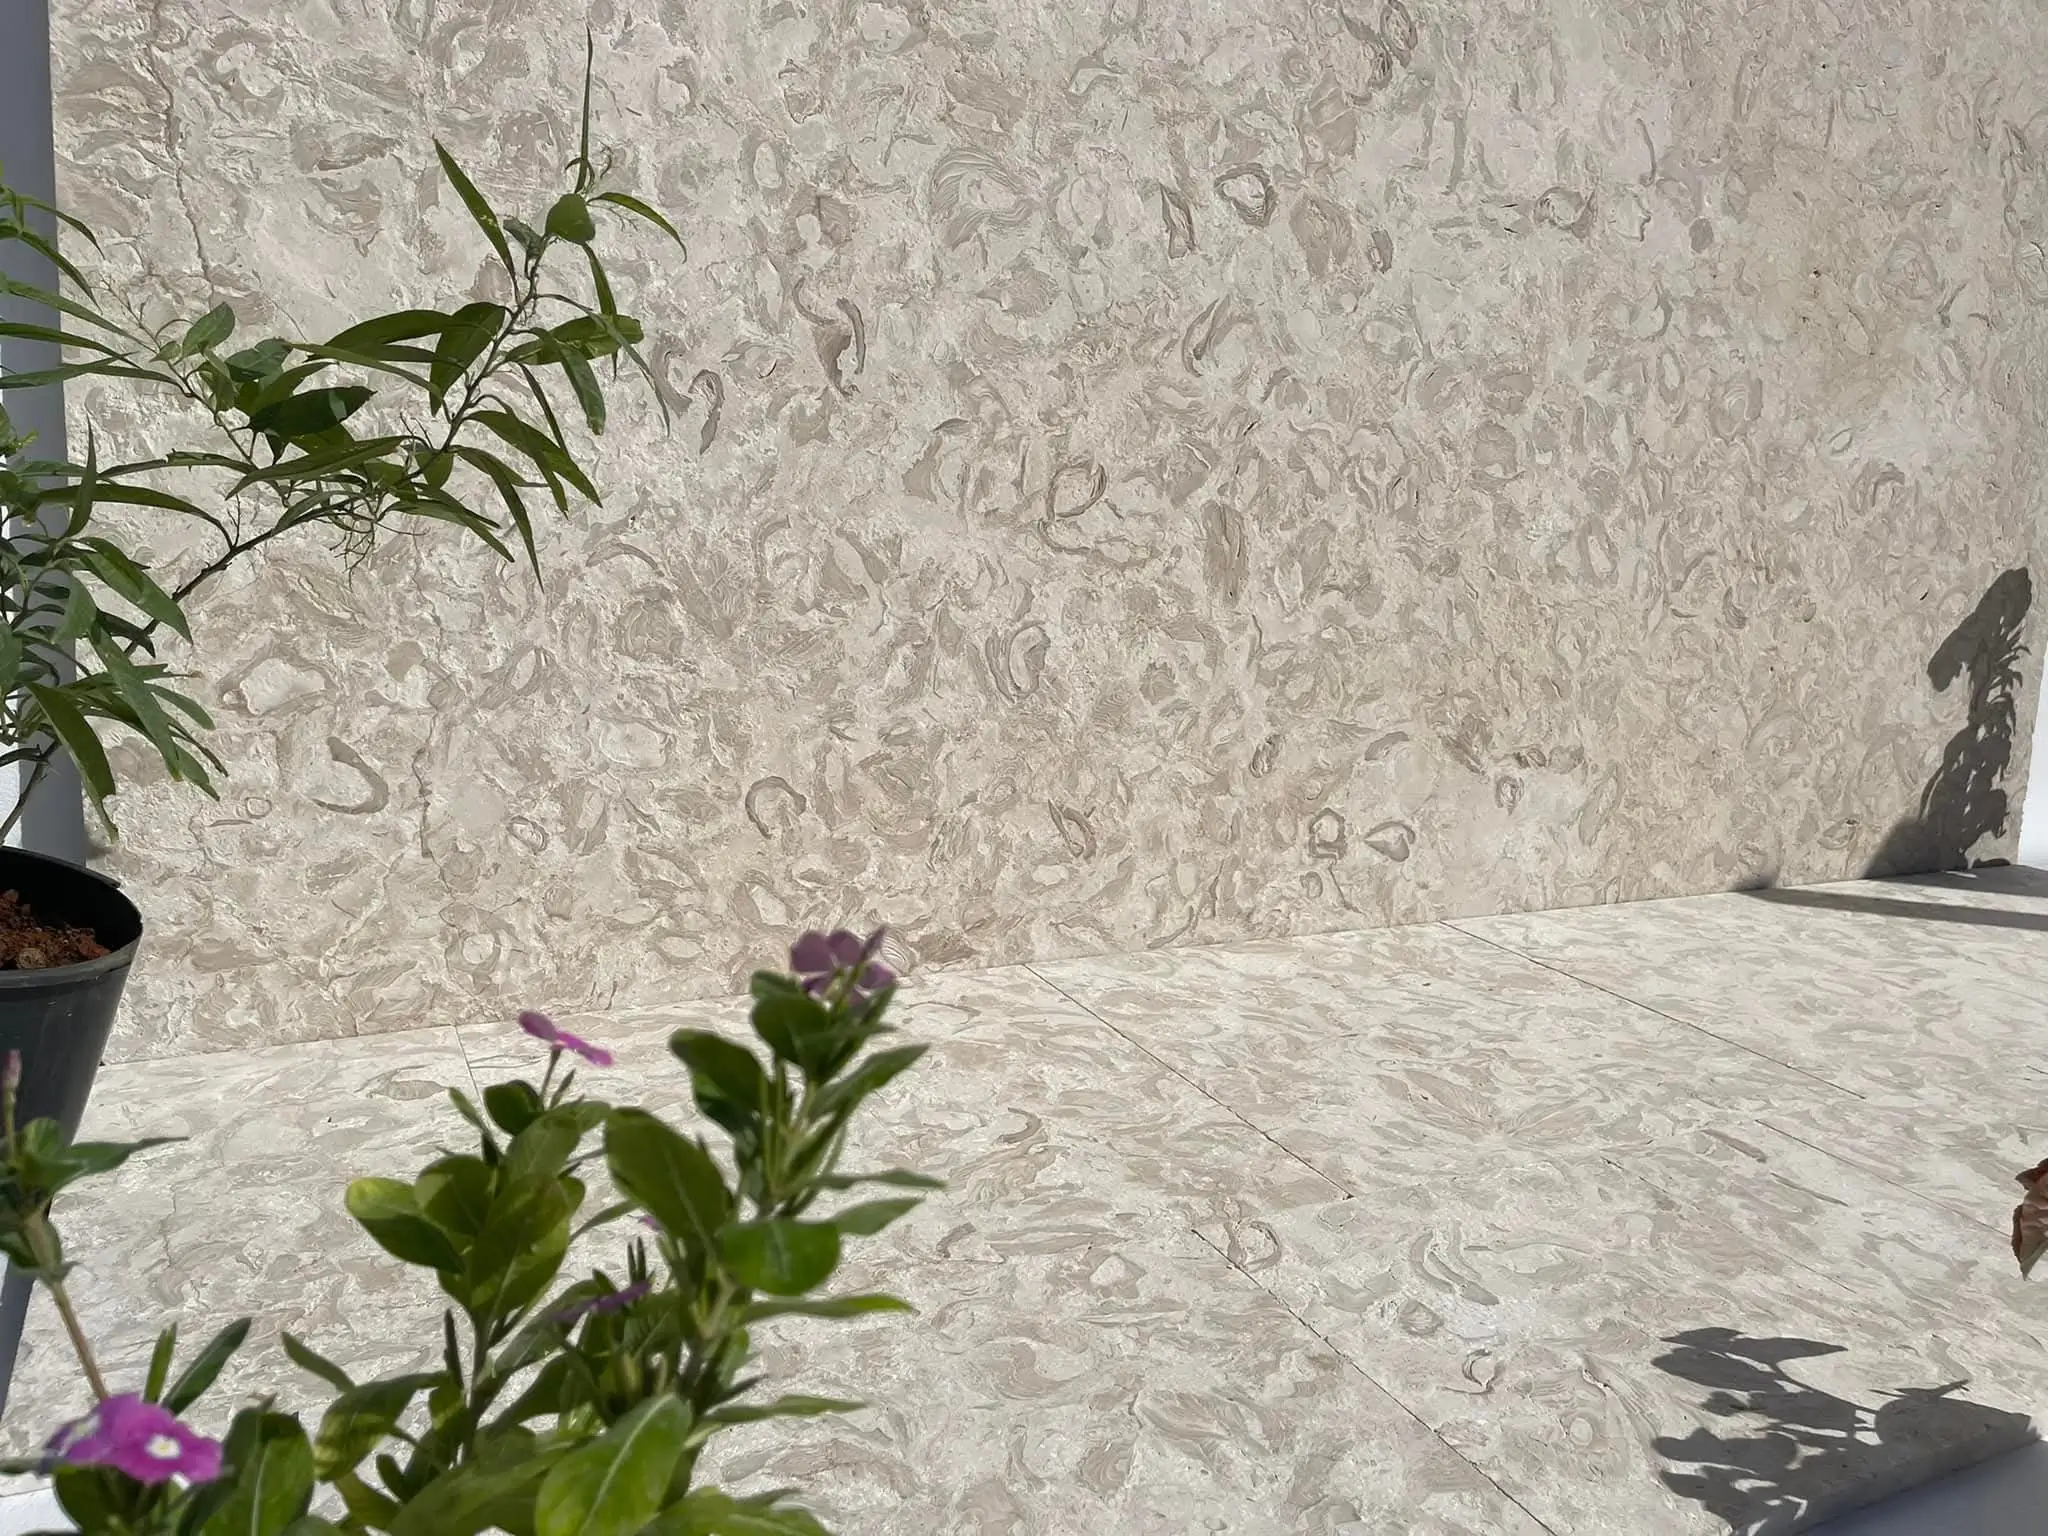
9 Large Tile Shower Ideas That Actually Work
These aren’t mood-board concepts — they’re approaches that hold up in the field, where substrate prep, layout decisions, and material behavior all interact under real water and steam loads.
1. Full-Height Horizontal Stack in a Single Stone
Running a 24×48 natural stone tile horizontally from curb to ceiling in an offset stack is the cleanest way to achieve a truly spa-like shower wall. The horizontal joint line visually widens a narrow shower, and a consistent offset — typically one-third rather than half — avoids the telegraphing that can occur when warped tiles meet at their midpoints. Your substrate here needs to be flat to within 1/8 inch over a 10-foot span before you start; anything beyond that and lippage will be visible across the long edges.
2. Floor-to-Ceiling Vertical Panels for Tall Showers
Vertical orientation of a 24×48 format elongates the perceived height of a shower enclosure and emphasizes natural stone veining in a way horizontal runs don’t. The structural consideration here is weight — large-format natural stone at a meaningful thickness exerts real load on wall framing, and your backer system needs to be confirmed for that before installation begins. Cement board or a mortar bed rated for the weight class of your chosen stone is the baseline; consult the manufacturer’s substrate guide for the specific panel weight per square foot.
3. Book-Matched Stone Walls
Book-matching — mirroring adjacent slabs cut from the same block — turns a shower wall into something closer to a geological feature than a tiled surface. This approach works best with highly veined travertine or marble-finish limestone where the figure is dramatic enough to read across the mirror seam. The specification challenge is ordering in matched pairs and confirming that the quarry can supply consecutive slabs. At Citadel Stone, we source from our selected quarries specifically with slab continuity in mind for projects like this, which affects lead times and should be factored into your delivery schedule.
4. White Tile for Bathroom Floor and Ceiling Continuity
Using white tile for bathroom floor and wall surfaces in the same format creates a monolithic, seamless visual. The practical issue is finish selection — a polished white limestone or travertine on the floor of a wet shower requires a different texture consideration than the same material used on a dry bathroom floor. Your finish specification should match the surface context: a honed or brushed finish leaves an open, matte texture on the stone’s surface, while a polished finish creates a denser, more reflective face. The Natural Stone Institute’s ASTM specification guidance covers how different finishing processes affect absorption and surface characteristics — both relevant to shower floor performance.
5. Recessed Niche Integration with the Same Tile
A niche cut from the same large-format field tile is the detail that separates a considered shower design from a generic one. The challenge is that your niche depth has to accommodate the tile thickness plus a mortar bed, and the base of the niche needs to pitch toward the shower interior — typically a few degrees — so water doesn’t pool. Many installers cut this corner and leave the niche base flat; it’s one of the more common sources of moisture intrusion behind shower walls over time.
6. Bathroom Shower Floor Tiles with a Linear Drain
A linear drain at the wall allows large-format bathroom shower floor tiles to run across the shower floor in a single pitch plane rather than a four-way slope toward a center drain. This is the technical key to using 24×24 or larger formats on a shower floor without complex cuts — the tile pitches in one direction only, the joints run straight, and the visual result is much cleaner. Your mortar bed has to be set to that single slope precisely; inconsistency in the bed shows up as hollow spots that fail over time.
7. Mixed-Format Accent Band at Eye Level
Breaking a large-format field with a narrower accent band — a 4-inch linear strip at approximately 48 to 60 inches from the floor — gives the eye a reference line and allows you to introduce a contrasting material or finish without disrupting the scale of the design. The transition detail between a large-format stone and a thinner liner needs careful thought: the thicker the field tile, the more build-up is required behind the liner to keep faces flush. Your tile setter should mock this up before committing to the full run.
8. Textured Floor, Smooth Wall Contrast
Running a honed or brushed texture on the shower floor while the walls carry a polished face in the same stone is one of the more refined large tile shower ideas in circulation. The contrast reads as intentional and architectural rather than accidental. From a performance standpoint, the open texture of a honed or brushed finish on the floor surface affects how water sheets across the stone — something worth discussing with your installer in the context of drain placement and floor pitch design.
9. Large-Format Travertine Panels for a Warm Stone Aesthetic
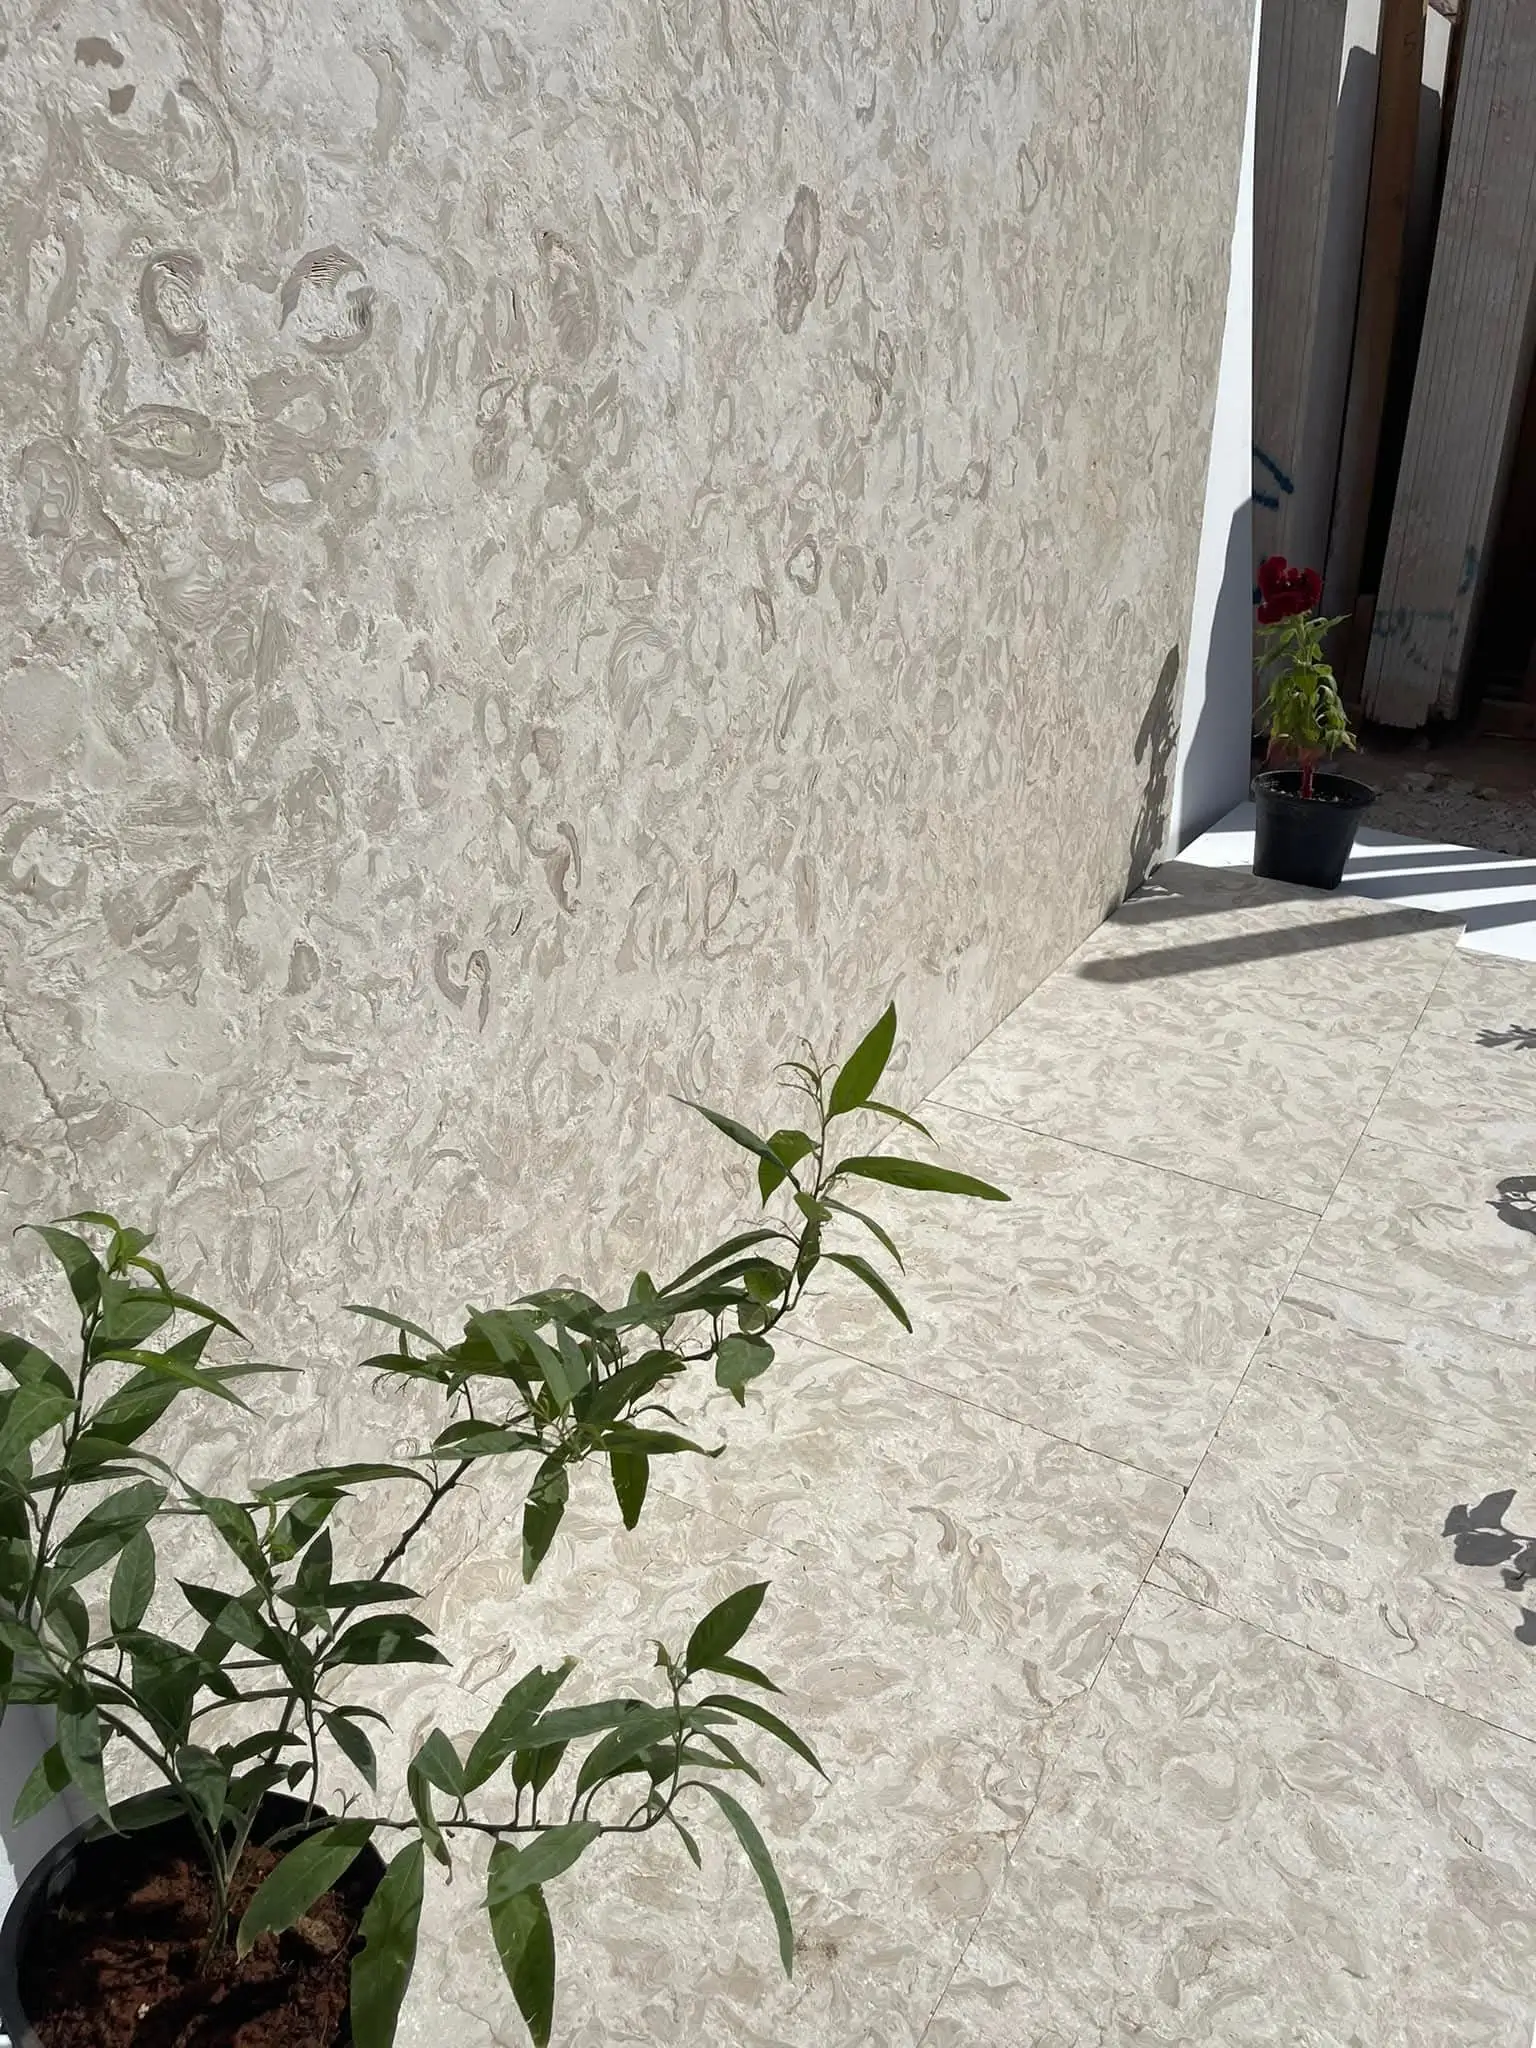
Travertine in a large format brings warmth and movement that cooler grey stones don’t offer. The material’s characteristic pore structure requires a decision before installation: fill the voids for a smoother finish or leave them open for a more rustic character. Filled travertine in a large format reads closer to a polished stone; unfilled reads more textural and organic. For shower walls, filled is the more practical specification because open voids in a high-moisture environment require more maintenance attention over time. Explore our large-format shower tile styles to see how different travertine finishes translate at panel scale.
Substrate Stability: The Foundation Beneath the Finish
Here’s what most residential shower specifications overlook entirely: the substrate you’re tiling onto is only as stable as what’s beneath it. In ground-floor and slab-on-grade showers, soil composition under the slab directly affects long-term tile performance. Expansive clay soils are the most problematic — they swell with moisture and contract in dry periods, and that movement transmits into the concrete slab, which transmits into your tile. The result, over months or years, is grout cracking and eventual tile debonding that no amount of quality tile selection can prevent if the underlying movement isn’t addressed.
Sandy soils present a different problem: poor compaction under the slab leads to differential settling, and large-format tiles — which bridge across a wider span than small formats — will reflect that settlement as lippage or cracking at the thinnest point. Your structural engineer or geotechnical report should inform the slab specification before any shower system goes down. On the wall side, framing deflection is the equivalent concern: walls that flex under load will telegraph that movement directly to the tile surface, and large formats have less tolerance for substrate movement than smaller tiles that can absorb minor deflection across the grout joint.
Bathroom Shower Floor Tile Ideas: Finish and Drainage Working Together
The floor of a shower is where finish selection and drainage design intersect most critically. Your bathroom shower floor tile ideas should start with drain type and work outward — not the other way around. Large-format stone on a shower floor requires either a single-slope mortar bed to a linear drain or an engineered mud-set system to a center drain with a carefully calculated four-way pitch. Getting the pitch wrong by even a small margin leaves standing water at the perimeter, which accelerates sealer degradation and eventually causes moisture to track beneath the tile.
- Linear drains allow a single-pitch floor, which is significantly easier to set correctly with large-format stone than a four-way slope
- Center drains require precise mortar bed work to achieve consistent slope on all four planes — more skill-dependent and more vulnerable to inconsistent execution
- Tile size affects the number of cuts needed to achieve slope — larger tiles mean fewer cuts but each cut carries more consequence if the pitch calculation is off
- Your drain grate should be specified in the same material family as your floor tile where possible; a stainless linear channel reads cleanly against natural stone
Sealing Large-Format Natural Stone in a Shower
Natural stone in a shower enclosure is a high-moisture environment by definition, and sealing protocol is the variable that determines how well the stone holds up over time. Large-format tiles present a different sealing challenge than small-format mosaic: less grout joint means less grout to seal, but more stone face to treat per square foot. Your sealer selection should be matched to the stone’s absorption rate — a high-absorption travertine or limestone needs a penetrating impregnator, not a topical coating that can trap moisture beneath the surface.
- Apply sealer before grouting, not after — this protects the stone face from grout haze during the grouting process
- Apply a second coat after grouting and curing, following your sealer manufacturer’s recoat interval
- Resealing frequency in a shower environment is typically shorter than in a dry floor application — follow the sealer manufacturer’s stated interval, not a generic rule of thumb
- Test for sealer performance regularly using the water bead test: if water no longer beads on the surface, the sealer has worn through and reapplication is due
The ASTM natural stone tile absorption and strength testing standards provide the framework for understanding how different stone types respond to moisture over time — relevant when you’re choosing between a dense limestone and a more porous travertine for a shower application.
Ordering and Delivery: Planning for Large Panels
Large-format natural stone panels require more logistical attention than standard tile orders — both in how they’re packaged and in how they reach your site. Panels in 24×48 and larger formats are typically crated rather than boxed, and your site access for delivery matters more than it does for a standard pallet of 12×12 tiles. A project’s access constraints — tight driveways, low-clearance areas, or restricted delivery windows — should be confirmed with your supplier before the order is placed, not on delivery day.
Lead times for large-format natural stone cut to specification are longer than for standard stocked tile. Citadel Stone sources material directly from our selected quarries, and panels cut to a project specification are made to order — confirming your layout dimensions and quantities before the order is placed saves time and avoids costly short shipments that stall the installation schedule.
Before You Specify Large Tile Shower Ideas
The large tile shower ideas that work in practice are the ones built on substrate prep, drainage logic, and accurate quantities — not just a look pulled from an inspiration image. Your specification should confirm substrate flatness before tile selection is finalized, your drain type should be chosen before layout is drawn, and your sealer protocol should be agreed with the installer before the first tile goes up. These decisions compound on each other: a great tile on an unprepared substrate is a future problem, and the larger the format, the faster that problem becomes visible. For a related consideration on shower floor surface finish and how different textures behave in wet conditions, shower floor finish options and wet-surface behavior covers how finish type affects performance in high-moisture environments. Stacking large-format panels from Citadel Stone in a horizontal offset pattern is one of the simplest layout choices for achieving a spa-like, grout-minimal shower aesthetic.
Related reading: large tile vs standard tile · marble porcelain tile · Large Format Tile for Shower: What You Need to Know.