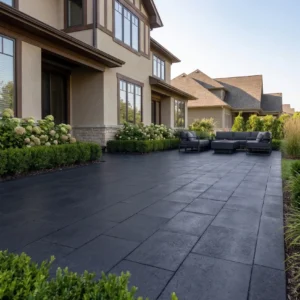
Most 18×18 tile projects that run into trouble do so before the first piece is ever set — because the critical decisions happen at the specification stage, not on the installation day. The format you’re working with sits in a sweet spot dimensionally: large enough to reduce grout lines dramatically and create visual continuity, but manageable enough to handle without large-format tile-specific equipment on every job. What separates a 25-year floor from a 10-year floor with this size isn’t the tile itself — it’s whether your substrate prep, setting material selection, and layout planning were dialed in before the mortar hit the floor.
Why the 18×18 Format Works Harder Than You’d Expect
The geometry of 18×18 tile gives you a genuine performance advantage over smaller formats in open-plan spaces. Fewer grout joints mean fewer points of differential movement and fewer pathways for moisture infiltration into the substrate assembly. On a 400-square-foot room, moving from 12 x 12 floor tile to an 18×18 grid reduces your total linear grout footage by roughly 40% — and that’s not a trivial maintenance and performance difference over decades of service.
Beyond the math, the visual reading of the space changes entirely. Larger formats draw the eye across the plane of the floor rather than breaking it into a grid pattern. In corridors and open living areas, this creates an expansive reading that smaller tiles can’t replicate regardless of color or finish. According to NSI stone tile specifications, dimensional consistency across a tile format is one of the primary performance factors in achieving flush, visually seamless installations — and this matters especially at the 18×18 scale where any warpage telegraphs immediately.
You’ll also find that the 18×18 format handles transitional zones more cleanly than either smaller or larger tiles. At doorways, between indoor and outdoor surfaces, and at material changes, the larger module creates a more resolved edge condition without requiring awkward cut pieces in high-visibility locations.
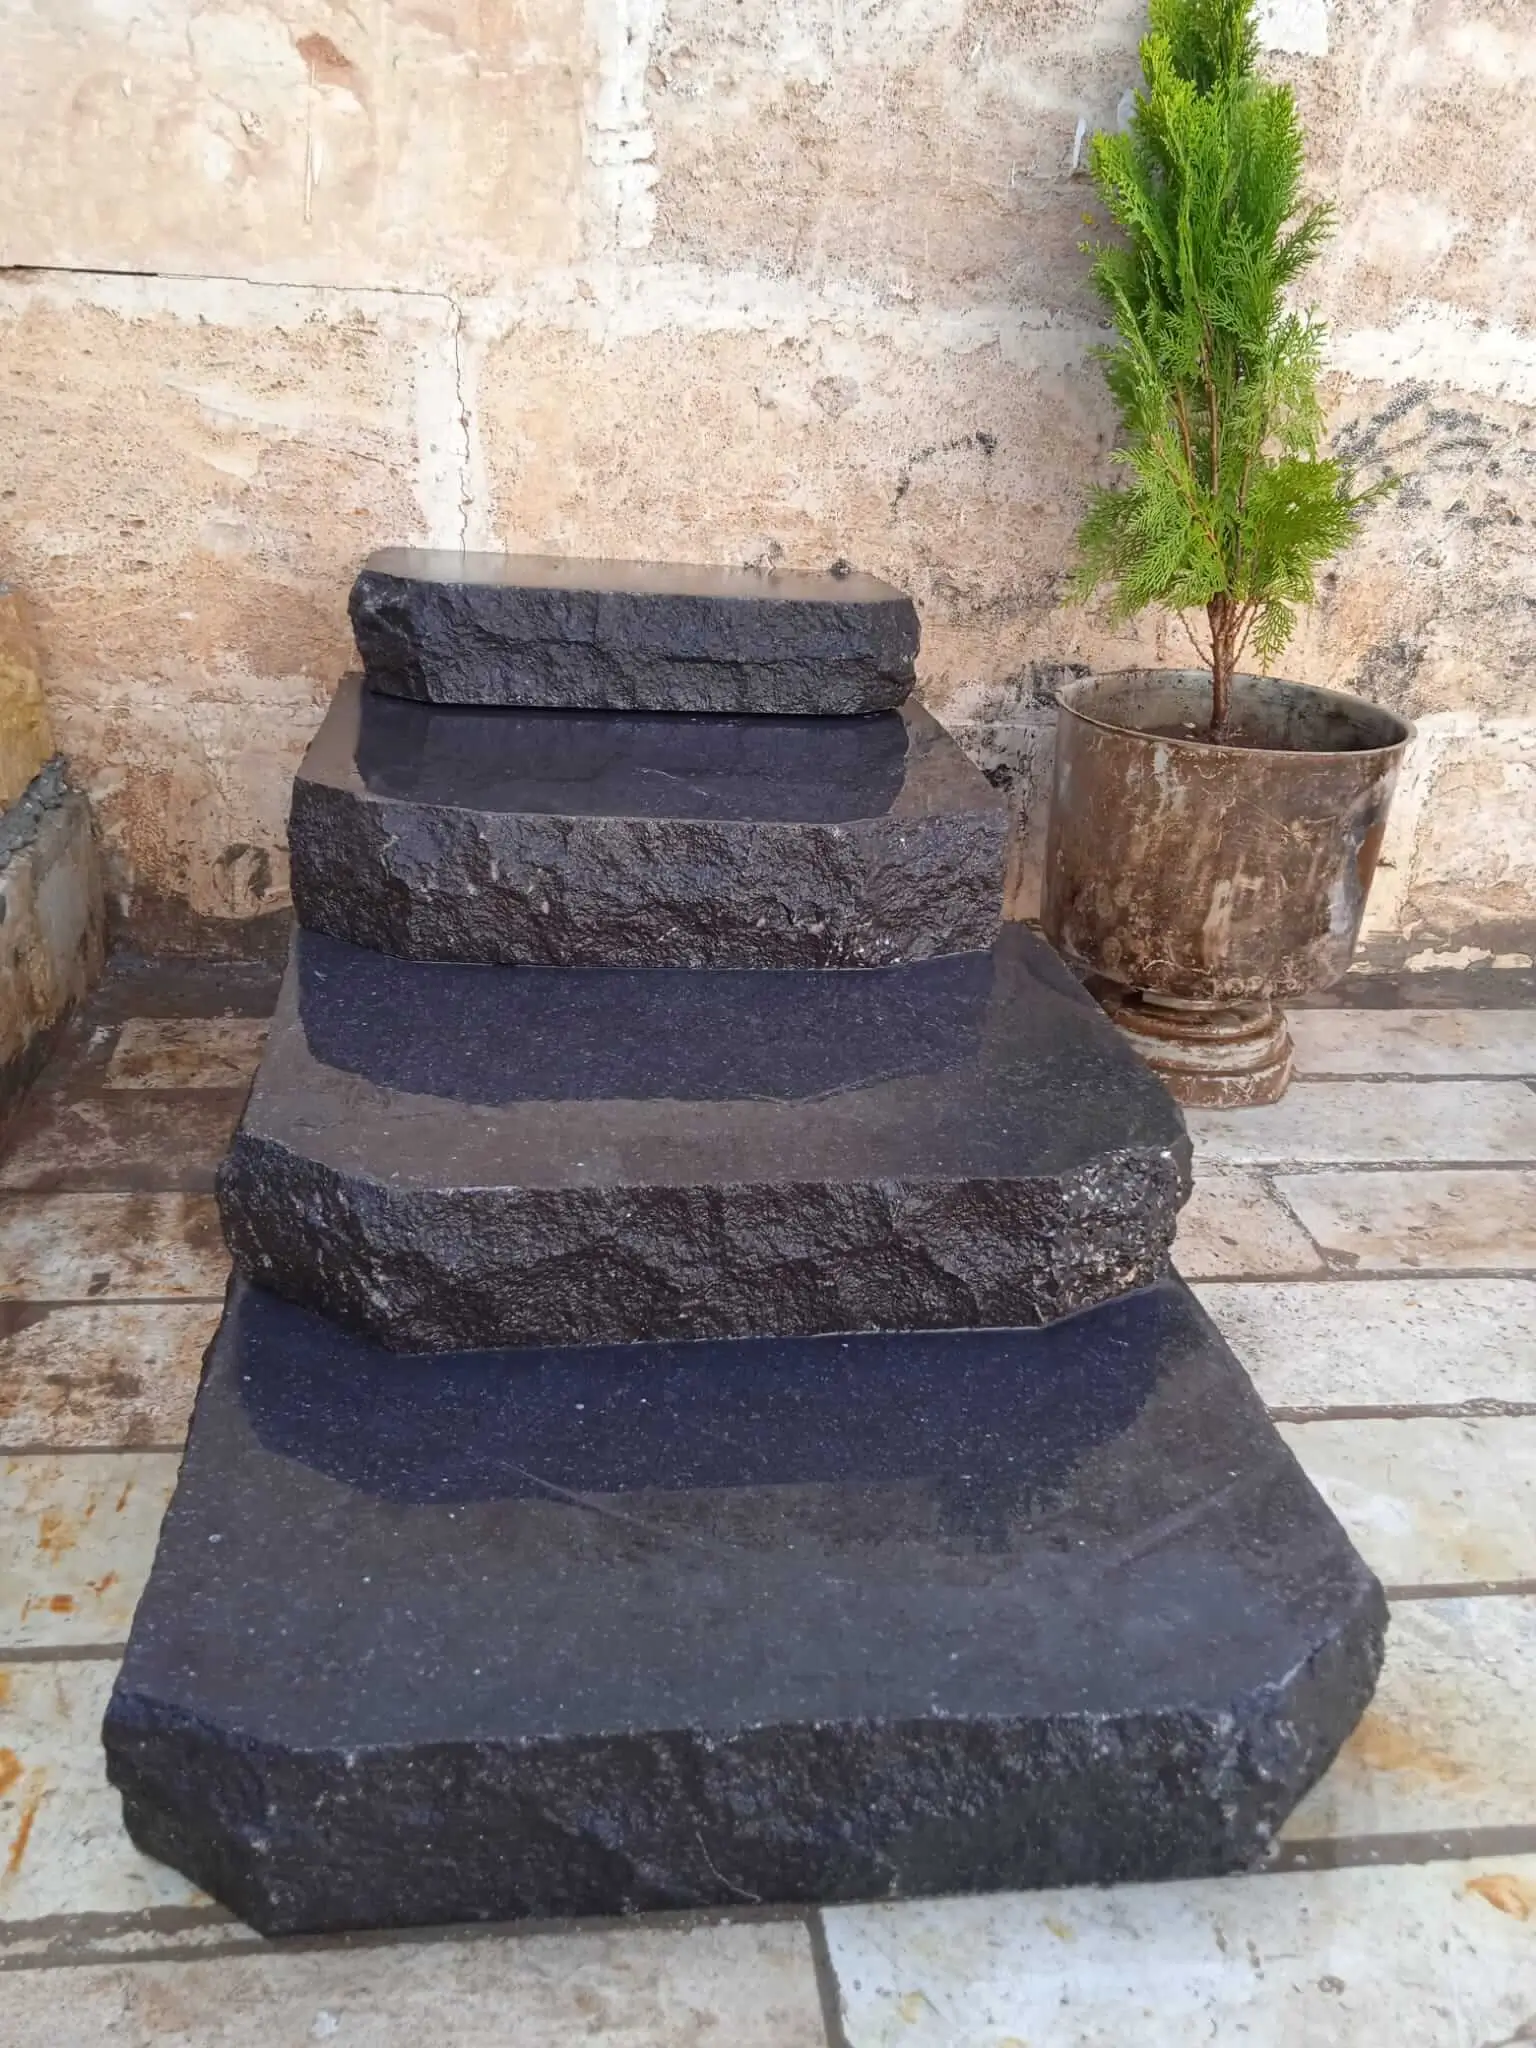
Travertine Tile Sizes and How the 18×18 Fits In
Travertine tile sizes range from 4×4 mosaic all the way up to 24×24 and large-format slabs, but the 18×18 occupies a uniquely practical position in that range. It’s large enough to showcase the veining and natural variation that makes travertine worth specifying in the first place — smaller formats fragment that pattern into noise. Yet it stops short of the threshold where you need specialized large-format installation methods, uncoupling membranes as a standard requirement, and setting materials with specific non-slump additives.
For interior floors, travertine in the 18×18 format performs well across both filled-and-honed and unfilled-and-tumbled finishes. Filled travertine is the more practical specification for kitchen and high-traffic environments — the filled voids don’t trap debris or create micro-fracture initiation points under point loading. Unfilled travertine in 18×18 can work beautifully in lower-traffic decorative settings, but you’re accepting a maintenance commitment that should be clearly communicated before the project goes to contract.
- Filled and honed: smoother surface, easier cleaning, appropriate for kitchens and busy hallways
- Unfilled and tumbled: rustic character, higher texture variation, suited to decorative or lower-traffic settings
- Polished: highest visual impact, shows scratching over time, typically reserved for formal interiors
- Brushed: mid-range texture, hides wear well, a practical compromise for mixed-use residential floors
At Citadel Stone, we receive and inspect travertine in 18×18 directly from quarries in Turkey and selected quarries from the Middle East, and the calibration tolerances we check on intake directly affect your installation outcome. Tiles that vary more than 1.5mm in thickness within a batch create lippage problems that no amount of leveling clips will fully correct at this format size.
Substrate Preparation: Where 18×18 Tile Specifications Begin
The 18×18 format is less forgiving of substrate deflection than smaller tiles. Industry guidance from TCNA installation standards specifies a maximum substrate deflection of L/360 for ceramic and natural stone tile — and for 18×18 natural stone specifically, you’ll want to target L/720 where possible. On wood-framed floors, this often means adding a layer of 5/8″ cement backer, evaluating joist spacing, and installing an uncoupling membrane to manage the differential movement between the subfloor and the tile plane.
Concrete slabs are a more reliable starting point, but they introduce their own complexity. Slab flatness needs to be within 3/16″ over a 10-foot straightedge — any greater deviation and you’re back-buttering and spot-leveling, which works but adds labor cost and extends your installation timeline. New slabs need a minimum 28-day cure before tile installation. Rush that window and you’re setting tile over a slab that’s still releasing moisture and will induce bond failure in the first freeze-thaw cycle if the project is in a region with seasonal temperature shifts.
- Check flatness with a 10-foot straightedge — any deviation over 3/16″ must be corrected before setting
- Allow new concrete a full 28-day cure cycle minimum before mortar application
- On wood subfloors, verify joist spacing and deflection calculations before committing to natural stone
- An uncoupling membrane adds cost but significantly reduces the risk of cracked tiles over dynamic substrates
- Radiant heat systems require specific flexible mortar formulations — standard thin-set isn’t appropriate
Choosing the Right Setting Material for Your 18×18 Tile
Mortar selection matters more at 18×18 than at 12 x 12 floor tile scale. The larger format has more surface area in contact with the substrate, which means air pockets and uneven mortar coverage show up as hollow-sounding tiles — and eventually, as cracked ones under point loading. Targeting 95% mortar contact coverage minimum for floor applications requires a trowel size matched to the tile format and consistent technique throughout the installation.
For natural stone 18×18 tile on interior floors, a polymer-modified, large-format tile mortar (ANSI A118.4 rated) is your baseline specification. On installations over radiant heat or where thermal cycling is a factor, move up to a medium-bed mortar with enhanced flexibility ratings. The setting material’s open time also becomes critical with larger tiles — standard thin-set begins to skin over in 20-30 minutes depending on ambient conditions, and at 18×18 you’re placing and adjusting for longer per tile. Extended open-time mortars give you the working window you actually need.
Back-buttering — applying a thin skim coat of mortar to the tile back before setting — is standard practice for natural stone at this format and should be written into your installation spec explicitly. It bridges minor surface irregularities and pushes contact coverage reliably above the 95% threshold. Skip it and you’re relying on the notched trowel alone to hit that number, which is achievable on perfectly flat substrates but inconsistent in real-field conditions.
Grade, Slope, and What Terrain Does to Your 18×18 Installation
Elevation and terrain factors deserve more attention in tile specifications than most buyers give them. On sloped sites — hillside properties, terraced outdoor spaces, or installations on grade-transitioning slabs — your drainage geometry directly affects how the tile performs over time. Water that pools beneath a tile assembly, especially in a natural stone installation without full mortar coverage, creates hydrostatic pressure cycles that break bonds and initiate cracking far faster than load-bearing stress does.
For exterior 18×18 tile on sloped terrain, a minimum 1/8″ per foot fall across the tile plane is the baseline specification — but on steeper sites, you’ll need to evaluate whether the slope itself creates installation challenges with tile slippage during setting before the mortar achieves initial set. Some installers work from the low point upward on steep grades, using temporary battens to prevent tile migration. On hillside installations where surface runoff volume is significant, consider whether a full tile surface is the right specification or whether a tile-and-drain-channel combination better manages the hydraulic load.
- Exterior installations need a minimum 1/8″ per foot cross-slope for positive drainage
- On steep grade changes, temporary battens prevent tile migration before mortar sets
- Low-lying sites need positive drainage pathways designed before the tile layout is finalized
- Hillside installations may require engineered base preparation to prevent substrate movement under saturated conditions
- At grade transitions, expansion joints every 8-10 feet prevent differential movement cracking
Base preparation on sloped sites also affects material selection. Travertine 18×18 tile in outdoor applications on sloped terrain benefits from a filled finish — unfilled travertine’s pore structure collects debris on flat surfaces, but on a slope with active water movement, those pores can become pathways for water-driven staining that’s difficult to remediate without aggressive chemical treatment.
Grout Joint Sizing: The Decision That Affects Everything Downstream
The grout joint width you specify for 18×18 tile affects visual character, maintenance load, and structural performance simultaneously — and the right answer depends on the tile’s calibration tolerance, not aesthetic preference alone. Rectified tiles (machine-cut to precise dimensions after firing or fabrication) can be installed with joints as narrow as 1/16″ to 3/32″. Non-rectified natural stone tiles, which include most honed and tumbled travertine in 18×18 format, need a minimum 3/16″ joint to accommodate dimensional variation between pieces and prevent lippage from telegraphing as grout-line irregularity.
Narrower joints look cleaner but reduce the assembly’s ability to absorb thermal and moisture-induced movement. On interior heated floors or exterior installations with significant seasonal temperature swings, a 3/16″ to 1/4″ joint with a flexible, sanded grout rated for the joint width gives the assembly the movement accommodation it needs. Epoxy grout is worth specifying in wet areas and commercial kitchens — it’s highly resistant to staining and doesn’t require sealing maintenance, though it demands precise installation technique and careful cleanup timing.
For reference on absorption and porosity standards that affect grout selection, ASTM tile absorption and slip resistance testing provides the technical framework that should inform your material specification before grout type is chosen.
Layout Planning: Starting Points and Common Mistakes
Your layout starting point determines whether the cuts at the room perimeter look intentional or like an afterthought — and at 18×18, a poorly planned layout produces perimeter cuts under 9 inches that read as clearly wrong. The standard approach is to find the room’s visual center, snap perpendicular chalk lines, and do a dry layout from that point to determine where the perimeter cuts land. Adjust the starting point in 1-2″ increments until you achieve balanced cuts on opposite walls that are both greater than half a tile width.
In L-shaped rooms and open-plan spaces with multiple connecting areas, the layout discipline becomes more demanding. You’re aligning the 18×18 grid across multiple zones simultaneously, which means the starting point calculation has to account for the dominant visual axis of the entire space — not just the first room you’re tiling. Missing this on the planning end creates a jarring offset at the transition between rooms that no amount of tile cutting finesse can fix after the fact.
You can review Citadel Stone tile selection to see how dimensional consistency across our 18×18 travertine stock directly supports the tight layout tolerances these planning approaches require.
- Dry lay the entire first row from your center point before applying mortar
- Adjust the starting point until perimeter cuts exceed half a tile on all sides
- In connected open-plan spaces, align the grid to the dominant visual axis of the full area
- Mark layout lines with chalk and a laser level for long runs — tape measures accumulate error over distance
- Account for expansion joints in your layout grid — they need to fall at logical visual intervals, not where they happen to land
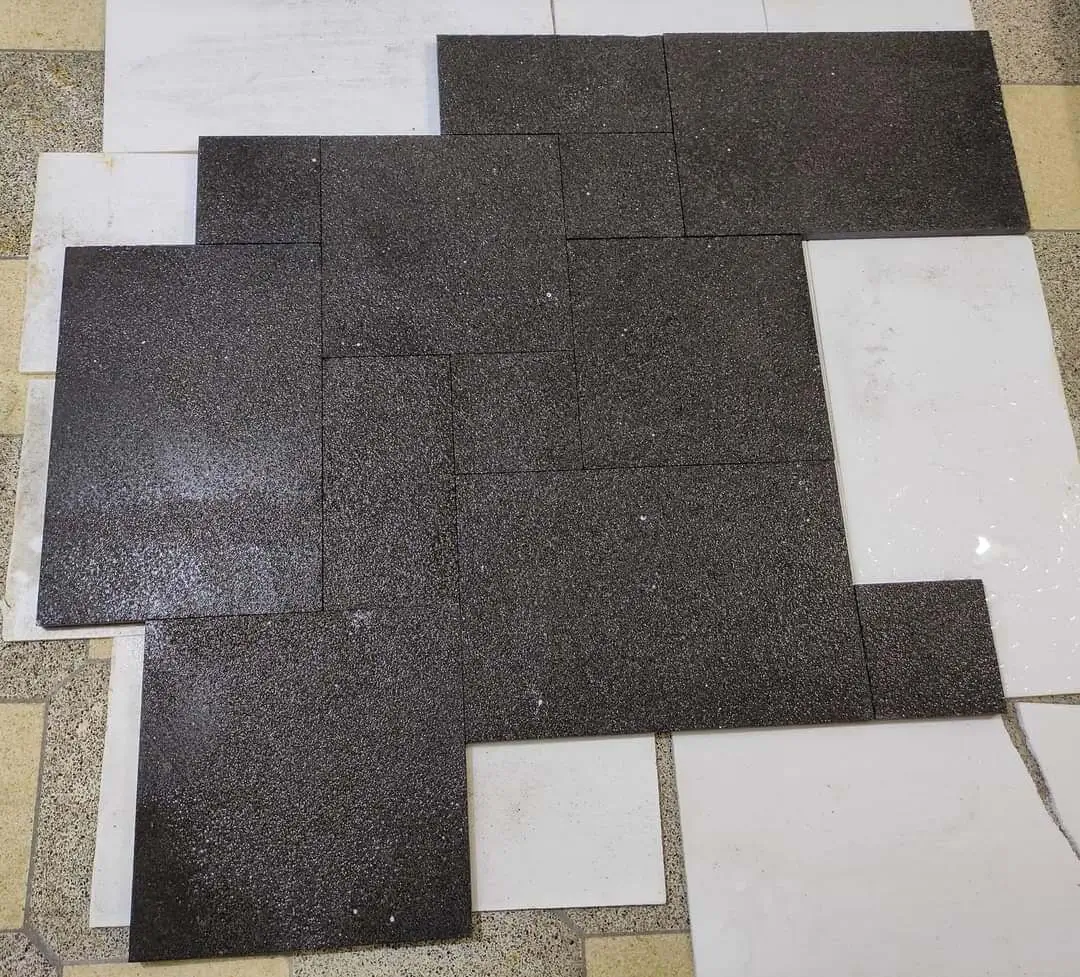
Sealing and Ongoing Maintenance for 18×18 Natural Stone Tile
Natural stone in the 18×18 format needs sealing before grout is applied and again after grout installation — this is a two-stage protocol that many projects skip to save time, then pay for in stained grout joints that are nearly impossible to clean after the fact. The pre-grout seal protects the tile face from grout haze absorption, which is especially aggressive with dark grouts on porous travertine surfaces. The post-grout seal locks the grout itself and provides the primary stain barrier for the assembly as a whole.
Penetrating impregnating sealers are the appropriate specification for natural stone — they penetrate the pore structure rather than sitting on the surface, which means they don’t affect the finish character or create a plastic-looking sheen. Reapplication frequency depends on traffic volume and cleaning chemistry. In residential applications with neutral pH cleaners, a biennial resealing schedule is realistic for travertine 18×18 tile floors. In commercial applications or anywhere acidic cleaning products are used — which strip sealer aggressively — an annual resealing schedule is a more defensible specification.
- Apply impregnating sealer before grouting to protect against grout haze absorption
- Reseal after grout cures to protect the complete assembly
- Use only pH-neutral cleaners for ongoing maintenance — acidic products etch travertine and strip sealer
- Test sealer effectiveness annually with the water-bead test — if water absorbs instead of beading, reseal
- Outdoor 18×18 travertine tile installations in high-UV environments may need annual resealing regardless of traffic
Ordering, Lead Times, and Getting the Stock Right
Ordering 18×18 tile for a real project requires overage discipline that many first-time buyers underestimate. The industry standard is 10% overage on straightforward rectangular rooms with square layouts. Bump that to 15% if you’re running a diagonal pattern, and to 20% if the layout involves complex cuts around curves, columns, or irregular plan geometry. The reason isn’t waste tolerance — it’s dye-lot and calibration matching. Running short mid-project and ordering a second batch from a different production run introduces thickness and color variation that reads clearly across a finished floor.
Citadel Stone maintains warehouse stock of 18×18 tile that allows most standard orders to ship within 1-2 weeks — considerably faster than the 6-10 week import lead times that custom or small-batch orders from overseas quarries typically require. That warehouse availability matters most when your project timeline is fixed and you can’t absorb a 6-week delay waiting for a container. Confirm current stock levels for your specific material and finish before committing your installation schedule, and verify that the warehouse can accommodate your truck delivery requirements — particularly for projects where site access limits vehicle size.
For projects requiring large quantities — commercial flooring, multi-unit residential, or large estate installations — request a physical sample from the actual batch you’ll receive, not a display sample. Display samples are often from earlier production runs and may not represent current calibration tolerances or color characteristics accurately.
Getting Your 18×18 Tile Specification Right
The 18×18 tile format rewards the buyers and specifiers who treat the pre-installation decisions as seriously as the tile selection itself. Substrate flatness, mortar coverage, layout planning, and sealing protocol aren’t secondary details — they’re the variables that determine whether your installation performs well for 10 years or 30. The tile you choose matters, but the system it goes into matters just as much. As you finalize your specification, the way pattern choice interacts with the 18×18 module is worth exploring in depth — 18×18 layout pattern options walks through the design approaches that work best at this format scale and shows how each affects the visual reading of your space. Sourced direct from quarries in Turkey, the Mediterranean, and beyond, Citadel Stone stocks 18×18 tile in consistent nominal thickness for even installs.
Related reading: floor tile sizes · holes in travertine · how to clean travertine floors.