What Base Depth Actually Decides
Stone path failures are almost never a material problem — they’re a base problem that takes two or three freeze-thaw seasons to become visible. Your compacted aggregate layer is doing the structural work, and the stone on top is simply expressing how well that base was built. For a residential walkway, a 4-inch compacted gravel sub-base handles standard foot traffic reliably. Bump that to 6 inches on clay-heavy soils, where lateral movement during wet seasons can push edge stones out of plane within a single year.
The aggregate gradation matters more than most installers acknowledge. A well-graded crushed stone blend — typically 3/4-inch minus with fines — compacts to a near-solid substrate that won’t shift under point loads. Pea gravel looks appealing in cross-section, but its rounded particles never interlock properly, leaving your pathway stones rocking underfoot within months.
Choosing the Right Stone for Your Path
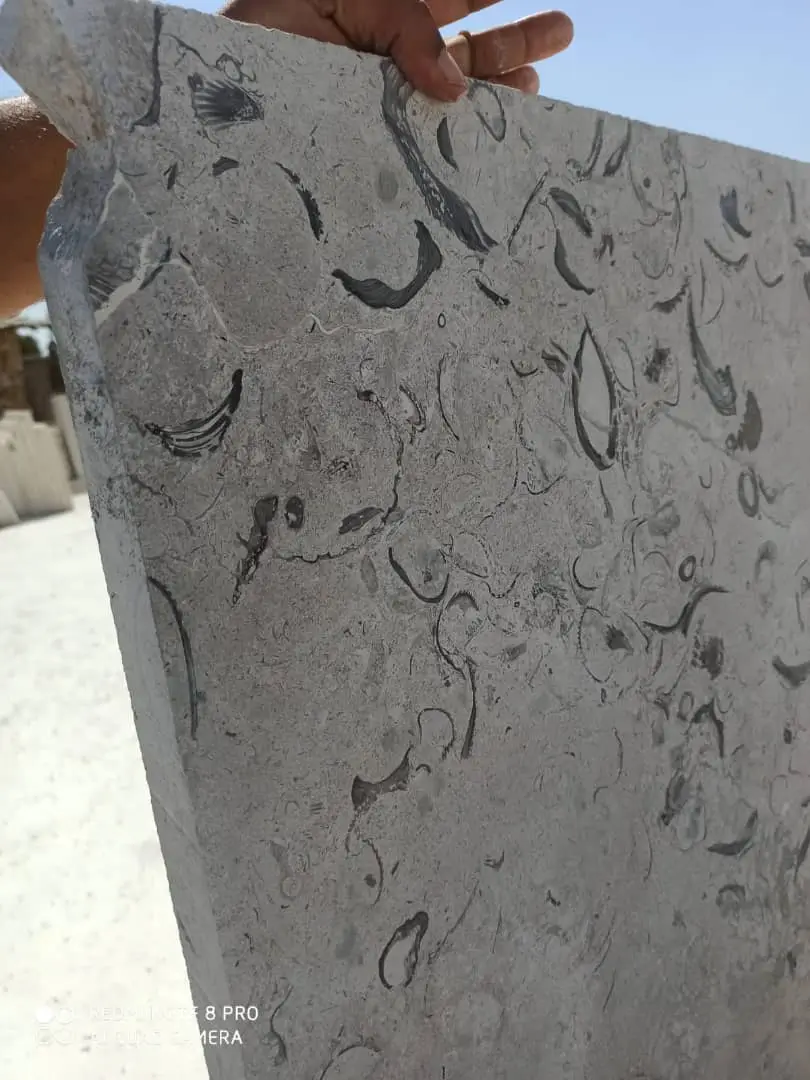
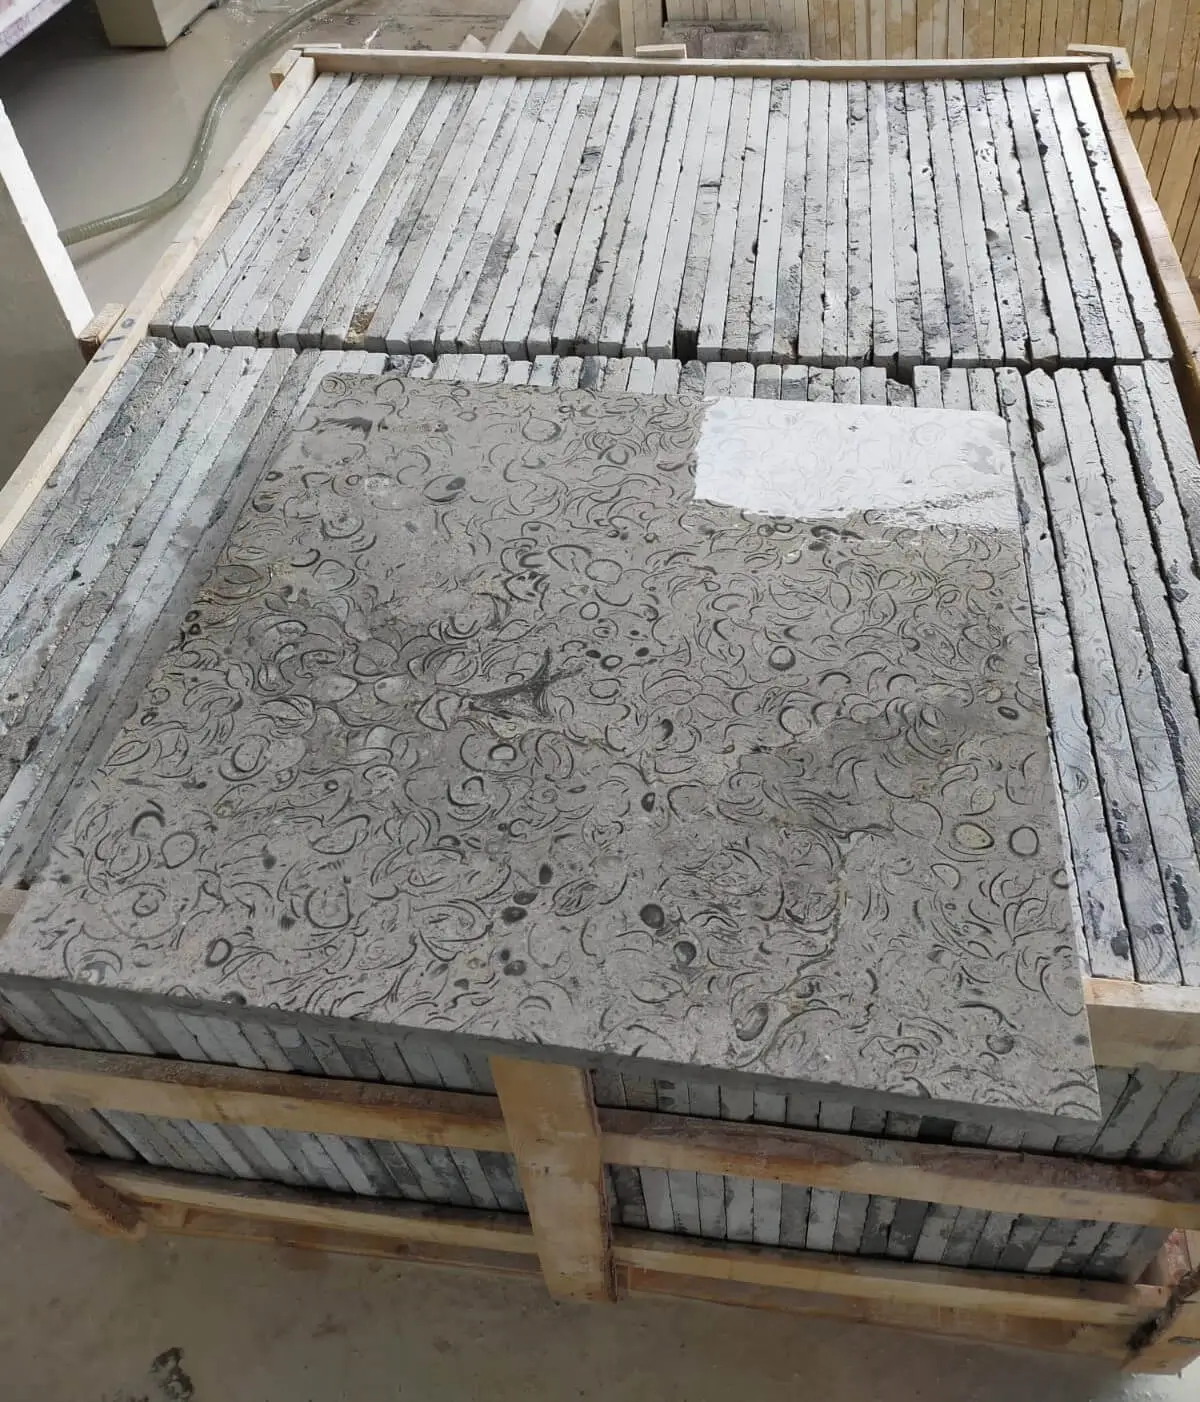
Stone selection shapes every downstream decision — jointing method, sealing schedule, and long-term maintenance load. Natural stone pathway options range from irregular flagstone and tumbled limestone to precise-cut granite pavers and basalt stepping stones, each performing differently under the same foot traffic conditions. Thickness is the specification detail that separates a 10-year installation from a 25-year one: a 1.5-inch nominal slab is adequate for pedestrian-only paths, while 2-inch and above handles regular wheeled equipment crossing without flex cracking.
Limestone and travertine both deliver excellent surface warmth and workability, but their open-pore structures require sealing within 30 days of installation — and resealing every 18 to 24 months thereafter. Granite pathway pavers offer near-zero absorption and exceptional abrasion resistance, making them the low-maintenance choice where foot traffic is heavy and consistent. Basalt sits in between: dense enough to resist staining without sealing, but its dark surface absorbs heat in exposed settings, which affects comfort in summer months.
- Limestone: 1.5–2 inch minimum thickness for walkways, seal within 30 days of installation
- Granite: absorption rate below 0.4%, suitable for unsealed applications in high-traffic corridors
- Travertine: fill voids before sealing — unfilled holes trap debris and accelerate surface wear
- Basalt: specify honed finish for textured grip; polished basalt becomes slippery when wet
- Sandstone flagstone: verify modulus of rupture above 1,000 PSI before specifying spans over 18 inches
According to Natural Stone Institute stone variety specifications, each stone type carries distinct absorption, hardness, and finish recommendations that directly affect outdoor pathway performance. Cross-referencing those guidelines against your traffic loads and maintenance expectations before purchasing saves costly replacements later.
How to Lay Stone Pavers for a Walkway That Holds
Knowing how to lay stone pavers for walkway projects correctly starts with understanding that setting bed depth is not flexible. A 1-inch screeded sand setting bed — leveled and true — gives you the adjustment range needed to bring irregular stone faces into a consistent plane. Go thicker than 1 inch and you introduce a compressible layer that causes rocking; go thinner and you lose the ability to fine-tune surface elevation.
Dry-set installation over compacted aggregate is the standard for natural stone paths, and it outperforms mortar in most residential and light commercial applications because it allows for drainage and accommodates seasonal movement without cracking joints. Wet-set mortar beds are appropriate for stone set over concrete substrates or where grade changes demand rigid positioning. The ASLA’s guidance on natural stone walkway material selection reinforces that permeable dry-set systems also support better stormwater management — a practical advantage beyond structural performance.
- Screed your sand bed in 3-foot sections — don’t screed the full path and then walk on it
- Use a rubber mallet, not a steel hammer — steel transmits shock that micro-fractures stone edges
- Check level in four directions per stone, not just front-to-back
- Maintain consistent joint widths using plastic spacers before filling — eyeballing gaps creates a path that reads as amateur work
- Cut stone with a wet saw for straight edges; an angle grinder with a diamond blade handles curves
For stepping stone walkway ideas that use irregular flagstone, your joint spacing will vary naturally — and that’s fine. What you’re managing is consistent surface height across adjacent stones, not uniform gaps. A 1/8-inch lip between neighboring flags is a trip hazard. A 1/4-inch gap is a jointing opportunity. That distinction matters when you’re laying irregular material on a family-use path.
Joint Filling and Surface Stability
Polymeric sand has become the default joint fill for stone path projects, and for good reason — it locks firmly after activation with water and resists ant penetration and weed germination better than standard kiln-dried sand. The critical installation detail that most guides skip: the stone surface must be completely dry before you sweep polymeric sand into joints. Any moisture on the surface causes premature activation, and you’ll end up with a hazy residue that’s extremely difficult to remove from porous stone faces.
For irregular flagstone paths with joints wider than 1 inch, polymeric sand becomes less effective — it bridges poorly across wide gaps and tends to crack under foot traffic. In those cases, decomposed granite or fine crushed stone compacted into joints gives a more stable and visually natural result. Groundcover planting between stones is another option that suits certain design styles, though it requires you to accept ongoing maintenance to keep growth from undermining the stone’s edges.
Stepping Stone Walkway Ideas and Landscape Design
A stone path’s design language should respond to the broader landscape it moves through — and this is where material selection becomes an aesthetic decision, not just a structural one. A formal garden with clipped hedges and symmetrical beds calls for precision-cut stone in consistent dimensions: 24×24-inch limestone or granite squares set in a straight run with uniform 3/8-inch joints. That same path material would feel out of place threading through a naturalistic planting scheme where irregular flagstone with groundcover joints reads far more honestly with the setting.
Design traditions across different landscape styles create genuinely different stone path requirements. Desert xeriscaping environments suit warm-toned sandstone or buff limestone that echoes the surrounding palette — and those materials handle the thermal cycling of hot, dry climates without surface spalling. Tropical planting schemes benefit from the textural contrast of dark basalt stepping stones against lush ground covers. Traditional colonial-style gardens lean toward tumbled limestone or irregular bluestone flagging that reads as historically grounded. Modern minimalist landscapes call for large-format, precisely cut stone — 24×48-inch slabs or larger — with tight joints and a consistent, low-contrast finish.
- Warm buff limestone: pairs naturally with desert xeriscaping and Mediterranean planting palettes
- Dark basalt stepping stones: provide visual grounding in lush or tropical planting contexts
- Tumbled travertine: suits transitional and traditional garden styles with its softened edges
- Precision-cut granite: anchors modern and minimalist landscapes with clean geometry
- Irregular bluestone flagstone: works across both traditional and naturalistic design contexts
Stone path geometry also shapes how a garden feels to move through. Curved paths slow the eye and invite exploration; straight runs create formality and direct traffic efficiently. At Citadel Stone pathway materials, you’ll find the full range of natural stone options needed to match both your structural requirements and the design character your landscape is working toward.
Drainage, Slope, and Water Management
Every stone path needs a minimum 1% cross-slope — that’s roughly 1/8 inch per foot — to shed surface water without pooling. In practice, 1.5% to 2% is more reliable, because site grading always has minor variations that flatten your theoretical slope in certain sections. Standing water on a natural stone path isn’t just a trip hazard; it accelerates efflorescence in limestone and travertine and promotes moss growth in shaded areas.
The detail that experienced installers build in before they need it: edge restraints that don’t just hold the path’s boundary but actively direct runoff away from the sub-base. Rigid plastic or steel edge restraints spiked into the sub-base at 12-inch intervals prevent lateral spreading over time. Without them, the edge stones gradually migrate outward, opening the center joints and inviting sub-base erosion at the perimeter. In freeze-thaw regions, this process accelerates significantly — edge stones that have migrated even 1/4 inch create frost-heave leverage points that lift interior stones over winter.
Sealing and Long-Term Maintenance
The sealing decision depends on both the stone type and the path’s exposure context. Limestone, travertine, and sandstone are porous enough that an impregnating penetrating sealer is non-negotiable for any path that will see regular use. A quality silane-siloxane impregnator penetrates the stone matrix and repels water at the capillary level without building a surface film that scuffs or peels. Reapply every 2 to 3 years depending on UV exposure and traffic volume — do a water bead test annually to confirm sealer performance.
Granite and dense basalt can be left unsealed on exterior paths without meaningful performance loss, though an enhancing sealer will deepen the color and add oil resistance if aesthetics matter for your project. What you want to avoid is using a topical acrylic sealer on any exterior stone path — it traps moisture beneath the film, which causes spalling and delamination in cold climates and develops a slippery film surface when wet. The CDC slip-and-fall prevention guidance for outdoor walking surfaces makes clear that surface friction coefficient should be a primary consideration for any exterior paved pathway — a detail sealer choice directly affects.
- Penetrating impregnating sealer: correct choice for limestone, travertine, sandstone, and honed granite paths
- Topical acrylic sealer: avoid on all exterior stone paths — it peels, traps moisture, and reduces traction
- Natural finish (no sealer): appropriate for dense granite and basalt in low-staining environments
- Reapplication interval: test annually with the water-bead method, reseal when water no longer beads within 5 seconds
Ordering, Logistics, and Project Planning
Stone path installation has a waste factor that most first-time specifiers underestimate. Add 10% overage for straight-cut regular pavers, and 15% for irregular flagstone where cuts are frequent and offcuts small. Ordering short and waiting for a second delivery mid-project is costly — not just in material expense, but in the color and texture variation that occurs between production batches from the same quarry.
Citadel Stone maintains national warehouse inventory across a broad range of pathway stone materials, which typically brings lead times to 1–2 weeks for standard product lines — a significant advantage over direct import cycles that can run 6–8 weeks. Confirm warehouse stock levels before finalizing your project timeline, particularly for large-format slabs and specialty finishes where inventory turns faster. Your truck access constraints at the delivery site also matter: full pallets of 2-inch stone weigh 2,000 to 2,500 pounds, and a standard delivery truck needs a clear, firm surface to offload safely. If site access is restricted, coordinate a smaller truck delivery or plan for manual transfer — damage from a rushed offload is the most preventable project cost on this list.
ADA and Safety Standards for Stone Paths
Accessible path design has specific surface requirements that natural stone can meet — but only when you specify the right finish and control surface tolerances carefully. The ADA requires a firm, stable, slip-resistant surface for accessible routes, with a maximum cross-slope of 1:48 and running slope no steeper than 1:20 for accessible paths. According to ADA outdoor paving surface standards, any joint or vertical change in level above 1/2 inch must be beveled or ramped — a critical detail for flagstone paths where stone thickness varies.
For general residential stone walkway projects, a honed or sandblasted finish provides adequate traction in most conditions. Highly polished stone finishes on exterior paths are a liability — they look beautiful in product photography and become genuinely hazardous when wet. A flamed or bush-hammered finish gives the highest static friction coefficient and works well on heavily trafficked residential and commercial paths where safety is the priority over refined aesthetics.
Planning Your Stone Path Materials and Budget
A stone path is one of the longer-term investments in your landscape — done correctly, it outlasts nearly every other site element and requires minimal intervention beyond periodic resealing and joint sand replenishment. The decisions that determine its 20-year performance are made before the first stone is set: base depth, aggregate gradation, drainage slope, and material thickness. Getting those right means the path performs reliably regardless of traffic patterns, seasonal temperature swings, or how the surrounding planting evolves over time. As you finalize your stone selection and budget your project materials, exploring how other natural stone costs are structured is worth your time — crushed stone pricing and tonnage offers useful context for understanding how stone materials are priced and calculated across different project scales. Pathway stone from Citadel Stone arrives from internationally sourced quarries, with thicknesses chosen to resist cracking underfoot.
Related reading: sealing natural stone tile · 12 Stone Terrace Design Ideas for Any Backyard · stone edge.