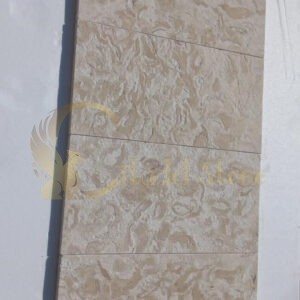
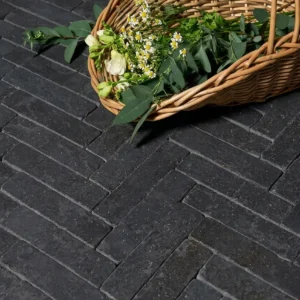
Stone terrace design rewards decisive material choices — the installations that hold up for 25 years aren’t accidents, they’re the result of getting base preparation, drainage geometry, and stone selection aligned before the first paver goes down. Most project failures trace back to a mismatch between material density and sub-base compaction, not to poor stone quality. Your material specification sets the ceiling on what the installation can achieve, and understanding how different stones respond to point loads, moisture cycling, and joint movement is what separates a lasting terrace from a costly replacement.
12 Stone Terrace Design Ideas Worth Considering
The strongest stone terrace projects start with a clear design direction — not just a material, but a layout logic that connects the stone to the space. Here are twelve ideas that translate well across a range of backyards, site conditions, and aesthetic goals.
- Large-format limestone slabs in a running bond pattern create visual continuity without overwhelming smaller outdoor spaces
- Irregular flagstone set in a tight dry-joint layout reads as naturalistic and works well near garden beds or woodland settings
- Tumbled travertine pavers in a Versailles pattern soften the formality of symmetrical garden layouts
- Basalt tiles in a grid pattern deliver a clean, contemporary edge that pairs well with modern architecture
- Mixed-size bluestone in ashlar layout provides a tailored look without the uniformity of modular stone
- Cobblestone perimeter banding around a limestone field adds definition and controls edge creep effectively
- Honed granite slabs in a stacked bond deliver high compressive performance for heavy-use entertaining areas
- Sandstone with a sawn finish keeps surface texture consistent, useful for level transitions between indoor and outdoor zones
- Circular medallion insets cut from contrasting stone — dark basalt in a cream limestone field, for example — create focal points without additional landscape features
- Step-down terraces using matching stone on both risers and treads create visual flow on sloped sites
- Wide mortar joints filled with decomposed granite between irregular stones read as softscape-integrated hardscape
- Reclaimed or hand-cut stone with visible tool marks brings texture and character that manufactured pavers can’t replicate
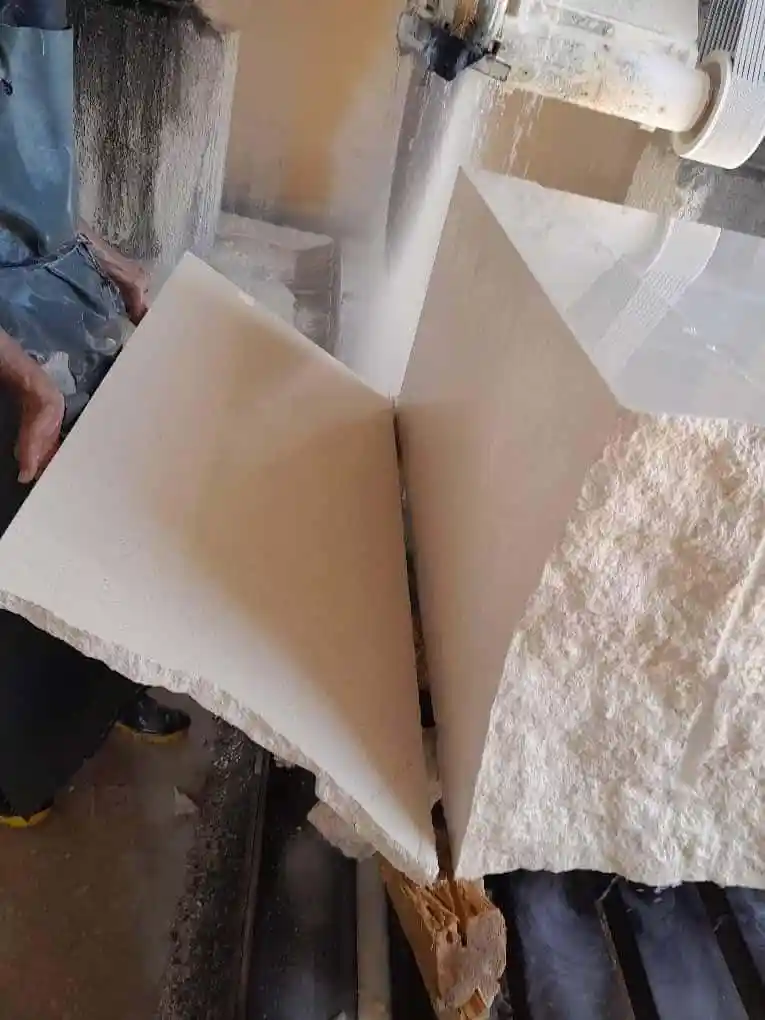
Choosing the Right Stone for Your Terrace
Stone terrace design pavers fall into two broad performance categories: dense igneous and metamorphic stones like granite, basalt, and bluestone, and the sedimentary and carbonate stones like limestone, travertine, and sandstone. Your application drives which category fits. High-traffic entertaining terraces benefit from granite’s compressive strength — consistently above 19,000 PSI — while lower-traffic garden terraces can use the softer character of limestone or travertine without performance compromise.
Surface finish matters as much as material type. A flamed or brushed finish on any stone delivers a coefficient of friction above 0.60, meeting the threshold recommended by ASTM stone slip resistance standards for outdoor paving. Polished finishes look exceptional in covered outdoor rooms but become a liability in open, rain-exposed areas. Honed finishes split the difference — they’re low enough in sheen to stay slip-safe but refined enough for formal design schemes.
Patio Ideas With Stone: Layout Patterns That Work
Layout pattern determines how the eye moves across the space. Stacked bond — running parallel joints in both directions — reads as clean and geometric, ideal for contemporary homes. Offset or running bond breaks the visual grid slightly, which reduces the perception of joint lines in larger terraces. Herringbone patterns at 45 degrees create dynamic movement but require more cuts at perimeter edges, adding material waste of roughly 10–15%. These patio ideas with stone layouts apply regardless of the stone species selected, since pattern logic is driven by geometry, not material.
The American Society of Landscape Architects outdoor paving guidance consistently points to pattern scale as a function of space size — larger format stones (24×24 inch and above) work well in open terraces but can fragment spatially in areas under 200 square feet. For smaller terrace footprints, 12×24 or modular 12×12 layouts keep proportions balanced. Stone terrace design decisions around pattern should always account for the viewing angle — terraces seen from above, from an upper floor or hillside, read very differently from terraces experienced at grade level.
Elevation Changes, Slopes, and Drainage Design
Terrain variability is one of the most consequential factors in stone terrace installation — and one of the most underestimated. A flat-grade terrace in stable, well-draining soil is straightforward: a 4-inch compacted aggregate base, 1-inch bedding sand, and consistent 2% cross-slope to drain. Sloped or hillside sites demand a different engineering logic entirely.
Terraced step-down designs on grades steeper than 8% require retained sub-base levels at each tier. Each horizontal stone surface needs independent drainage — water shedding off an upper tier that flows under a lower tier’s base course will destabilize the compacted aggregate over time, producing settlement that no re-leveling effort will fix permanently. Your grade management plan should include a sub-surface drainage layer — typically a perforated pipe in washed gravel — running parallel to the terrace perimeter at the lowest point of each retained level. On low-lying or flat sites with poor natural drainage, the same principle applies: a 6-inch minimum aggregate depth with positive drainage routing prevents the hydrostatic pressure buildup that heaves pavers from below.
- Sites with more than 5% grade require independent drainage engineering for each terrace tier
- Sub-base depth should increase by 1–2 inches for every 10% slope increment above a flat baseline
- Retain wall integration changes load distribution — account for lateral pressure when specifying base compaction near retaining structures
- Freeze-thaw regions require deeper base preparation (minimum 6–8 inches of compacted aggregate) to isolate stone from frost heave
Installing Stone Patio Pavers: Base Preparation Fundamentals
Installing stone patio pavers correctly starts before any stone is on site. Excavation depth determines everything downstream: too shallow and the base compacts under load; too deep and the added aggregate cost is wasted without corresponding performance gain. For residential stone terraces, 4 inches of compacted Class II aggregate base beneath 1 inch of coarse bedding sand is the standard starting point on stable, well-draining soil. Any site with expansive clay subgrade warrants a geotextile fabric layer at the excavation floor — this prevents subgrade fines from migrating into the aggregate over time.
According to Natural Stone Institute outdoor stone selection guidance, stone thickness for patio applications should be a minimum 1.25 inches for pedestrian traffic and 2 inches or above for any motorized or loaded cart access. Your stone supplier should be able to confirm the nominal thickness range of each product before you spec it — thickness variance within a pallet affects bedding sand depth and your ability to achieve a consistent finished surface plane.
At Citadel Stone, we review thickness tolerances across our stock before it leaves the warehouse, because inconsistent thickness is the single most common cause of lippage complaints in the field. Knowing your tolerance range upfront lets you adjust your bedding sand depth during installation rather than after the fact.
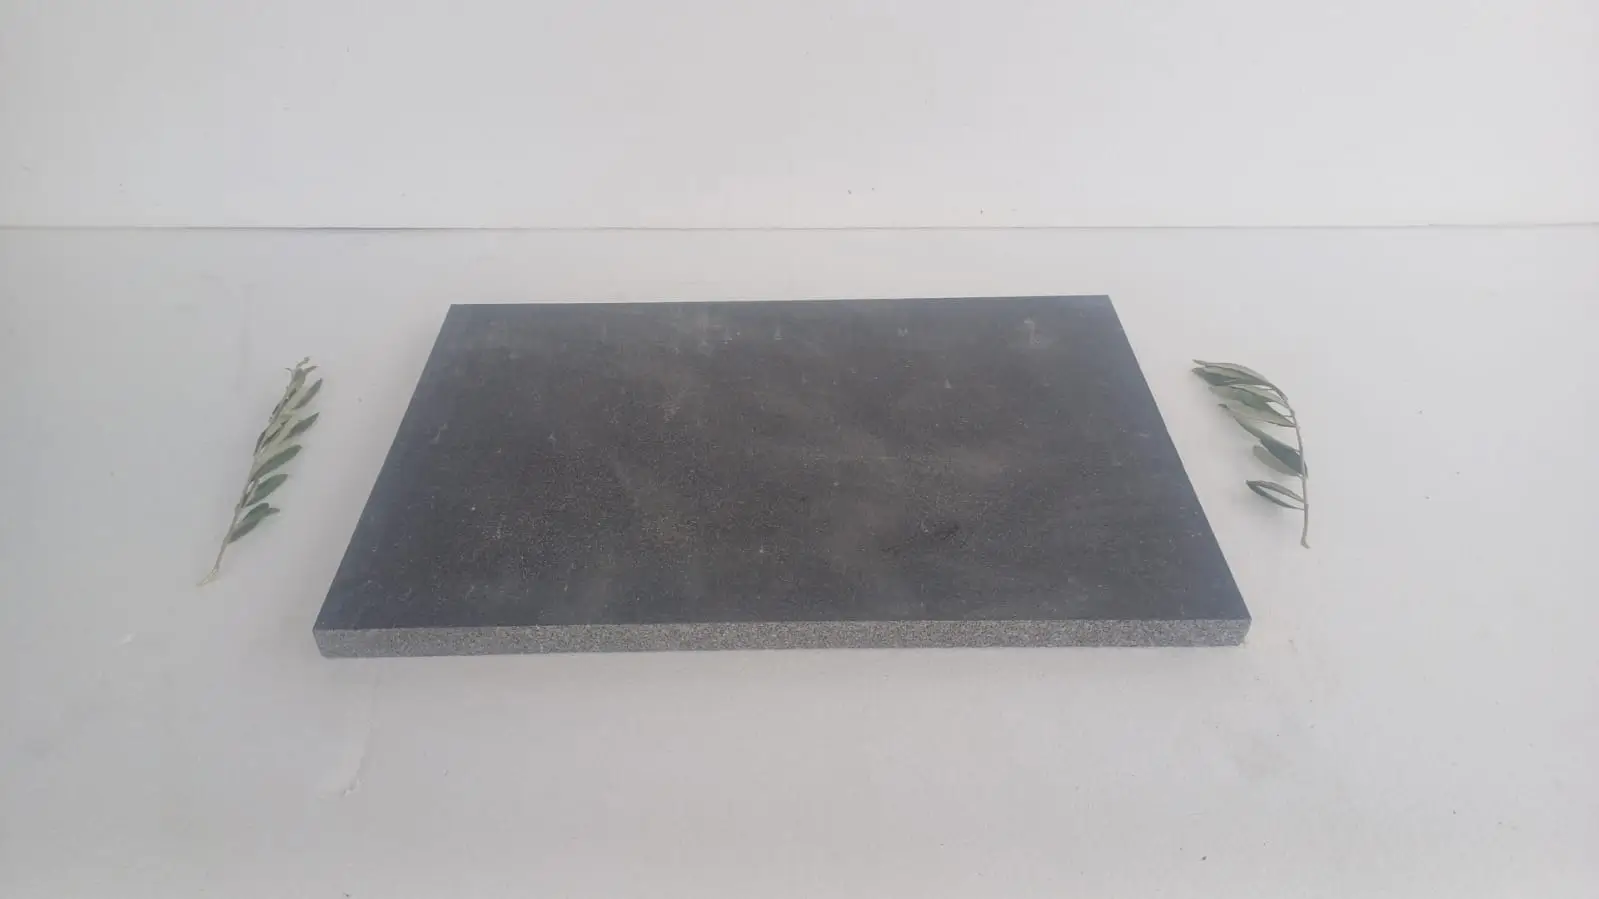
How to Build a Paver Stone Patio That Lasts
Understanding how to build a paver stone patio that genuinely performs over time comes down to three phases: sub-base preparation, stone placement, and joint stabilization. Most DIY and entry-level contractor installations get the stone placement phase right and underinvest in the other two. The paver itself is the visible part — but the base and joints are doing the structural work.
Joint stabilization is where long-term performance diverges most sharply between good and mediocre installations. Polymeric sand, swept into joints and activated with water, binds the joint material and resists ant tunneling and weed intrusion. Standard sand joints look fine initially but erode within two to three seasons, allowing lateral stone movement that opens joints further and creates trip hazards. For stone terrace design in exposed, high-rainfall areas, a wider joint (3/8 inch minimum) with polymeric sand handles thermal expansion more reliably than a tight joint. In covered terraces or dry-climate settings, a tighter 1/4-inch joint with sanded grout is appropriate.
- Compact aggregate base in two lifts — never in a single deep layer — to achieve consistent 95% Proctor density
- Screed bedding sand to a consistent depth before placing stone — dry, coarse sand only, never stone dust alone
- Maintain consistent joint width using spacers during placement, especially with dimensional stone that has thickness variation
- Sweep polymeric sand in dry conditions and mist lightly — over-watering activates the binder too quickly and leaves surface residue
- Allow 24 hours cure time before pedestrian traffic and 72 hours before furniture loads
Stone Terrace Material Performance Over Time
Stone terrace pavers aren’t maintenance-free — but they’re maintenance-predictable. Dense stones like granite and basalt require minimal intervention: a periodic rinse and an inspection of joint integrity every two to three years is typically sufficient. Limestone and travertine benefit from sealing every two to three years, particularly in areas with leaf litter, organic staining risk, or high foot traffic. A penetrating impregnator sealer — not a topical coating — is the correct specification for outdoor stone. Topical sealers trap moisture below and accelerate spalling.
The USGS dimension stone production and use data confirms that natural stone remains among the most durable paving materials in long-term field performance when properly installed and maintained. Your maintenance schedule should include an annual check of edge restraint integrity — plastic or aluminum edging that has shifted even half an inch allows lateral stone movement that progressively widens joints and destabilizes the field. Catching edge restraint failure early is far less costly than re-leveling a settled section of terrace.
For your ordering logistics, verify warehouse stock levels before finalizing your installation schedule. Stone terrace projects that phase material delivery across multiple truck drops risk color batch variation — natural stone from the same quarry can shift in tone between production runs. Ordering the full quantity in a single truck delivery, where site access permits, eliminates that risk entirely.
Design Scale and Proportion in Stone Terrace Planning
Your stone terrace design needs to account for visual scale from the earliest planning stage. A common error is selecting paver size based on what looks good in a showroom display without accounting for the full terrace footprint. Large-format 24×24 inch pavers in a 300-square-foot terrace look proportional. Those same pavers in a 90-square-foot terrace create a fractured, incomplete visual effect because the eye can’t resolve the pattern at that density.
Border treatments dramatically affect the perception of scale. A two-course cobblestone perimeter around a limestone field stone terrace creates visual containment that makes the interior pattern read as deliberate rather than incidental. Contrasting borders also serve a structural function — they reinforce the edge of the installation and reduce the likelihood of corner stones shifting over time. You can browse the Citadel Stone terrace collection for border and field stone pairings that work across multiple design styles, from formal to naturalistic.
Sealing and Long-Term Care for Natural Stone Terraces
Sealing protocols for stone terrace design pavers differ based on stone porosity and exposure. Travertine and limestone are carbonate stones with naturally higher absorption rates — their open-pore structures respond well to penetrating sealers that fill the matrix without altering surface texture. Dense stones like granite and basalt are low-porosity materials that technically don’t require sealing in most applications, though a light impregnator application improves stain resistance in food-service or poolside contexts.
Timing your initial seal correctly matters. Apply sealer after the installation has cured for a minimum of 30 days, which allows any efflorescence from the bedding layer to work its way out. Sealing over active efflorescence traps the calcium carbonate deposits below the surface — they’re invisible initially but re-emerge as white haze within a season. Strip the surface, allow the efflorescence cycle to complete, and then seal. It’s a detail that experienced installers know intuitively but rarely appears in product literature.
Final Recommendations for Your Stone Terrace Project
Every stone terrace project delivers its best long-term performance when each decision — material type, layout pattern, base depth, joint specification, and drainage geometry — is made as a system rather than a series of isolated choices. Stone terrace design that accounts for terrain, drainage, and material performance from the outset avoids the compounding failures that come from optimizing any single component in isolation. Confirm your aggregate base specification before stone arrives on site, align your joint width to your climate exposure, and schedule your truck delivery as a single load to protect color consistency across the full installation. When planning complementary natural stone applications for your broader property, black limestone geology and color explores how darker stone materials perform and what drives their distinct visual character. Terrace stone from Citadel Stone is sourced from our selected premium quarries across multiple continents, sized for seamless patio layouts.
Related reading: types of natural stone for house exterior · natural stone · How Much Does Crushed Stone Cost Per Ton?.