Shape and Size Decisions That Define Your Path
Stepping stone pavers reward you most when the size-to-stride relationship is worked out before a single stone touches the ground. The standard guidance points to 18–24 inches on center as a comfortable adult walking pace, but that number shifts depending on whether your path is a casual garden meander or a direct utility route between structures. Irregular limestone pieces averaging 18 inches across read as naturalistic; cut square formats at 24 inches feel architecturally intentional — and both deliver different spatial moods that are worth previewing on paper before committing to material.
Why Limestone Works So Well for Stepping Paths
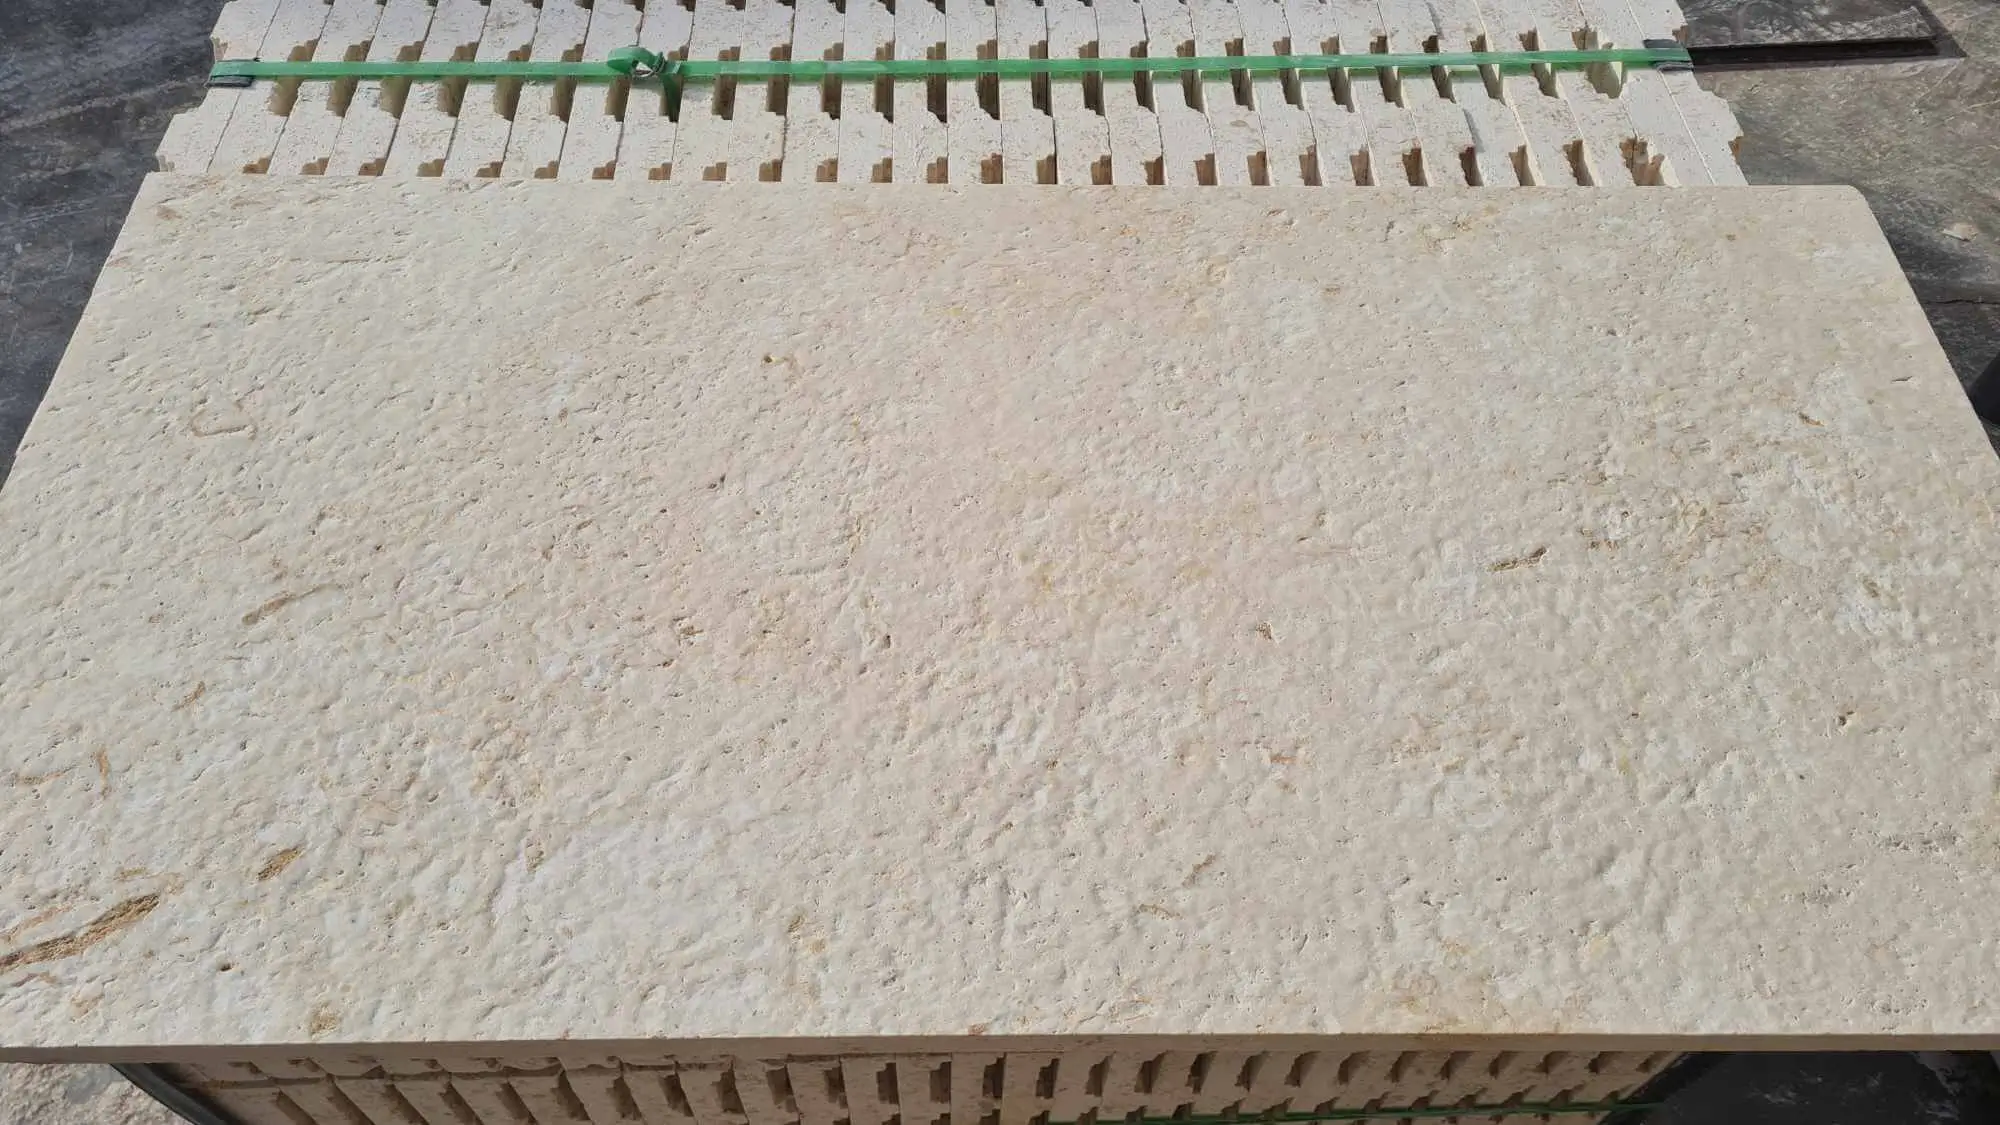
Limestone’s compressive strength typically ranges from 4,000 to 18,000 PSI depending on formation density, which means correctly specified limestone stepping stone pavers handle residential foot traffic for decades without surface spalling. More practically, its naturally textured surface provides measurable slip resistance even when wet — a detail that matters on any garden path exposed to morning dew or irrigation overspray. According to Natural Stone Institute limestone specifications, the material’s open-pore structure also contributes to its thermal moderation, keeping surface temperatures lower than dense igneous alternatives under direct sun.
The visual warmth limestone brings to a garden setting is harder to quantify but just as real. Its tonal range from cream and buff through charcoal gives you control over whether the path feels like it grew out of the landscape or was placed deliberately. Lighter tones read as casual and relaxed, while darker honed finishes pull the path toward something more formal — a useful lever when the garden has mixed design language.
Tumbled vs. Cut Finishes: Choosing the Right Surface
Your finish selection is one of the most consequential decisions in a stepping stone project, and it’s often made too casually. Tumbled pavers arrive with softened edges and a worn surface that blends naturally into planted borders — they read as timeless and organic, which is exactly what most informal garden paths need. Cut stepping stone pavers, by contrast, deliver crisp geometry that pairs well with modern landscaping, raised planters, and architectural planting beds.
- Tumbled pavers offer naturally increased texture, improving wet traction without additional surface treatment
- Cut formats allow tighter joint spacing when paths need to accommodate formal planting geometry
- Honed finishes provide a mid-point — smoother than tumbled, less reflective than polished — and suit contemporary styles effectively
- Sawn-face limestone retains cleft texture from the cutting process, providing grip while keeping the clean edge profile of a cut format
The ADA walkway accessibility standards provide a useful baseline for surface firmness — even on private residential paths, meeting those firmness thresholds ensures the path is usable by every visitor without risk. Tumbled stone with wide joints filled with compacted decomposed granite meets that threshold comfortably; loose-set flagstone on sand does not.
Large Limestone Slabs for Statement Steps and Transitions
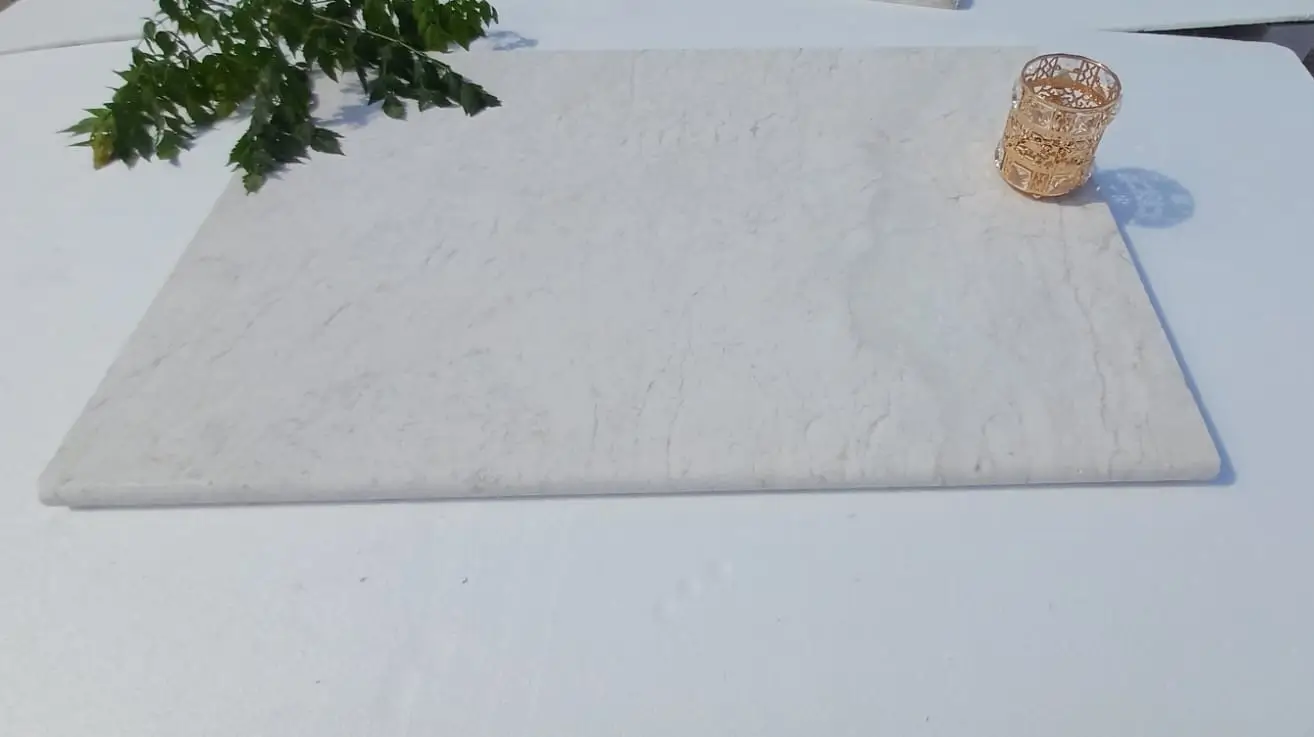
Limestone slabs for steps create natural transitions between grade changes in a way that poured concrete or brick simply cannot replicate. A slab format — typically 24 inches wide and 36–48 inches long — doubles as both a functional tread and a visual anchor that grounds a planting scheme on either side. You get the most from these large-format pieces when you let them project slightly beyond the riser below, creating a deliberate shadow line that emphasizes depth.
For projects using large format stepping stone pavers as combined pathway elements and grade transitions, consider the Citadel Stone garden pavers range, which includes dimensional options suited to both flush-set path work and stacked-tread applications. Specifying consistent thickness across a run — typically 2 inches nominal for residential use — keeps the installation predictable and reduces the fieldwork required to level each piece individually.
Subgrade Preparation: What the Soil Under Your Path Actually Does
Here’s what separates a stepping stone path that looks great for 20 years from one that starts rocking and tilting within three seasons: subgrade stability. The material above ground gets all the attention, but the soil conditions below determine whether your installation holds its geometry or slowly disaggregates into an uneven obstacle course.
- Expansive clay soils undergo significant volume change with moisture — stepping stone pavers set directly on clay without a properly granular base will heave during wet seasons and settle unevenly during dry ones
- Sandy soils drain freely but offer low bearing capacity; a 4-inch compacted gravel base is the minimum, and 6 inches is preferable when the pavers are large-format
- Hard pan layers in drier regions impede drainage — you’ll need to break through or route around them to prevent water from pooling under the stone and destabilizing the bedding layer
- Rocky subgrades require hand excavation to consistent depth; uneven bearing points beneath individual stepping stones cause the worst cracking patterns over time
The most consistent base system for limestone stepping stone pavers uses 4–6 inches of compacted crushed limestone base, finished with a 1-inch screeded sand setting bed. This combination accommodates minor subgrade movement without transmitting stress to the stone itself. According to USGS limestone composition data, the material’s density and relatively low elasticity mean it tolerates compression loads well but does not flex — which makes what happens beneath it critical to long-term performance.
Spacing, Joint Filling, and Path Layout Ideas
The space between your stepping stones is as much a design decision as the stone itself. Tight joints filled with polymeric sand read as a formal pathway; wider gaps planted with creeping thyme, Irish moss, or low-growing sedums transform the path into a living composition that changes with the seasons. Both approaches are valid, and both require deliberate planning before installation begins.
- For planted joints, maintain a minimum 2-inch gap to allow root establishment — under 1.5 inches tends to choke groundcovers before they can spread
- Polymeric sand joints should be swept to 90% fill depth and activated with a fine water mist — overfilling causes haze on the stone surface that requires additional cleanup
- Decomposed granite is an excellent joint filler for informal paths — it compacts firm under foot traffic while still allowing drainage between stones
- Pea gravel joints create a crunch underfoot that some homeowners enjoy, but they shift with traffic and require annual topping in high-use zones
Path layout itself is worth sketching at scale. A straight run of stepping stone pavers feels intentional and direct; a gentle curve following a natural contour or planting bed edge feels settled into the landscape. The mistake most installations make is a path that curves without a reason — where the curve references nothing on either side, it reads as arbitrary rather than organic.
Ordering, Delivery, and Project Planning Notes
Citadel Stone maintains warehouse inventory of limestone stepping stone pavers nationally, which typically compresses lead times to 1–2 weeks rather than the 6–8 week import cycle that affects most project timelines when product is ordered directly from overseas quarries. Confirm warehouse availability before finalizing your installation date — certain large-format and tumbled paver sizes turn over quickly during peak landscaping season and may require a short lead time buffer.
Your truck access conditions matter more than most buyers anticipate at the ordering stage. Large limestone slabs for steps ship on flat-bed pallets and require a vehicle with lift-gate capability or a forklift on site for off-loading — flagging this constraint at the time of order avoids costly redelivery charges. Measure your driveway clearance and gate widths before confirming delivery so the truck can reach the closest practical point to your installation area. Moving heavy stone long distances by hand is avoidable with a few minutes of planning upfront.
Sealing and Maintenance: What the Path Actually Needs
Limestone stepping stone pavers in an outdoor garden setting benefit from a penetrating impregnating sealer applied after installation and renewed every 2–3 years depending on exposure and traffic. The sealer doesn’t change the surface appearance when a matte-finish product is selected — it simply closes the surface pore structure enough to resist organic staining from leaf tannins, soil contact, and irrigation water mineral deposits.
- Apply sealer only to dry stone — a minimum 48-hour dry period after rain is recommended before the first application
- Avoid topical film-forming sealers on outdoor stepping stones; they trap moisture beneath the surface and can cause spalling in freeze-thaw regions
- Brush or scrub with a pH-neutral stone cleaner annually — acidic products etch the calcium carbonate surface and dull the finish permanently
- Check joint filler integrity each spring and top up any areas where settlement or weed intrusion has compromised the fill depth
The CDC slip-and-fall prevention guidance for outdoor walking surfaces emphasizes that surface condition maintenance — particularly removing algae and moss growth — is as important as initial material selection. A neglected limestone stepping stone path with organic growth in shaded joints becomes genuinely hazardous, and that’s avoidable with basic annual maintenance rather than any material replacement.
Decision Points for Your Stepping Stone Path
Your path project comes down to a short list of decisions that compound on each other: the stone format you choose constrains the layout options; the layout constrains the base preparation approach; and the base approach determines the long-term stability of everything above it. Getting those decisions in the right sequence is what separates a path that performs for two decades from one that requires rework within five years.
Stepping stone pavers in limestone give you genuine material versatility — the same quarried stone works equally well in a relaxed irregular format set into a cottage garden and in a precision-cut grid stepping through a contemporary landscape. The stepping stone design decisions that matter most are the ones made before the first piece is placed: subgrade preparation, base depth relative to your soil conditions, and a layout that references the surrounding landscape rather than ignoring it. For related specification depth on larger paver formats, 24×24 limestone paver sizing and layout covers dimensional planning in detail worth reviewing before you finalize your order. Sourced via our established selected quarries across multiple continents, our stepping stones come in irregular and cut shapes for both formal and natural path styles.
Related reading: limestone steps · large limestone blocks price · large limestone tiles.