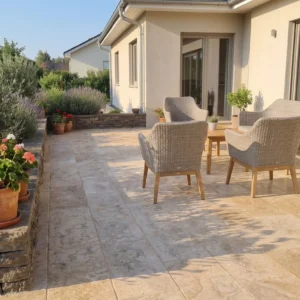
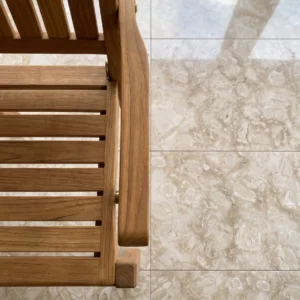
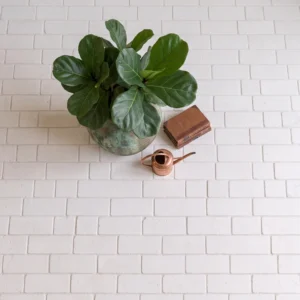
Large limestone tiles put substrate preparation and joint engineering front and center — get either one wrong and you’ll be looking at cracked faces or failed bonds inside three winters. The tiles themselves are typically dense, low-absorption sedimentary stone, but their format is what complicates every step downstream: greater surface area means greater thermal mass, more leverage on the setting bed when temperature swings cause expansion, and far less forgiveness for an uneven substrate than a 12-inch tile would ever expose. Understanding these dynamics before you set the first piece separates a 25-year installation from a frustrating 8-year replacement cycle.
What Makes Large Format Limestone Different to Install
The core challenge with large limestone tiles isn’t the material — it’s the physics of scale. A 24×24-inch tile covers roughly four times the surface area of a standard 12-inch tile, which means four times the contact zone for differential movement between stone and substrate. Limestone’s linear thermal expansion coefficient runs approximately 4.4 × 10⁻⁶ per °F, so a 36-inch tile exposed to a 60°F temperature swing across a day-to-night cycle expands and contracts by nearly 0.010 inches in length alone. That sounds minor, but multiply it across twenty tiles in a row and you’re engineering 0.2 inches of cumulative movement into a rigid mortar bed.
Your adhesive selection and joint sizing must account for this from the start. Thin-set rigid mortar is not the right choice for large limestone tiles in exterior or high-thermal-cycling environments — you’ll want a polymer-modified large-format mortar that retains some flexibility after cure. The TCNA installation standards provide specific guidance on mortar classifications for tiles exceeding 15 inches on any edge, and those classifications directly govern what adhesive product you can legitimately specify.
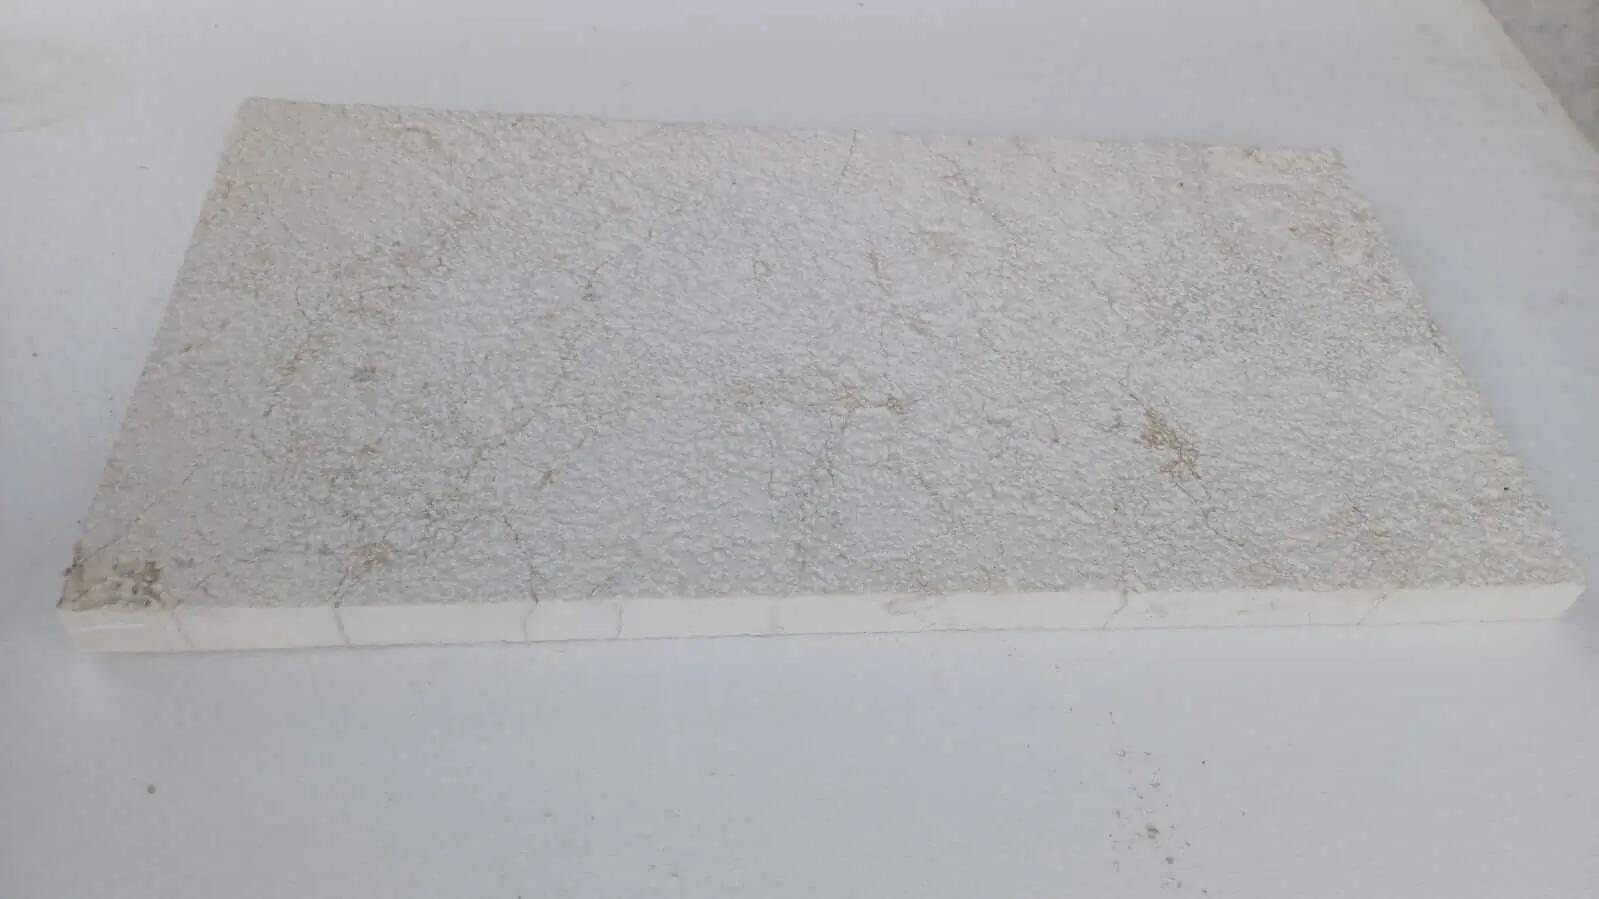
Substrate Preparation: The Foundation of Every Successful Installation
Your substrate needs to meet a flatness tolerance of 1/8 inch over a 10-foot straightedge — and for large limestone tiles, that tolerance tightens to 1/8 inch over any 5-foot span. Any deviation beyond that creates hollow spots under the tile, which become stress concentrators the moment thermal cycling loads the slab. A hollow tile that spans a low point in the substrate will crack under foot traffic even if the stone itself has compressive strength well above 8,000 PSI.
- Concrete substrates should cure for a minimum of 28 days and have surface tensile strength tested by pull-off before setting begins
- Wood subfloors require a cementitious backer board or uncoupling membrane — full mortar beds directly over wood are prone to differential deflection that large limestone tiles cannot bridge
- Exterior concrete slabs must slope 1/8 inch per foot minimum for drainage — water trapped under large limestone tiles accelerates freeze-thaw degradation at the bond line
- Control joints in the substrate must be honored through the tile layer with corresponding movement joints — bridging a concrete control joint with tile is one of the most common field errors on large limestone tile projects
At Citadel Stone, we consistently emphasize substrate preparation to specifiers and contractors because it’s the variable most likely to be rushed when schedules tighten. The stone itself can be perfect — sourced directly, thickness-calibrated, consistent density throughout — but a poorly prepared substrate will fail regardless of material quality.
Setting Bed and Mortar Selection for Large Limestone Tiles
Polymer-modified large-format mortar is the professional standard for large limestone tiles over 15 inches on any side. You’ll want to use a back-buttering technique in addition to the notched trowel application on the substrate — large tiles need full coverage across 95% of the tile back, not the 85% minimum specified for standard tiles. Voids under large format stone don’t just create hollow spots; they create failure planes that propagate when the tile is stressed.
The trowel notch size matters more than most installers acknowledge. A ¼ × ½-inch square-notch trowel is typically correct for 24×24-inch tiles set in mortar — but you should adjust based on tile back texture and manufacturer’s recommendation. Raking the mortar in one consistent direction and then combing the back-butter perpendicular to the bed ensures the ridges collapse into each other rather than trapping air pockets. This is one of those field details that textbooks understate and experience makes obvious.
- Always use a white or grey large-format polymer-modified mortar — standard thin-set has insufficient open time for large tiles
- Back-butter every tile individually and achieve a minimum 95% coverage verified by lifting a test tile within the first 10 minutes
- Mortar open time in warm, dry conditions drops significantly — keep tiles shaded and moisten the substrate lightly if surface temperatures exceed 90°F
- For exterior applications, specify a frost-resistant mortar rated for freeze-thaw cycling where applicable
The Natural Stone Institute ASTM tile stone specifications provide the underlying framework for mortar compatibility with limestone tile — referencing ASTM C482 bond strength requirements helps you validate that your adhesive choice meets the structural demand of a large format installation.
Joint Sizing, Expansion Gaps, and Thermal Cycling
This is where most large limestone tile installations either succeed long-term or quietly begin failing. Your grout joint width needs to serve two simultaneous functions: it must be wide enough to accommodate thermal cycling movement, and it must be narrow enough to remain aesthetically acceptable to your client or specification. Those two demands create tension, and the resolution lives in the numbers.
For large limestone tiles used as patio limestone slabs — on covered terraces, pool surrounds, and open exterior decks — specify a minimum 3/16-inch grout joint for tiles up to 24 inches, and 1/4-inch for tiles 24 inches and larger. In environments with significant day-to-night temperature swings of 40°F or more, push those minimums to 1/4-inch and 3/8-inch respectively. The calculation is straightforward: tile length × thermal expansion coefficient × temperature delta × safety factor of 1.5. Running that math for a 36-inch tile across a 50°F daily swing confirms why undersized joints crack under cumulative seasonal load.
- Movement joints — not grout joints — must be placed every 8–12 feet in both directions for exterior large limestone tile applications
- Movement joints should be filled with a siliconized urethane caulk that matches grout color — never fill them with grout, which is rigid and will crack under the first thermal cycle
- Where large patio limestone slabs adjoin fixed structures like walls or posts, a perimeter movement joint of at least 3/8-inch is mandatory
- In freeze-thaw regions, expansion joint spacing should move closer to the 8-foot interval — ice formation in joint sand puts lateral pressure on adjacent tiles that sums across the entire installation
Layout Planning: Starting Right Before the First Tile Goes Down
Your layout plan determines whether the finished floor looks like it was designed or just installed. Large limestone tiles amplify every layout decision — a 2-inch offset that would be invisible in a mosaic becomes glaringly apparent when each tile is 24 inches wide. Establish your primary centerlines relative to the room’s focal point or the dominant sight line from the entry point, not necessarily from the wall.
Dry-lay at least one full run in each direction before committing any mortar. This step reveals tile-to-tile variation in dimensions — even well-calibrated large limestone tiles carry ±1/16-inch dimensional tolerance that stacks across long runs. Sorting tiles and rotating them within the layout to minimize cumulative dimensional drift is a technique that experienced tile setters use instinctively but rarely explain in specification documents.
- Snap perpendicular chalk lines at the planned centerpoint and verify square with a 3-4-5 triangle before proceeding
- Plan cuts so that border tiles are at least half a tile width — small slivers at edges are structurally weak and visually poor
- For herringbone or diagonal patterns, calculate the diagonal grid from the same center point — diagonal layouts amplify dimensional drift faster than straight-set patterns
- Leave your layout lines visible through initial setting — don’t cover reference marks until you’ve confirmed the first quadrant is square and plumb
Your layout plan should also account for warehouse lead times and delivery logistics. Confirm tile inventory is complete before starting — setting half a floor and waiting weeks for a second shipment risks color batch variation that becomes highly visible in a large limestone installation.
Cutting and Edge Finishing Large Limestone Tiles
Large limestone tiles require a wet-saw with a continuous rim diamond blade rated for natural stone — segmented blades designed for concrete will chip the relatively soft limestone edges and create micro-fractures that propagate under load. Blade speed should be appropriate for the stone’s hardness, typically around 5,500 RPM for a 10-inch blade on dense limestone.
Here’s a practical detail that matters: limestone tends to absorb cutting water during sawing and can remain surface-saturated for 20–30 minutes after a cut. Don’t rush cut tiles directly into mortar — allow them to equilibrate to ambient conditions for at least 30 minutes after cutting. Setting a water-saturated cut tile into polymer mortar can affect the bond’s hydration chemistry at the cut edge, which is exactly the edge most vulnerable to lifting stress anyway.
- Support cut tiles fully from beneath during cutting — cantilevered limestone will fracture under the blade’s lateral pressure
- Score-and-snap techniques that work on porcelain will fracture large limestone unpredictably — always use a wet saw
- Finish cut edges with a honing pad to remove any chipping and restore consistent edge profile before installation
- For Citadel Stone floor tiles and similar large format products, our technical team recommends cutting tiles 24 hours before setting where possible, allowing complete moisture equilibration before the tile contacts adhesive
Grouting Large Limestone Tile Correctly
Grouting large limestone tiles is where the installation either looks finished or looks like it still needs work. Limestone is a porous, calcium-carbonate-based stone — it will absorb grout color and grout haze faster than dense porcelain or glazed ceramic. Seal the tile surface with a penetrating stone sealer before grouting, allow it to cure per manufacturer’s instructions, and then grout. This step is non-negotiable for honed or brushed limestone finishes.
Your grout choice should match the joint width and application environment. For joints 3/16-inch and wider, unsanded grout will crack — use a sanded or large-joint grout designed for natural stone. For exterior applications, a cement-based grout with latex additive provides better freeze-thaw resistance than straight powder-mixed grout. Apply grout in small sections — 10 to 15 square feet — to prevent it drying in the joints before you can tool and clean it. Large limestone tiles have a low surface-area-to-mass ratio, which means the substrate and tile absorb moisture from the grout mix quickly, cutting your working window.
- Work grout diagonally across joints to prevent dragging grout back out of filled joints with the float
- Use a damp, well-wrung sponge for cleanup — excess water damages grout joints and can cause efflorescence in limestone
- Buff grout haze with a dry microfiber cloth within 20 minutes of cleanup — waiting longer on porous limestone requires additional chemical haze remover
- Allow grout to cure for 72 hours minimum before sealing — applying sealer over uncured grout traps moisture and causes whitening
Sealing and Long-Term Maintenance for Large Limestone
Penetrating impregnating sealers are the correct choice for large limestone tiles — topical coatings trap moisture vapour beneath the stone and can cause spalling in freeze-thaw environments. A quality impregnating sealer penetrates the pore structure and lines the capillaries without forming a film, allowing the stone to breathe while blocking water and oil ingress. Apply the initial sealer coat within 48 hours of grout cure completion, and plan reapplication on a biennial schedule for exterior applications or every three years for interior floors under moderate traffic.
According to USGS limestone composition and construction applications data, limestone’s porosity and absorption characteristics vary meaningfully by formation type and density — which is why specifying sealer without knowing your stone’s actual absorption rate leads to inconsistent results. Test-apply the sealer on an off-cut and verify absorption time before committing to the full floor.
- Apply sealer in thin, even coats — pooling creates a surface residue that dulls the finish and is difficult to remove from large limestone tiles
- For exterior patio limestone slabs in high-rainfall or freeze-thaw environments, a water-repellent sealer with salt efflorescence inhibitors significantly extends maintenance intervals
- Clean large limestone tiles with pH-neutral stone cleaner only — acidic cleaners, including common household products containing vinegar or citrus, will etch limestone’s calcite surface permanently
- Inspect grout joints annually and re-point any cracked or hollow sections before water infiltration compromises the setting bed
What Separates a Good Large Limestone Tile Installation from a Great One
The installations that hold up for 25 years share a common thread: every decision was made before the first tile was set, not after the first problem appeared. Your substrate assessment, mortar selection, layout plan, joint sizing, and sealer specification should be resolved and documented before a truck delivers the material to your site. Once large limestone tiles are stacked and ready to go, the pressure to move fast intensifies — and that’s when critical steps like back-buttering coverage checks, movement joint placement, and pre-grout sealing get skipped.
Large limestone is a material that rewards precision and punishes shortcuts in roughly equal measure to its scale. A 36×36-inch tile that’s hollow in the center because the setting bed wasn’t fully collapsed will crack — but the same tile installed with 95% mortar coverage and properly sized joints will outlast the building’s interior finishes. Citadel Stone supplies large format limestone cut to consistent thickness tolerances nationwide, which allows setting contractors to maintain uniform bed depths across the installation without the shim-and-adjust cycles that variable-thickness stone demands.
Your project budget for large limestone tiles should also include a line for related material costs across the full scope. For a broader view of material pricing across the limestone product range, limestone block pricing and specifications covers how format and grade affect your cost baseline across different limestone applications. Stone for nationwide projects is cut to consistent edges, letting tilers set tight grout lines and even joints across large open interior spaces.
Related reading: how to identify limestone · how to remove limestone stains · large limestone planters guide.