What Slate Actually Does Underfoot
This slate stepping stones guide starts where most stop short — finish type and cleft depth are where real performance decisions live, not color. Slate’s metamorphic grain structure gives it a natural tendency to split along parallel planes, which is why the surface texture from a freshly cleaved face behaves so differently from a machine-gauged back. That split face isn’t just aesthetic — it creates micro-ridges that generate meaningful friction underfoot, even when wet. According to slate’s metamorphic properties and durability for paving, the foliated crystalline matrix that defines the rock also determines how it holds up under cyclic loading and surface abrasion over time.
Finish Options and What Each One Delivers
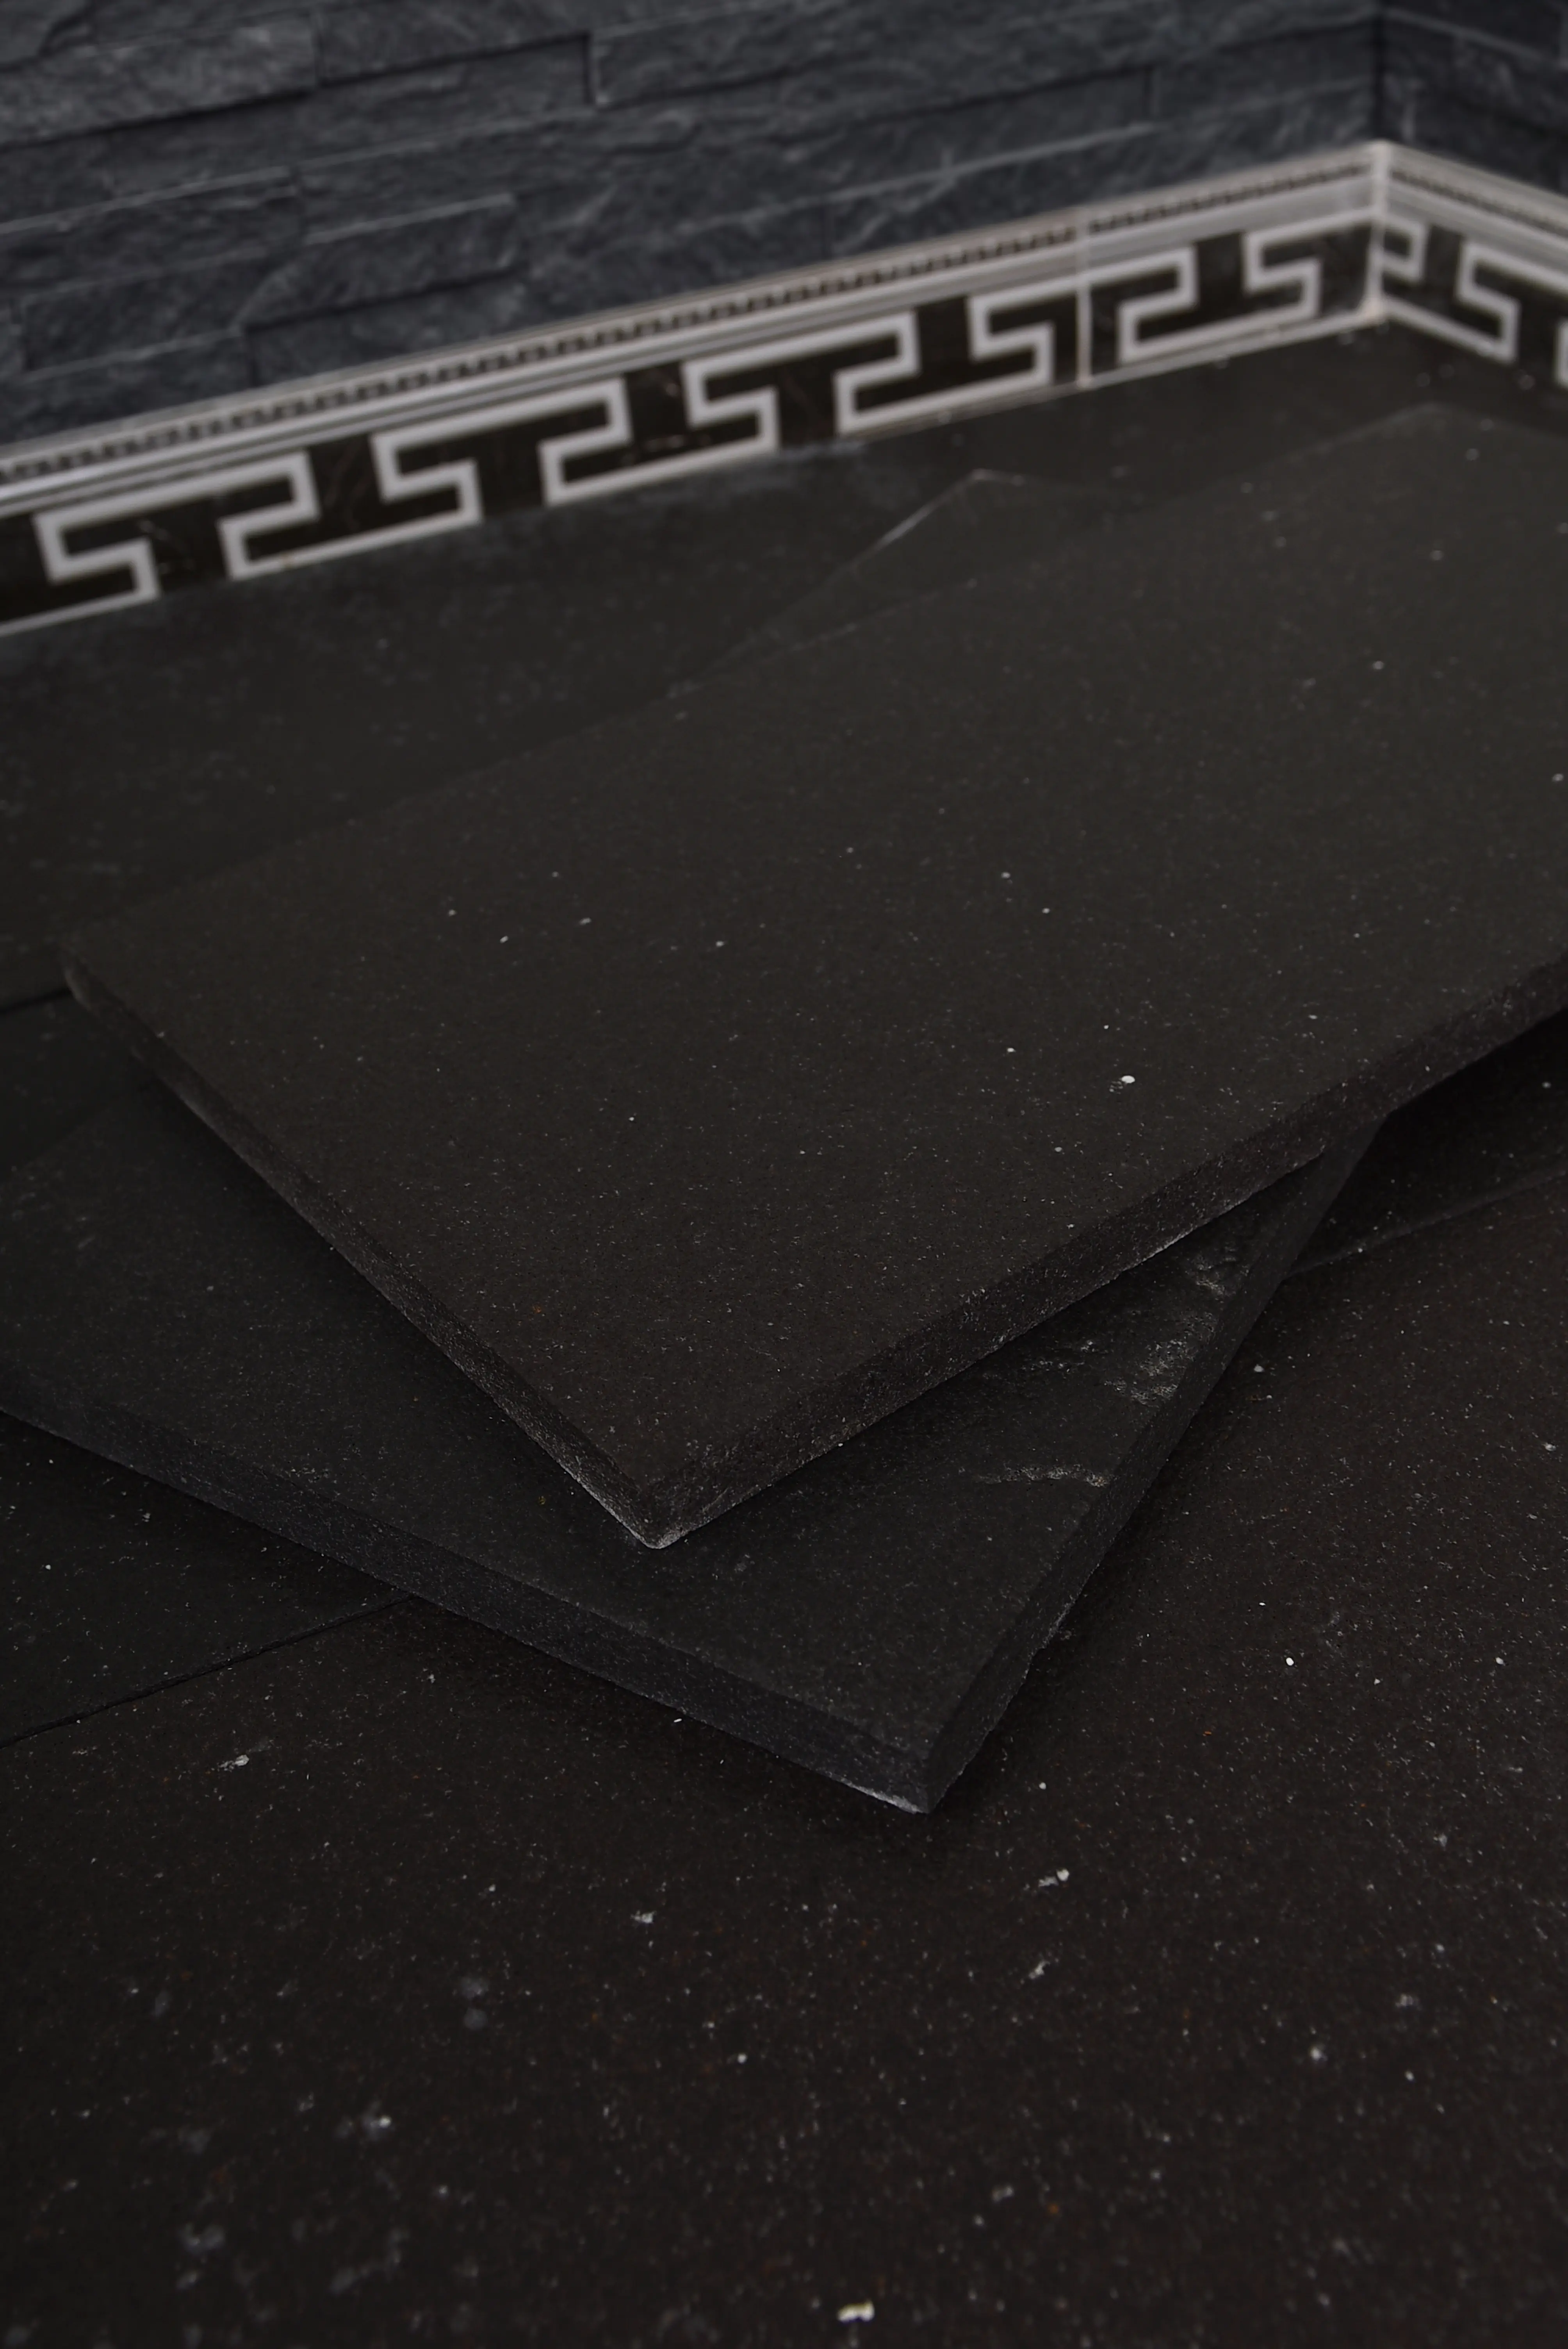
Your finish choice shapes nearly every downstream performance outcome — traction, heat retention, maintenance frequency, and how the stone reads visually from across the garden. Slate stepping stones come in several distinct surface treatments, and each one involves a real trade-off you should understand before committing.
Natural Cleft (Split Face)
Natural cleft is what you get when the stone is split along its natural foliation plane with minimal secondary processing. The resulting surface is irregular in texture but remarkably consistent in friction — the ridges and valleys created by the split naturally channel water away from the contact point your foot makes. This finish performs particularly well in environments with frequent rainfall or morning dew, since standing water finds a path rather than pooling. The trade-off is that natural cleft surfaces have height variation across a single piece — sometimes 3 to 6 millimeters — which affects how level your installation reads.
Honed and Gauged Slate
Honed slate has been mechanically ground to a flat, even surface with a matte finish. The gauging process creates a consistent thickness on the back face, which simplifies setting and mortar bed work significantly. You’ll find that honed pieces seat more predictably in a sand-set installation, but the smoother surface reduces the natural coefficient of friction. In applications where the slate stepping stones see regular foot traffic rather than occasional garden walking, that friction difference matters. The ASTM C629 slate dimension stone specifications address surface characteristics and absorption rates — both of which shift noticeably between cleft and honed finishes.
Brushed and Tumbled Slate
Brushed slate sits between natural cleft and honed in terms of texture — the mechanical wire brushing opens the surface slightly and creates a worn, aged appearance without the full irregularity of a split face. Tumbled slate goes further, rounding the edges and corners through abrasive tumbling to produce a weathered look that suits informal garden paths and cottage-style landscapes. Both finishes are worth considering when your design calls for a softened, organic aesthetic rather than a crisp contemporary edge.
Color Families and How They Perform Outdoors
Slate’s color range runs from near-black and charcoal through green-grey, rust-brown, and multicolor blends that combine purple, teal, and copper tones. The color isn’t just cosmetic — it reflects mineralogical differences that affect outdoor durability in ways that matter.
- Black and dark charcoal slate tends to have a tighter, denser grain structure that resists surface spalling well but absorbs more solar radiation — relevant in hot climates where barefoot contact matters
- Green-grey slate quarried from selected quarries in the Middle East and parts of the UK typically contains higher chlorite content, which contributes to its characteristic sheen and reasonable freeze-thaw stability
- Multicolor slate often originates from quarries where mineral layering produced complex blending — the same layering that gives it visual depth can also mean directional cleavage that requires you to orient pieces consistently during installation
- Rust and copper-toned slate contains iron oxide deposits; in persistently wet conditions, those deposits can leach surface staining onto adjacent concrete or light-colored materials over time
- Lighter grey and silver slate tends to show surface efflorescence more visibly during the first seasonal wet-dry cycle, though this generally resolves without intervention after 12 to 18 months of weathering
Your color selection should account for the visual context — dark slate disappears in shade gardens and reads beautifully against light gravel, while multicolor blends can clash with highly saturated planting schemes if not tested against your palette before ordering.
Thickness and Sizing: What the Numbers Mean for Your Installation
Slate stepping stones are typically available in thickness ranges from ¾ inch to 2 inches nominal, with 1 to 1½ inches being the practical sweet spot for most residential pathway applications. Pieces thinner than ¾ inch introduce real breakage risk during installation — slate’s foliated structure means it handles compressive load well but is vulnerable to flexural stress, and a thin piece bridging an uneven substrate will crack when foot pressure lands off-center.
Format sizing — meaning the face dimensions of each stone — affects both the visual rhythm of your pathway and the practical spacing between stones. A complete slate stepping stones guide must address stride spacing as a critical usability detail: the center-to-center distance between stones should land between 18 and 24 inches for adult walking pace, with the stone face itself typically ranging from 12 × 12 inches to 24 × 24 inches for single-step formats. Larger formats in the 24 × 36 range create a more generous visual pace and work well in formal garden settings where the path is a primary design element rather than a functional connector.
- 12 × 12 inch squares suit narrow side passages and informal winding paths through planted beds
- 18 × 18 inch pieces are the workhorse format — enough coverage to feel secure underfoot, manageable weight for installation
- 24 × 24 inch and larger formats require two-person handling and a well-prepared, compacted base to prevent rocking
- Irregular or random shapes demand more layout time but create a natural aesthetic that suits informal and naturalistic garden designs
- Slate stepping stones in the 2-inch-thick range handle occasional light equipment crossing — a wheelbarrow or garden cart — without risk of surface cracking
At Citadel Stone, we recommend specifying your thickness based on your base type, not just your load expectations. A sand-set installation on compacted aggregate needs more thickness than a mortar-set installation on a prepared concrete substrate, because sand allows minor movement that imposes repeated flexural stress on the stone face.
Base Preparation and Drainage: The Variables That Determine Longevity
Most stepping stone installations treat drainage as an afterthought rather than the primary design constraint. Slate’s absorption rate runs between 0.1% and 0.4% by weight depending on density and finish, which sounds low, but the real water management challenge isn’t what the stone absorbs. It’s what happens beneath it.
Your base preparation needs to address the full water behavior cycle across your climate’s precipitation patterns. In regions with heavy seasonal rainfall — including areas that experience monsoon-intensity events or hurricane-related downpours — the subgrade below your stepping stones can become saturated faster than surface drainage carries water away. A saturated clay subgrade that then dries rapidly creates differential settlement that rocks individual stepping stones and eventually breaks the plane of your pathway. The solution isn’t a thicker stone — it’s a correctly specified drainage layer beneath your compacted aggregate base.
- Minimum 4-inch compacted crushed aggregate base for residential foot-traffic applications, increasing to 6 inches in areas with clay-dominant subsoil
- A 1-inch coarse sand or stone dust setting bed sits above the aggregate and allows fine adjustment during installation
- Cross-slope of 1 to 2 percent across the stepping stone path surface ensures surface water moves laterally rather than pooling at stone edges
- In freeze-thaw climates, extend the aggregate base depth to 8 inches minimum — the extra depth keeps the frost line from reaching the setting bed and causing heave
- Perforated drain tile placed along the path edge and daylighted to a lower point in the landscape adds meaningful protection in areas with drought-flood cycles where subgrade saturation events are unpredictable
The ASLA natural stone walkway and permeable surface design guidance addresses how water management at the landscape design level directly influences paving longevity — the same principles that apply to large paved areas scale down meaningfully to stepping stone paths.
Think through joint behavior as well. Open joints between stepping stones allow surface water to infiltrate directly to the aggregate base, which is beneficial in well-drained soils but can undermine base stability in poorly draining subgrades. Filling joints with decomposed granite or fine gravel slows infiltration rate while maintaining permeability — a useful middle position in climates where occasional intense rainfall exceeds the infiltration capacity of the base.
Traction and Safety: Reading the Real Numbers
Traction on slate stepping stones depends on three interacting factors: the finish type, the degree of algae or biofilm accumulation over time, and the approach angle of foot contact. Natural cleft surfaces typically achieve a coefficient of friction above 0.60 when wet, which meets the threshold most safety guidance considers adequate for outdoor walking surfaces. Honed slate drops to around 0.40 to 0.50 wet, which is workable but worth addressing through finish selection rather than post-installation sealing alone.
Consider how your pathway orientation affects biofilm growth. North-facing or heavily shaded stepping stone paths in humid climates develop algae significantly faster than south-facing or open-sky installations. Algae on slate is a real traction risk — and it’s a maintenance variable that gets underestimated in the specification phase. The CDC slip-and-fall prevention guidance for outdoor walking surfaces makes clear that surface condition maintenance is as important as initial material selection for sustained safety performance.
- Schedule annual inspection of slate stepping stones in shaded installations — early algae intervention with diluted sodium hypochlorite prevents the biofilm layer from bonding deeply to the surface texture
- Avoid pressure washing with high-PSI settings on natural cleft slate — the water pressure can dislodge surface platelets and accelerate surface erosion along the cleavage plane
- Low-profile stepping stones in tight garden plantings tend to collect debris at the edges, which can create a slip zone at the transition from ground cover to stone surface
- ADA-compliant pathway planning requires that stepping stone surfaces meet firmness and stability criteria — review ADA walkway surface requirements if your path connects to any publicly accessible area
Climate Fit: Matching Slate to Your Conditions
Slate’s thermal expansion coefficient sits around 4.5 to 5.0 × 10⁻⁶ per °F — lower than most igneous stones — which contributes to its stability in climates with significant daily or seasonal temperature swing. In freeze-thaw regions, the critical variable isn’t the stone’s expansion so much as whether absorbed moisture freezes within the stone body. Slate’s low absorption rate generally keeps this risk low, but pieces with visible surface delamination or pre-existing foliation cracks should be rejected before installation — moisture that finds those micro-voids will cause surface spalling after the first hard freeze.
In hot, dry climates, slate performs reliably but darker colors will radiate stored heat for hours after sunset. For slate stepping stones in areas where barefoot use is common in the evening — around outdoor living spaces or pool-adjacent paths — lighter grey or silver slate keeps surface temperatures more manageable than black or near-black pieces. Multicolor blends split the difference and are often a practical compromise in those applications. Explore our slate stone pathway collection to see how finish and color options map to different climate conditions and installation contexts.
High-humidity coastal environments introduce another consideration — salt-laden air won’t structurally damage slate the way it affects some calcareous stones, but it can accelerate iron oxide leaching in rust-toned varieties. In those settings, green-grey or charcoal slate from quarries with lower iron content tends to maintain surface appearance over longer periods without staining adjacent materials.
Ordering, Lead Times, and Project Planning
Your project timeline planning needs to account for how slate stepping stones move through the supply chain. Material sourced from Middle East quarries typically involves longer lead times than domestically finished product — plan for 4 to 6 weeks from order confirmation when sourcing premium-grade cleft material in specific color ranges. Citadel Stone maintains warehouse inventory across multiple formats and finish types nationally, which means common formats in natural cleft charcoal and multicolor blends are typically available on 1 to 2 week lead times without waiting for an import cycle.
Quantities for stepping stone projects get underestimated more often than overestimated. Calculate your total lineal path length, determine stone spacing, and then add 10 to 15 percent for cuts, rejections, and breakage during installation. For irregular-format slate, increase that buffer to 15 to 20 percent — irregular pieces have more waste in fitting than square-cut formats. Verify warehouse stock levels for your chosen format and color before committing your project schedule, particularly in peak spring and early summer ordering periods when inventory moves faster.
- Order all material for a single project from the same warehouse lot — color and texture variation between production runs is normal, and mixing lots creates visible inconsistency in finished installations
- Inspect delivered material on-site before installation begins — check for pre-existing delamination, surface cracks along the cleavage plane, and color consistency within the delivered stack
- For truck delivery to residential sites, confirm access constraints in advance — articulated delivery trucks need a minimum turning radius that many private driveways don’t accommodate, which can affect delivery scheduling and potential additional handling costs
- Store delivered slate stepping stones flat, stacked on bearers, and covered if the site is exposed to rain before installation — prolonged ground contact can draw moisture into the stack and create temporary surface staining
Layout Approaches That Actually Work
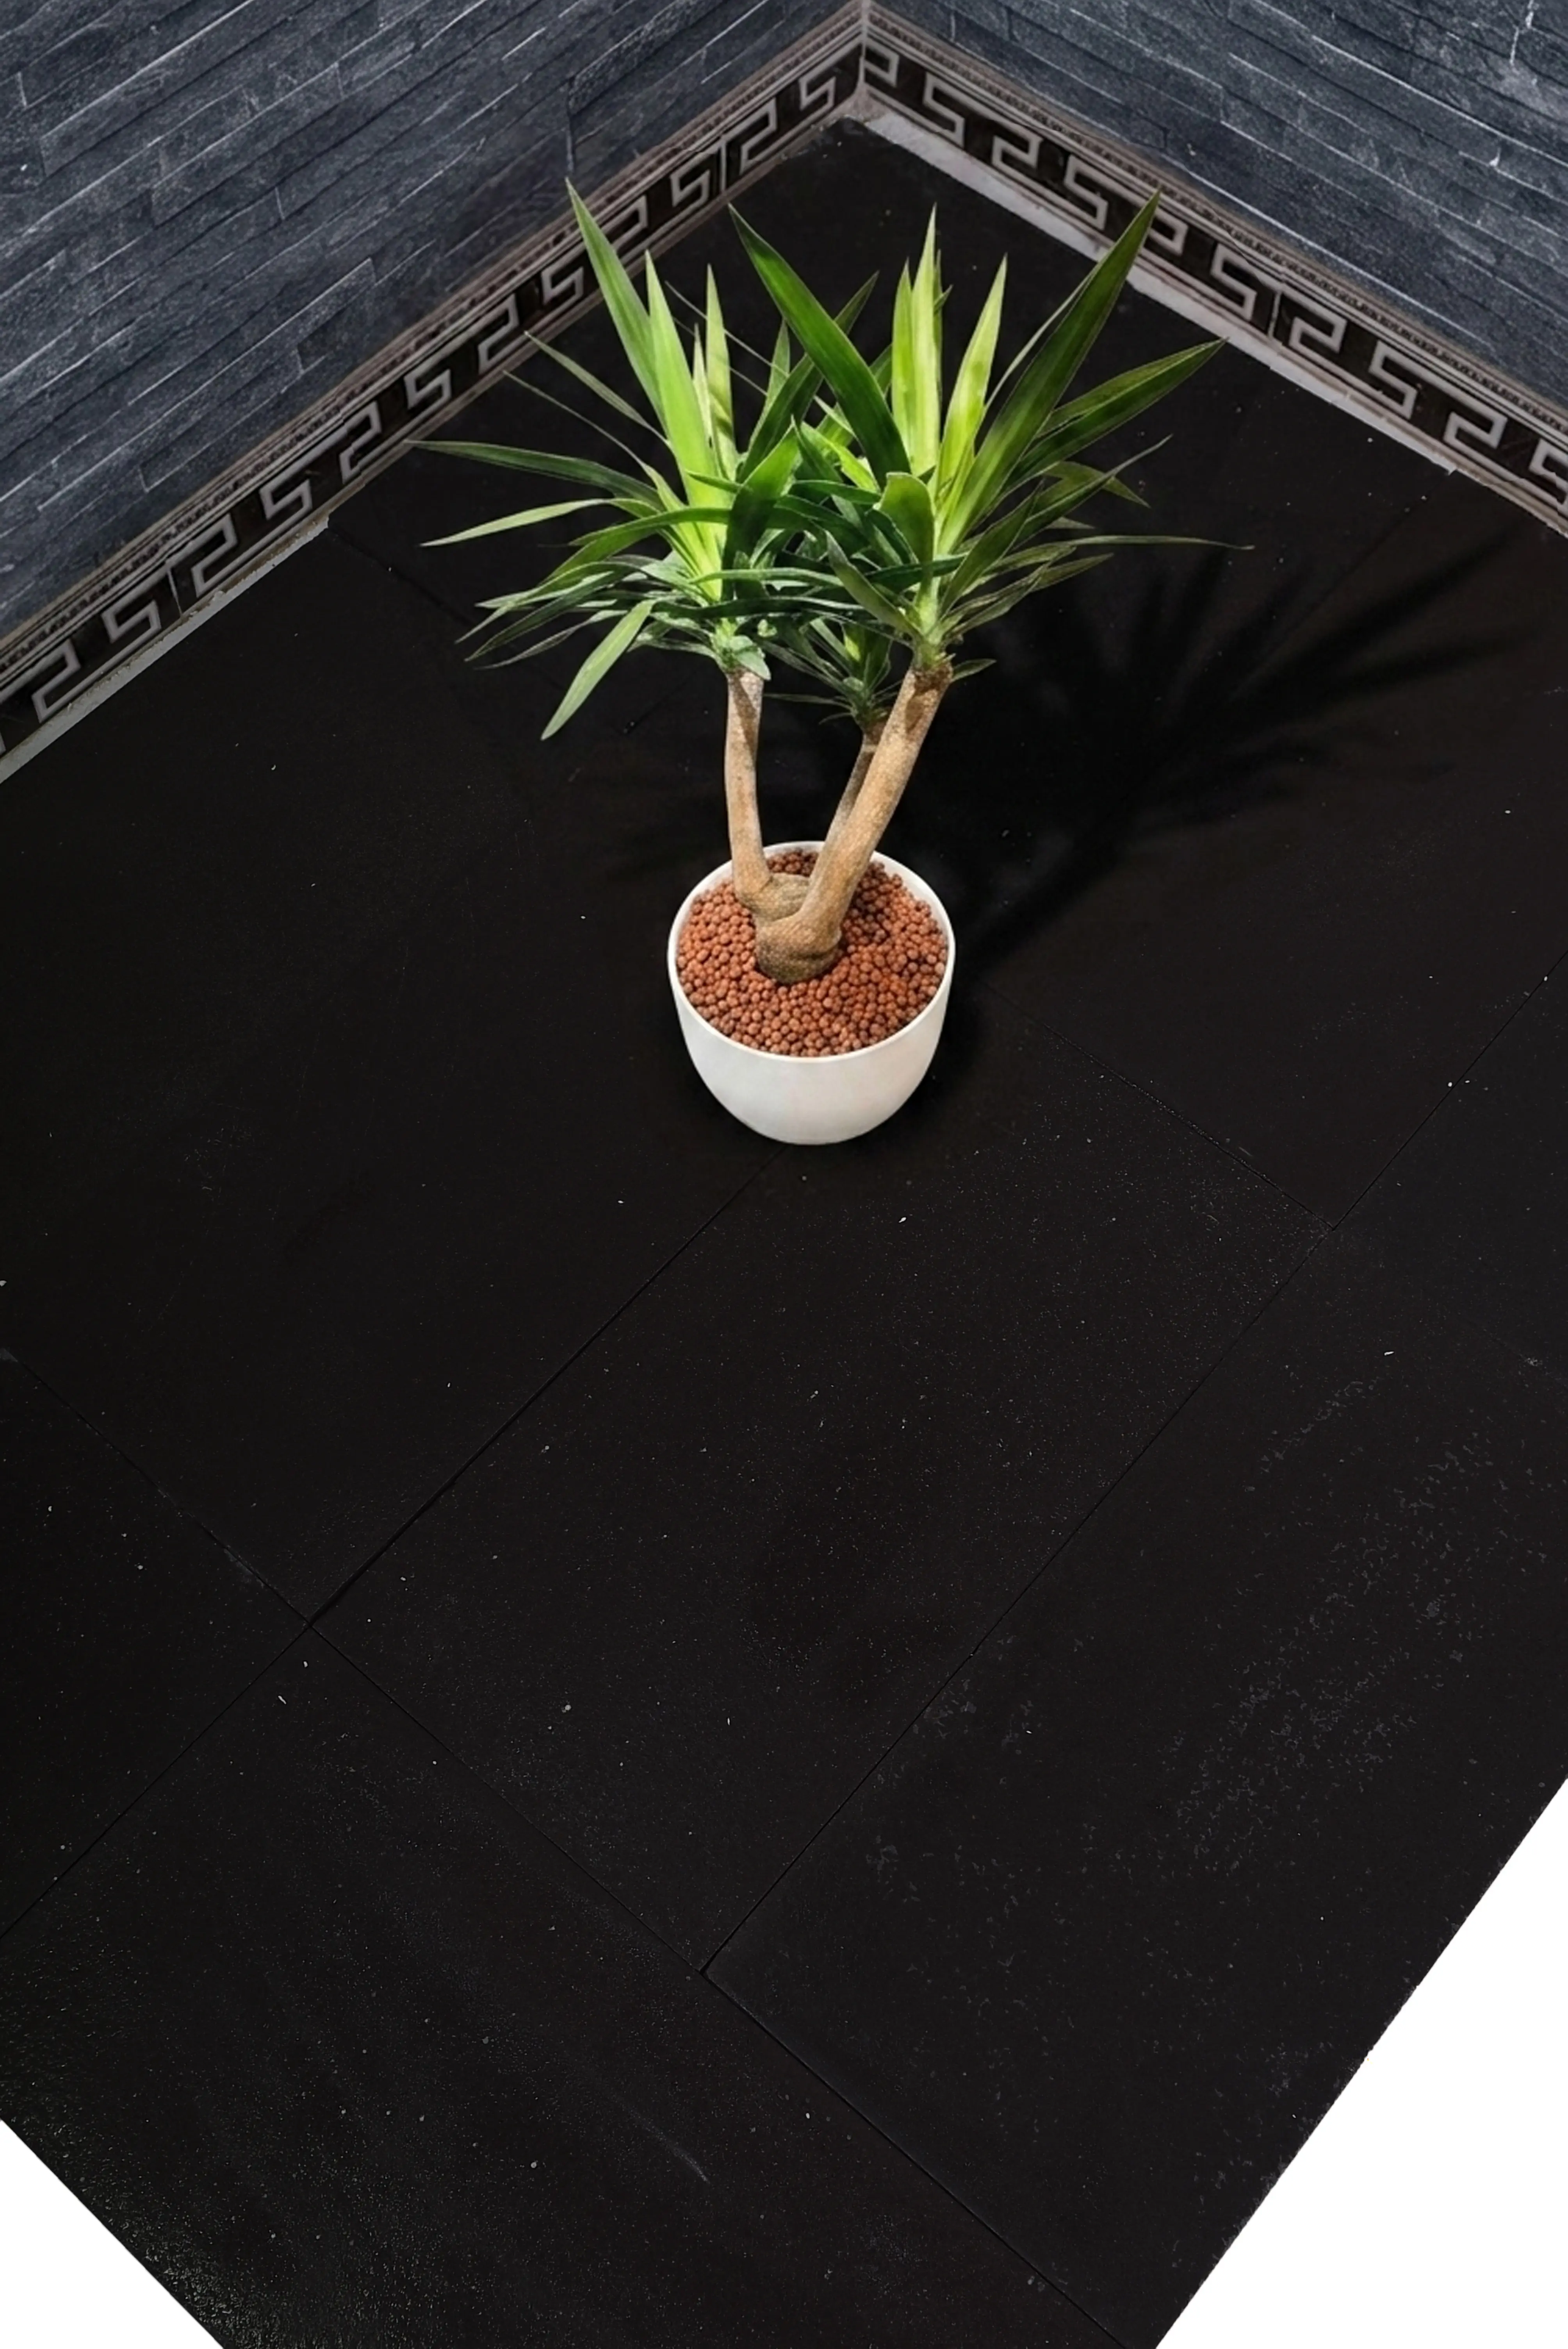
Your layout strategy determines whether the finished path feels intentional or improvised — and with slate stepping stones, the visual outcome is heavily influenced by how you handle joint width, orientation, and edge definition. Square and rectangular formats lend themselves to grid-based or running-bond patterns, both of which read crisply in contemporary landscapes. Irregular formats reward a dry-layout approach where you arrange all the pieces on the ground before committing to any installation, iterating the arrangement until the joints feel balanced and the path has a consistent visual rhythm.
The relationship between stepping stone format and the surrounding planting matters more than most guides acknowledge. A 24 × 24 inch stone set flush with a low ground cover creates a very different visual weight than the same stone set proud by 25 to 30 millimeters above a mulched bed. Proud-set stepping stones are easier to maintain — you can mow or trim right up to the edge — but they create a more pronounced tripping edge if the height differential exceeds 12 millimeters. Flush-set stones in planted beds require more precise grade control during installation to maintain the flush plane as surrounding soil compresses seasonally.
- Use a dry run layout for all irregular and multicolor slate before cutting — fit the pieces together like a puzzle and mark your cut lines with chalk before going to the saw
- Set a consistent reveal line along one edge of the path for the entire run — this single reference line keeps the path reading as coherent even when individual stone shapes vary
- For curved paths, overestimate your stone count by 20 percent when using square-format slate — curved layouts waste more material at the edges than straight runs
- Consistent joint width of 1 to 1.5 inches between pieces reads as intentional; inconsistent joints that vary between 0.5 and 3 inches look unplanned even in otherwise well-executed installations
Getting Your Slate Stepping Stone Specification Right
The decisions that separate a long-performing slate stepping stone installation from one that needs attention within five years come down to three things: finish selection matched to your actual use conditions, base preparation engineered around your site’s water behavior, and consistent material quality from a single production lot. Traction, climate fit, and format selection are genuinely important — but they’re secondary to getting those foundational three right. As you finalize your specification, reviewing how different stone shapes affect pathway layout can refine your material quantities and spacing decisions — round versus irregular stepping stone layouts covers the practical differences in a way that directly informs your ordering decisions. Across climates ranging from freeze-thaw regions to hot, dry areas, Citadel Stone slate stepping stones are generally chosen for their layered structure and dimensional stability.
Related reading: garden with stepping stones · how to lay stepping stone walkway · stepping stones sinking fix.