Base preparation is the variable that separates a stepping stone walkway that stays locked in place for two decades from one that starts rocking and sinking within three seasons. Laying a stepping stone walkway looks deceptively simple from the outside — stones on ground, done — but the bedding layer, compaction depth, and stone thickness decisions you make before the first slab goes down determine virtually everything about long-term performance. This walkthrough covers the real installation sequence, including the structural and code considerations that most DIY guides skip entirely.
Planning Your Walkway Layout and Stone Spacing
Your layout decisions affect both comfort and stability, so get them locked in before you break ground. The standard stride for a walkway is 18 to 24 inches measured from the center of one stone to the center of the next — but that’s a starting range, not a fixed rule. Walk the path naturally and mark your footfall points with spray paint or stakes. The actual distance between your marks is your stepping interval, and it varies depending on who uses the path and how steep the grade is.
Stone size matters here too. For a pathway with stepping stones that feels proportional and provides adequate footing, individual slabs should be no smaller than 18 × 18 inches for a single-file path or 24 × 24 inches where two people might pass side by side. Natural stone walkway slabs in irregular shapes can work beautifully, but you’ll want each piece to offer at least 1.5 square feet of landing surface to prevent the instability that comes from a too-small footpad.
- Mark centerline with string line before placing any stones — this keeps your path visually straight even when using irregular shapes
- Account for turf or groundcover growth: your finished stone surface should sit 1 to 1.5 inches above the surrounding grade to prevent edge undercutting
- Dry-lay every stone before committing to excavation — it lets you identify spacing problems and awkward shapes early
- Curved paths require smaller stones or more rotation between slabs to maintain visual flow without gaps that become trip hazards
Material Selection for Stepping Stone Walkways
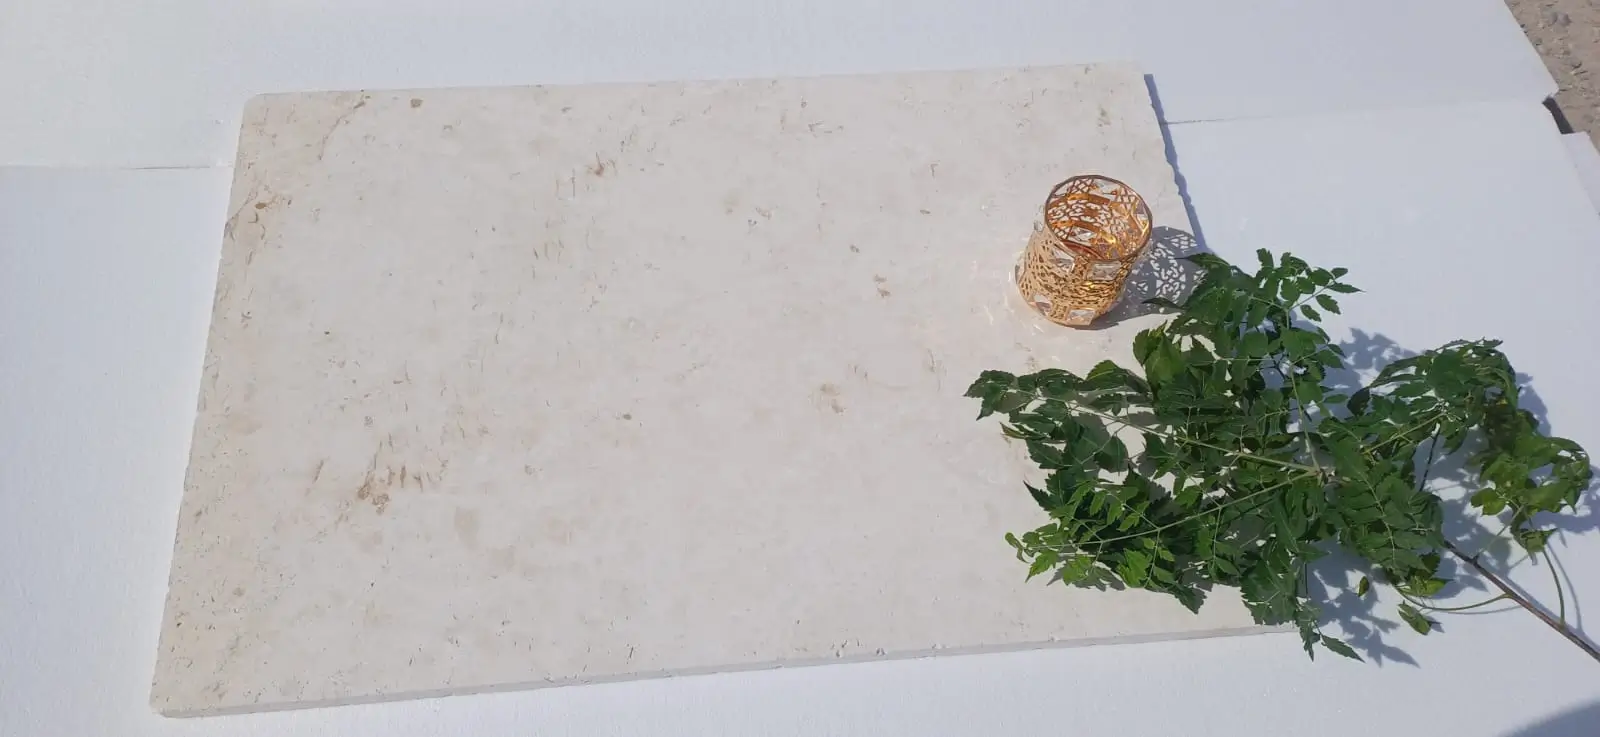
Natural stone stepping stones for a walkway need to meet a few non-negotiable performance criteria: adequate thickness for structural integrity, a surface finish that provides traction when wet, and density appropriate for the load it will see. For residential foot traffic, a minimum 1.5-inch thickness is standard, but 2-inch slabs are a significantly better specification when you’re using larger format stones (anything over 24 inches in any dimension) because the span-to-thickness ratio starts working against you at that size.
Limestone, bluestone, and flagstone are the most common natural stone choices for stepping stone walkways, and each performs differently depending on finish. Honed or thermal-finished surfaces outperform polished finishes in wet conditions — a point reinforced by ADA walkway surface accessibility and firmness standards, which specify minimum slip resistance requirements for public and commercial paths. For residential applications those standards aren’t legally binding, but they’re a useful benchmark for specifying safe surfaces regardless of setting.
What often gets overlooked is absorption rate. High-absorption stones in freeze-thaw regions will absorb moisture, and that water expands during freezing cycles, causing surface spalling and edge fracturing over time. Dense limestones with absorption rates below 3% and bluestone varieties with near-zero absorption handle these conditions reliably. At Citadel Stone, we evaluate absorption data on every stone variety we stock — it’s one of the first things our technical team checks when a customer is specifying for a climate with hard winters.
- Minimum 1.5-inch thickness for stones up to 24 inches in span; 2 inches for larger formats
- Thermal or sandblasted finishes provide consistent traction across wet and dry conditions
- Dense stone varieties with absorption below 3% perform significantly better in freeze-thaw cycling
- Irregular flagstone shapes require closer attention to thickness consistency — avoid pieces thinner than 1 inch at any edge
Excavation and Base Preparation
The excavation depth for laying a stepping stone walkway depends on your soil type, the weight of the stone, and — critically — the frost line depth applicable to your region. For most temperate zones, a 4 to 6-inch compacted aggregate base beneath a 2-inch sand bedding layer is the standard residential specification. In regions where the frost line runs deeper than 12 inches, extending your granular base to 8 inches minimum prevents frost heave from lifting individual stones and breaking the visual line of the path.
Excavate to a depth equal to your base depth plus your stone thickness plus 1 inch of bedding sand — and then add 1.5 inches on top of that if you want the finished surface to sit proud of the surrounding turf. For a 2-inch stone with a 6-inch base, that means excavating roughly 9 to 10 inches below your current grade at each stone location. This isn’t a trench — you’re excavating individual pockets for each stone, which is more efficient and reduces the amount of aggregate you need.
Compact the subgrade before adding aggregate. A hand tamper works for small projects, but a plate compactor is the right tool for anything over 6 or 8 stones — it delivers consistent compaction energy that a hand tamper can’t match. Add your granular base in two lifts if you’re going beyond 4 inches, compacting each layer before adding the next. Skipping this step is the number-one reason stepping stones sink unevenly within the first two winters.
- Minimum base depth: 4 inches in temperate zones; 8 inches in deep freeze-thaw regions
- Use angular crushed aggregate (3/4-inch minus with fines), not rounded river gravel — angular material locks under compaction
- Compact subgrade before any aggregate is placed, especially in clay-heavy soils that can compress under stone weight
- Two-lift compaction for bases over 4 inches deep — compact each lift separately
- Add a 2-inch layer of coarse bedding sand on top of the compacted aggregate as your final leveling medium
Bedding Sand, Setting Technique, and Initial Leveling
Your bedding sand layer is where precision leveling happens — and it’s more nuanced than simply screeding a flat surface. Coarse washed concrete sand (ASTM C33 specification) is the correct bedding material for natural stone stepping stones. Avoid play sand or fine masonry sand, which compact too densely under the stone and restrict the small adjustments you need to make during setting. Coarse sand gives you just enough malleability to press and rock a stone into final position without disturbing the aggregate base below.
Screed your sand layer to a consistent depth of 1 to 1.5 inches using a straight board and screed guides. Then, when you set each stone, press it firmly and check it with a level in two directions. Any high or low spot gets corrected by pulling the stone, adding or removing sand, and resetting. Don’t try to force a stone level by stomping on an edge — this creates a low point on one side and a void on the other, which is exactly the condition that leads to rocking.
For a pathway with stepping stones laid in irregular shapes, matching the top surface plane across adjacent stones matters more than getting each individual stone perfectly level. A slight variation in individual stone tilt is far less hazardous than a sudden height differential between two adjacent pieces. Aim for no more than a 3/8-inch height difference between adjacent stones at the joint — that’s the threshold at which most people begin to notice and trip on the transition.
Code Requirements and Structural Standards for Stone Walkways
Most residential stepping stone walkways don’t require a building permit, but that doesn’t mean local building codes are irrelevant to your specification. Many jurisdictions have adopted standards under the International Residential Code (IRC) or local amendments that govern surface firmness, drainage slope, and step height differentials for any path that provides primary access to a structure. Verify the requirements in your jurisdiction before finalizing base depth and stone placement — particularly for any path adjacent to a structure, above a utility easement, or within a setback zone.
The ASLA natural stone walkway and stepping stone design guidance provides practical standards around permeability and drainage that many jurisdictions have incorporated into stormwater management codes. Spaced stepping stones with open joints actually perform well under these guidelines because the gaps between stones allow stormwater infiltration rather than directing runoff. This is worth noting if your walkway crosses a drainage swale or runs adjacent to a property line where sheet drainage is regulated.
Load-bearing capacity is another structural variable that matters beyond simple foot traffic. If your walkway route passes over a shallow utility trench, a septic field, or a previously excavated and backfilled area, the bearing capacity of the subgrade may be compromised. In these situations, extending your aggregate base depth by 2 to 4 inches and using a geotextile fabric between the subgrade and aggregate layer provides measurable additional structural stability without requiring full concrete construction.
- Check local IRC amendments for any path providing primary entry access — permit requirements vary by jurisdiction
- Maintain a minimum 2% cross-slope (1/4 inch per foot) on each stone for positive drainage away from structures
- Maximum adjacent stone height differential: 3/8 inch at any joint for safe footing
- Geotextile separation fabric is recommended over any previously disturbed or low-bearing subgrade
- Frost line depth data for your region is available through your local building department and directly affects minimum base specification
Gaps, Joints, and Infill Options
The space between stepping stones is a design decision that also carries practical consequences. Open joints filled with decomposed granite, pea gravel, or groundcover plants like creeping thyme create a naturalistic look and allow drainage — but they require periodic maintenance to prevent weed establishment and to top up material that migrates out over time. Polymeric sand jointing is an alternative for more formal stepping stone layouts where the stones are set close together; it locks under moisture activation and resists weed germination better than loose infill.
For stepping stones walkways where the stones are spaced 4 to 6 inches apart, turf grass is a low-maintenance infill that works well — provided adequate sunlight supports healthy grass growth between the stones. Avoid turf infill in shaded areas where moss will establish instead; moss becomes dangerously slippery when wet, particularly on smooth-finished stones. In shadier settings, decomposed granite or fine gravel is a much safer alternative.
The right infill also protects the stone edges. Bare soil directly against the stone perimeter allows water to channel along the edge and undermine the bedding sand, which is a slow but consistent cause of settlement. Any infill material that creates a stable transition zone — even just 2 to 3 inches of compacted decomposed granite around each stone — meaningfully extends the period before re-leveling is needed.
Slip Resistance and Surface Safety
Natural stone stepping stones carry inherent slip resistance variation depending on finish type and stone density. According to CDC slip-and-fall prevention guidelines for outdoor walking surfaces, surface texture and drainage are the two most controllable variables in outdoor slip risk — and both are directly affected by your material and finish selection. For a stepping stone walkway that sees regular use in wet conditions, specify a surface that meets the 0.42 minimum wet DCOF set by ANSI A326.3, and request the test report for the finish you choose. Sandblasted and flamed finishes leave far more surface texture underfoot than a polished face.
Stepping stones for a walkway also need to remain stable underfoot — meaning no rocking or shifting when weight is applied. A properly bedded stone with full contact across its base won’t rock; a stone with a void beneath it will. After initial installation, walk every stone deliberately and listen for movement. Any stone that shifts gets pulled, the bedding corrected, and the stone reset. This quality check takes 20 minutes and prevents the progressive settlement that turns minor rocking into a full re-leveling project.
- Target COF of 0.6 or above (wet) for outdoor stepping stone surfaces — honed and thermal finishes reliably meet this threshold
- Test every stone post-installation by applying weight deliberately at the four corners — any rocking indicates a bedding void
- Maintain stone surfaces free of algae, moss, and organic debris — these biological films reduce COF by 40 to 60% on some stone types
- Periodic sealing with a penetrating impregnating sealer helps resist biological colonization on porous stone varieties
Ordering, Quantities, and Project Logistics
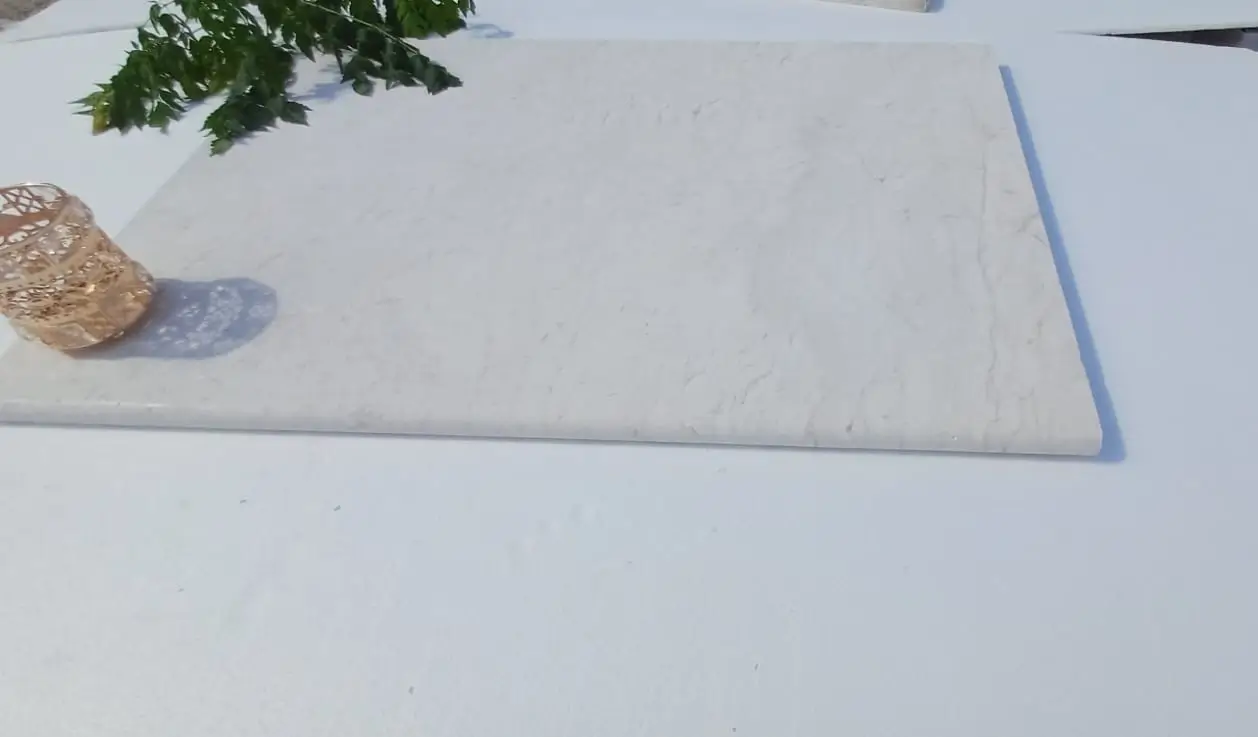
Calculating stone quantities for a stepping stone walkway is more straightforward than for continuous paving, but there are a few details worth getting right before you place your order. Count your stone positions from the layout you’ve already dry-run on the ground, then add 10 to 15% overage for breakage, cuts at path edges, and the inevitable pieces that don’t fit as planned when you get into actual installation. Natural stone doesn’t have a standard sizing tolerance — slabs from the same batch can vary by 1/4 to 1/2 inch in all dimensions, so measure each piece individually during layout.
Explore our natural stone walkway slabs to review thickness options, surface finishes, and material types before committing to a specification — getting the thickness and finish selected before ordering prevents the common mistake of receiving material that technically fits the aesthetic but underperforms in the field. Citadel Stone maintains warehouse stock of high-demand slab formats, which typically allows for 1 to 2 week lead times rather than the 6 to 8 week import cycles common with special-order stone.
Stone weight also affects your delivery logistics. A 24 × 24 × 2-inch natural stone slab typically weighs 80 to 100 pounds depending on density — and truck delivery to your site needs to account for access and offloading. Most truck deliveries of natural stone pallets require a forklift or pallet jack at the drop point; confirm your site access before scheduling delivery to avoid re-routing fees and delays that push your project timeline.
Final Recommendations for Laying a Stepping Stone Walkway
Laying a stepping stone walkway that holds its level over years of use comes down to four decisions made before the first stone is set: base depth matched to your soil and frost conditions, bedding sand specified correctly (coarse, not fine), stone thickness appropriate for slab size, and surface finish chosen for wet-weather traction rather than aesthetics alone. The installation sequence itself is straightforward once those four variables are resolved — the work goes quickly and the results are proportionally better.
The Natural Stone Institute’s stone variety specifications provide useful baseline data on absorption rates, density, and finish performance across common natural stone types — worth reviewing as a technical reference when narrowing material selection. For complementary guidance on how stone shape and size interact with pathway design, our related resource on garden stepping stone sizing and material choices covers the selection framework in detail. When base depth and bedding material match the stone weight, Citadel Stone walkway stepping stones remain stable through seasonal ground movement.