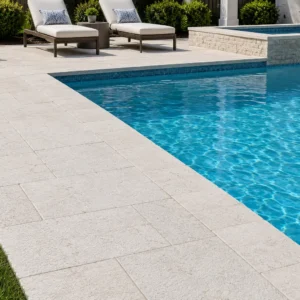
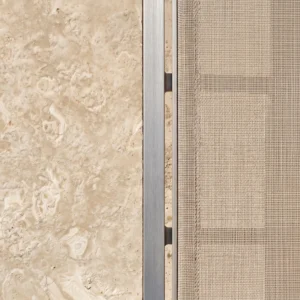
Why Base Preparation Determines Everything
The most common natural stone installation mistakes don’t happen at the surface — they happen six inches below it. A poorly prepared sub-base creates differential settlement, and no amount of premium stone or skilled setting work will compensate for a base that shifts, compresses unevenly, or fails to drain. You’ll see the result within two to three winters: cracked joints, rocking slabs, and pooled water that accelerates freeze-thaw degradation.
Your aggregate base depth isn’t arbitrary. For pedestrian applications, a compacted crushed-stone base of 4 to 6 inches is the minimum — but vehicular or heavy-use surfaces demand 8 to 12 inches, with a well-graded sub-base below that. Skipping the geotextile fabric layer between native soil and aggregate is one of the most persistent field errors. That fabric prevents fines migration, which is the mechanism that causes base loss over time even when the surface looks intact.
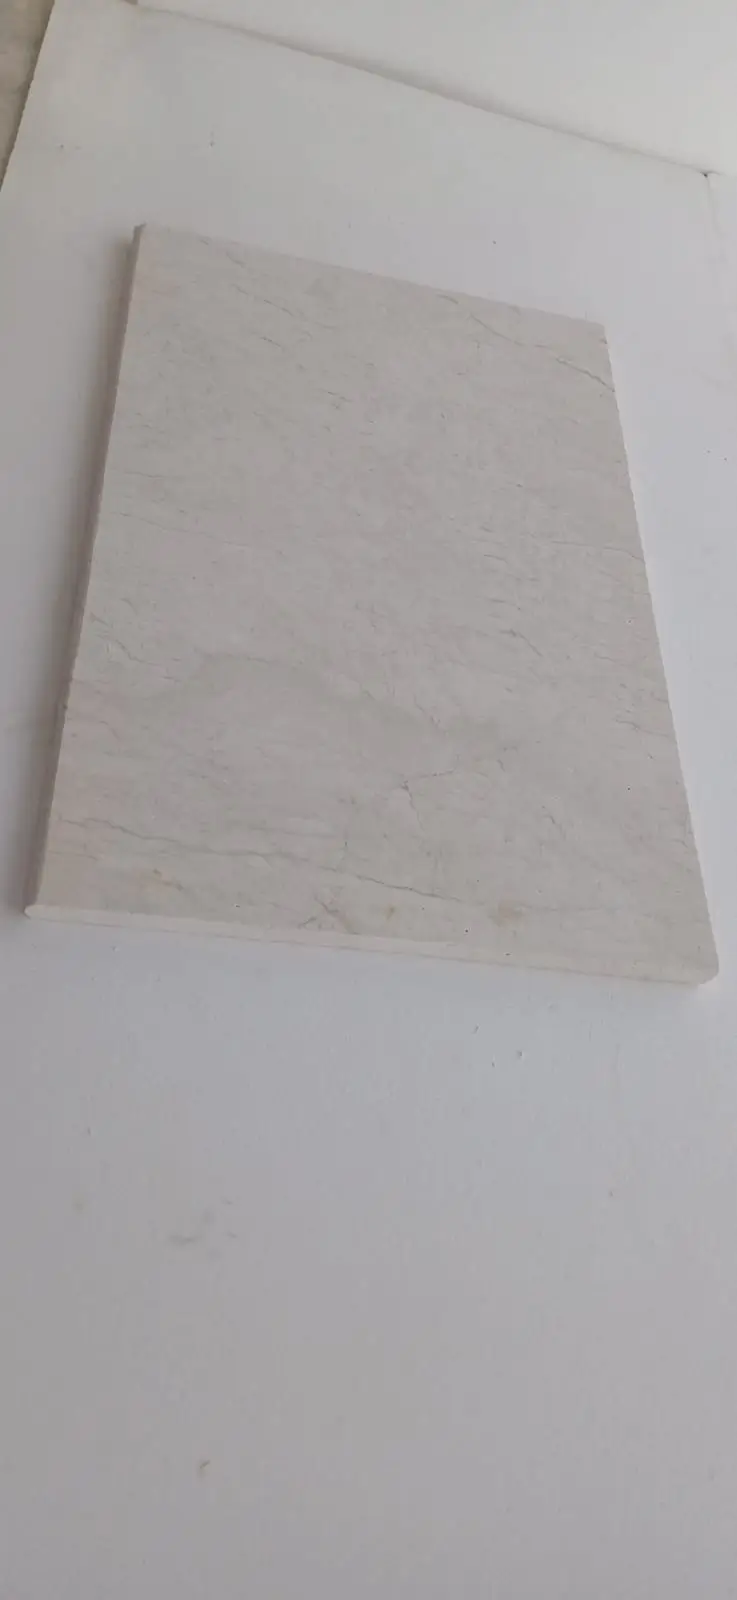
Mortar and Adhesive Selection Errors
Selecting the wrong setting material is one of the most expensive natural stone installation mistakes you can make — and it rarely shows up immediately. Portland cement-based mortars with high water-to-cement ratios shrink significantly as they cure, creating a gap at the bond line that admits moisture. For dense stones like basalt or polished granite, that moisture has nowhere to go and creates subsurface pressure that delaminates the slab from below.
Your mortar selection needs to account for the stone’s absorption rate, not just its weight. High-absorption stones like tumbled limestone or certain sandstones require a polymer-modified mortar that maintains flexibility through thermal cycling. Low-absorption stones — honed basalt, polished marble — need an epoxy-modified adhesive with higher open time, giving you the working window to achieve full back-buttering coverage before the material skins over.
- Never use Type S mortar as a direct setting bed for natural stone thinner than 1.25 inches — the stiffness differential will crack the slab
- Back-butter every stone piece individually, not just the substrate — dual-sided adhesion is the baseline for any professional installation
- Check mortar coverage after pulling a test piece at 20 minutes — you need 95% coverage for interior, 100% for wet areas
- Adjust open time expectations for ambient temperature: above 85°F, your working window may drop by 30-40%
Joint Spacing and Expansion Failures in House Stone Work
Expansion joint placement is where house stone work most frequently fails at scale. The thermal movement coefficient for natural stone varies significantly by material type — granite expands at roughly 4.5 × 10⁻⁶ per °F, while limestone runs closer to 5.0–5.5 × 10⁻⁶ per °F. Over a 30-foot run with a 100°F seasonal temperature swing, that’s nearly 3/16 of an inch of movement. Install that run with rigid grout and no expansion break, and you’re applying approximately 450 psi of compressive stress to the joint — enough to spall edges and lift slabs.
Industry guidance from the Natural Stone Institute stone variety specifications consistently emphasizes movement joint placement as a primary failure-prevention measure. The rule of thumb you’ll see in well-executed specs is expansion joints every 15 linear feet for exterior applications, stepped down to 12 feet in areas with direct afternoon sun exposure. Sealant selection matters just as much as placement — use a low-modulus silicone with a Shore A hardness below 25. Anything stiffer won’t accommodate the movement range without cohesive failure. House stone work that omits properly engineered expansion joints is the single most preventable source of structural callbacks on exterior natural stone projects.
Code Compliance and Structural Specification
Building codes create non-negotiable constraints on natural stone installation that many residential contractors treat as optional. They aren’t. The International Building Code Chapter 5 sets minimum dead and live load capacities for exterior hardscape, and your stone selection has to meet those load requirements — not just look appropriate for the application. For cut stone suppliers sourcing material for structural applications, ASTM C615 (granite) and ASTM C568 (limestone) define the compressive strength and flexural strength thresholds that make a stone specification code-defensible.
Frost line depth is another code-driven variable that directly affects your base design. In freeze-thaw regions, your base must extend below the frost line to prevent heave — in northern climates, that can mean footings at 42 to 48 inches for structural stone elements like steps or coping. Even non-structural paving benefits from a base depth that starts below seasonal frost penetration. The ASTM stone testing and quality standards provide the testing methods that verify whether a specific stone lot meets the structural performance thresholds your jurisdiction requires.
- Request material test reports for compressive strength and water absorption before specifying stone for structural applications
- Verify that your edge restraint system meets local code — plastic snap-together edging is not approved for most commercial applications
- Seismic zones add lateral load requirements that affect how stone veneer and wall stone are anchored — mechanical fasteners may be mandatory
- Local AHJ review is the only way to confirm that your base depth, material thickness, and joint design meet the applicable jurisdiction’s requirements
For projects where the specification crosses into structural territory, connecting early with our stone installation support resources gives you access to the technical data you need to write a defensible specification before the permit application.
Drainage, Slope, and Water Management Mistakes
Surface drainage is not a finishing detail — it’s a primary structural decision that has to be made before the first piece of stone is set. The standard minimum slope for exterior stone paving is 1/8 inch per foot away from structures, but in practice you should target 1/4 inch per foot for any surface that receives direct rainfall. Flat stone installations that drain across the surface rather than through it are particularly prone to efflorescence, as dissolved mineral salts wick upward with the water movement.
Drainage failures accelerate every other natural stone installation mistake. Moisture infiltration at joints degrades the mortar bond, cycles of wetting and drying expand and contract the stone’s pore structure, and standing water in freeze-thaw regions creates ice lens formation that can generate uplift forces exceeding 150 psi. You’ll also encounter specific drainage challenges with dense, low-absorption stones — building stone suppliers commonly stock materials like honed basalt or polished granite that shed water entirely, which means all drainage is surface drainage, and any low spot becomes a chronic problem.
- Install a perimeter drainage channel or French drain where stone abuts a structure — never rely on slope alone at a building junction
- Permeable jointing compound only works if the sub-base is designed for infiltration — a clay sub-base will simply pond at the base of the gravel
- Slope changes at transitions — from stone to concrete, stone to decking — need a designed drainage break, not just a grout joint
Sealing and Surface Protection Errors
One of the most persistent natural stone installation mistakes is applying sealer to stone that hasn’t fully cured and dried after installation. Setting mortars release significant moisture as they cure — typically 28 days to full strength — and sealing over a slab that still contains mortar moisture traps that moisture below the sealer film. The result is a milky haze, bond failure at the sealer-stone interface, or in severe cases, subsurface spalling as trapped vapor pressure builds.
Sealer selection needs to match the stone’s porosity and the application environment. Penetrating impregnators are the correct specification for most exterior natural stone — they don’t form a surface film, so there’s no peeling or flaking, and they don’t alter the stone’s slip resistance coefficient. Surface-coating sealers can be appropriate for certain interior polished stones, but exterior use creates a maintenance burden and a slip hazard. The USGS dimension stone production and use data provides useful context on how different stone types perform across their service life — absorption data in particular helps you calibrate sealer selection and reapplication intervals.
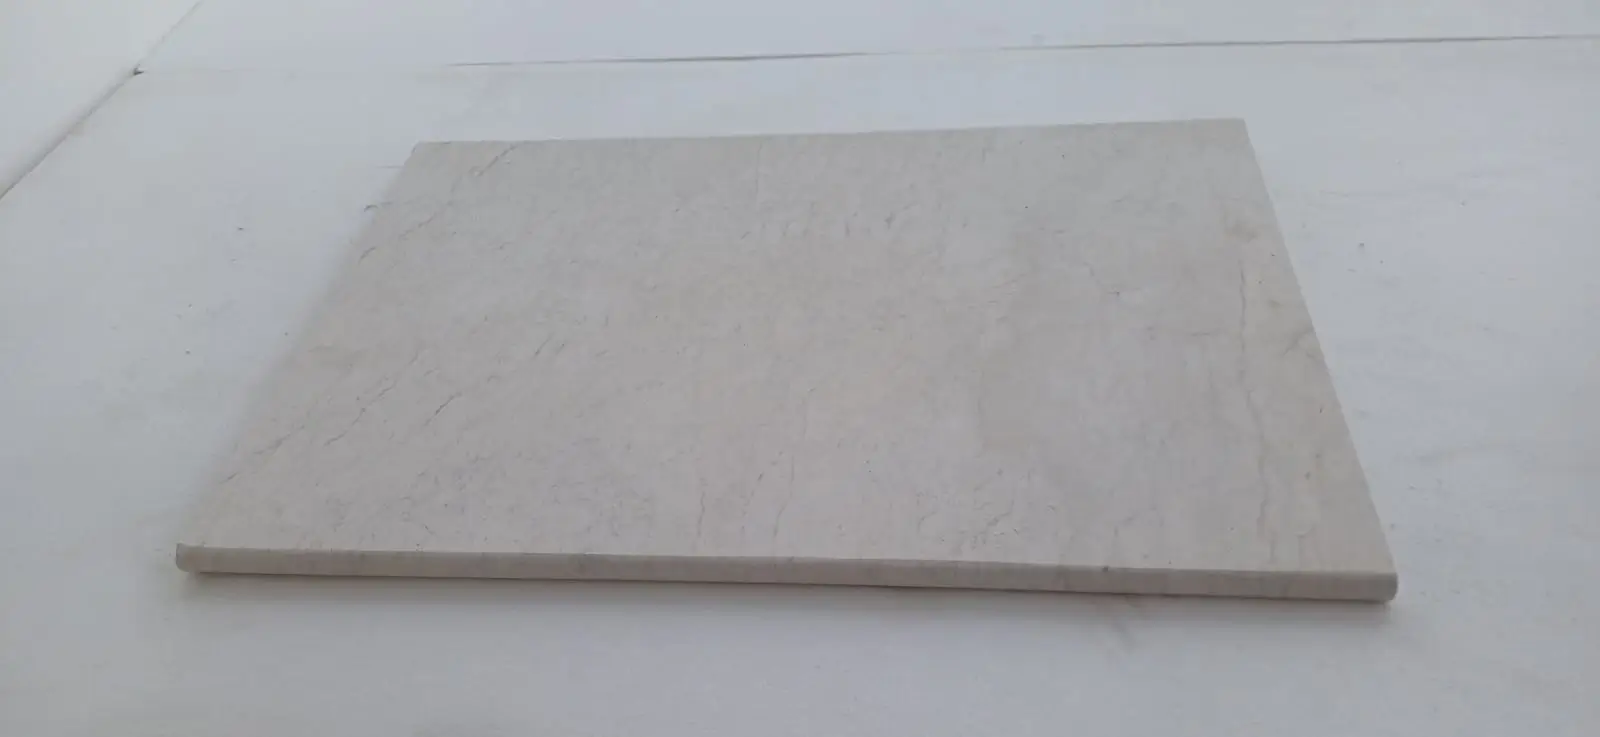
Cut Stone Supplier Thickness and Material Specification Mistakes
Specifying natural stone that’s too thin for the application is a field problem that shows up consistently in value-engineered projects. A 3/4-inch nominal limestone tile may be appropriate for an interior floor on a fully supported concrete slab, but the same piece will crack under point load on a granular base — pedestrian foot traffic creates localized stress concentrations that 3/4-inch stone simply can’t distribute without deflecting. Exterior paving on a granular base requires a minimum nominal thickness of 1.25 inches for pedestrian stone, and 2 inches or more for any vehicular application.
The thickness tolerance in natural stone also varies by material type and quarry, which creates a specification trap. A 1.5-inch nominal stone may arrive with a tolerance range of ±1/8 inch — meaning the thinnest pieces in a lot could be 1-3/8 inches. For a granular base installation, that variance is manageable with setting bed adjustment. For a thin-set mortar application on a concrete slab, that variance creates a lippage problem that grinding can’t fix without affecting the finish. Always request calibrated stone for thin-set applications, and verify calibration tolerance in the material datasheet before committing to a specification. Cut stone suppliers who provide certified calibration data with each shipment significantly reduce this risk for the installing contractor.
- Natural stone pavers for vehicular applications should carry a minimum compressive strength of 8,000 psi — verify this with the supplier’s test report
- Nominal thickness labeling doesn’t guarantee uniform thickness across a full pallet — natural variation is characteristic of quarried material
- For large-format slabs over 24 inches in any dimension, mesh-backing adds flexural strength and significantly reduces breakage risk during transit and installation
Grouting and Joint Filling Problems
Grouting is where many otherwise well-executed installations develop problems. Applying grout before the setting mortar has achieved sufficient strength — typically 24 hours minimum, 48 hours in cool conditions — allows foot traffic and grouting pressure to disturb the bond between stone and substrate. You’ll see this failure mode as lippage that wasn’t there immediately after setting: the stone rocks slightly because the mortar bond was disrupted before it developed adequate shear strength.
Color consistency in grout is another underappreciated variable. Grout shade is affected by water content during mixing, ambient temperature, and the absorption rate of the stone at the joint edge. A stone with high edge absorption will pull water from fresh grout and produce a lighter final color than the same grout installed against a denser stone. Test grout color against your specific stone before committing to a large pour. Mixing grout in consistent batch sizes and water ratios — and protecting fresh grout from direct sun for the first 24 hours — reduces color variation significantly across a large installation.
Final Perspective
Natural stone installation mistakes share a common origin: decisions made too quickly, at the wrong project phase, without adequate technical data. The base preparation decision happens before the first stone arrives on site — and it determines whether everything above it performs for 10 years or 30. Mortar selection, expansion joint placement, drainage geometry, material thickness, and sealer timing all follow the same pattern: they’re specification decisions, not installation decisions, and they need to be made deliberately before the truck arrives with the first pallet. At Citadel Stone, we work through these specification questions with project teams before material is ordered, which consistently reduces field problems and change order costs. Your project benefits most from that conversation early — not after the stone is already set. As you refine your broader material strategy, what defines a reliable stone supply partner is worth considering alongside your installation specification. Citadel Stone provides material datasheets covering expansion joint spacing and surface preparation steps, reducing the risk of cracking in large natural stone installations.
Related reading: types of stone for building · finding natural stone suppliers · types of stone for building houses.