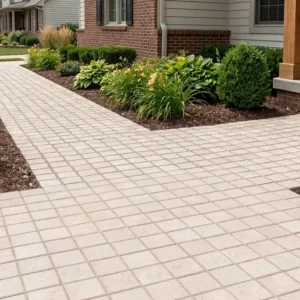
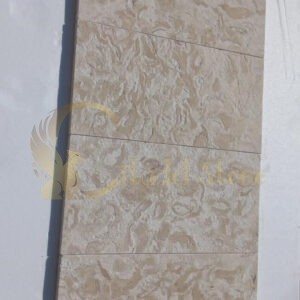
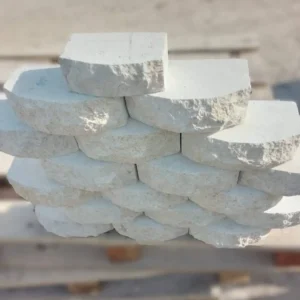
Most natural limestone landscape ideas fail at the layout stage rather than the material stage — the stone gets chosen before anyone maps grade breaks, sight lines, and where water actually wants to go. Treat each idea below as a geometry problem first and a finish problem second, and your results improve immediately. Field experience across residential work shows the same seven moves resolve the majority of yard layouts, from a narrow side passage to a full rear terrace. Every one of them lives or dies on a dimension most plans leave blank.
Idea 1: A Stepping-Stone Run That Reads as a Path
Stride length sets this layout, not slab size. Adults walk a 24- to 26-inch center-to-center pace on level ground, and you should tighten that to roughly 22 inches on any run climbing more than 5%. Pieces under 16 inches across force people to look down at their feet, which is the quickest way to make a path feel improvised.
- Specify natural limestone stepping stones at 18 x 24 inches minimum on primary routes; 16 x 16 suits secondary garden loops
- Use 2-inch nominal thickness over compacted base, 3-inch when setting directly into lawn soil
- Hold the finished face 1/4 to 3/8 inch below the turf line so mower blades clear the edges
- Bed each piece on 1 inch of coarse sand over 4 inches of compacted aggregate, never on native soil alone
- Shift alternating stones 3 to 5 inches off centerline so the run feels walked rather than drawn
Idea 2: Terrace the Grade with a Low Natural Limestone Wall
Grade changes under 30 inches almost always resolve better as two low terraces than one tall barrier. A natural limestone wall finished at 18 inches doubles as overflow seating, which means you buy retention and furniture in the same line item. Cap depth matters more than face height here — 16 inches gives a genuinely comfortable seat on an outdoor stone wall, and anything under 14 feels like a ledge.
- Overhang caps 1 to 1.25 inches with a cut drip kerf on the underside to keep runoff off the face
- Backfill 8 to 12 inches of clean angular drainage stone behind the wall, wrapped in geotextile
- Place weeps at 6-foot intervals through the second course, not the base course
- Pitch the cap 1/8 inch per foot toward the planted side so water never sheets onto the seat
Idea 3: Band the Paving to Give a Courtyard Its Edges
A soldier band 6 to 8 inches wide around a paved area does three jobs at once: it hides the cut line, it stiffens the perimeter against edge creep, and it makes an irregular space read as intentional. Run the field in a random ashlar of three sizes and keep the band a single consistent unit. The contrast between ordered edge and varied field is what carries the design.
Idea 4: Build a Path That Drains Itself
Open-graded assemblies outperform sand-set construction on any route that collects roof runoff. Build 6 inches of washed #57 stone, a 1.5-inch #8 setting bed, and joints filled with #89 chip — the whole section drains vertically instead of pushing water sideways into your planting beds. The same assembly carries natural limestone stepping stones set along a downspout run, where sand beds wash out fastest. Landscape design guidance from the professional landscape architecture body has pushed this direction for years, and the field performance backs it.
Material availability shapes how ambitious your path geometry can get. Working from the stocked size range in the Citadel Stone landscape stone program keeps cutting waste under 8% on curved layouts. You’ll spend less on saw time and finish closer to the drawing.
Idea 5: Wrap Water Features in Coping and a Splash Apron
Wet stone changes the calculus completely. Around fountains, rills, and spa edges, specify a honed or lightly tumbled finish rather than polished, and treat the surrounding apron as part of the drainage plan rather than as trim.
- Pitch the splash apron a full 1/2 inch per foot away from the basin
- Extend the apron at least 18 inches so splash lands on stone, not on soil that migrates back under the coping
- Overhang coping roughly 1.5 inches past the basin wall to throw drips clear of the joint
Idea 6: Anchor a Gathering Circle Around Fire
Seating geometry drives this one. A 12- to 14-foot paved circle holds six chairs with the 36 inches of circulation behind them that keeps people from stepping into planting. A low outdoor stone wall at 20 to 24 inches on the prevailing-wind side cuts draft across the fire and gives you a shelf for drinks without adding furniture.
- Keep combustible-free stone extending 24 inches minimum beyond the fire feature footprint
- Choose a mid-tone stone near the fire; very pale surfaces show soot faster than most owners expect
- Slope the circle 1.5% to one quadrant rather than crowning it — chairs sit level on a plane, not a dome
Idea 7: Make Steps the Feature, Not the Afterthought
Outdoor risers should run 5.5 to 6.5 inches with treads of 15 to 18 inches, which is deliberately more generous than interior stair math. Solid tread pieces need 2.5 to 3 inches of thickness when spanning, and a 1 to 1.5-inch nosing projection gives the shadow line that makes each step legible at dusk. Selection notes published by the stone industry’s variety reference help when comparing bed characteristics across candidate blocks.
Soil Conditions That Make or Break Natural Limestone Landscape Ideas
Here’s what most specifiers miss: the subgrade decides longevity far more than the stone does. Expansive clay with a plasticity index above 25 can move 1 to 2 inches seasonally, and no bedding course absorbs that — you need 8 to 10 inches of compacted aggregate, a separation geotextile, and moisture-conditioned subgrade compacted at 2 to 3 points above optimum so it swells less.
- Caliche subgrades are strong but nearly impermeable; break through the hardpan or route water around the installation entirely
- Sandy soils compact readily but pipe fines away at edges — restraint detailing matters more than base depth
- Rocky fill hides voids; proof-roll before base placement rather than trusting the excavator’s word
- Organic topsoil must come out completely, typically 6 to 14 inches, before any base goes down
- In freeze-thaw regions, add 2 to 4 inches of base depth over the minimum and keep drainage continuous to daylight
Sourcing, Thickness, and Lead Time Realities
Ambitious natural limestone landscape ideas stall on availability, not on design. Calibrated 2-inch paving, 3-inch treads, and wall units rarely ship from a single production run, so confirm your full package before scheduling excavation. At Citadel Stone, we hold nationwide warehouse inventory sourced from selected quarries in the Middle East, which typically cuts lead times to one to two weeks against the six-to-eight-week import cycle. Our team checks thickness variance and shade blending at the warehouse before anything is loaded onto a truck, because color drift between pallets is the defect owners notice first. Production data compiled by federal geological survey reporting shows how uneven regional supply can be.
Expert Summary: Getting Limestone Landscape Ideas Built Right
The seven moves above work because they solve circulation, grade, and drainage in one gesture rather than three. Expect 25 to 40 years of service from a correctly based installation with periodic joint replenishment and clear drainage paths — and expect half that from a beautiful layout set on unprepared clay. Prioritize base and grading budget over upgraded finishes every time the numbers get tight.
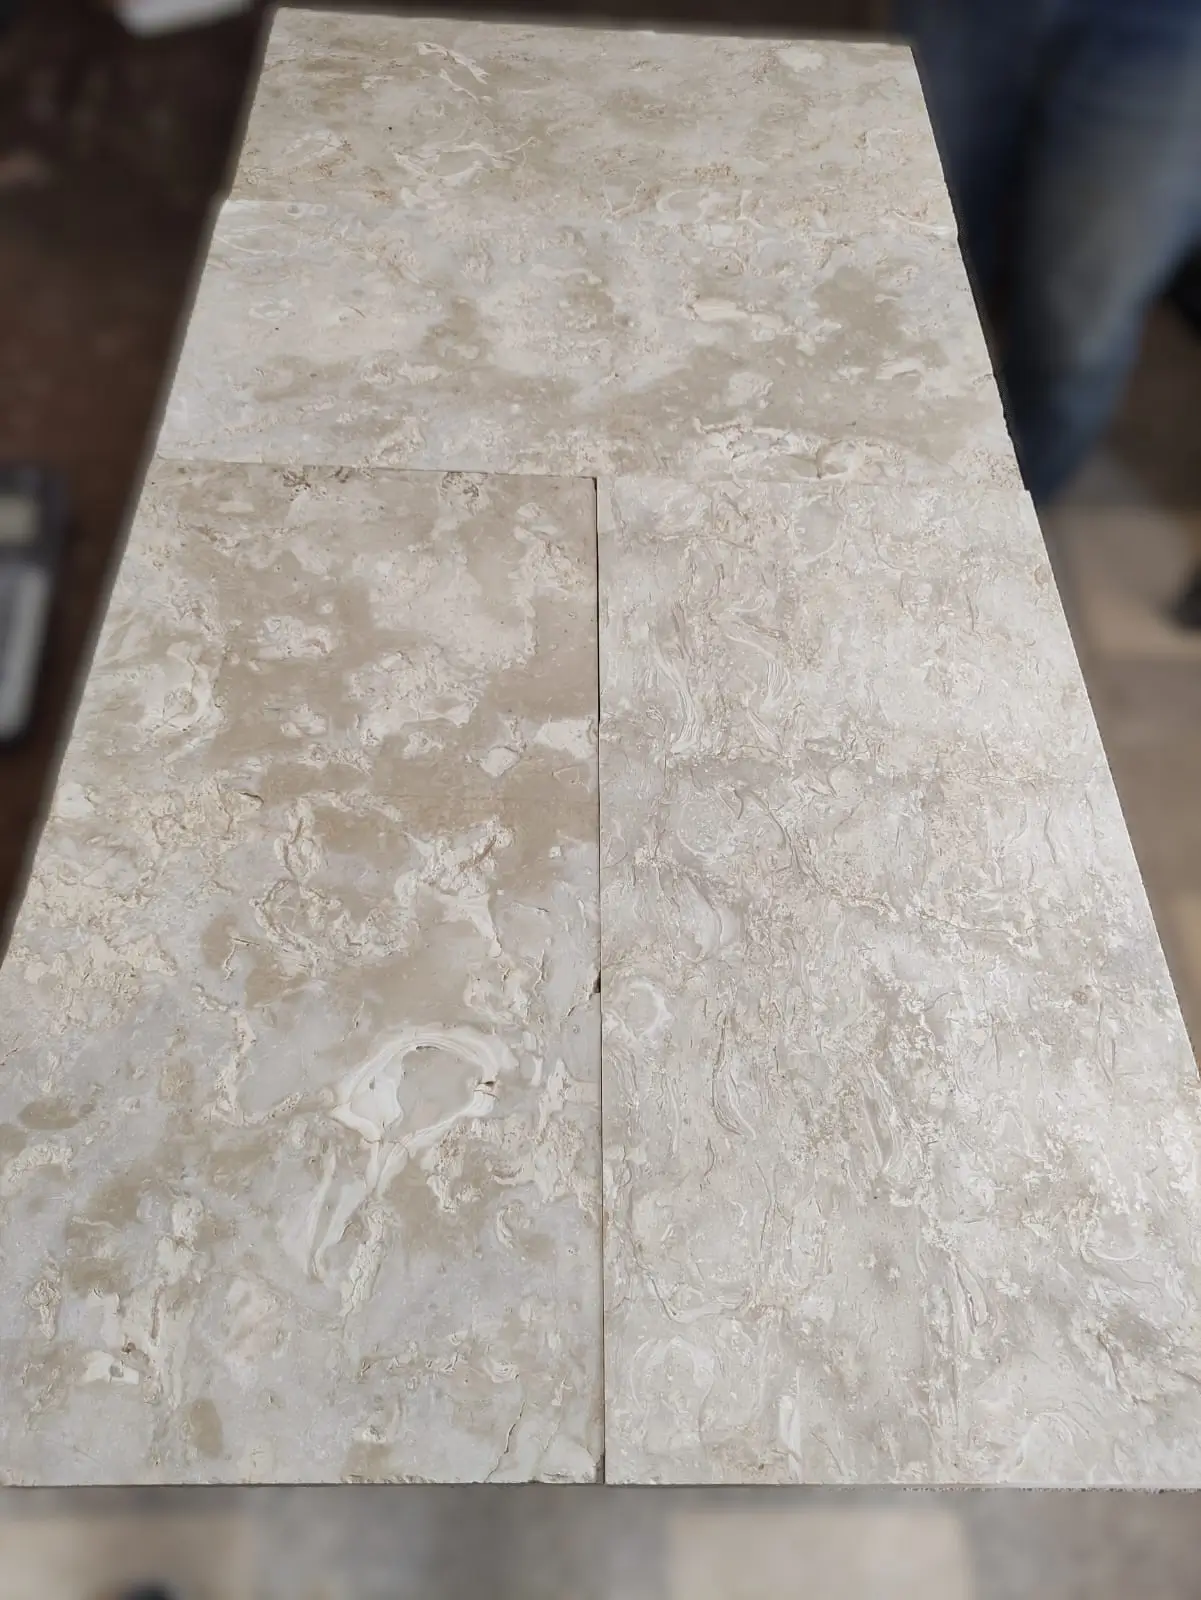
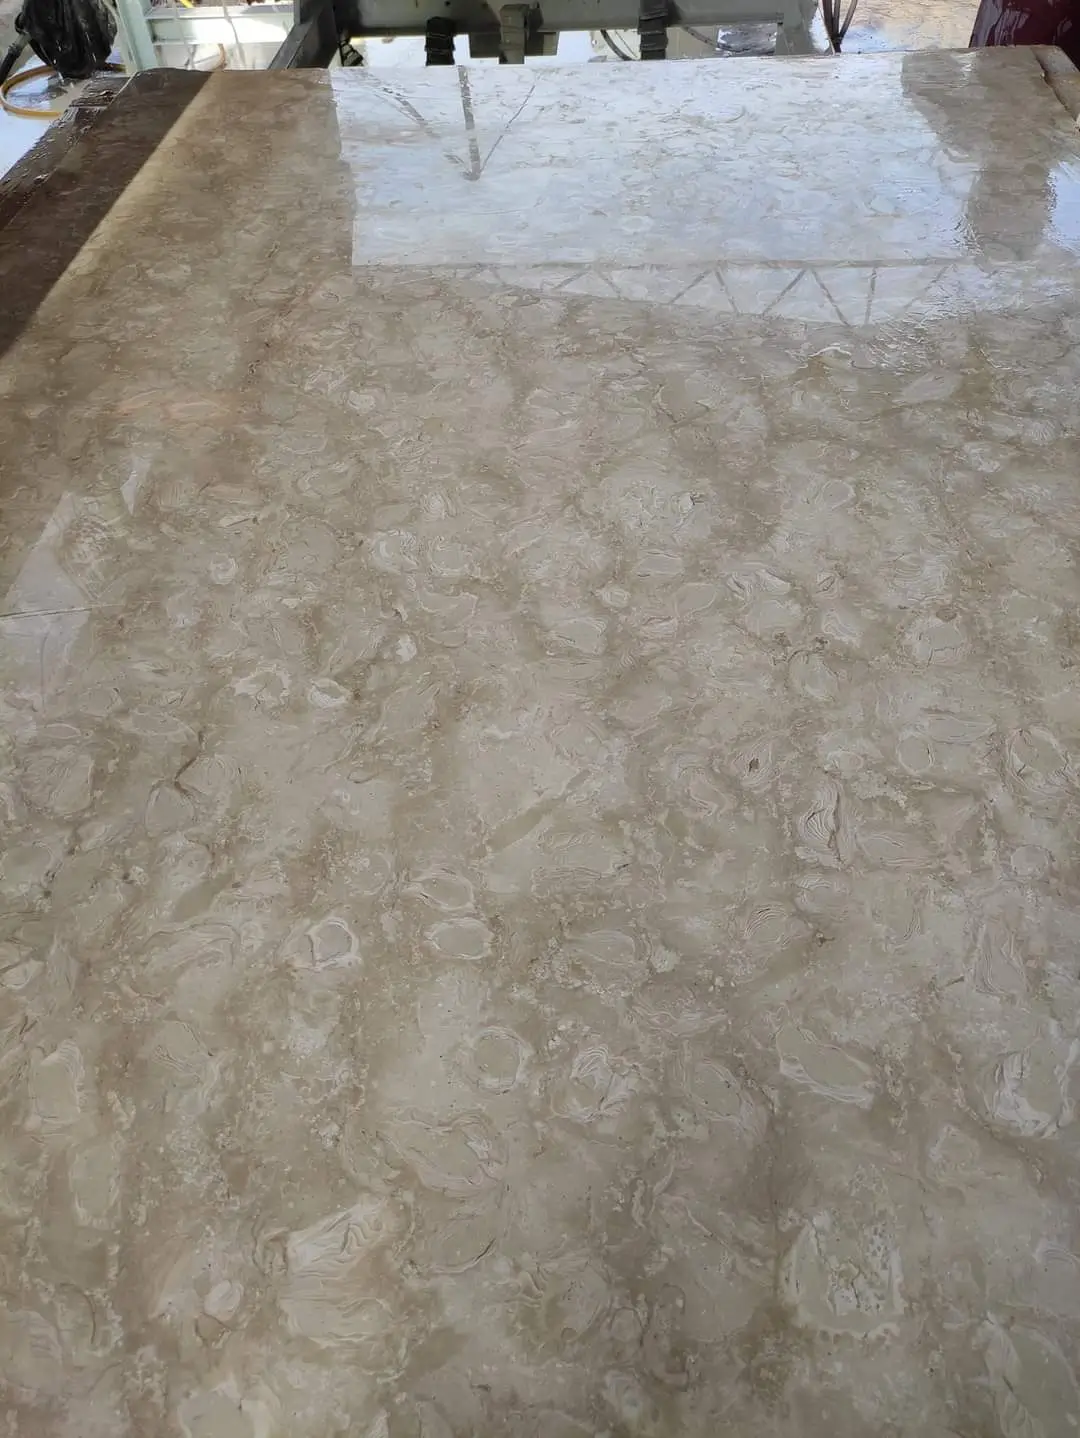
Stone character is the other half of the decision, and limestone’s surface detail varies noticeably between beds. For readers weighing that side of selection, how fossil patterning shows up in limestone slabs covers what those markings mean and where they show best. Low retaining walls built with Citadel Stone natural limestone complement adjoining paved areas when the same stone is used across both surfaces for tonal continuity.
Related reading: limestone slate slabs comparison · natural limestone cleaning guide · worn limestone paving weathering.