

What Stone Veneer Siding Actually Demands from Your Specification
The material tolerance stack in a stone veneer siding assembly is tighter than most specs acknowledge — and that gap between expectation and reality is where callbacks begin. How to choose stone veneer siding correctly means resolving three competing variables before you ever select a profile: substrate compatibility, panel weight relative to fastener pull-out strength, and the drainage plane geometry behind the cladding. Get any one of those wrong and you’ve built a clock, not a wall. The sections below walk through each decision point with the precision the material actually requires.
Understanding the Core Types of Stone Veneer Siding
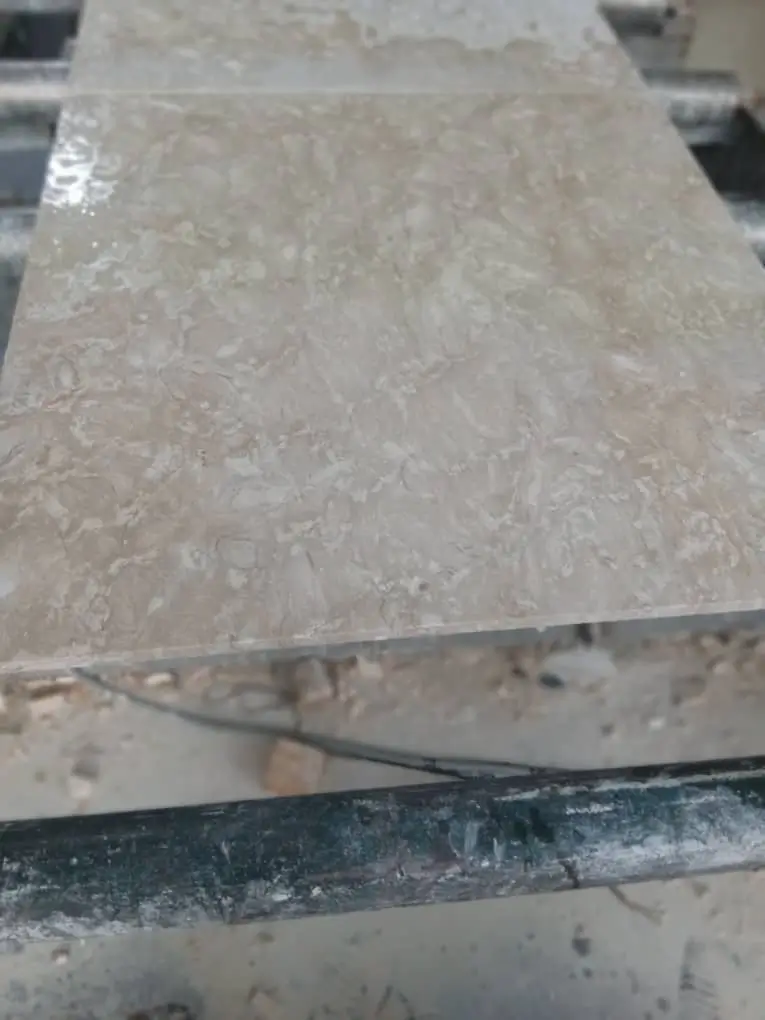
Your first fork in the road is natural thin stone versus manufactured stone veneer — and the performance gap between them is meaningful enough to drive the rest of your specification. Natural thin stone is quarried, cut to a nominal 3/4-inch to 1-1/4-inch thickness, and carries the mineralogical consistency of the parent formation. Manufactured stone veneer companies produce cast units from Portland cement, lightweight aggregate, and iron oxide pigments, engineered to mimic specific stone profiles. Both have legitimate applications, but they are not interchangeable in a spec.
Natural thin stone delivers compressive strengths typically ranging from 8,000 to 19,000 PSI depending on lithology — limestone sits at the lower end, granite and basalt at the upper. Manufactured units average 1,800 to 3,500 PSI, which is adequate for non-structural cladding but worth noting when impact resistance matters. The density difference also affects the fastening schedule: natural thin stone at roughly 13 to 15 pounds per square foot requires a more robust substrate assembly than lighter manufactured alternatives. Factor that weight differential into your wall assembly load path before finalizing panel selection.
What to Look for When Evaluating Thin Stone Veneer Manufacturers
The manufactured stone veneer segment has consolidated considerably, but product quality still varies significantly between thin stone veneer manufacturers. The benchmarks that matter in the field — not in a brochure — are freeze-thaw cycling performance, water absorption rate, and color stability over 10-plus years of UV exposure.
- Freeze-thaw resistance: Look for units tested to ASTM C1670 with documented cycle counts exceeding 50 without visible spalling or delamination
- Water absorption: Units absorbing more than 15% by weight are susceptible to efflorescence and surface staining in wetter installation environments
- Color consistency: Iron oxide pigments fade at different rates depending on pigment load — request accelerated weathering data, not just product photography
- Panel-to-panel dimensional tolerance: Tight dimensional control (±1/8 inch) keeps coursing lines clean and reduces field-cutting time substantially
- Corner unit integration: Verify that corner returns are cast from the same batch as field units — color drift between corners and field panels is a common complaint that shows up 18 to 24 months post-installation
The Natural Stone Institute installation and veneer guidance provides useful baseline technical criteria for comparing veneer systems, including substrate compatibility requirements that complement manufacturer data sheets.
Substrate Requirements That Determine Long-Term Performance
Your substrate assembly is doing more structural work than most project teams realize. Stone veneer siding transfers dead load continuously down the wall face, and any substrate deflection — even 1/4 inch over an 8-foot span — creates differential movement that eventually cracks mortar joints or pops adhesive-set panels. The substrate specification starts with rigidity, not weather resistance.
For wood-framed construction, 7/16-inch OSB or 1/2-inch plywood sheathing is the minimum platform, but 5/8-inch plywood with edge blocking at all horizontal panel seams is a better baseline for full-height veneered facades. Steel-framed assemblies require furring channels sized to keep deflection under L/600 under wind load — L/360 is insufficient for adhered masonry veneer per IBC Chapter 14 requirements. The drainage plane behind your veneer is equally non-negotiable: a 3/8-inch to 1/2-inch air space between the back of the veneer and the weather-resistive barrier allows moisture that penetrates through the system to drain rather than saturate the sheathing.
- Install a code-compliant WRB — two layers of Grade D building paper or a single-ply self-adhered membrane — before any lath or substrate panel
- Use 2.5-pound expanded metal lath, hot-dipped galvanized, fastened at 6-inch vertical spacing into studs — staples into OSB alone are not a compliant fastening schedule
- Verify that flashing at all horizontal interruptions (windows, doors, penetrations) extends behind the WRB and drains to the exterior — not just over the veneer surface
- At grade transitions, maintain a minimum 4-inch clearance between the bottom course of veneer and finished grade to prevent wicking
How Terrain and Site Elevation Shape Your Veneer Assembly
Here’s a variable that gets underweighted on nearly every project spec sheet: the relationship between site topography and moisture management at the base of the wall. On sloped or hillside sites, hydrostatic pressure from uphill grade drainage can saturate the soil immediately adjacent to the foundation, driving moisture into the veneer assembly from below rather than from above. The standard 4-inch clearance that works on a flat site may need to increase to 6 to 8 inches on a downslope face where grade water concentrates against the wall plane.
Grade management on sloped sites also affects your mortar mix design. Where the base of the wall assembly sits in intermittently saturated soil — common on low-lying or coastal-adjacent grades — a Type S mortar (minimum 1,800 PSI compressive at 28 days) outperforms Type N in wet cycling conditions. On elevated or well-drained terrain, Type N gives you adequate bond strength with slightly better workability for large panel formats. The slope of the site also affects scaffold access and panel staging logistics — on steep grades, getting material to the upper courses safely requires planning your access and material staging zones early in the project schedule.
According to the IBC Chapter 21 masonry and veneer building code requirements, adhered masonry veneer assemblies on exterior walls require specific anchorage spacing and drainage provisions that vary based on wall height and substrate type — review these provisions against your site conditions before finalizing the assembly design.
Mortar and Adhesive Selection: Where Most Field Problems Start
The mortar specification for stone veneer siding is where more installations go wrong than any other single variable. Over-strong mortar — particularly portland-heavy Type M — doesn’t accommodate the differential movement between the veneer and the substrate framing. As the wall assembly cycles thermally, the rigid mortar restrains movement and eventually fails at the veneer-to-substrate bond plane rather than distributing stress across the joint network. You’ll see it as hairline cracks running diagonally through field units, typically appearing in the first or second winter after installation.
For most residential and light commercial stone veneer siding applications, a polymer-modified Type S mortar gives you the bond strength and flexibility balance the system needs. Polymer modification — acrylic or SBR latex admixtures — improves bond tensile strength by 40 to 60% over unmodified mixes and reduces water permeability at the mortar-to-stone interface. That permeability reduction matters more on north and east-facing walls that see sustained moisture without adequate drying cycles. For pre-blended adhesive systems marketed by some manufactured stone veneer companies, verify that the product carries an ICC Evaluation Service report covering the specific substrate type you’re working with — not all adhesive systems are approved for all substrates.
- Mix mortar to a consistency that holds a thumb impression without slumping — too wet and bond strength drops; too stiff and coverage behind the panel is incomplete
- Back-butter every panel to 100% coverage — voids behind veneer panels are moisture traps and frost failure points
- Keep mortar joint width consistent at 3/8 inch to 5/8 inch — tight joints below 1/4 inch don’t allow adequate movement accommodation
- Avoid mortar application when substrate surface temperature is below 40°F or above 90°F without cold or hot weather protection measures in place
- Strike joints to a slight concave profile — this sheds water more effectively than flush or raked profiles
Selecting the Right Material: A Practical Stone Veneer Siding Selection Guide
Natural stone species selection follows a straightforward performance hierarchy once you’ve established the substrate and mortar system. Limestone and sandstone are the most workable — both cut cleanly with a wet saw, accept a wide range of finishes, and present naturally varied color palettes that age gracefully. Their limitation is surface hardness: both materials are susceptible to surface scratching and acid etching, so they’re not the right choice for installations within reach of power washing or acid-based cleaning programs. For projects where the veneer will see regular maintenance contact, specify a harder material.
Knowing how to choose stone veneer siding by lithology becomes particularly important when matching performance requirements to project exposure. You can explore the full range of stone veneer siding from Citadel Stone to compare quarry-sourced profiles across multiple lithologies — our technical team reviews each material batch against dimensional and absorption benchmarks before it leaves the warehouse, so you’re working with consistent stock rather than variable field-run material.
Granite veneer delivers the highest surface hardness and lowest absorption of the common cladding stones — typically below 0.4% absorption by weight, compared to 3 to 7% for limestone. That impermeability makes granite an excellent choice for base courses on grade-adjacent installations where moisture contact is frequent. The trade-off is fabrication: granite’s hardness increases cutting time and blade wear, which affects cost on heavily detailed installations with tight radius cuts or complex corner returns. Slate offers a compelling middle ground — moderate hardness, very low absorption, and a natural cleave that creates a textured face without secondary fabrication.
Finish Options and How They Affect Long-Term Weathering
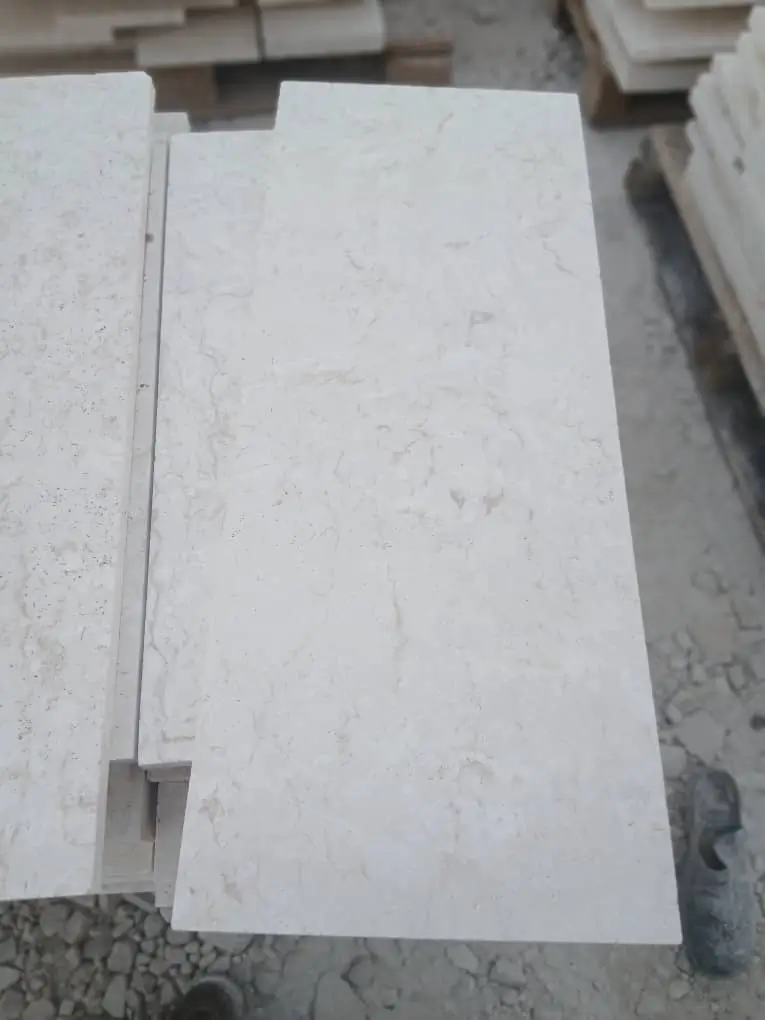
The finish you specify on stone veneer siding isn’t just an aesthetic call — it directly controls how the surface sheds water, how visible efflorescence becomes over time, and how quickly the installation weathers to a stable appearance. Rough-split and rock-face finishes present high surface relief that channels water away from the face effectively but also catches airborne particulate and organic debris in the texture valleys. On north-facing or shaded walls, that debris accumulates and creates conditions for biological growth — moss and lichen establish more readily on rough textures than on honed or smooth surfaces.
Honed finishes offer a flat, matte surface with moderate light reflectance. They’re easier to clean than textured alternatives and show less efflorescence variation because the uniform surface doesn’t concentrate mineral deposits in specific zones. The limitation is that honed surfaces on softer stones like limestone will show scratching more readily than textured alternatives, where surface irregularity masks minor abrasion. For projects in exposed or high-traffic areas, a light bush-hammer finish — which creates a pocked, non-directional texture — gives you good water shedding, reasonable cleanability, and enough surface depth to mask minor surface damage over the installation’s life.
- Rock-face and split-face finishes: highest texture, best visual depth, most maintenance-intensive on shaded walls
- Bush-hammer finishes: excellent slip-resistance equivalent on horizontal surfaces, visually active without heavy shadow lines
- Honed finishes: cleanest maintenance profile, most uniform appearance over time, best for urban or industrial environments with higher particulate deposition
- Natural cleft (slate and flagstone): preserves the mineralogical character of the material, highly variable from unit to unit — account for this in your coursing layout
Sealing Protocols and Realistic Maintenance Expectations
The sealing question for exterior stone veneer siding is more nuanced than product manufacturers typically present. Dense stones — granite, basalt, slate — genuinely don’t need sealing for weather protection. Their absorption rates are low enough that water doesn’t penetrate meaningfully under normal exposure. Applying a penetrating sealer to a granite veneer is largely a cosmetic decision (sealers can deepen color slightly) rather than a functional one. For limestone and sandstone, a penetrating silane or siloxane sealer applied to dry stone at installation provides meaningful protection against water absorption and subsequent freeze-thaw damage in colder regions.
The ASTM standard for natural stone absorption testing, referenced in detail by the Masonry Society wall construction standards, provides the testing basis for evaluating whether your specific material warrants sealing. Materials testing above 5% absorption by weight benefit demonstrably from sealer application; those below 2% show minimal performance difference with or without sealer. Request the manufacturer’s absorption test data before specifying a sealing program — it’ll tell you more than a general recommendation.
Realistic maintenance intervals for exterior stone veneer siding run 5 to 7 years for penetrating sealers on porous materials, assuming normal exposure conditions. Mortar joint repointing becomes necessary on most installations at the 15 to 20-year mark, depending on original mortar quality and thermal cycling intensity. Budget for joint inspection at year 10 and address any hairline cracking before water infiltration accelerates deterioration behind the panel face.
Ordering, Logistics, and Getting Your Project Timeline Right
Lead time planning for stone veneer siding projects is one of the most consistent sources of schedule pressure — and it’s almost entirely avoidable with early procurement decisions. Natural stone cut to custom dimensions typically requires 4 to 6 weeks from quarry order to delivery, while standard profiles from domestic warehouse inventory can ship within 1 to 2 weeks. That 4-week gap matters enormously if your exterior sheathing and WRB are complete and the framing crew is waiting on material. Sequence your stone order immediately after the structural framing inspection, not after the sheathing is complete.
Citadel Stone maintains national warehouse stock across multiple veneer profiles, which compresses that lead time considerably for standard-dimension orders. Your delivery truck access conditions at the site also affect scheduling — confirm minimum road clearance and load-bearing capacity for the delivery truck before coordinating the drop date, particularly on hillside sites where access roads may impose weight or width restrictions. Material staging on sloped sites requires a level pad or temporary platform to prevent panel damage during acclimation. Allow 48 to 72 hours for stone to reach site temperature equilibrium before installation in extreme heat or cold conditions — thermal stress at installation affects initial mortar bond strength measurably.
- Order 10% overage on field units and 15% on corners — field cutting and color-matching waste exceeds most initial estimates
- Verify that all material from a single order ships from the same quarry batch — batch mixing creates visible color variation in the installed face
- Confirm packaging integrity on delivery before the truck leaves — freight damage to natural stone is common and much easier to process as a delivery claim than a warranty claim
- Stage material under cover and off the ground — direct ground contact introduces moisture that can affect mortar bond and cause surface staining before installation
Getting Stone Veneer Siding Specifications Right
The decisions that determine whether a stone veneer siding installation performs for 25 years or requires remediation at year 8 are almost always made in the specification phase — not during installation. Material selection, substrate assembly, mortar type, drainage plane geometry, and procurement timing are all resolved before the first panel goes on the wall. Getting those variables right requires either deep experience with veneer system assemblies or a supplier who brings that technical depth to the conversation early. As your project moves from design intent to procurement, consider how the exterior cladding specification connects to other material choices across the building envelope. For projects where interior or countertop stone is also under consideration, sintered stone versus quartz surfaces explores how different engineered and natural materials perform under demanding interior conditions — a useful reference as you build out a cohesive material palette across your project. Buyers who consult Citadel Stone early in the siding selection process tend to avoid the panel-system mismatches that drive costly remediation work on exterior facades.
Related reading: Manufactured vs Natural Stone Veneer: Which Wins? · Engineered vs Natural Stone: Which Surface Wins?.