

Basalt tiles problems tend to cluster around a handful of root causes — and most of them are preventable at the specification stage, not the repair stage. The dense, fine-grained structure of basalt makes it exceptionally durable, yet that same density creates particular sensitivities around moisture migration, thermal cycling, and finish choice that catch specifiers off guard. Understanding where these failure modes come from lets you design them out before the first tile goes down.
Why Basalt Tiles Fail: The Root Causes
The failure mechanisms in basalt installations are rarely about the stone itself. Basalt is an igneous rock formed from rapidly cooled lava, giving it a crystalline structure that resists most surface stresses. According to USGS volcanic rock composition data, basalt’s mineral density makes it highly resistant to surface abrasion under normal foot traffic loads. The problems emerge at the interface — between the stone and the substrate, between the grout and the tile edge, or between the surface finish and the moisture environment it sits in.
Your substrate prep is where most basalt tile failures originate. A substrate that moves, deflects, or holds moisture beneath the tile will express that movement as cracked grout joints, debonded tiles, or surface efflorescence within the first two or three seasons. The stone itself is usually intact when you pull a failed tile — the setting bed or the drainage geometry is what gave out.

Surface Finish and the Problems It Creates
Your finish choice does more work in a basalt installation than most specifiers acknowledge. A honed finish closes the surface pores and creates a plane that shows every mineral variation, water mark, and scratch. A flamed or brushed finish opens the texture and makes maintenance easier in outdoor conditions, but it changes how the stone interacts with cleaning chemicals and sealers. Choose the finish for the application’s actual demands, not purely for aesthetics.
- Honed basalt in high-moisture areas shows water pooling and staining clearly — plan your drainage geometry before committing to this finish
- Polished basalt in heavy-traffic areas develops micro-scratches quickly, dulling the reflective quality within a few seasons without regular maintenance
- Flamed finishes in freeze-thaw climates need careful sealing because the open texture admits more moisture than a closed finish
- Brushed finishes collect organic debris in textured channels — factor in cleaning protocols for any outdoor application
The weathering of basalt accelerates wherever the finish is mismatched to the environment. Coastal installations with salt-laden air, for instance, attack polished surfaces more aggressively than matte ones because the fine surface film breaks down under saline conditions and leaves the mineral structure exposed to continued weathering cycles.
Efflorescence and Moisture Migration
Efflorescence — the white mineral deposit that appears on the tile surface — is one of the most common basalt tiles problems reported after installation. It signals that water is moving through the setting bed, picking up soluble salts, and depositing them on the stone’s surface as it evaporates. The stone is not the source of the salts; the cementitious bedding or the subgrade is.
Solving efflorescence means addressing the water path, not just the surface symptom. Scrubbing the deposit off without fixing the drainage geometry means you’ll be back dealing with the same problem each wet season. Your drainage design needs to direct water away from beneath the tile plane, not just off the surface of it. Natural Stone Institute stone performance standards consistently identify subsurface drainage failure as a primary driver of efflorescence in exterior stone installations.
- Use a low-absorption tile mortar that reduces water entry at the bond line
- Install a positive drainage slope beneath the setting bed — typically a minimum fall across the substrate plane
- Specify a penetrating sealer suited to basalt’s density before grouting to reduce capillary migration from the grout joints
- Re-evaluate drainage geometry if efflorescence reappears after cleaning, because surface treatment alone won’t stop it
Grout Joint Cracking and Debonding
Grout joint cracking in basalt tile installations almost always points back to movement that the installation wasn’t designed to accommodate. Basalt’s thermal expansion coefficient means it moves with temperature changes, and if the grout joints and expansion joints aren’t sized to allow that movement, the grout absorbs the stress until it cracks. This is particularly pronounced in outdoor settings where day-to-night temperature swings are significant.
You’ll want to calculate your expansion joint spacing from the thermal movement data for the specific stone thickness and the temperature range at the site — not from a generic rule of thumb. For our quarried basalt tiles, the technical team can provide cut-to-order dimensions that factor in your specified joint widths. Getting this right during specification prevents the cracking pattern that’s expensive and disruptive to repair after installation.
- Provide expansion joints at all perimeter edges, changes in plane, and at regular field intervals
- Use a flexible sealant — not grout — in all expansion joints so movement can occur without cracking
- Check that your tile adhesive has sufficient flexibility for the substrate deflection class of the supporting structure
- Avoid rigid epoxy grouts in outdoor basalt applications unless the substrate movement is fully controlled
Water Management, Drainage Design, and Basalt Performance
Drainage design is the variable that separates basalt installations that age well from ones that develop problems within a few years. In regions with heavy rainfall seasons, monsoon cycles, or high annual precipitation, water that has nowhere to go finds its way beneath the tile plane and begins working on the setting bed. This is where the most persistent basalt tiles problems originate — not in the stone, but in the water that accumulates where it shouldn’t.
Your base preparation should account for the full range of precipitation the site will experience. In areas prone to flooding or seasonal heavy rain, a granular drainage layer beneath the setting bed gives water a path out before it builds pressure under the tiles. In drier climates with occasional intense rain events, the risk is rapid surface runoff that enters at poorly sealed perimeter edges — a different drainage problem requiring attention at the border detail rather than the base.
- Grade the substrate to direct water away from building elements and toward designed drainage points
- In high-rainfall environments, consider a drainage mat or geotextile layer beneath the mortar bed to manage subsurface water movement
- Seal all perimeter edges and penetration points to prevent lateral water ingress during heavy rain events
- Inspect and clear surface drainage channels regularly in climates with leaf fall or sediment-laden runoff
- In freeze-thaw regions, ensure the drainage system functions through the thaw period when water volume is highest
Basalt’s density makes it highly resistant to moisture absorption through the face, but water that enters from beneath has nowhere to go except back up through the grout joints or setting bed. Design the drainage out of the system at the base, and many of the chronic problems that plague basalt tile projects become much less likely.
Sealing: What It Does and Where It Falls Short
Sealing basalt tiles is frequently misunderstood — it’s a maintenance interval, not a one-time fix. A penetrating impregnating sealer reduces moisture entry and staining uptake, but it doesn’t make basalt completely impervious to moisture or staining. The sealer sits in the pore structure of the stone, and it degrades over time through UV exposure, cleaning chemical contact, and foot traffic. On the interval your sealer manufacturer states, you need to re-apply — skipping this lets the protection window lapse.
The finish affects sealer performance as much as the product selection does. A honed or polished surface accepts sealer differently from a flamed or brushed one because the surface area and pore openings differ. Test the sealer on a sample tile first — check that it doesn’t alter the colour or surface appearance in a way you haven’t accounted for, especially with darker basalt where sheen changes are visible.
- Apply sealer before grouting to protect tile edges from grout absorption
- Allow full cure before allowing foot traffic — sealer that hasn’t cured fully smears under pressure
- Clean the surface thoroughly before re-application — sealer applied over soiled or contaminated stone traps the contamination underneath
- Use a sealer specifically formulated for dense igneous stone — some limestone sealers have different viscosity and penetration characteristics that make them less effective on basalt
Thermal Cycling and Long-Term Integrity
Thermal cycling is the stress mechanism most specifiers underweight in basalt tile projects. Each heating and cooling cycle creates a small dimensional change in the stone that, compounded over years of seasonal movement, works on every interface in the installation — the bond to the substrate, the grout joint, the perimeter seal. In hot, dry climates where day-to-night temperature differentials are large, this cycling is more frequent and more pronounced than in temperate zones.
According to Britannica’s geological profile of basalt, basalt’s crystalline mineral structure gives it strong thermal stability compared with sedimentary stones, but it is not immune to the cumulative effects of repeated dimensional cycling. The practical implication for your specification is that the joint design matters as much as the stone selection. Build in the movement capacity through your joint sizing and your flexible sealant specification, and basalt will handle thermal cycling without developing the cracking patterns that plague installations where movement was ignored.
Installation Errors That Create Long-Term Problems
Most basalt tiles problems that show up in the first two to five years trace back to installation decisions made on the day the tiles went down. The setting material coverage, the back-buttering practice, and the cure conditions all have lasting effects that don’t show up immediately.
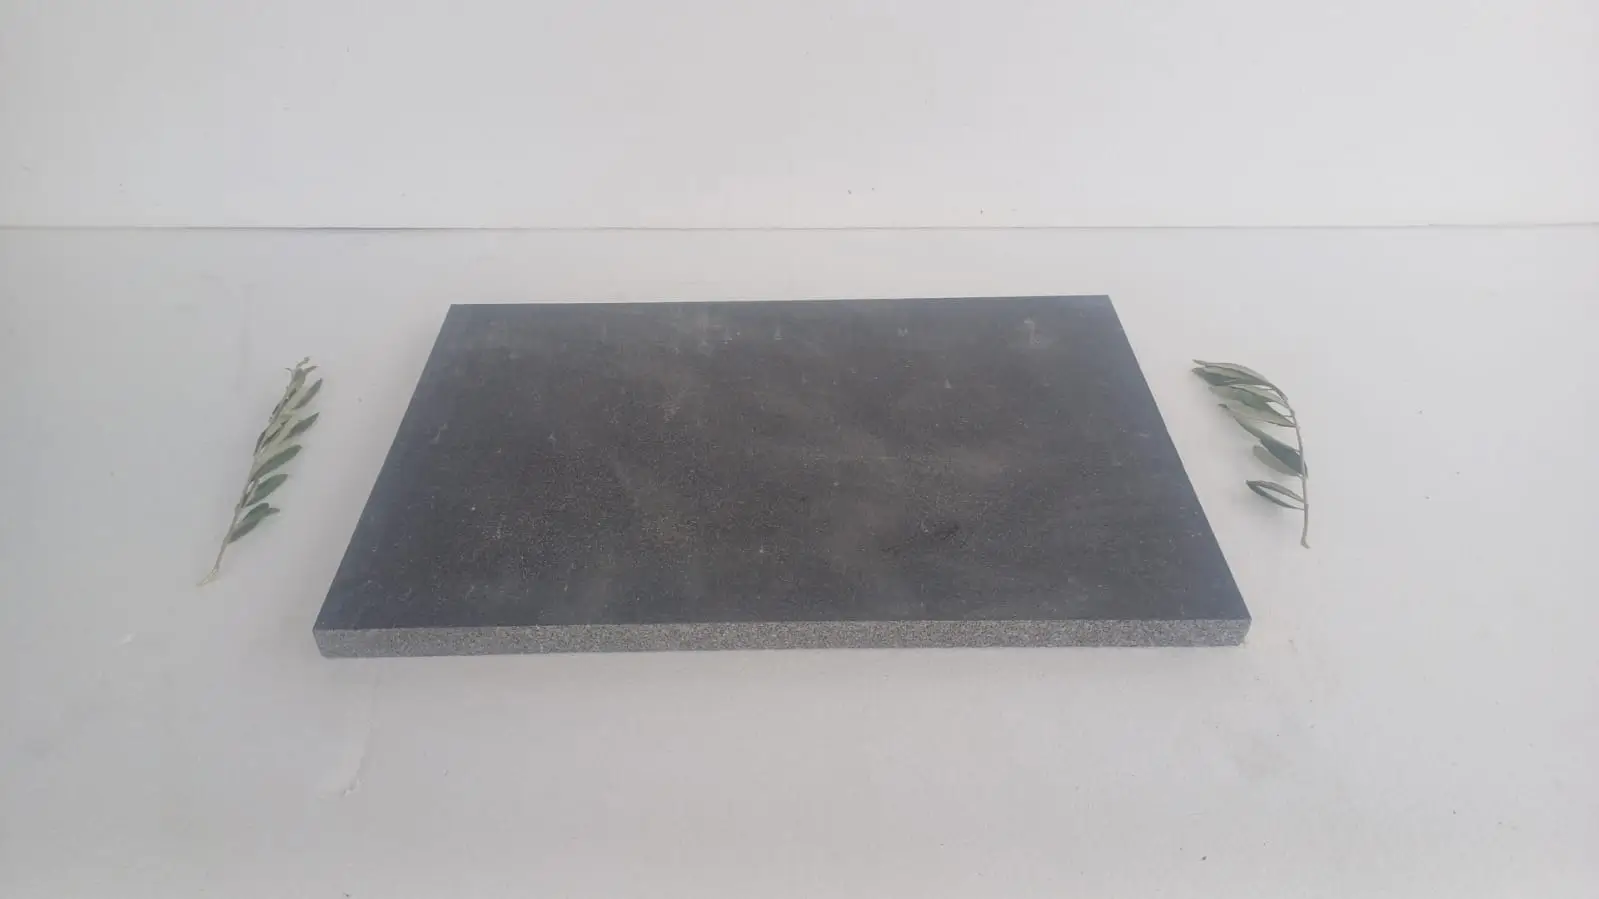
- Insufficient mortar coverage leaves voids beneath the tile — these voids collect water and create stress concentration points that lead to tile cracking under point loads
- Setting material applied over a dusty or wet substrate loses bond strength and allows tiles to debond during temperature changes
- Tiles installed before the substrate has reached full cure can move with the curing substrate and break the bond at the interface
- Grout applied before the adhesive has reached its specified strength gets stressed during the curing movement and develops early hairline cracks
- Failing to back-butter large-format basalt tiles creates bridging across low spots — the tile rocks under load and eventually debonds or cracks
At Citadel Stone, we supply cut-to-order basalt from our selected quarries and include technical guidance with each order — but the installation quality on site determines how well that material performs over the long term. Your installer’s process, not just the material spec, is the variable that governs the outcome.
Diagnosing Basalt Tile Problems in Existing Installations
Diagnosing problems in an existing basalt tile installation requires working through the symptom to the cause systematically. The tile surface shows you what’s happening; the substrate and drainage geometry tell you why.
- Hollow-sounding tiles when tapped indicate debonding — map the area before deciding whether to lift and re-bed selectively or address a broader substrate issue
- Recurring efflorescence after cleaning points to active moisture movement through the setting bed — investigate the drainage and subsurface water path before treating the surface again
- Cracked grout joints in a geometric pattern across the field suggest thermal movement without adequate expansion joints — the fix involves installing expansion joints, not just re-grouting
- Staining that returns after cleaning suggests the sealer protection window has lapsed — clean, allow full dry-out, and re-seal on the manufacturer’s schedule
- Edge lifting at perimeter tiles points to missing or failed perimeter movement joints and possibly lateral water entry — re-establish the perimeter joint and re-seal before re-laying the affected tiles
Closing Thoughts
Getting basalt tiles right across the full project life means treating specification, drainage design, and sealing as a system — not three separate decisions. The stone’s inherent material quality holds up well where that system works, and shows problems quickly where it doesn’t. Your drainage geometry, your joint design, and your sealing interval are the three levers that determine whether basalt tile problems become a maintenance item or a replacement project. Citadel Stone stocks basalt at our selected quarries and cuts to order, so your dimensions and finish are matched to the specification rather than adjusted to what’s available on a shelf. For a different perspective on how basalt works in contained wet environments, basalt mosaic tile for showers and backsplashes covers how the material’s density and finish options perform in interior moisture conditions. Stone for nationwide projects ships from our selected Middle East quarries, with sealing guidance sent alongside your order.
Related reading: choosing grey basalt tile · basalt rock types for tiles · cast basalt vs natural basalt tiles.