Why Size and Finish Drive Every Other Decision
Marble floor tile 24×24 imposes a discipline that smaller formats don’t — the large face area amplifies every substrate irregularity, every lippage mistake, and every finish mismatch. You’re working with roughly 576 square inches of exposed surface per piece, which means flatness tolerances that feel acceptable on a 12×12 grid become visually disruptive at this scale. Get the substrate preparation and finish specification right before you order a single pallet, and the rest of the installation follows a logical sequence. Miss either one, and you’re resetting an expensive project.
Understanding Marble Grades Before You Specify
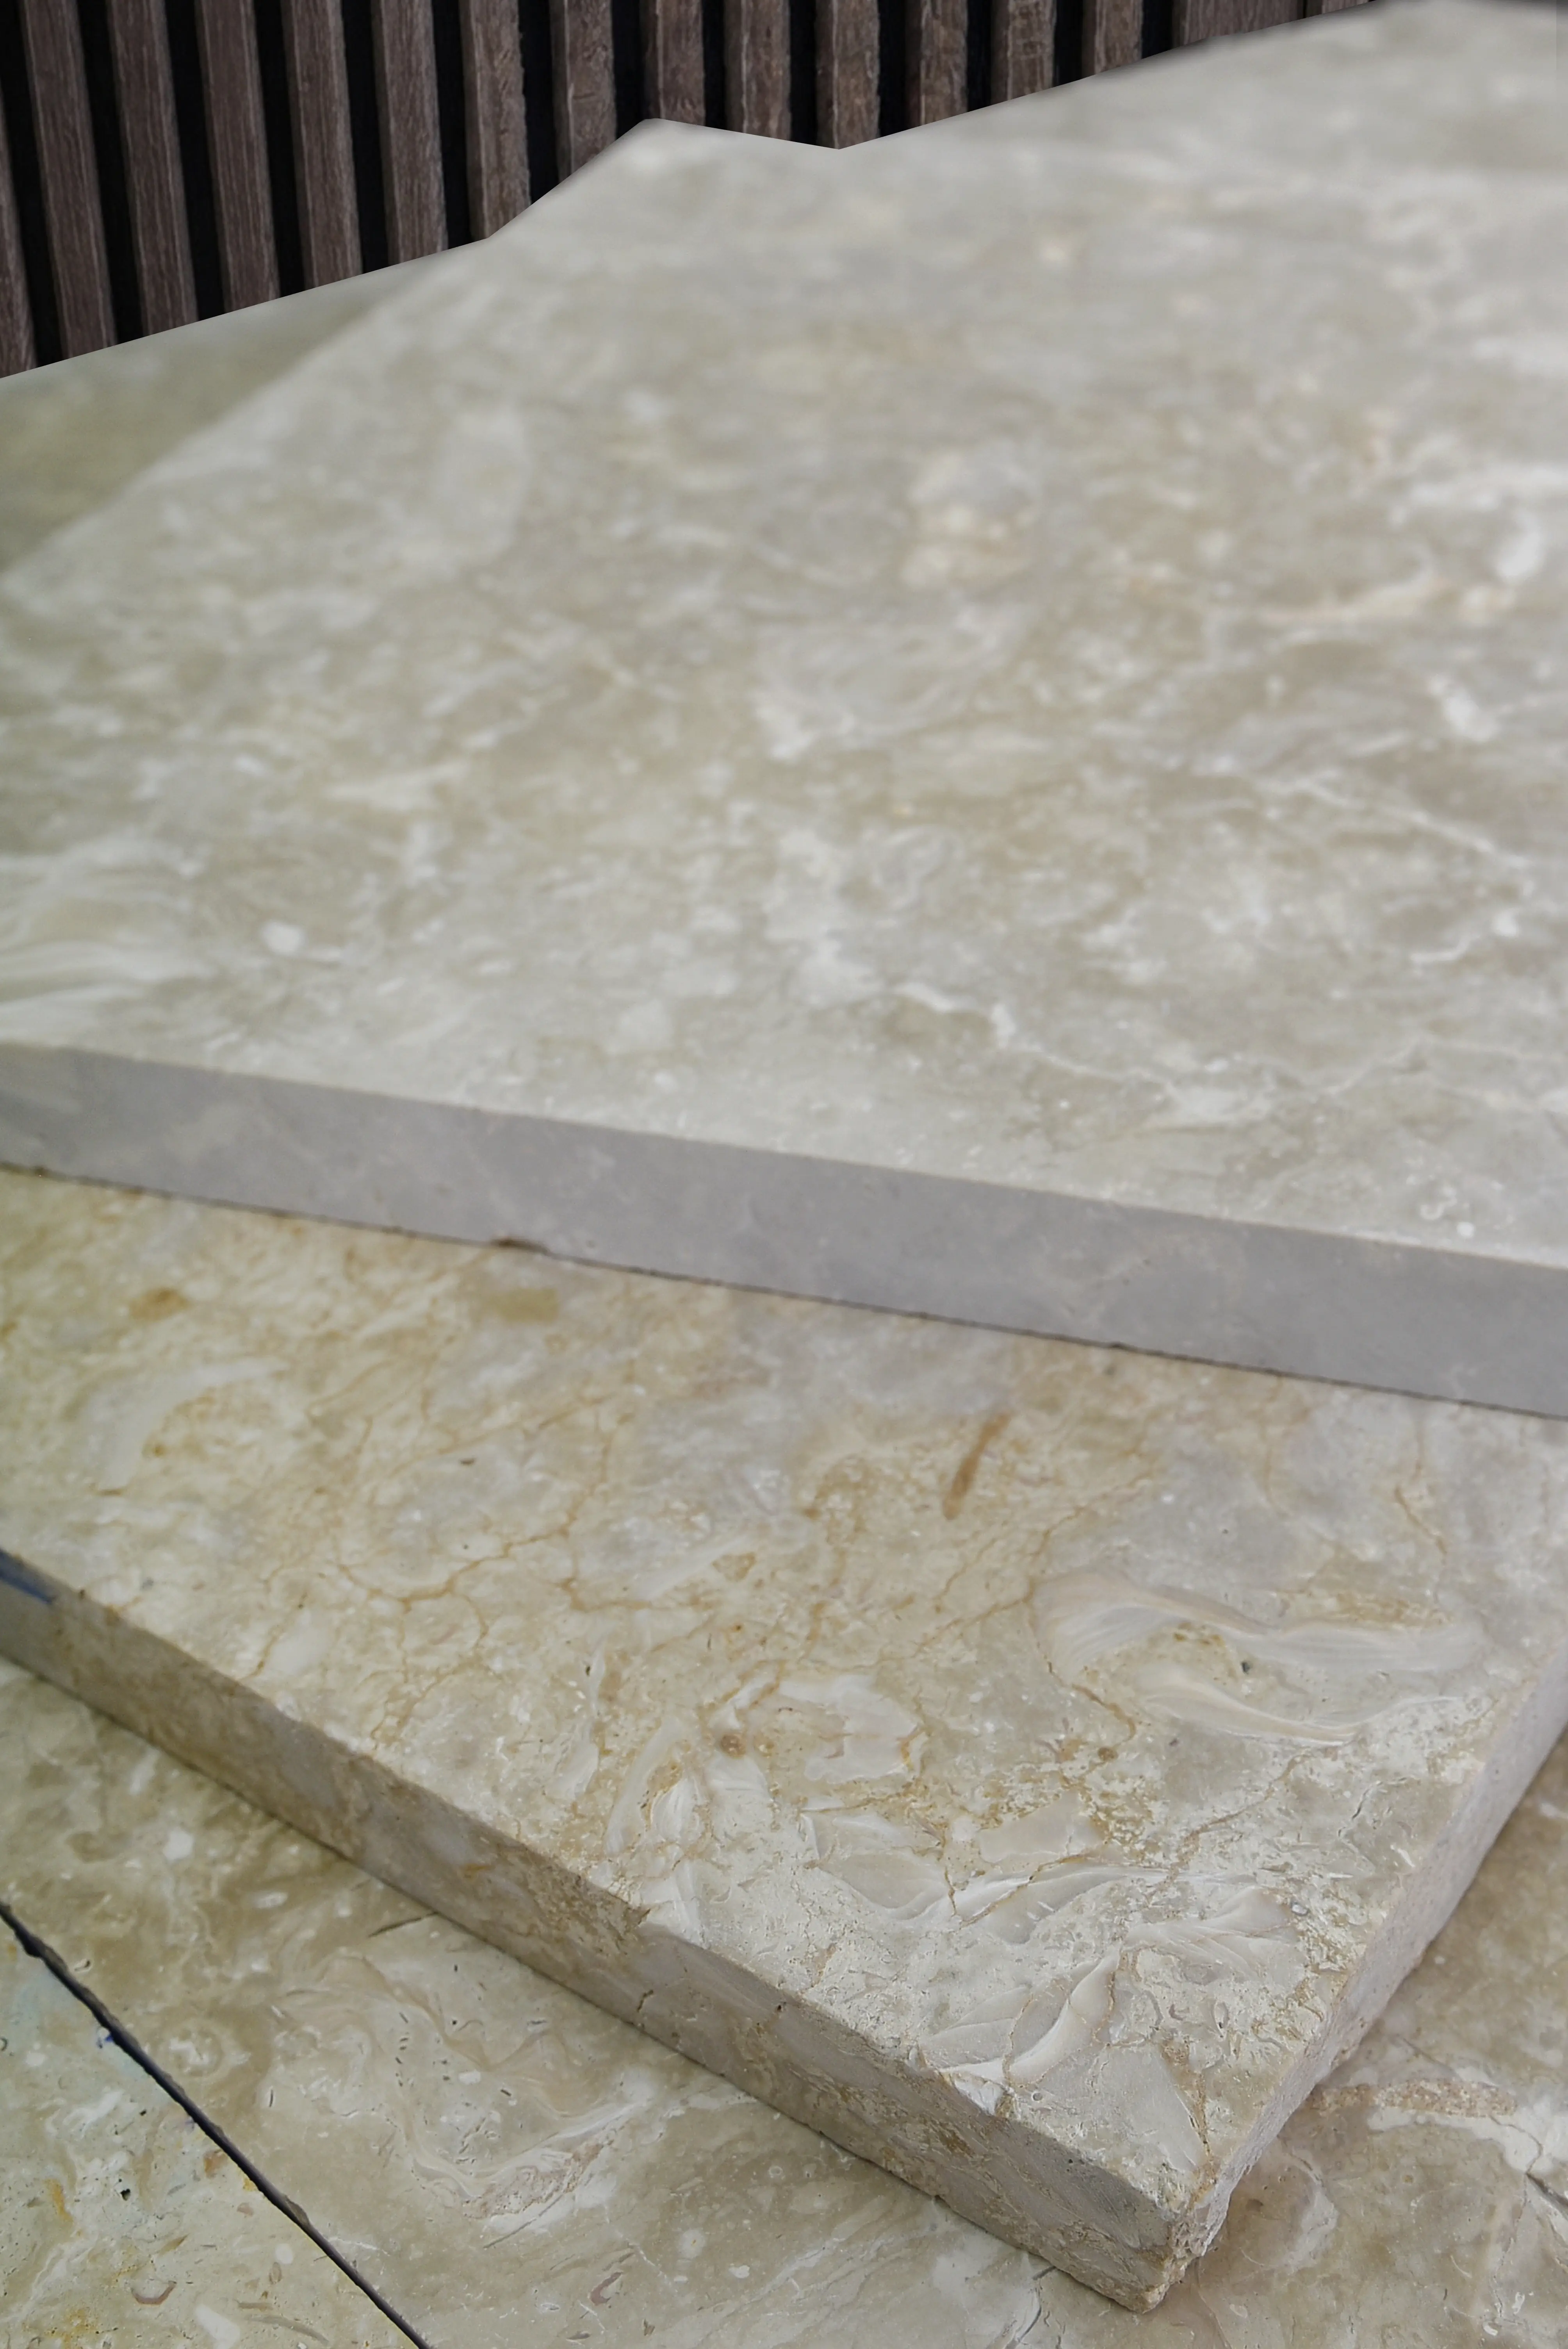
Not all marble floor tiles carry the same structural or aesthetic consistency, and grade classification determines whether your project delivers the result you’re expecting. Commercial-grade marble tends to have wider veining variation and more filled voids, which isn’t inherently a problem — but it requires your installer to dry-lay entire sections before committing to adhesive. Select-grade material holds tighter dimensional tolerances and shows more consistent background color, which matters on large-format tiles where tone shifts between batches read clearly across an open floor.
According to NSI stone tile specifications, natural marble tile is classified into four grades — A through D — based on soundness, uniformity, and the extent of natural fissures or voids. Grade A and B marble floor tile 24×24 is appropriate for most residential and light-commercial applications. Grade C and D material can work in feature panels or lower-traffic zones, but you’ll need to discuss void-filling protocols with your fabricator before installation begins.
- Grade A: Minimal fissures, consistent veining, suitable for high-visibility floor applications
- Grade B: Minor filling or epoxy repair typical, still appropriate for most residential floors
- Grade C: Moderate natural variation, requires skilled installer and dry-layout verification
- Grade D: Maximum natural movement, best reserved for decorative or low-traffic applications
Honed Marble Floor Tile: The Finish Decision That Defines the Space
Your finish selection affects slip resistance, maintenance frequency, surface reflectivity, and how the stone interacts with your lighting plan — all at once. Honed marble floor tile carries a matte to satin surface that diffuses light rather than reflecting it, which reads as warmer and more architectural in most interior contexts. A polished finish amplifies veining dramatically and increases surface sheen, but it also registers every footprint, watermark, and micro-scratch with considerably more visibility.
For residential floors with regular barefoot traffic, honed marble tile typically outperforms polished in practical terms. The coefficient of friction on a honed finish generally reads between 0.6 and 0.7 dry (per ASTM natural stone tile absorption and slip resistance testing standards), compared to 0.4–0.5 on a polished surface of the same material. That difference matters in bathrooms, entryways, and kitchen zones where wet conditions are realistic. Polished finishes remain appropriate for low-traffic areas, vertical applications, and accent floors where aesthetics outweigh slip considerations.
- Honed finish: Lower reflectivity, better slip resistance, hides minor surface wear more effectively
- Polished finish: Amplifies veining depth and color, requires more aggressive sealing schedule
- Brushed or antiqued finish: Adds texture variation, works well in transitional and rustic interiors
- Tumbled edge: Softens the tile perimeter, compatible with more relaxed joint widths
Substrate Flatness and Deflection Limits for Large Format Marble
The substrate beneath your marble floor tile 24×24 has to meet tighter standards than you’d specify for ceramic or porcelain at the same scale. Natural marble has a lower modulus of elasticity than fired clay products, which means substrate deflection that a porcelain tile might tolerate will telegraph as cracks or lippage in marble within a few seasons. The Tile Council of North America’s published deflection standard of L/360 should be treated as a minimum here — many experienced stone installers push clients toward L/480 for marble runs larger than 200 square feet.
Your subfloor flatness specification needs to hold to 1/8 inch over a 10-foot radius for tiles in this format range, per TCNA natural stone installation guidance. That’s tighter than the standard floor tile tolerance, and it typically means skim-coating or self-leveling compound even on what looks like a solid substrate. The visual consequence of missing this tolerance on a 24×24 format is immediate — raking light reveals lippage above 1/32 inch between adjacent tiles, and in a marble field, that reads as a specification failure regardless of the stone’s quality.
Thermal Cycling, Freeze-Thaw Exposure, and Joint Spacing Calculations
Marble carries a linear thermal expansion coefficient of approximately 7.0–12.0 × 10⁻⁶ per °C depending on mineralogy and veining density. For a 24-inch tile in an environment that cycles between 20°F and 80°F seasonally — common in heated interior slabs adjacent to exterior glass walls, mudrooms, or sunrooms — the dimensional movement per tile can reach 0.003 to 0.005 inches across the face. That sounds negligible until you’re running a 400-square-foot field with no movement joints, at which point the cumulative stress on the adhesive layer becomes significant.
For any installation exposed to genuine freeze-thaw cycling — exterior-adjacent slabs, radiant-heated floors that reach high differentials, or applications near exterior doors in cold climates — you should specify movement joints at every 8 to 10 feet in both directions, not the standard 12-foot recommendation for interior ceramic tile. The joint compound needs to be a flexible sealant rated for stone applications, not a rigid grout. Your grout joints within the field should run a minimum 1/16 inch for honed marble tile at this format — 3/32 inch gives you additional buffer against day-to-night thermal cycling without opening the joint enough to collect debris visibly.
- Thermal expansion coefficient for marble: 7.0–12.0 × 10⁻⁶ per °C — specify joint spacing accordingly
- Movement joints every 8–10 feet for radiant floors or exterior-adjacent slabs
- Flexible sealant rated for natural stone in all movement joint positions
- Minimum 1/16-inch grout joints; 3/32-inch preferred for thermally cycled applications
- Day-night temperature swings above 40°F require explicit joint calculations in your spec
Adhesive and Mortar Selection for Heavy-Format Marble
Your adhesive choice carries more consequence at 24×24 than it does for smaller tile formats, simply because marble floor tiles at this size can weigh 12–18 pounds per piece depending on thickness. A 3/4-inch nominal marble tile running through a large residential project puts real mass on the adhesive bond line. You’ll want a large-format tile mortar rated to ANSI A118.15 — enhanced non-sag — which gives you both the open time needed to back-butter these large pieces properly and the shear strength to hold them under point loading.
Back-buttering is non-negotiable on 24×24 marble floor tiles. Troweling adhesive only to the substrate leaves voids beneath the tile that create hollow spots — and on marble, hollow spots eventually crack under load. Your coverage target is 95% or better on floors, which means combing the substrate with a 1/2-inch square-notch trowel and back-buttering the tile with a flat skim coat before seating. At Citadel Stone, we advise clients to request this as a written installation requirement in their contractor scope, because it directly affects whether the stone performs as specified over a 20-year horizon.
Sealing Protocol and Realistic Maintenance Expectations
Marble floor tiles require sealing, and the frequency depends on the stone’s absorption rate, the finish, and the traffic load — not the generic “seal annually” advice that appears on most product sheets. Your first step is to run a water absorption test on the specific lot you’re installing: place a few drops of water on an unfinished face and time how long before absorption begins. If the stone absorbs within 3–4 minutes, you’re dealing with an open-pore material that needs an impregnating sealer before grouting and again after grouting. If absorption takes 10 minutes or longer, a single pre-grout application may be sufficient.
For honed marble tile in kitchen or bathroom applications, plan on resealing every 12–18 months under typical residential use. Polished surfaces seal more tightly but show etching from acidic contact faster — lemon juice, vinegar, and citrus-based cleaners will etch polished marble within seconds. Your maintenance spec should include pH-neutral stone soap for routine cleaning and a clear impregnating sealer that doesn’t alter the stone’s finish character. Avoid surface-coating sealers on honed marble tile — they build up over time, alter the texture, and eventually require stripping.
- Run a water absorption test per lot before specifying sealer type and frequency
- Apply impregnating sealer before grouting to prevent grout haze absorption
- Reseal honed marble floor tile every 12–18 months in kitchens and baths
- Polished surfaces resist moisture better but etch faster under acidic contact
- pH-neutral cleaners only — avoid all acid-based products on marble surfaces
Ordering, Batch Matching, and Warehouse Logistics
One of the most common specification errors on large marble floor tile projects isn’t a technical failure — it’s a batch mismatch discovered after installation begins. Marble quarried from the same block can shift tone, vein density, and background color between production runs. For any project over 500 square feet, you should confirm that your entire quantity ships from the same production lot, and request sample tiles from that specific lot before releasing the purchase order.
Citadel Stone maintains warehouse inventory in large-format marble, which reduces the risk of mid-project reordering from a different production batch. When you’re estimating quantity, add a 10–12% overage allowance for a marble floor tile 24×24 installation — cuts on diagonal runs or complex room geometries consume material faster than standard layouts, and having matched material in reserve matters more with marble than with ceramic. Factor truck delivery access into your timeline: large-format marble tile ships on pallets and requires a lift-gate truck or loading dock — confirm your site access constraints before the delivery is scheduled.
For your reference on how color, vein, and tone specifications translate to purchasing decisions, the Citadel Stone marble collection provides a direct comparison of available formats and finish options across our current inventory.
Layout Pattern Selection and Visual Planning at Scale
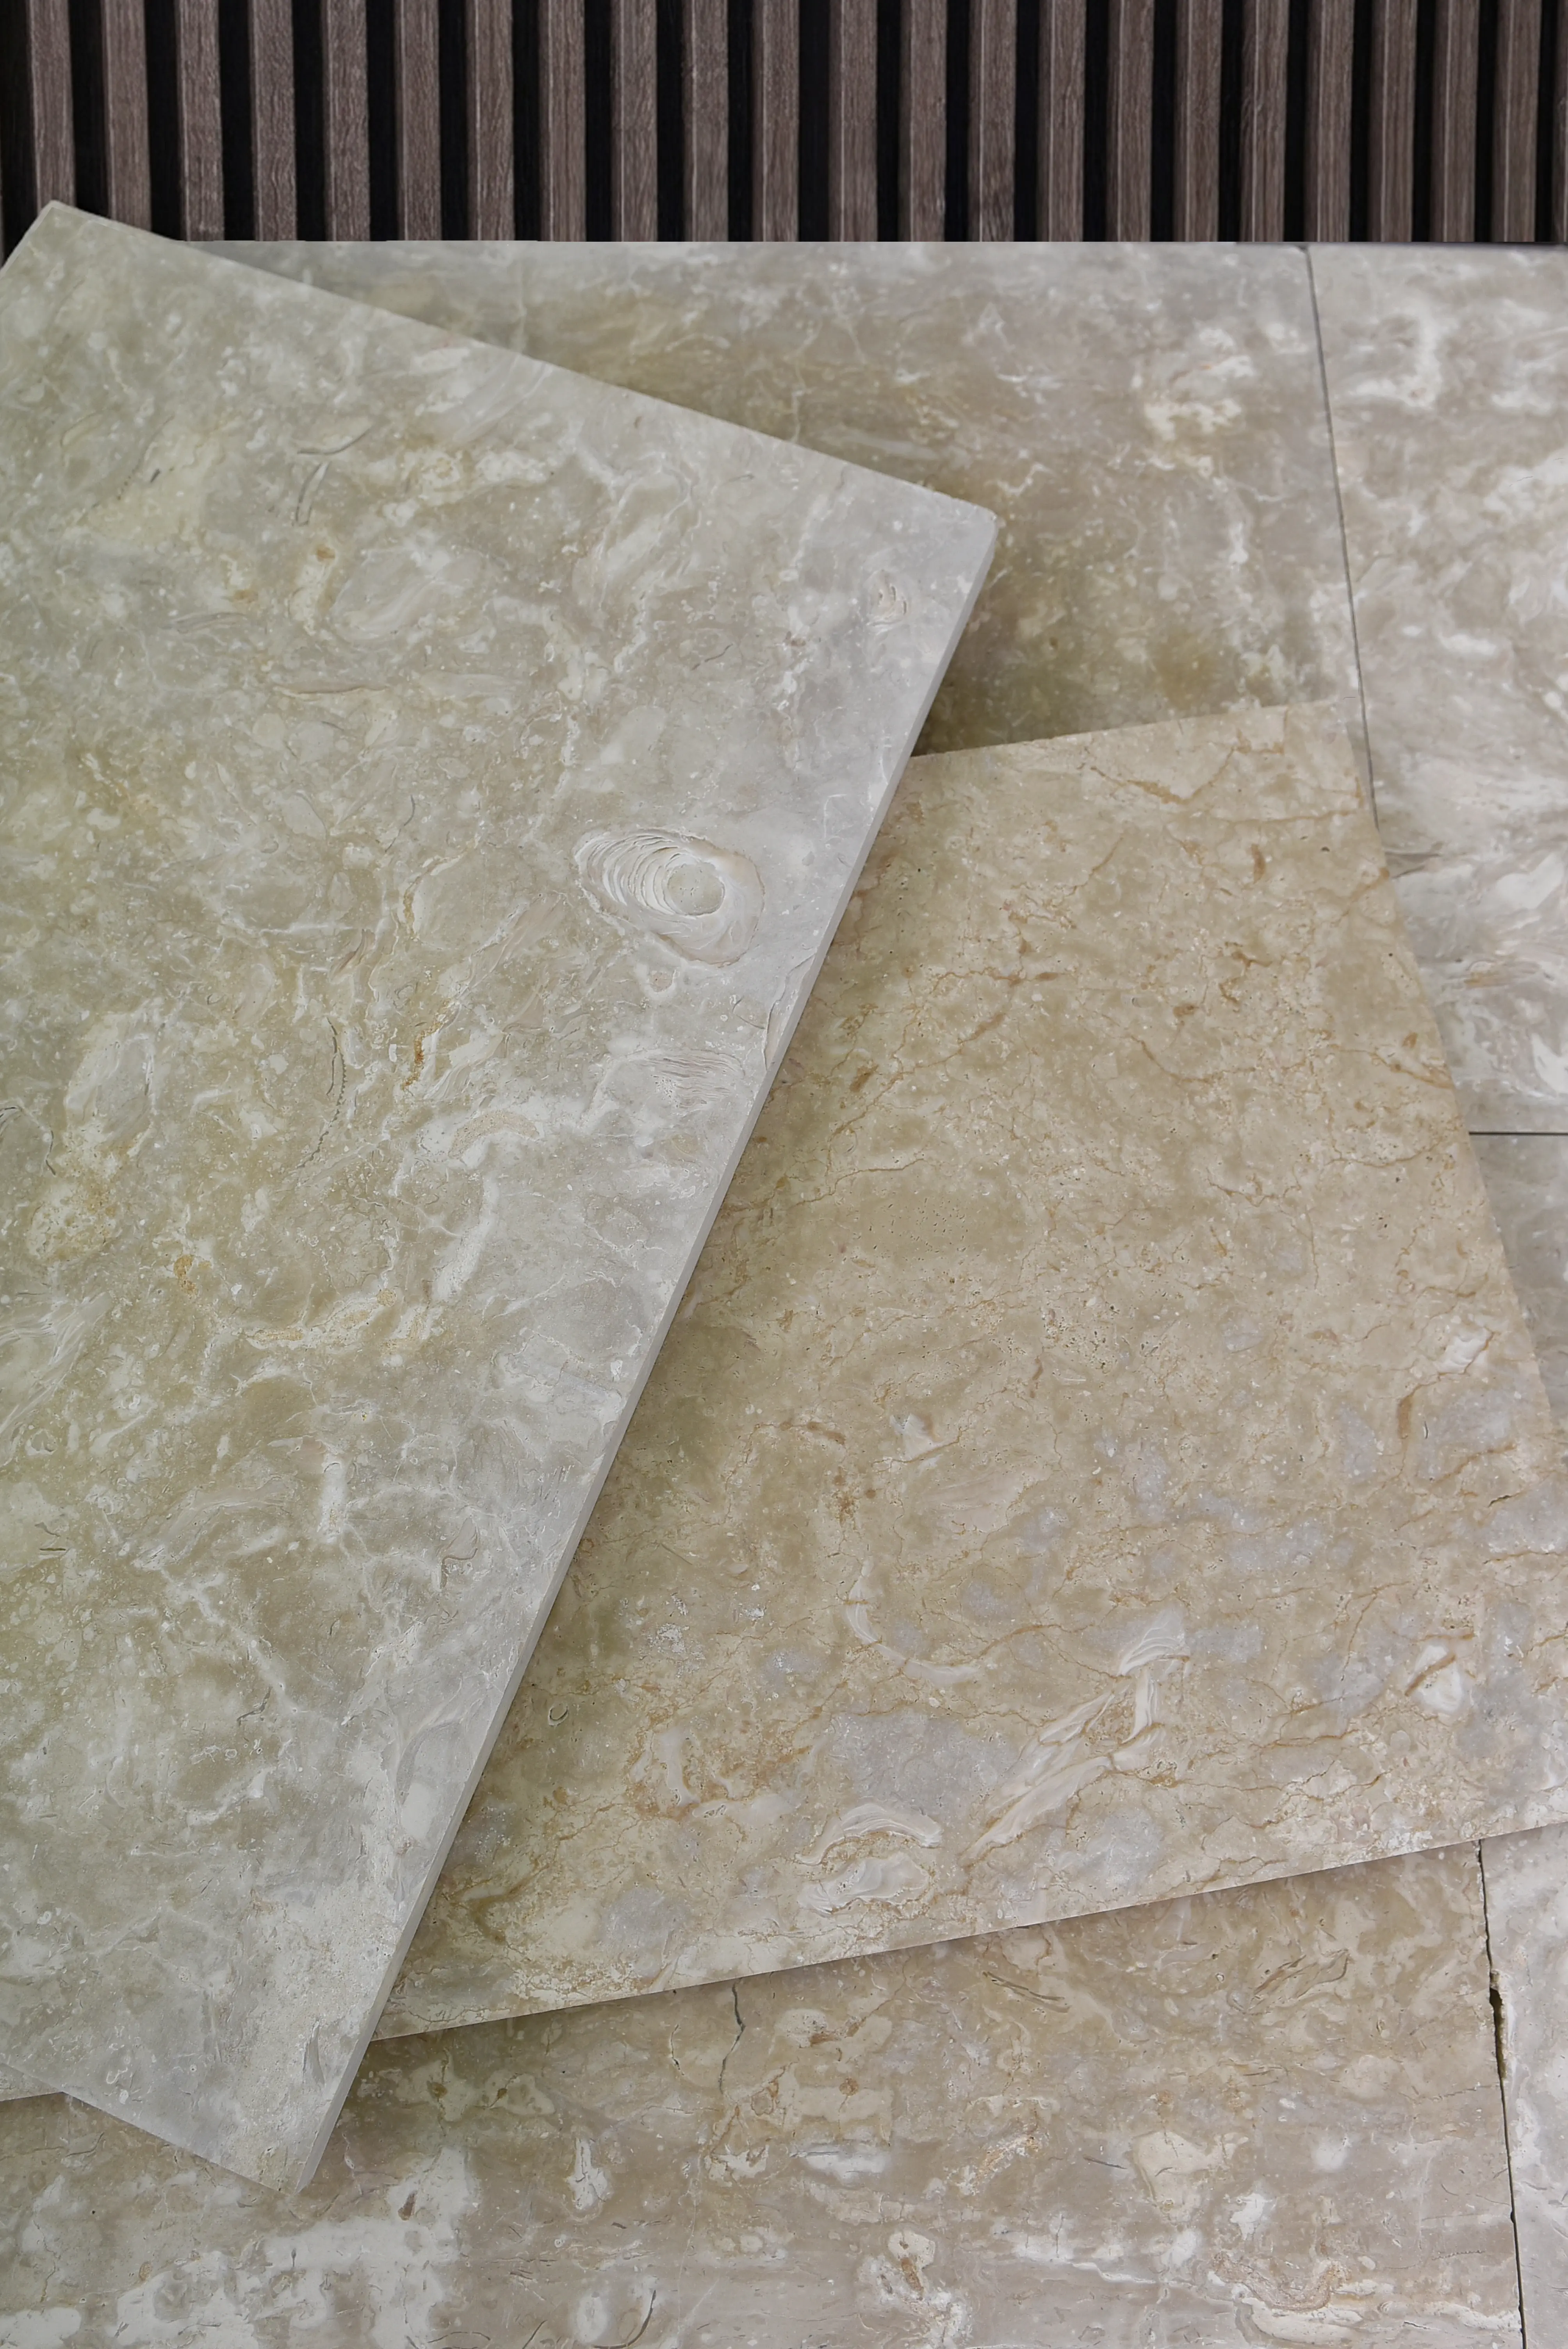
The pattern you choose for marble floor tiles interacts directly with the vein direction of each piece, and at 24×24, that interaction is impossible to ignore. A straight stack layout with book-matched veining creates a formal, symmetrical field that reads as intentional and architectural. The same tiles laid in a running bond introduce a rhythm that softens the formality without eliminating it. Diagonal layouts consume 15–20% more material but reduce the visual dominance of any one tile’s veining by rotating the pattern 45 degrees relative to the room geometry.
Book-matching — where adjacent tiles are flipped to mirror each other’s vein pattern — requires you to specify this at the point of order, not during installation. It means your fabricator needs to cut adjacent tiles from the same slab run and mark them for orientation. The additional cost is real, but the result is a floor that reads as a continuous, deliberate composition rather than a random assembly of similar material. For a marble floor tile selection in formal living areas or primary bathrooms, book-matching is worth the specification effort.
- Straight stack layout: Maximum vein continuity, formal and geometric in character
- Running bond: Softens the field, reduces the visual dominance of individual tile veining
- Diagonal layout: 15–20% additional material, visually expands narrower rooms
- Book-matched pairs: Requires early specification and coordination with fabricator
- Dry-lay full sections before committing — tone and vein variation reveal themselves at scale
Getting Marble Floor Tile 24×24 Specifications Right
Selecting marble floor tile 24×24 wisely means making three or four interdependent decisions simultaneously — finish, grade, substrate preparation, and thermal joint spacing — rather than treating each as a separate checklist item. Your finish determines your maintenance burden; your grade determines your installation complexity; your substrate spec determines whether the stone performs for two decades or two years. The thermal cycling calculations are the detail most specifiers skip, and they’re the one that creates callbacks in freeze-thaw climates. Get those joint spacing numbers into your specification before the installation contractor starts setting tile, not after the first winter season reveals the gap.
As you develop your full project specification, layout pattern decisions carry real weight at this tile size — for a closer look at how directional patterns interact with natural stone’s visual character, herringbone floor tile layout guidance offers a detailed breakdown worth reviewing alongside your current selection. Marble from Citadel Stone ships in calibrated slabs from internationally sourced quarries, keeping tone consistent across large installs.
Related reading: large format floor tile patterns · how to install large floor tile · kitchen floor tile ideas.