Why Your Starting Point Defines the Entire Layout
Herringbone floor tile punishes a bad starting point more than almost any other pattern — the 45-degree or 90-degree interlocking geometry means a misaligned center line compounds across every row until your cuts at the walls are visually chaotic. Before you chalk a single line, locate the true optical center of the room, not the geometric center. In most rectangular rooms, these two points differ by as much as 3 to 4 inches once you account for where natural light enters and where the primary sight line from the entry falls. Nail the starting point and the rest of the layout process follows a clear, repeatable logic.
Choosing the Right Tile Format and Ratio
The proportion of your herringbone floor tile matters enormously for how dynamic or restrained the finished pattern reads. A classic 2:1 ratio — say a 4×8-inch or 3×6-inch tile — produces the sharp, energetic zigzag most people picture when they think of herringbone. Extend that ratio toward 1:3 or 1:4 with a longer plank-style format and the pattern becomes more architectural, almost textile-like in quality. Both are legitimate design choices, but they suit different environments.
For spaces that integrate with landscape-influenced interiors — entryways opening onto desert-xeriscaped courtyards, or sunrooms adjacent to modern minimalist gardens — a longer tile format in warm beige or cool grey reads more cohesively with the muted exterior palette. Shorter, more compact tiles tend to suit traditional colonial or Craftsman interiors where the busy zigzag texture feels intentional rather than restless. Your tile proportion is the first aesthetic decision, and it should be locked in before you run a single layout line.
- 2:1 ratio tiles deliver the highest visual contrast and are the most forgiving on slightly out-of-square rooms
- Longer plank formats (1:3 or 1:4) emphasize directionality — point them toward the room’s primary view for maximum impact
- Square tiles in herringbone only work at 45 degrees and produce a very different, less conventional result
- Confirm tile calibration before layout — even 1mm of size variation across a large field causes cumulative grout line drift in herringbone that you won’t catch until it’s too late
Straight vs. Diagonal Herringbone: Which Orientation Fits Your Space
The two primary orientations for herringbone floor tile are straight (tiles run parallel to the walls) and diagonal (tiles run at 45 degrees to the walls). Straight herringbone is the more controlled choice — it aligns with architectural lines and makes rooms feel longer when the pattern runs parallel to the longest wall. Diagonal herringbone feels more expansive and is better suited to square or near-square rooms where you want to visually break the boxy geometry.
Diagonal layouts increase your cut waste by roughly 15 to 20 percent compared to straight orientation — budget for that upfront, especially when specifying porcelain bathroom floor tile where large-format pieces aren’t cheap. The diagonal also demands more precise wall measurement because your layout lines now run at 45 degrees to every structural element in the room, and any wall that’s even 2 degrees out of square becomes immediately apparent at the perimeter cuts. According to TCNA installation standards, verifying room squareness before any tile layout — using the 3-4-5 triangle method — is a foundational step that directly affects pattern accuracy.
Setting Out Your Layout Lines Correctly
Layout lines for herringbone floor tile differ from standard grid tile work. You need two intersecting reference lines that form either a 90-degree cross (for straight herringbone) or a 45-degree cross (for diagonal). Use a quality laser level or a long straightedge chalk line — do not rely on the room’s walls as reference because virtually no wall in a residential or light commercial setting is geometrically true.
Dry-lay a minimum of three to four complete herringbone units from your starting point toward each wall before you commit to adhesive. This dry run reveals your cut situation at the perimeter and lets you shift your starting point by half a tile if that produces a more balanced border. A border cut of less than one-third of a tile width looks unfinished; anything below a quarter tile width will likely pop off within a year due to inadequate adhesive bed coverage. Adjust your layout to avoid that scenario — it’s worth moving your starting point by a full tile unit to get perimeter cuts above the 50 percent mark.
- Snap perpendicular chalk lines using a laser level, not wall measurements
- Verify squareness with a 3-4-5 right triangle before laying a single tile
- Dry-lay at least one full row in each direction before opening adhesive
- Mark your layout lines with blue chalk — red chalk stains some lighter grout colors permanently
- Re-snap lines every 4 to 5 feet as you work — chalk lines can drift if the floor isn’t perfectly flat
Adhesive Selection and Substrate Preparation
Herringbone floor tile places more stress on the adhesive bond than a standard grid layout because the angled tile edges create point-load transfer rather than line-load transfer between units. Specify a polymer-modified thin-set rated for the tile’s water absorption class — for dense porcelain bathroom floor tile with absorption below 0.5%, use a medium-bed mortar that maintains bond strength without slumping on vertical edges during installation. For natural stone herringbone formats, back-buttering each tile adds measurable bond coverage and eliminates hollow spots that telegraph through the finished surface.
Substrate flatness tolerances tighten significantly for herringbone work. The ANSI A108.02 standard calls for 1/8-inch variation in 10 feet for standard tile, but in practice, herringbone patterns at 45 degrees reveal deflections that a straight grid would hide. Target 3/32-inch flatness tolerance across the substrate before you begin. Self-leveling underlayment is your best tool here — a skim coat of 3 to 5mm resolves most residential subfloor irregularities without adding excessive dead load. According to NSI ASTM stone tile specifications, substrate preparation directly determines long-term tile performance, particularly in high-traffic or wet-area applications.
Natural Stone in Herringbone Formats
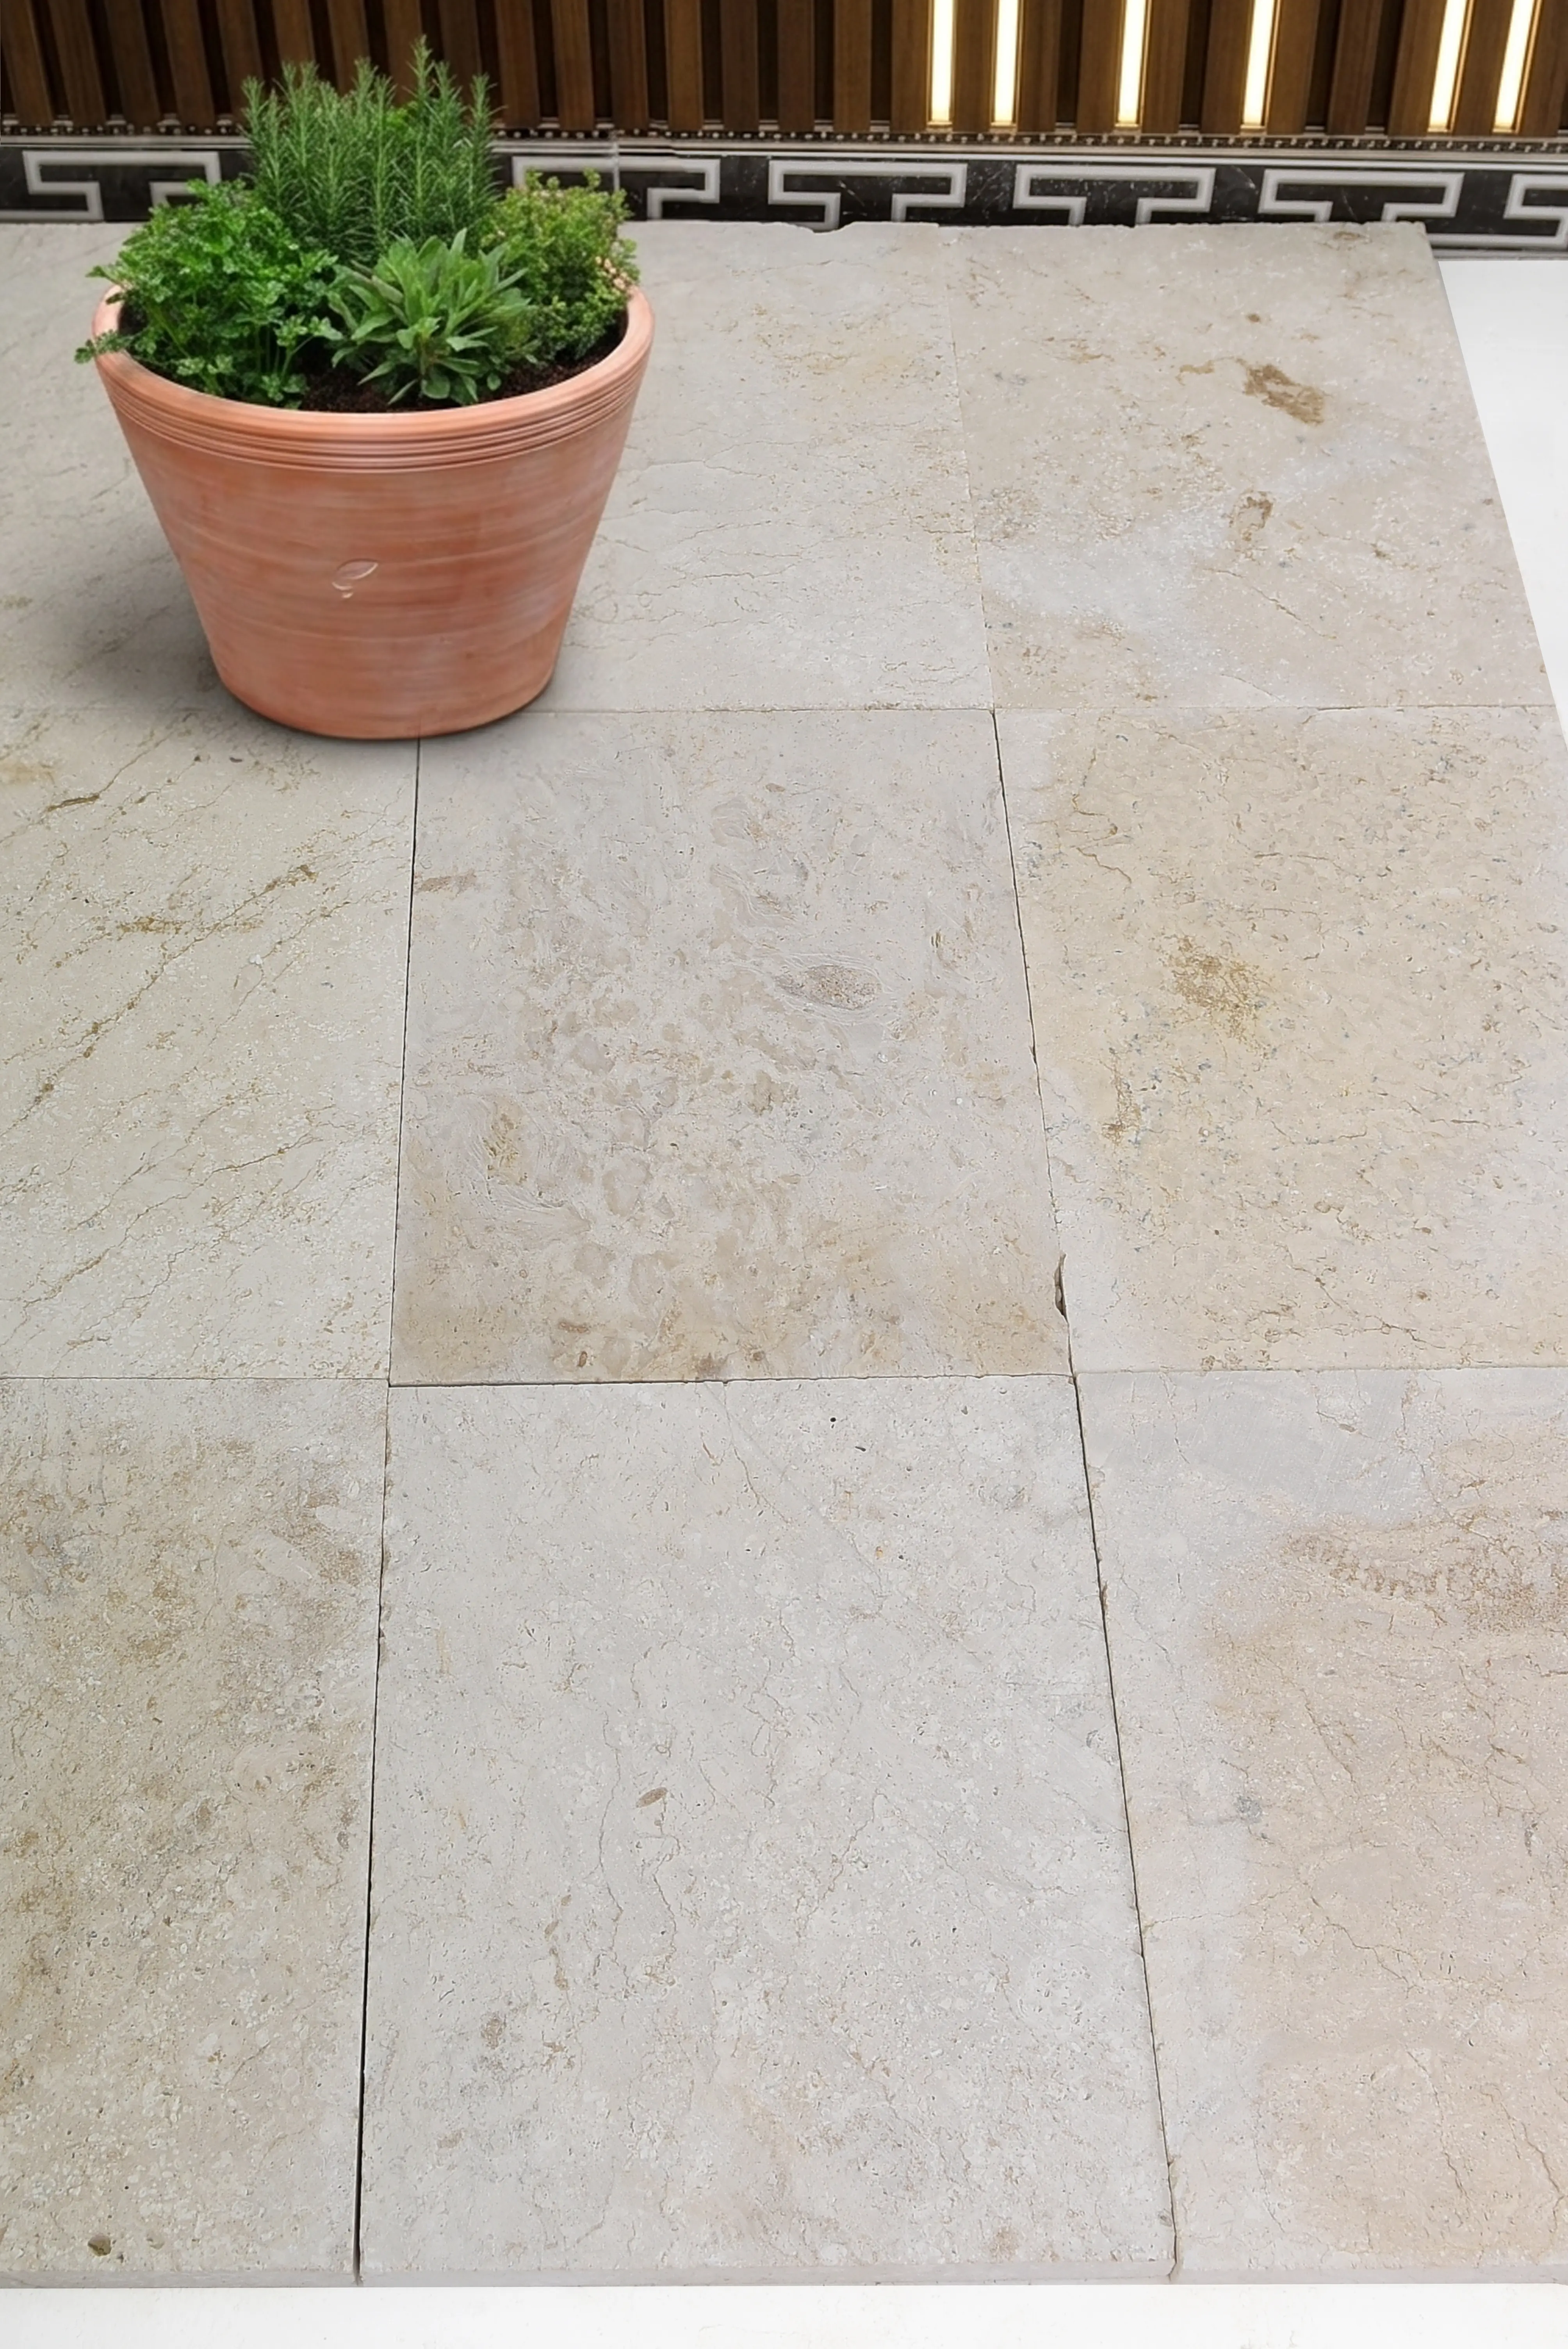
Natural stone produces some of the most distinctive herringbone floor tile results available — the directional vein movement in travertine or limestone shifts angle with each alternating tile, creating a depth that no printed porcelain surface replicates. The herringbone pattern amplifies this veining effect because your eye follows both the zigzag geometry and the material’s own linear texture simultaneously. The result is a surface that reads differently from multiple angles and across different lighting conditions throughout the day.
For projects where the herringbone floor tile connects visually to landscape design elements — a tropical-planted interior courtyard, a formal colonial entry hall, or a minimalist stone-and-water garden visible through glass walls — natural stone in a herringbone layout bridges interior and exterior material language more convincingly than manufactured tile. Limestone in a 2:1 herringbone format running toward a garden-facing window creates a continuous visual thread between interior flooring and exterior hardscape. When exploring options for complementary stone products, Citadel Stone travertine formats offer calibrated thickness and consistent edge quality that makes angled herringbone cuts clean and accurate.
Cutting Technique for Herringbone Accuracy
The perimeter cuts in a herringbone floor tile installation are all compound angles — the tile face cuts at the herringbone angle, and the edge cuts must remain square. A wet saw with a quality turntable is non-negotiable for this work; an angle grinder produces edge chipping on porcelain and natural stone that telegraphs through the finished grout joint. Set your turntable fence to the exact herringbone angle — typically 45 degrees — and run every border tile through a consistent stop-block setup so cut lengths are identical across the entire perimeter run.
Natural stone requires a diamond blade rated for the material’s hardness. Dense travertine and limestone cut cleanly on a standard continuous-rim diamond blade at moderate feed speed. Forcing the feed rate chips the edge and creates micro-fractures that open during thermal cycling in heated floor applications. Take your time on cuts — a 10-second slower pass produces a measurably cleaner edge that needs minimal clean-up before laying.
- Use a quality wet saw with a calibrated turntable — not an angle grinder — for all herringbone perimeter cuts
- Set a stop-block on your fence so every perimeter cut is identical in length
- Cut natural stone at moderate feed speed to prevent micro-fracturing at the blade exit
- Test your cut angle on a scrap tile before committing to field pieces
- Allow cut edges to dry fully before applying adhesive — wet edges reduce bond strength on porous materials
Grout Joint Sizing and Selection
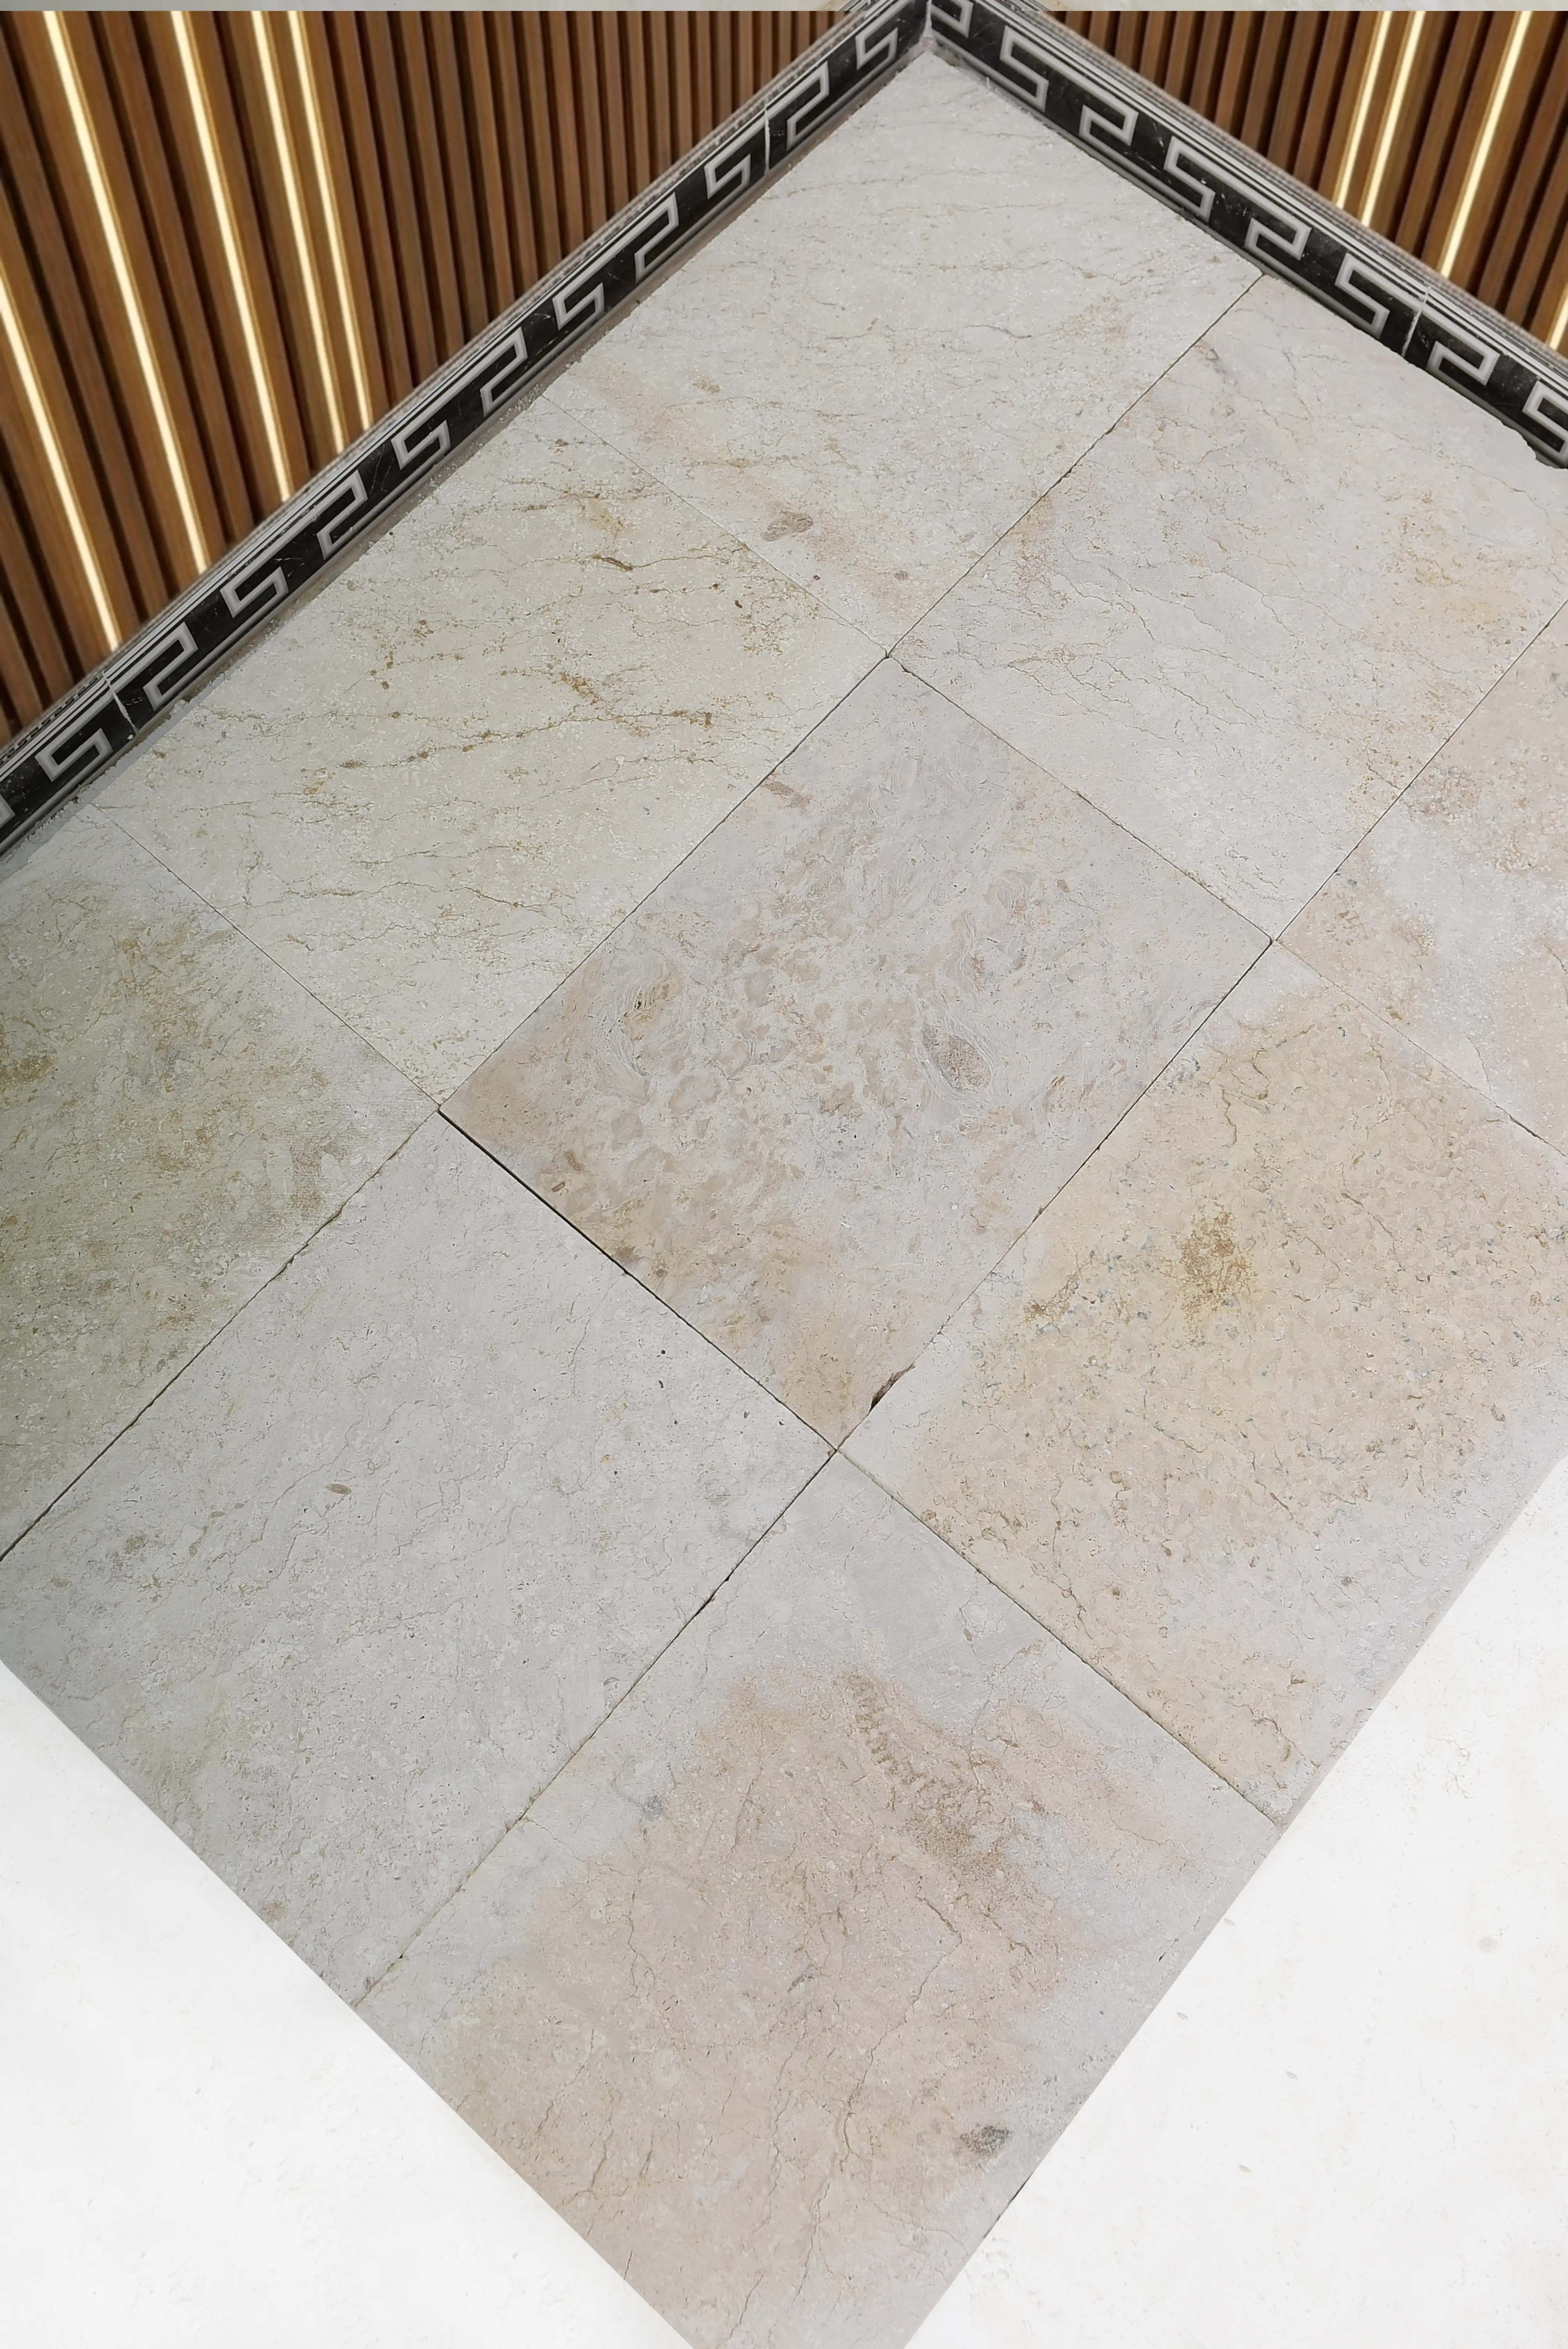
Grout joint width in herringbone floor tile work does more aesthetic work than in grid patterns — the joint lines trace the entire zigzag geometry and become a design element in their own right. A 1/16-inch joint makes the pattern feel monolithic and refined; a 3/16-inch joint emphasizes the geometric structure and suits more rustic or traditional interiors. For natural stone with calibration tolerances above ±0.5mm, a minimum 3/32-inch joint is advisable to absorb size variation without creating lippage.
Unsanded grout suits joints below 1/8 inch; sanded grout handles anything above. For herringbone floor tile in wet areas — specifically porcelain bathroom floor tile applications — an epoxy grout at the 1/16 to 1/8-inch joint range provides highly resistant performance against moisture penetration and staining without requiring the periodic sealing that cement-based grouts demand. According to ASTM tile testing standards, grout selection should account for both joint width and the tile’s absorption class to ensure long-term bond integrity in the installed assembly. Color-match your grout to the tile body for a monolithic effect, or contrast it deliberately — both are valid design choices in herringbone work, but decide before you start, because a grout color change mid-project is a full regrout job.
Ordering, Waste Factors, and Project Logistics
Herringbone floor tile layout requires you to order more material than a standard grid installation. A straight herringbone orientation typically needs 10 to 12 percent overage for cuts and waste; diagonal orientation pushes that to 15 to 20 percent. Add another 5 percent if the room has multiple alcoves, bay windows, or curved walls — each re-entrant corner multiplies your cut count. Order all tile from a single production run (same batch number) to guarantee consistent calibration and shade matching across the installed field.
Citadel Stone maintains warehouse inventory across the national supply chain, which typically compresses lead times significantly compared to special-order imports. Confirm warehouse availability before finalizing your project schedule — tile that sits on a truck in transit while your installer waits creates expensive downtime on any commercial or high-end residential project. Verify that your confirmed stock quantity matches your total order including waste overage before the truck delivers, because mid-project reorders from a different production run are the most common source of shade variation complaints in herringbone floor tile installations.
- Straight herringbone: order 10 to 12 percent above net area
- Diagonal herringbone: order 15 to 20 percent above net area
- Complex room geometry: add a further 5 percent per re-entrant corner or curved wall
- Confirm batch numbers match across all boxes before accepting delivery
- Store tile flat in a climate-controlled space — stacking on edge warps thinner formats
Key Specification Decisions for Herringbone Floor Tile
Getting herringbone floor tile right comes down to decisions made before the first tile goes down — starting point accuracy, format selection, orientation, and substrate flatness all determine whether the finished installation looks intentional and refined or visually busy and unresolved. The cutting precision required for clean perimeter work distinguishes professional results from amateur attempts, and it’s worth investing in the right wet saw setup to get those compound-angle cuts consistent across the entire perimeter run. Natural stone formats bring a material richness to the herringbone pattern that manufactured tile cannot fully replicate, particularly in spaces where the interior connects visually to landscape design elements outside. If you’re also evaluating manufactured tile alongside natural stone for your project, porcelain versus travertine flooring options covers the key specification differences worth understanding before you finalize your material choice. Sourced from premium quarries in Turkey and the broader Middle East region, Citadel Stone travertine holds sharp edges for angled patterns.
Related reading: Large Tile Lippage Problems: Causes and Fixes · bathroom floor tile ideas · large format floor tile patterns.