What Actually Causes Large Tile Lippage Problems
Large tile lippage problems are rarely about the tile itself — they’re almost always a substrate and installation failure that reveals itself only after the grout cures. The physics are straightforward: a 24×24 inch tile has roughly sixteen times the surface area of a 6×6, which means even a 1/16-inch variation in your mortar bed translates to a visible edge differential that your foot catches every single time. Lippage in large-format stone runs on a different standard than small-format tile, and the ANSI A108.02 tolerance of 1/32 inch for tiles over 15 inches on any side is genuinely unforgiving.
Substrate Flatness: The Non-Negotiable Foundation
Your substrate flatness specification needs to tighten considerably when you move into large-format stone. The industry benchmark most installers cite — 3/16 inch over 10 feet — was written with small-format tile in mind. For any tile exceeding 18 inches on its shortest dimension, you should be targeting 1/8 inch over 10 feet and 1/16 inch over 2 feet. That’s a genuinely different level of prep work, and it means floating a mud bed or using a self-leveling underlayment rather than relying on your thinset to bridge irregularities.
- Mud-bed floating delivers the most controlled flatness for problematic substrates, particularly concrete slabs with aggregate pop-out or wood subfloors with deflection issues
- Self-leveling underlayment products work well on relatively sound slabs, but require you to address any structural movement joints before pouring
- Direct-bond to existing concrete is only appropriate when the slab measures flat to within spec — never assume a poured slab meets tolerance without checking it yourself
- Wood subfloors introduce deflection that compounds lippage over time — the TCNA recommends a maximum L/360 deflection ratio, and for large-format stone, pushing toward L/720 is the smarter specification
According to TCNA installation standards, deflection and substrate flatness are the leading preventable contributors to tile failure in large-format installations. The preparation phase costs a fraction of what a lippage-driven reinstallation runs.
Thinset Coverage and Mortar Bed Technique
Here’s what most specifiers miss when they first tackle large-format stone: the thinset coverage requirement isn’t just higher — it’s structurally different. You’re not filling gaps; you’re creating a continuous support plane. The ANSI A108.5 minimum of 80% contact coverage applies to standard installations, but for exterior applications or anywhere moisture cycling is a factor, you need 95% or better — and that number is genuinely hard to achieve without back-buttering every tile.
The large tile lippage prevention and repair conversation almost always circles back to trowel selection. A 1/2-inch square-notch trowel collapses to roughly 3/16-inch after compression, which simply isn’t enough bed depth for a 24×24 or larger format. Move to a 3/4-inch or even 1-inch V-notch on heavy stone, and use the directional combing technique — comb the substrate in one direction and back-butter the tile in a perpendicular direction. When the tile sets, the ridges cross and collapse into full, void-free coverage. You can pull a tile after setting and check: a properly set tile should show 95%+ transfer with no uncontacted voids larger than the size of a quarter.
- Back-butter every tile regardless of the substrate condition — it’s non-negotiable for large-format stone
- Use medium-bed mortars specifically rated for large and heavy tile, not standard thinsets that are prone to slumping under the weight of stone over 9 lbs per square foot
- Maintain consistent working time — mortar that has skinned over will not bond adequately and creates hollow spots that telegraph as lippage under load
- Check your coverage rate by pulling a test tile within the first 15 minutes of setting — adjust trowel size or technique before committing to an entire field
Choosing the Right Large-Format Natural Stone
Stone warpage is an underappreciated contributor to large tile lippage problems that no amount of installation technique can fully compensate for. Natural stone isn’t manufactured flat the way porcelain is — calibration tolerances in natural stone tiles typically allow for 0.3% warpage across the diagonal, which on a 24×24 tile translates to approximately 1/32 inch of inherent bow. For most installations, that’s acceptable. For precision applications where lippage must stay below 1/64 inch, you need to specify rectified stone with enhanced calibration and inspect each crate before accepting delivery.
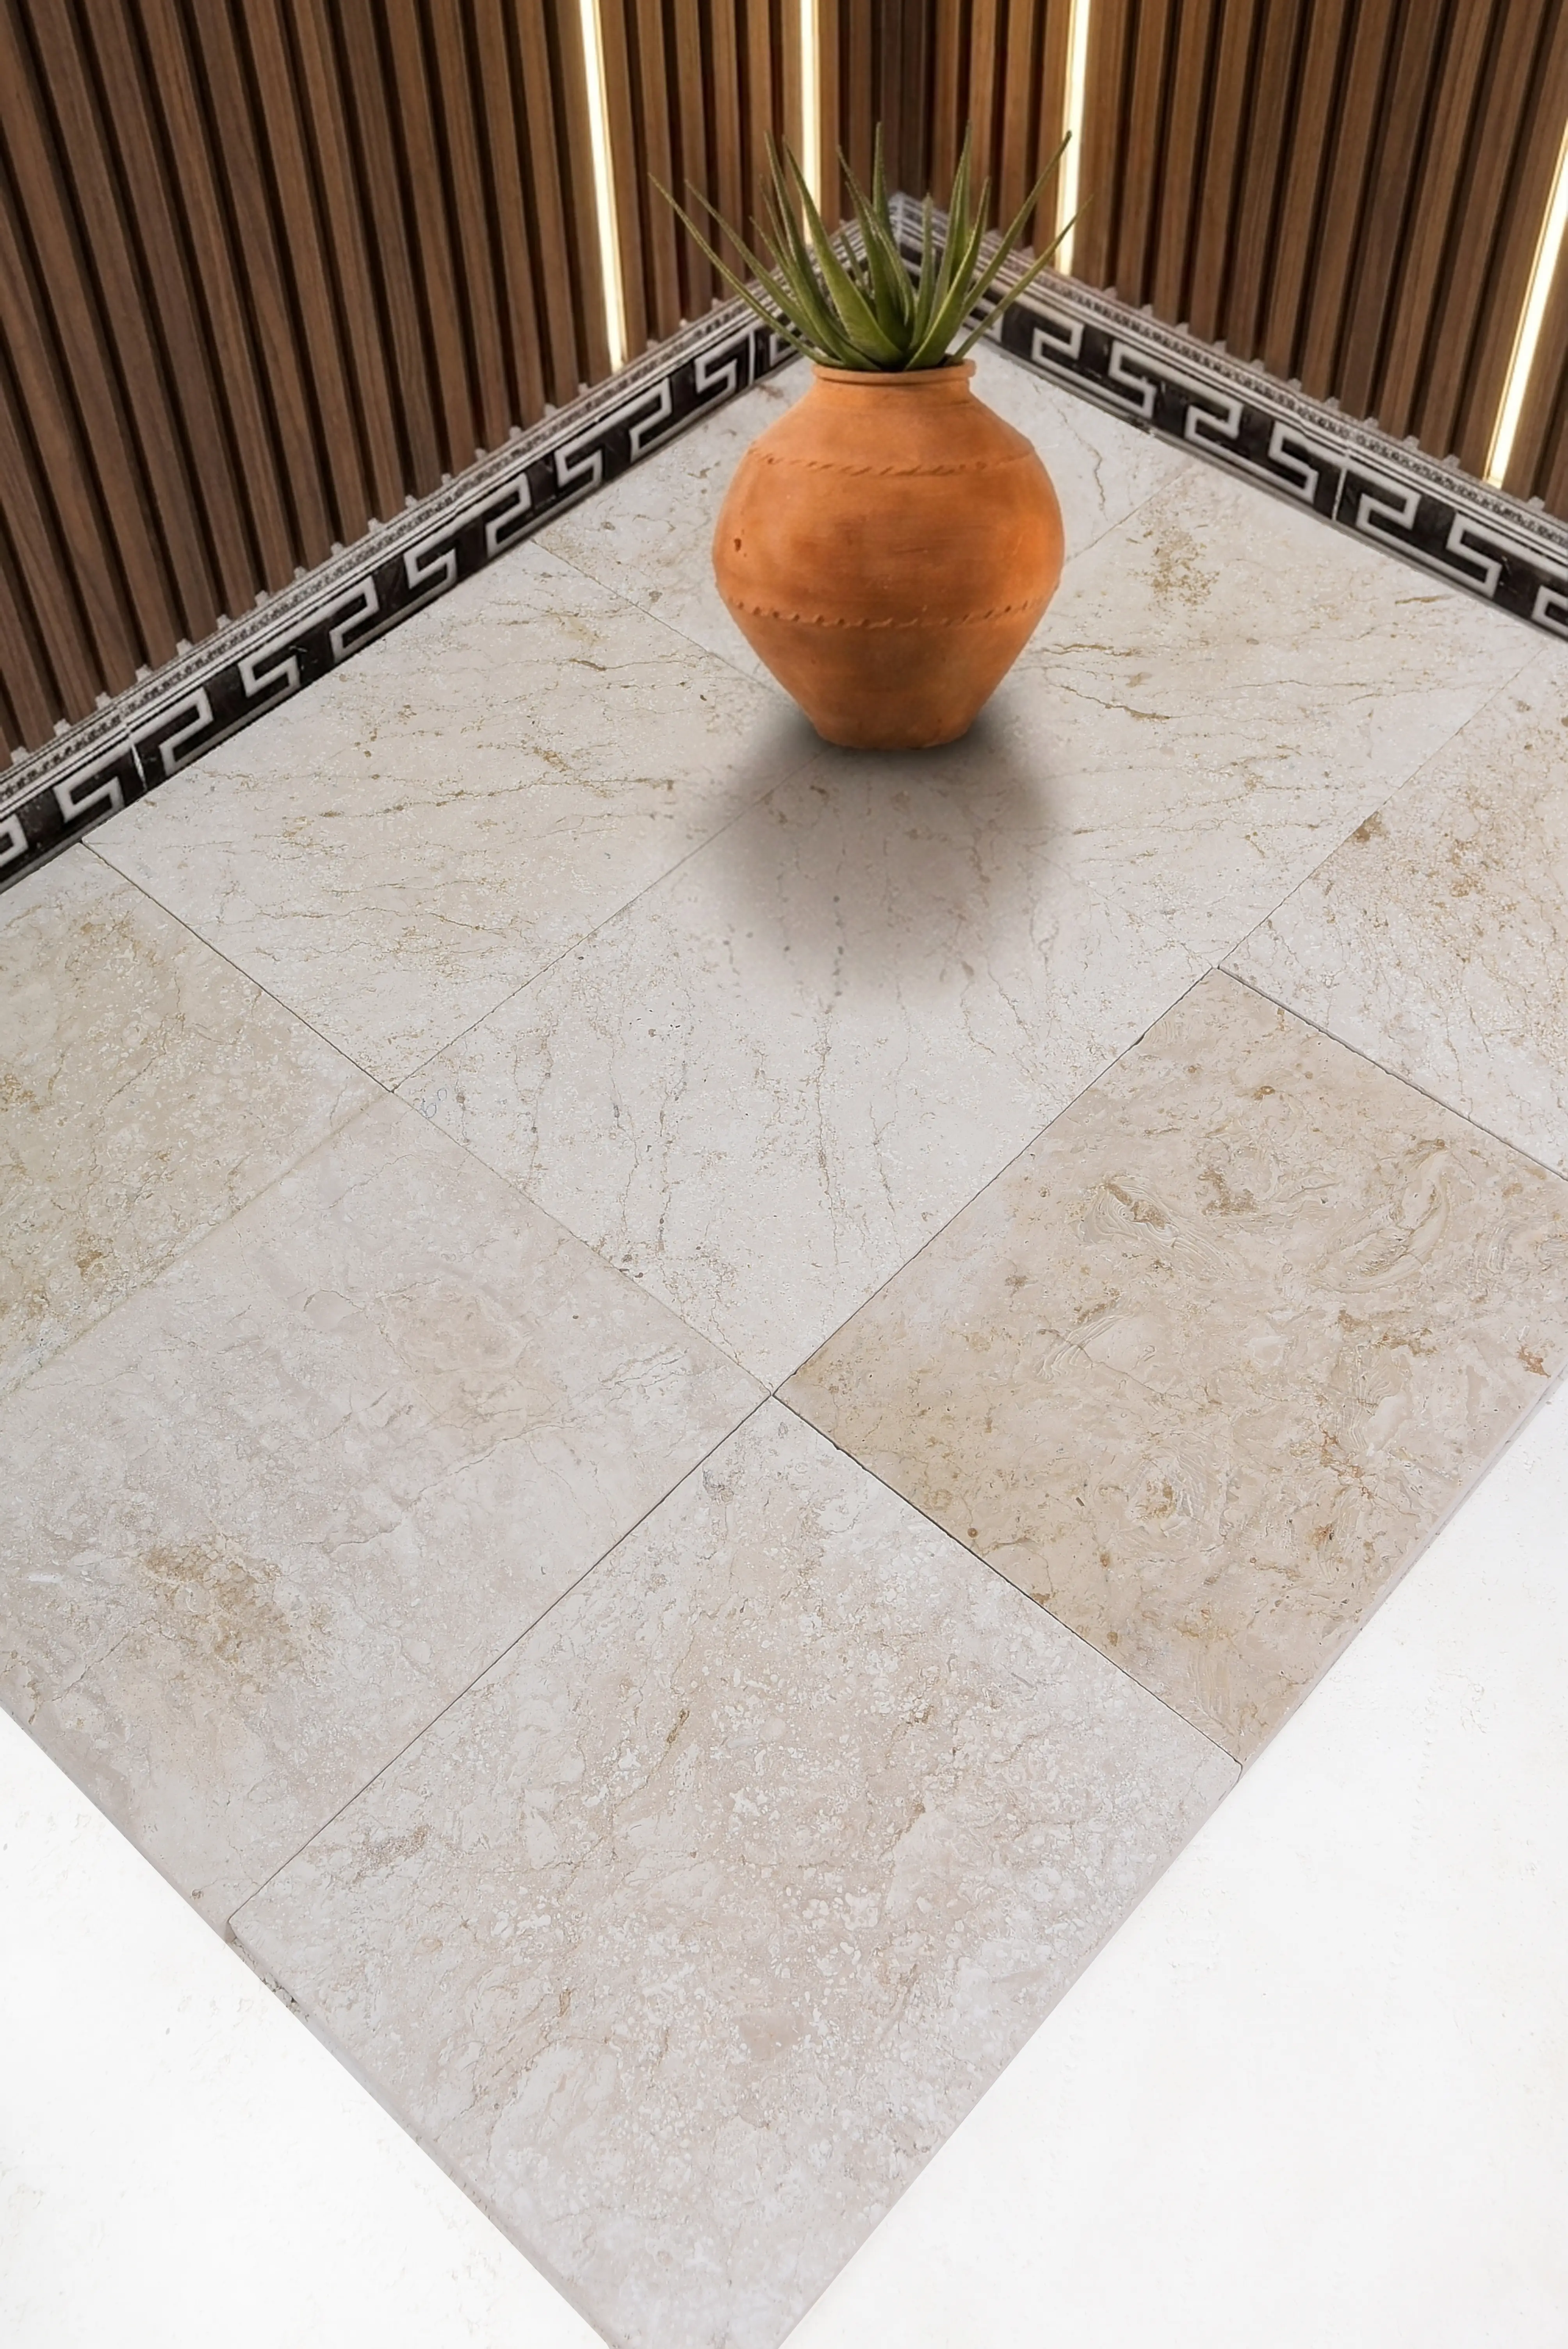
Ivory stone tiles present a specific consideration worth noting here. Because the material tends to be quarried in medium-density ranges, it responds predictably to standard calibration, but lighter-colored surfaces make any lippage — even minor — visually amplified by raking light conditions. Specify a honed or brushed finish rather than a high-polish for large ivory stone tile floors where flatness cannot be perfectly guaranteed, since matte surfaces diffuse light and make minor differential edges far less visible to the eye.
For stone formats above 24×24, review NSI ASTM tile stone specifications for calibration tolerances by material type before finalizing your specification. The tolerance bands for travertine differ from those for limestone or dense basalt, and knowing that gap before you spec is significantly more useful than discovering it on site. For projects specifying large travertine formats specifically, our 24×24 travertine tile collection is pre-calibrated and warehouse-inspected for flatness variance before dispatch.
Movement Joints, Thermal Cycling, and Long-Term Lippage
Thermal cycling is one of the more insidious drivers of progressive lippage that develops after what appeared to be a perfectly flat installation. Stone and substrate expand and contract at different rates — typical natural limestone has a thermal expansion coefficient in the range of 4–8 × 10⁻⁶ per °F, while a concrete slab runs closer to 5.5 × 10⁻⁶ per °F. On a uniform indoor installation, that differential is manageable. On an exterior application where day-night temperature swings cycle the stone through 40–60°F ranges repeatedly across seasons, the accumulated movement stress at tile edges can shear thinset bond lines and cause adjacent tiles to shift vertically — creating lippage where none existed at installation.
In freeze-thaw regions, this effect accelerates sharply. Water that enters a micro-gap at a tile edge expands approximately 9% upon freezing, generating pressures that can exceed the bond strength of inadequately covered thinset beds. What was 1/32-inch differential at installation can read as 3/16 inch after several freeze-thaw cycles if the substrate bond was incomplete. The answer isn’t more thinset — it’s proper movement joint layout. TCNA EJ171 calls for movement joints at a maximum of 20–25 feet in each direction for interior installations, and 8–12 feet for exterior, with additional joints at all changes in plane, at perimeter walls, and at any interface between dissimilar substrate materials.
- Calculate your movement joint spacing based on the thermal range your installation will experience — not just the standard dimensional guidelines
- Use elastomeric sealant in movement joints, not grout — grout cracks under cycling stress and transfers load back to the tile edges
- For exterior large-format stone in freeze-thaw climates, consider reducing your field section size to 8 feet maximum between joints to keep accumulated expansion forces below the bond threshold
- Cold-weather installation requires mortar bed temperatures above 50°F during set — mortar that cures below this threshold develops significantly lower tensile bond strength and is susceptible to early lippage under thermal load
Correcting Existing Large Tile Lippage
Correction options fall into two categories depending on the severity of the differential and whether the installation is bonded or hollow. The first thing to do is knock test every tile in the affected area — a hollow sound indicates inadequate thinset coverage and means the tile is not properly supported. Lippage in a hollow tile is a structural problem, not a cosmetic one, and grinding or polishing alone will not fix it. Those tiles need to come up.
For tiles that are solidly bonded but show minor lippage in the 1/16 to 1/8-inch range, diamond grinding can bring the installation back into tolerance without full removal. This requires a professional wet-grinding system and is followed by honing to restore surface consistency. It’s cost-effective on high-value stone where the material itself justifies the labor, but the acceptable removal depth varies by stone type — dense limestone and travertine typically allow 1/16 to 3/16 inch of material removal without compromising integrity, while softer stones have less margin. Per ASTM natural stone tile testing standards, minimum thickness specifications for floor tile assume the tile was installed at rated thickness — grinding below the safety margin invalidates those load assumptions.
- Always complete a knock test before deciding on a correction approach — do not commit to grinding until you’ve confirmed bond integrity across the full tile
- Grinding is a specialty trade — stone grinding equipment is not the same as concrete grinding, and wrong tooling selection will cause surface damage that exceeds the lippage problem
- For full reinstallation, document the substrate condition before replacing — photograph flatness check results and thinset coverage on pulled tiles to identify the root cause before repeating the work
- Partial tile replacement in patterned or book-matched stone installations carries significant aesthetic risk — matching quarry lot and finish is genuinely difficult after initial installation
Grout Joint Width and Its Role in Managing Lippage
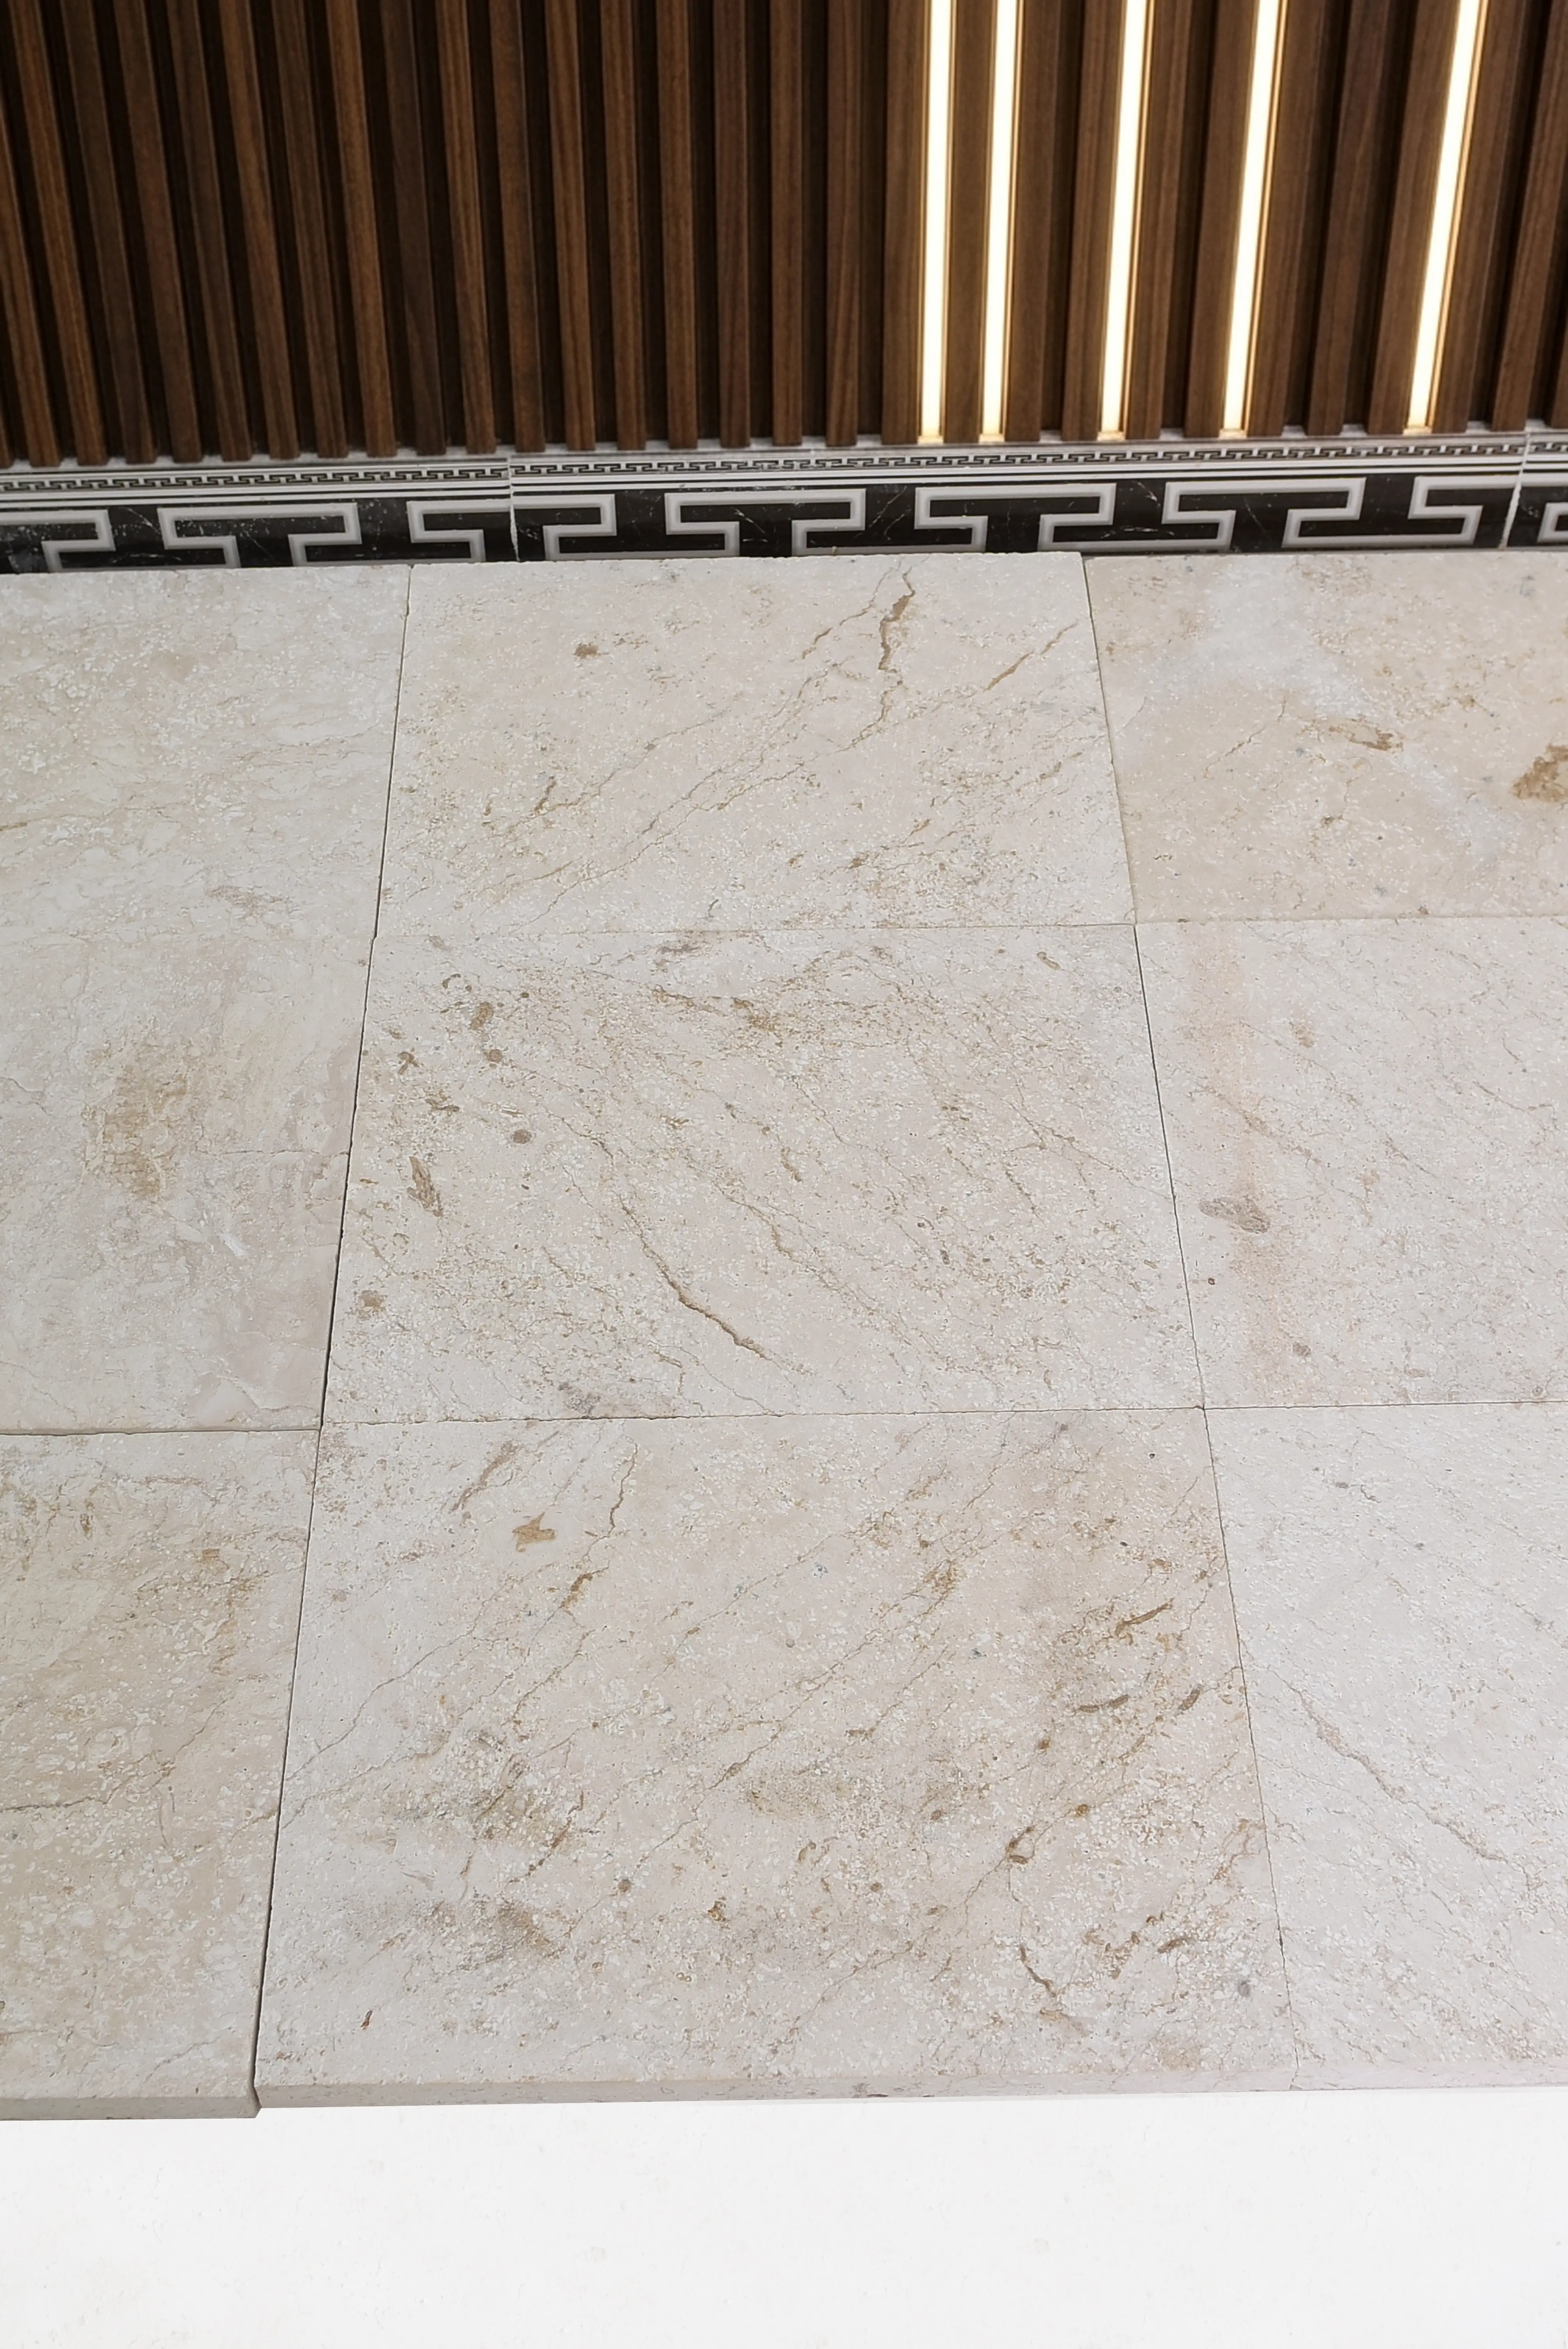
Grout joint width is one of the more practical tools available to you during design — and one that many designers resist because tight joints look premium. The reality is that a 1/16-inch grout joint on a 24×24 stone tile leaves almost zero tolerance for the calibration variation that exists in every natural stone product. Widening to 3/16 inch gives you a shadow line that visually conceals minor differential edges and provides the lateral clearance for thermal movement without generating inter-tile loading stress. It’s not a compromise — it’s correct specification practice for natural stone.
The grout itself matters too. Unsanded grout in joints wider than 1/8 inch will shrink-crack and create the appearance of lippage even in a perfectly flat field because the shadow created by the cracked joint reads as an edge differential under certain lighting angles. Use sanded or polymer-modified grout appropriate to the joint width, and ensure your grout color selection accounts for the way the material interacts with the stone’s surface texture and finish.
Planning, Ordering, and Logistics for Large-Format Stone
Large-format natural stone tile adds logistical complexity that directly affects installation quality. A pallet of 24×24 tiles weighs significantly more than an equivalent area of standard-format tile, and your truck access and lift equipment plan needs to account for that weight at delivery. Citadel Stone coordinates nationwide delivery with freight carriers equipped for heavy stone pallets, and confirming your site access details — including clearance heights, driveway load ratings, and unloading equipment — before dispatch avoids costly redelivery and scheduling delays.
Warehouse inventory levels for large-format stone fluctuate more than standard formats because demand patterns are less predictable and quarry lead times are longer. Securing your full project quantity from a single warehouse batch is genuinely important for large-format natural stone — color and calibration variation between production runs can be significant enough to create visible discrepancies in a field installation, particularly in light-toned materials like ivory stone tiles where surface character reads clearly. At Citadel Stone, we inspect calibration and thickness consistency at the warehouse before releasing pallets, which catches tolerance issues before they become your installation problem.
- Order 10–15% overage on large-format stone to account for cuts, breakage, and future repair matching
- Request lot numbers at the time of order and confirm all pallets ship from the same production lot
- Acclimate stone to site temperature conditions for a minimum of 24 hours before installation, especially in climates with significant day-night temperature swings
- Inspect every tile for warpage on delivery — stand each tile on its long edge against a known straight reference and check for rocking before signing off on the delivery
Preventing Large Tile Lippage Problems: Final Perspective
Large tile lippage problems are among the most preventable failures in natural stone installation — every contributing factor has a known solution, and the solution is always cheaper than the reinstallation. The discipline required is front-loaded: substrate prep, mortar selection, coverage verification, and movement joint layout need to be resolved on paper and confirmed in the field before a single tile goes down. Where projects get into trouble is when schedule pressure compresses the prep phase or when the installation crew applies small-format habits to large-format material. Beyond lippage, planning your broader stone budget is worth doing early — for a detailed look at material and supply cost factors, natural stone floor tile cost breakdown covers what drives pricing across stone types. Hollow spots beneath large-format stone tiles from Citadel Stone are almost always traceable to insufficient thinset coverage rather than tile defects.
Related reading: Large Format Floor Tile Patterns: A Visual Guide · How to Install Large Floor Tile Without Lippage · stone kitchen floor tile ideas.