

Compressive strength for a natural limestone floor typically ranges from 4,000 to 24,000 PSI depending on formation density — a spread wide enough that two slabs sold side by side in the same stone yard can perform completely differently under identical foot traffic. That variance is exactly why a specification sheet reading only “limestone,” without density and porosity data, leaves you guessing. You’ll get the best long-term results by matching the specific limestone grade to a room’s traffic pattern and light exposure, not by assuming every slab behaves the same way underfoot.
Natural Limestone Floor Performance Fundamentals
Density and porosity determine almost everything else about how a natural limestone floor performs once it’s installed. Limestone forms from compacted calcium carbonate sediment, and the compaction rate during formation separates a dense, low-absorption slab from one that drinks water like a sponge. Your best move as a specifier is to request absorption data alongside any sample, because two stones that look nearly identical can differ in absorption by a factor of three or more.
Field experience across many installations shows limestone in the 2-6% absorption range holds up reliably in interior applications with normal humidity control, while anything above 8% needs closer attention to sealing frequency and drainage detailing. According to Natural Stone Institute limestone technical data, hardness on the Mohs scale generally falls between 3 and 4 — soft enough to require careful finish selection, hard enough for durable residential and light commercial flooring when specified correctly.
- Absorption rate: request lab data, not visual estimates, before finalizing a floor spec
- Density: denser slabs resist staining and etching better in kitchens and baths
- Mohs hardness of roughly 3-4 requires finish-appropriate traffic planning
- Color consistency varies between lots and should be sampled before ordering

Selecting Finish and Slab Thickness for Interior and Exterior Use
Your finish selection changes the slip coefficient, the visual depth of the stone, and — critically for exterior work — how the surface interacts with UV exposure over time. Honed finishes leave a matte, low-sheen surface that hides foot traffic wear better than polished stone, while polished finishes deliver reflective depth many entryway designs are built around. These same finish decisions carry over when specifying natural stone veneer for walls, since sheen and texture need to read consistently at eye level and underfoot. Wet DCOF testing under ANSI A326.3 consistently shows honed and tumbled finishes outperforming polished surfaces for wet-area slip resistance, a factor most buyers underweight.
Honed vs Polished vs Tumbled Finishes
Tumbled limestone develops a worn, slightly pitted edge that reads as reclaimed, and it hides the fine surface scratching that accumulates in high-traffic hallways. Polished finishes concentrate light reflection, an asset indoors but a liability outdoors, since UV exposure accelerates visible fading on a glossy surface faster than on a matte one. A natural limestone floor specified for a sunroom or covered patio benefits from a honed or tumbled finish specifically because that texture masks the gradual sheen loss UV degradation causes over years of direct light.
- Polished finish: highest reflectivity, fastest visible wear and UV sheen loss in bright rooms
- Honed finish: matte surface, better slip resistance, more forgiving under strong light
- Tumbled finish: irregular texture, best at concealing scratches and surface fading
- Thickness range: 3/8″ for light interior use, 5/8″ to 3/4″ for heavier traffic, 1.25″+ for exterior transitions
UV Exposure, Color Retention, and Sealing Schedules
Sun-exposed limestone floors — sunrooms, covered patios, rooms with large south-facing glazing — undergo a slower but real form of weathering that has nothing to do with foot traffic. UV radiation breaks down the binding compounds in certain sealers first, which is why a floor that looked fine for three years can suddenly show blotchy sheen loss in year four. The stone itself can also oxidize slightly at the surface, particularly limestone with higher iron content, producing a gradual warming or yellowing of the original tone that reads as aging rather than damage.
Here’s what most specifiers miss: the sealer matters as much as the stone when UV exposure is a factor. A penetrating, breathable sealer rated for UV stability holds color truer over time than a topical acrylic coating, which tends to yellow or craze under sustained sun exposure. At Citadel Stone, we advise resealing sun-exposed limestone floors every 12-18 months rather than the 2-3 year interval that works fine for shaded interior rooms, because the UV load burns through sealer film faster.
- Choose penetrating, breathable sealers rated for UV stability over topical film-forming products
- Reseal sun-exposed limestone floors on a 12-18 month cycle, not the standard interior schedule
- Expect gradual warming or slight yellowing in high-iron limestone under years of direct sun
- Rotate rugs or furniture periodically in high-glare rooms to prevent uneven fade patterns
You can expect a well-sealed, UV-rated limestone floor in a sun-exposed room to hold its original tone within a noticeable but acceptable range for 15-20 years, provided resealing stays on schedule. That’s a realistic outcome, not a guarantee — direct, unfiltered sun for eight or more hours daily will always outpace a floor that gets filtered light through window treatments.
Natural Limestone for Construction: Structural and Load Considerations
Structural specification for limestone used in construction extends well beyond flooring — it covers load-bearing veneer applications, subfloor point-load tolerances, and how the stone behaves under the compressive stress of built-up assemblies. Compressive strength is generally more than sufficient for residential and light commercial floor loads, but lower tensile strength compared to granite means cantilevered applications or unsupported spans need engineering review rather than a rule-of-thumb approach.
Federal geological data from USGS limestone composition research confirms that limestone’s calcium carbonate structure gives it predictable, well-documented mechanical behavior, part of why it remains one of the most specified dimension stones in North American construction. That predictability is useful for engineers, but it doesn’t eliminate the need for a site-specific load calculation whenever limestone moves into a structural rather than purely decorative role.
- Verify point-load tolerances against subfloor structure before specifying large-format slabs
- Account for thermal expansion coefficients when limestone spans large uninterrupted floor areas
- Request engineering sign-off for any cantilevered or structural veneer limestone application
- Confirm anchor and mortar bed specifications match the slab’s actual thickness tolerance
Base Preparation and Installation Detailing
Your installer’s base preparation determines whether a natural limestone floor lasts 12 years or 25, and this step gets rushed more than any other on residential jobs. The same base-prep discipline applies to natural limestone in construction settings that go beyond flooring, including veneer-clad walls and exterior hardscape tie-ins. Compacted aggregate base depth should run 4-6 inches for interior slab-on-grade applications and closer to 6-8 inches where subgrade soil carries higher clay content and expansion potential. Temperature swings during a multi-day set can shift mortar cure times enough that joint spacing tolerances need adjusting by roughly 15-20% from the printed manufacturer recommendation.
Sourcing a consistent thickness tolerance across an entire order matters more than most buyers expect, since even a 1/16-inch variance across dozens of tiles complicates a level installation. Citadel Stone floor tiles arrive pre-sorted by calibrated thickness bands specifically to reduce the leveling compound work that eats into installation labor budgets. Installation practice aligned with TCNA natural stone tile standards recommends a full dry-lay review before setting, which catches shade and thickness inconsistencies while they’re still cheap to fix.
- Compact aggregate base to 4-6 inches for interior installs, more in expansive clay soils
- Confirm mortar bed thickness matches slab calibration before the first tile goes down
- Dry-lay a full room section before setting to catch shade and dimension variance early
- Schedule truck delivery to arrive after base prep is complete to avoid staging tiles outdoors
Coordinating truck access and delivery windows around the actual base-prep timeline avoids the common problem of pallets sitting exposed to weather before a crew is ready for them. A warehouse team that palletizes by room or lot number saves real time on larger jobs, since installers can pull material sequentially instead of hunting through mixed pallets for matching tones.
Natural Stone Wall Veneer and Coordinated Design Elements
Rooms with natural limestone floors often carry the material vertically as well, and coordinating a wall veneer in natural stone with the floor selection is where otherwise solid specifications fall apart on color match. Veneer stone is typically cut thinner and finished differently than flooring-grade slabs, so ordering “the same limestone” for both applications doesn’t guarantee a visual match unless both come from the same quarry lot.
Field note worth remembering: veneer installed on south- or west-facing exterior walls experiences a different UV exposure curve than the floor beneath it, since vertical surfaces catch more direct low-angle sun in morning and evening hours. That means wall veneer in bright exposures may need a UV-stable sealer refresh on a tighter interval than the floor it’s paired with, even when both are cut from the same stone.
- Order floor and veneer material from the same lot number to minimize visible color drift
- Expect vertical veneer surfaces to weather slightly differently than horizontal floor slabs
- Confirm veneer thickness and anchoring method match the wall assembly’s load capacity
- Sample both floor and veneer together under actual room lighting before finalizing an order
Maintenance, Resealing, and Long-Term Appearance
Long-term appearance retention for a natural limestone floor comes down to three habits: consistent sealing, prompt spill cleanup, and periodic professional cleaning that skips acidic products. Limestone’s calcium carbonate composition reacts with acids in vinegar, citrus, and many off-the-shelf tile cleaners, etching the surface in a way sealing alone can’t prevent. Your maintenance plan should specify a neutral-pH stone cleaner explicitly, and that detail belongs in the same document as the installation spec, not left to whoever happens to be cleaning the floor years from now.
Warehouse quality checks on incoming limestone lots typically flag inconsistent finish sheen before material ever reaches a job site, but once installed, sheen consistency becomes the owner’s responsibility through consistent care. A realistic maintenance outcome looks like this: biennial resealing, immediate cleanup of acidic spills, and a professional deep clean every 3-5 years, together supporting 20-30 years of solid appearance performance in normal residential use.
- Use only neutral-pH stone cleaners; avoid vinegar, citrus, and generic bathroom sprays
- Wipe up acidic spills immediately to prevent etching, even on sealed surfaces
- Reseal every 12-18 months in sun-exposed rooms, every 2-3 years in shaded interior rooms
- Schedule a professional deep clean and inspection every 3-5 years for high-traffic floors
Common Specification Mistakes and How to Avoid Them
The most expensive mistakes on natural limestone floor projects happen at the specification stage, well before any truck delivers material to the site. Buyers frequently spec limestone purely on appearance without checking absorption and hardness data, then discover months later that the finish doesn’t hold up the way expected in a busy kitchen or a sun-drenched sunroom.
- Specifying finish based on showroom lighting instead of the room’s actual light exposure
- Skipping absorption rate verification for bathroom, kitchen, or exterior-adjacent installs
- Ordering floor and veneer stone from different lots and expecting a seamless color match
- Underestimating joint spacing adjustments needed for temperature swings during installation
- Assuming all sealers perform equally under UV exposure, regardless of product chemistry
What often gets overlooked is thickness calibration tolerance in the purchase order itself — vague specs invite mixed-thickness pallets that cost far more in leveling labor than the modest price difference for calibrated material. Locking in tolerance language upfront protects both the installation timeline and the budget.
Sourcing, Lead Times, and Project Planning
Lead times for natural limestone floor material vary significantly depending on whether it’s coming from warehouse stock or an import order placed against overseas quarry production. Citadel Stone maintains warehouse inventory positioned for nationwide delivery, which typically brings lead times down to 1-2 weeks for common finishes and sizes, compared to the 6-8 week cycle many projects face when ordering directly from selected quarries from the Middle East or other regions.
Your project schedule should build in buffer time regardless of sourcing route, since even warehouse-stocked material depends on truck availability and regional delivery windows that fluctuate seasonally. Construction season demand in spring and early summer routinely stretches standard delivery estimates by a week or two, so ordering early remains the most reliable way to protect an installation date.
- Confirm warehouse stock levels before locking in a hard installation date
- Build a 1-2 week buffer into truck delivery scheduling during peak construction season
- Request lot-matched material for floor and veneer orders placed at the same time
- Ask about calibrated thickness options if leveling labor is a budget concern
Final Considerations for a Natural Limestone Floor
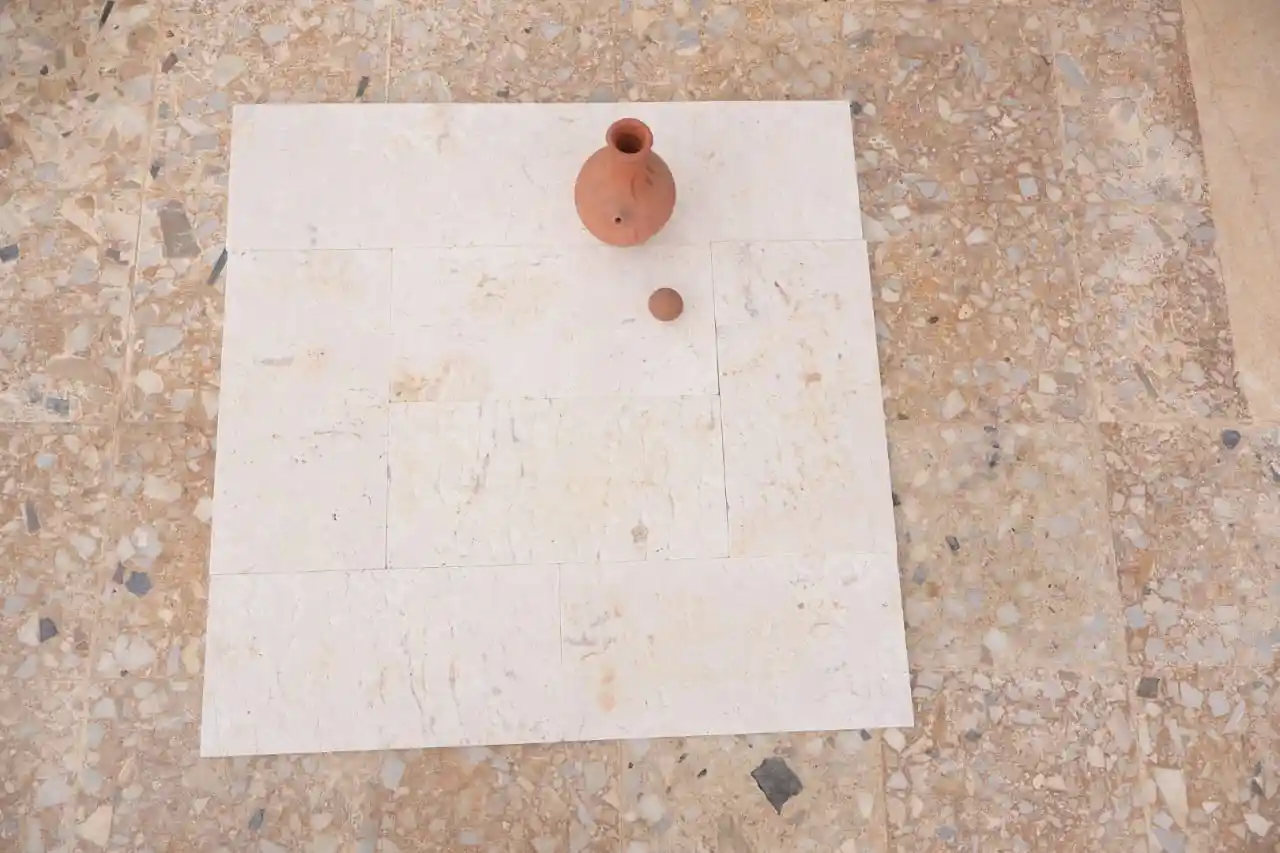
Getting a natural limestone floor right comes down to matching density and finish to how the room is actually used, then backing that decision with a realistic sealing and maintenance schedule. The decisions that separate a floor that ages gracefully from one needing early replacement are rarely dramatic — they’re the absorption rate you verified, the sealer chemistry chosen for a sun-exposed room, and the joint tolerance adjusted for site conditions.
As you plan a broader stone project, related applications can inform other material decisions around the home. For a look at how limestone performs in a different focal application, limestone fireplace design for living spaces covers another dimension of natural stone specification worth reviewing. Flooring from Citadel Stone arrives in calibrated thicknesses that simplify level installs, sourced direct from quarries in Turkey, the Mediterranean, and beyond.
Related reading: Limestone Slate Slabs vs Traditional Slate Compared · Natural Limestone Cleaning Guide: Avoid Etching & Dullness · limestone natural stone straight edging stone.



