Base preparation is where most DIY stepping stones projects either succeed or quietly fail — and the margin between those outcomes is thinner than most guides admit. You can select beautiful stone, nail the spacing, and still end up with a path that rocks underfoot or sinks unevenly within a season if the sub-base isn’t right. The installation process itself is straightforward once you understand what’s actually happening beneath the surface, and that’s what this walkthrough covers from the ground up.
Choosing Your Stone Before You Start
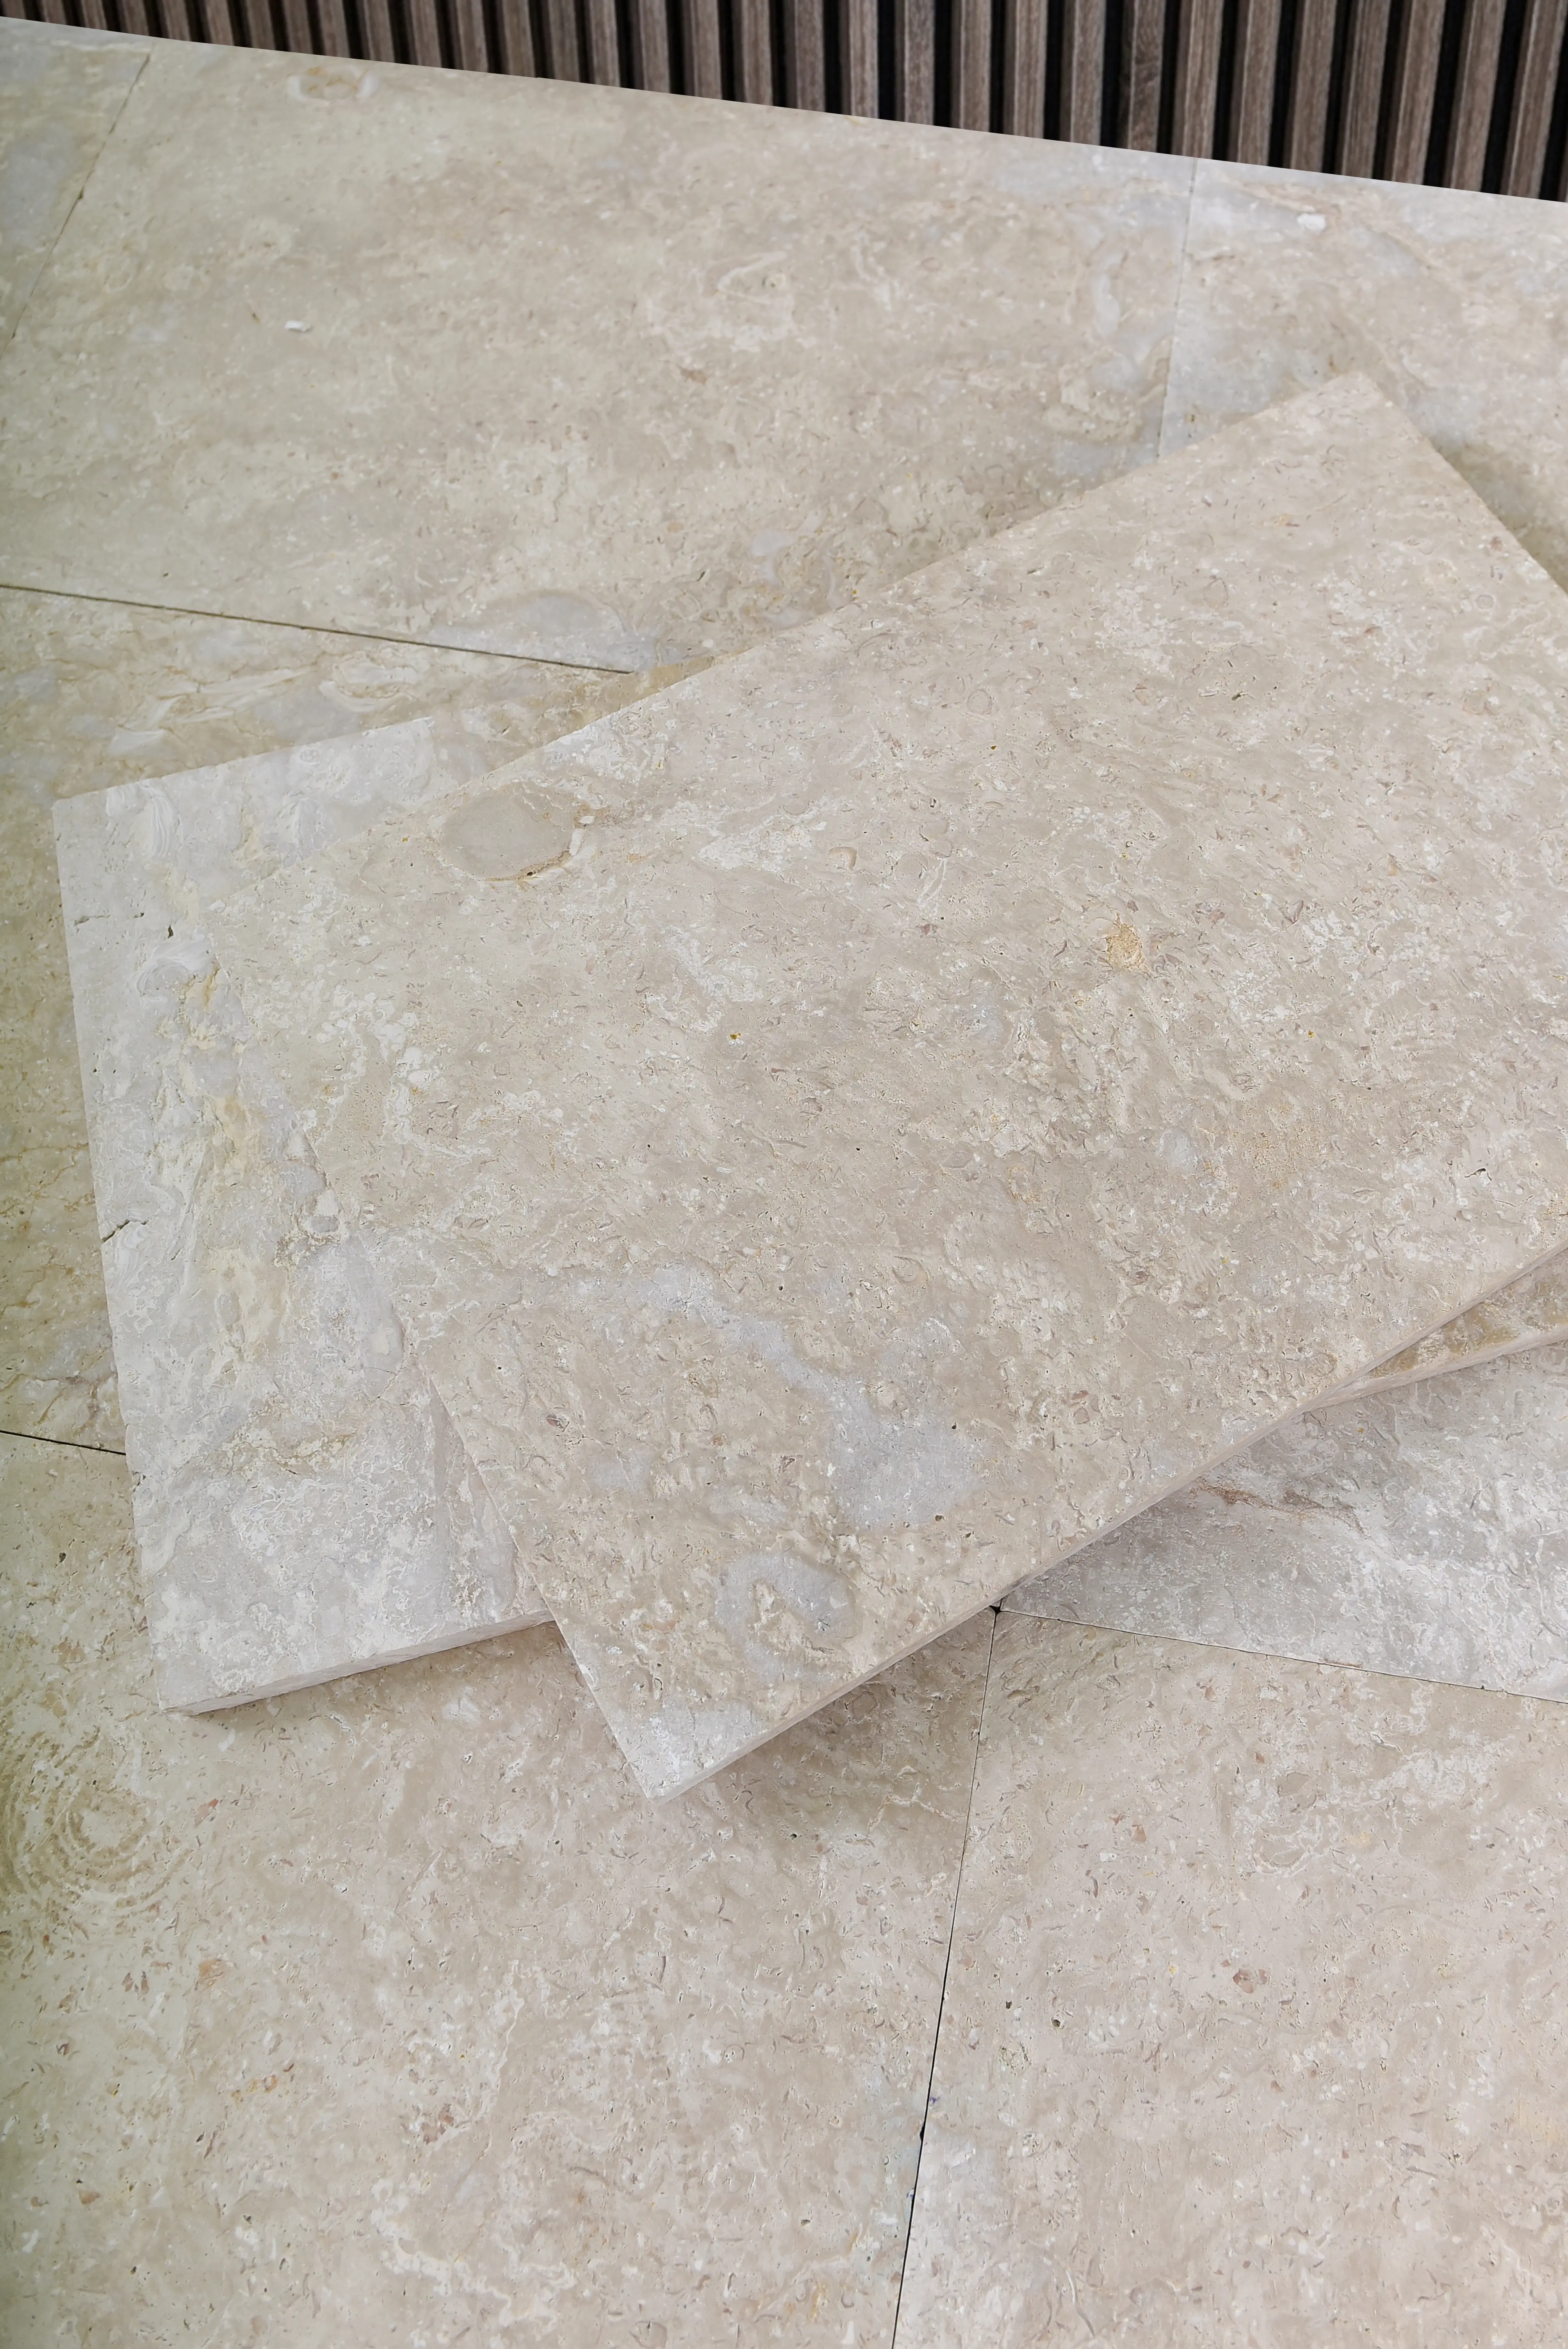
Your first decision — stone type — shapes every downstream choice you’ll make. Natural stone stepping stones behave differently from cast concrete pavers in ways that matter for DIY installation. Natural stone is denser, heavier per square foot, and more dimensionally variable, which means your base prep tolerances need to be tighter. For a DIY stepping stones install, that variability is actually manageable — you just need to account for it during bedding.
Thickness matters more than most homeowners expect. Aim for stepping stones that are at least 1.5 inches thick for pedestrian traffic on a prepared base; 2 inches is the more comfortable spec if your path will see frequent use or if your soil has any clay content. Thinner slabs crack under point loading from heel strikes, particularly when the bedding sand shifts even slightly.
- Natural limestone and sandstone: excellent workability, moderate weight, good texture for grip
- Basalt and granite: denser and heavier, but outstanding long-term durability and low maintenance
- Irregular flagstone: adds visual character but requires more careful leveling during install
- Pre-cut square or rectangular slabs: easiest for consistent spacing and alignment on a DIY timeline
Tools and Materials You Actually Need
There’s no shortage of overcomplicated tool lists for stepping stone installs. Here’s what genuinely matters for a clean DIY result: a spade and flat shovel, a rubber mallet, a long level or screed board, a tape measure, and a hand tamper or plate compactor for anything over roughly 20 linear feet. A garden hose and a broom are also essential for the finishing stages.
For materials, plan on coarse-grained bedding sand — specifically washed concrete sand or leveling sand, not fine play sand. Fine sand compacts unevenly and tends to wick moisture upward. Your aggregate base should be compactable gravel or crushed stone, typically 3/4-inch minus. Skip the landscape fabric under stepping stones in most soil conditions — it prevents the base from bonding with the subgrade and often causes long-term settlement problems that are tedious to correct.
- Compactable gravel base: minimum 4 inches, up to 6 inches in softer soils
- Washed concrete sand for bedding: 1 inch depth, screeded level
- Rubber mallet: essential for setting stones without cracking
- Long screed board or 2×4: for leveling the sand bed across multiple stones at once
- Plate compactor (rental): worth it for any path over 15 feet
Laying Out Your Path: Spacing and Stride
Path layout is where the do it yourself stepping stones process gets genuinely personal — because the right spacing depends on the people who’ll actually walk it. The standard recommendation of 18-24 inches center-to-center covers most adults at a relaxed walking pace, but test it before you dig. Place the stones loosely on the existing surface and walk the path naturally several times. Adjust until the spacing feels automatic and doesn’t require you to consciously adjust your stride.
For curved paths, use a garden hose to define the curve before excavating — it’s much easier to adjust than string lines on a bend. Mark each stone position with spray paint or stakes. Give yourself at least 2 inches of clearance on each side of the stone beyond the excavation edge to allow for base material and minor adjustments during setting.
According to ASLA walkway paving guidance, natural stone pathways should account for pedestrian comfort, drainage, and surface permeability — all of which depend heavily on correct spacing and base design decisions made at the layout stage.
Excavation and Base Preparation
Excavate each stone position to a depth that accommodates your base gravel plus bedding sand plus the stone thickness, with the finished stone surface sitting approximately half an inch above the surrounding turf or grade. That slight elevation prevents water from pooling on the stone surface and gives the path a clean, intentional look. For a 1.5-inch stone on a 1-inch sand bed over 4 inches of gravel, your excavation depth should be around 6.5 inches from finished grade.
Compact the subgrade before adding base gravel. A hand tamper works fine for individual stone positions; for a continuous path, a plate compactor produces more consistent results. Add gravel in two lifts — roughly 2 inches at a time — and compact each lift before adding the next. This layered compaction approach is what separates a base that stays put for 20 years from one that settles unevenly by year three.
- Subgrade compaction: always compact native soil before adding any base material
- Gravel depth: 4 inches minimum for most residential soils, 6 inches for clay-heavy or soft ground
- Compaction in lifts: no single lift thicker than 2-3 inches for hand tamping
- Sand bedding layer: 1 inch exactly, screeded flat — not thicker, not thinner
- Stone overhang above turf: aim for 0.5 inch for drainage without a trip hazard
Handling Slopes and Elevation Changes
Terrain variation is one of the most underestimated challenges in a DIY stepping stones project. Flat ground is forgiving — sloped, irregular, or hillside installations require you to think about drainage geometry before you set a single stone. On a slope, each stone needs to be individually leveled on its own plane rather than following the grade of the ground beneath it. A stone that tilts forward on a slope becomes a hazard when wet, and one that catches water pooling uphill creates a freeze-thaw vulnerability in freeze-thaw regions.
For slopes steeper than roughly 15 degrees, consider stepping the base — excavate each stone position as a small level platform rather than following the hillside continuously. This approach adds excavation time but produces a path that drains correctly and feels stable underfoot. On low-lying or flat sites prone to water retention, your gravel base depth should increase to 6 inches minimum, and you may want to incorporate a slight cross-slope of 1-2% across each stone surface to direct runoff away from the path centerline.
- Level each stone individually regardless of surrounding grade changes
- On slopes: excavate level platforms, not angled cuts that follow the hillside
- Cross-slope drainage: 1-2% away from the path centerline on flat or low sites
- Hillside paths: consider stepping the base at grade breaks to prevent water channeling between stones
- Check for natural drainage direction before excavation — your path should not intercept sheet flow
Setting the Stones: The Detail That Determines Longevity
Your bedding sand should be screeded to a consistent 1-inch depth before placing any stone. The most effective technique is to set two screed rails — a piece of conduit or a straight 1-inch-diameter rod works perfectly — parallel to each other in the excavated area, then drag a straight 2×4 across them to produce a perfectly flat sand surface. Remove the rails and fill the channels with sand before setting the stone.
Place the stone carefully onto the screeded sand and press down firmly by hand first to check the contact. Then use a rubber mallet to tap the stone level, checking with a small torpedo level in two directions. The goal is full contact between the stone and the sand bed — no rocking, no hollow spots. If a stone rocks, remove it, add a small amount of sand to the low area, re-screed, and reset. Resist the urge to shim with small stones or wedge material — it never holds long-term. For quality reference on natural stone paving properties and performance expectations, the Natural Stone Institute stone variety specifications provide reliable technical grounding for material selection decisions.
- Use screed rails for a consistent 1-inch sand bed — don’t estimate by eye
- Check level in two perpendicular directions for each stone
- Full sand contact is non-negotiable — gaps beneath the stone cause cracking under load
- Never shim with debris; always remove and re-sand for a proper correction
- Allow a slight forward tilt of no more than 1% on steps or steep sections for drainage
Gap Filling, Jointing, and Surface Finishing
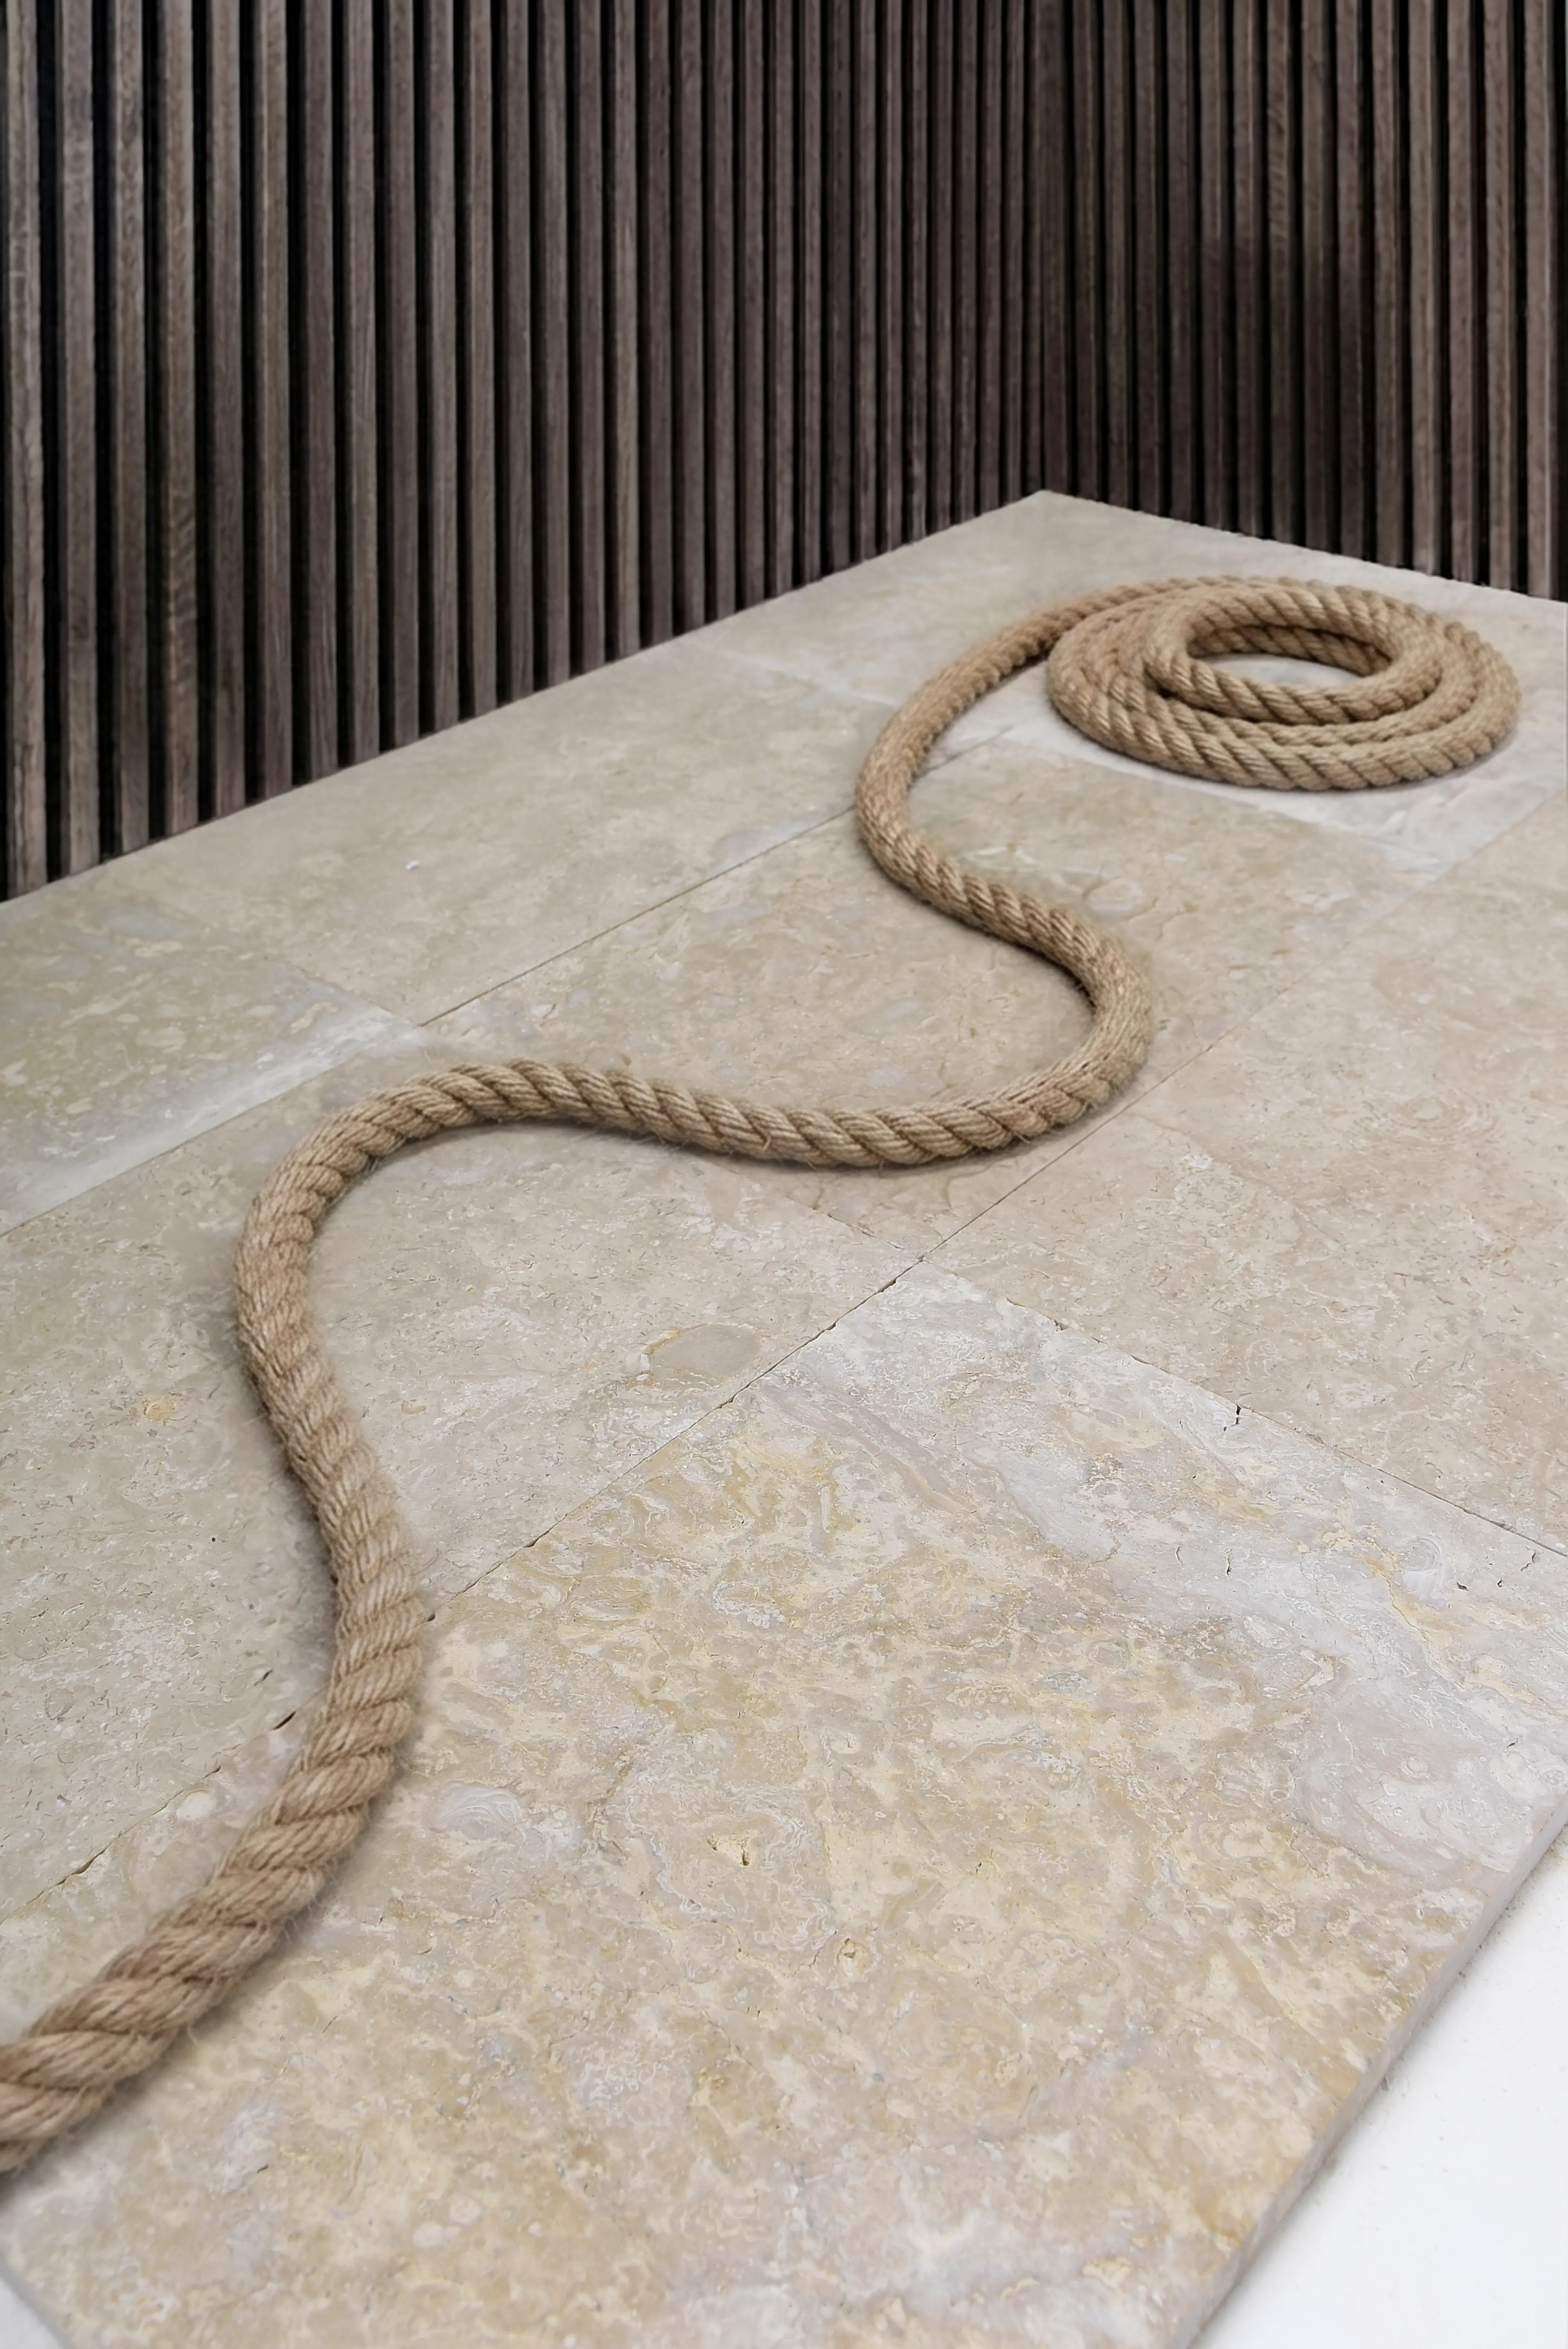
The gap between stepping stones is both a design choice and a functional one. Leaving gaps open and filling them with ground cover — creeping thyme, mondo grass, or gravel — creates a naturalistic look that also handles drainage well. Tightly set stones with swept-in sand joints produce a more formal appearance and work better in high-traffic zones where plantings would struggle.
For swept sand joints on a stepping stones diy kit approach — where stones are pre-sized and placed with consistent spacing — use polymeric jointing sand rather than plain sand. Polymeric sand sets firm when wetted and resists ant infiltration and washout. Sweep it into joints dry, compact lightly with a hand tamp, then mist with water to activate the binding agents. Avoid saturating it — too much water flushes the binding compound out of the joints before it can cure.
At Citadel Stone, we recommend reviewing the stone surface finish before committing to a gap treatment — a honed or flamed surface pairs well with ground cover gaps, while a more formal cut finish typically looks better with tight polymeric jointing. Our technical team can advise on finish options based on your path design and traffic expectations.
- Open gaps with ground cover: best for naturalistic paths, good drainage, lower traffic
- Polymeric sand joints: better for formal paths and high-foot-traffic zones
- Plain swept sand: acceptable but prone to washout and ant disturbance over time
- Gravel infill between stones: excellent drainage, suits a dry garden or Japanese garden aesthetic
Sourcing Natural Stone for a DIY Stepping Stones Project
Natural stone for stepping stone applications is sourced from quarries across North America and from selected quarries in the Middle East, where limestone and sandstone variants offer excellent dimensional consistency for pre-cut formats. Pre-cut stone is a genuine advantage for DIY stepping stones projects — you’re not dealing with the variable thicknesses that come with irregular flagstone, which means your bedding sand depth stays consistent and leveling is significantly faster.
Ask for the lead time when you place the order: material is cut to your specification at our selected quarries, and the schedule is quoted with it. Verify warehouse stock levels before committing to an installation date, and confirm your truck access requirements with the delivery team if your site has restricted access — curbed driveways or narrow side-yard access points can affect whether a standard pallet delivery works or whether you’ll need to hand-carry stone from the curb.
For natural stone paving slabs sized and finished for stepping stone use, Citadel Stone natural paving slabs offers a range of formats suited to both formal and naturalistic path designs. The USGS dimension stone production data confirms that natural dimension stone use in construction has remained consistently strong precisely because pre-cut formats deliver the dimensional reliability that project-based applications demand.
Safety, Accessibility, and Long-Term Maintenance
Surface texture is the safety variable most DIYers underestimate. A polished stone surface is beautiful indoors but becomes hazardous on a garden path when wet. For do it yourself stepping stones applications, specify a flamed, bush-hammered, or natural-cleft finish — these textures maintain a coefficient of friction above 0.6 when wet, which aligns with the slip-resistance thresholds in ADA walkway surface accessibility standards for outdoor pedestrian surfaces.
Maintenance for natural stone stepping stones is minimal but not zero. Clear debris and organic buildup from stone surfaces seasonally — decomposing leaves leave acid residue that accelerates surface weathering on softer stones like limestone. Check joint sand levels annually and top up swept joints where settling has created low spots. Resealing is optional for most natural stone stepping stone applications — it’s more relevant on polished finishes or in situations where staining is a concern near planting beds.
- Surface finish: flamed, cleft, or bush-hammered for safe wet-weather grip
- Annual inspection: check for settled or rocking stones and re-bed as needed
- Debris removal: clear organic matter seasonally to prevent acid surface weathering
- Joint sand top-up: inspect annually, replenish swept joints that have eroded
- Resealing: only necessary for polished finishes or high-staining-risk locations
Final Recommendations for Your DIY Stepping Stones Path
The details that separate a DIY stepping stones path that looks great in year one from one that still looks great in year fifteen come down to three things: adequate base depth for your specific soil, consistent bedding sand depth beneath every stone, and a surface finish that works safely in wet conditions. Everything else — the stone type, the gap treatment, the path curvature — is secondary to getting those fundamentals right. Terrain variation adds complexity, but it doesn’t change the fundamentals; it just requires you to apply them stone by stone rather than across a continuous surface.
Plan your material quantities with a 10% overage for breakage and cuts. Verify your stone order is confirmed and warehouse stock allocated before scheduling your installation weekend — last-minute substitutions with different thickness stock will throw off your base prep calculations entirely. For complementary project planning around stepping stone costs and sidewalk applications, stepping stone sidewalk cost guide covers the budget side of natural stone path installations in useful detail. Stone for nationwide projects arrives pre-cut, so diy stepping stones layouts need only bedding sand and patience to complete.
Related reading: Landscaping With Stepping Stones: Layout Ideas That Work · large stepping stones for walkways · round stepping stones layout.