Layout decisions for landscaping with stepping stones ideas often get made on the fly, and that’s where most projects quietly fail. The spacing you choose on day one determines whether your path feels natural to walk in year five — or whether guests are perpetually half-stepping, adjusting their stride to match stones that never quite matched theirs. Getting stride rhythm right means placing stone centers between 18 and 24 inches apart, measured from stone center to stone center, calibrated to an average adult walking pace rather than a standing-position gut estimate. Stepping stones in landscaping reward this kind of upfront precision in ways that become obvious only after the first full season of use.
Reading Your Site Before You Place a Single Stone
Your site’s topography, soil type, and traffic patterns tell you more than any design mood board. Walk the intended path barefoot at a natural pace and mark where your heel lands — those marks are your stone centers. It sounds almost too simple, but most installers skip this step and end up with a layout that looks great in a plan view and feels awkward at ground level. The body doesn’t negotiate with geometry; it moves on instinct.
Soil bearing capacity matters more than most homeowners expect. In clay-heavy ground, stepping stones have a tendency to tip and settle unevenly because the load spreads laterally rather than compressing straight down. You’ll want at least a 4-inch compacted gravel base in those conditions — not the 2-inch sand-set approach that’s fine for stable sandy loam. According to ASLA guidance on permeable landscape surfaces, proper base preparation is the single biggest determinant of long-term stone stability in residential landscape applications.

Layout Patterns That Actually Work
There are a handful of stepping stone arrangements that consistently produce both visual and functional results. Choosing between them comes down to the path’s purpose, the scale of the space, and how much the installation budget allows for cutting and fitting irregular shapes. Whether you’re landscaping with stepping stones ideas drawn from formal garden traditions or freeform naturalistic layouts, the pattern sets the tone before a single stone is placed.
- Straight single-file: works cleanly along narrow side yards or formal entry approaches — space centers at 20 inches and it reads as intentional, not improvised
- Staggered two-column: two parallel rows offset by half a stone width, ideal for wider garden paths where you want to slow people down and encourage looking around
- Curved informal: follow the natural desire lines through planting beds; slight curves of 10–15 degrees per stone feel organic, sharper angles force unnatural pivoting
- Cluster groupings: three stones set close together to create a landing pad at a path junction or near a seating area, breaking the rhythm intentionally
- Island scatter: individual stones placed across a ground-cover lawn for visual texture rather than functional transit — spacing can open to 30 inches here since people aren’t navigating quickly
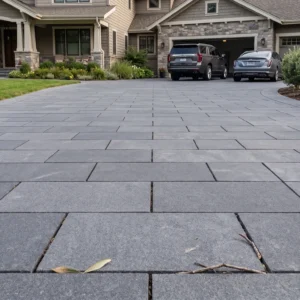
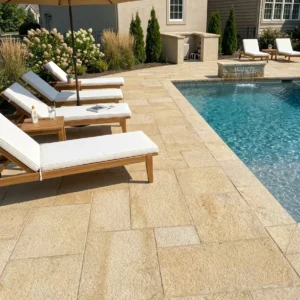
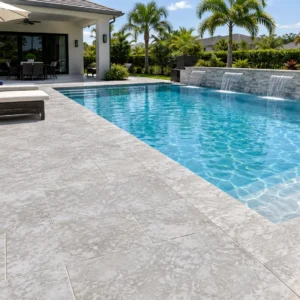
Each of these patterns works with natural stone pavers in a range of thicknesses, but you’ll get the most visual consistency by staying within a single material type across the full layout. Mixing limestone with granite in the same path creates a tonal clash that reads as unplanned rather than eclectic.
Choosing Stone Size, Shape, and Surface Finish
Stone dimensions drive the visual scale of the entire layout. A 12×12-inch stone reads as delicate in a generous garden — it floats rather than anchors. For most residential paths, 16×16 to 24×24 inches gives the visual weight that reads as confident without overwhelming the surrounding planting. Irregular flagstone shapes can be larger still, up to 30 inches on the longest dimension, provided they’re set with consistent reveal above grade.
Surface finish is the detail that most specifiers treat as purely aesthetic when it’s actually a safety and maintenance variable. Honed natural stone pavers offer a clean, uniform surface that photographs well but can become slippery in wet conditions, especially in shaded areas where moss establishes quickly. A sandblasted or natural cleft finish adds texture that grips wet shoe soles far more reliably. The ADA walkway surface accessibility standards specify surface firmness and stability requirements that inform outdoor stone finish selection even for private residential paths — it’s a useful benchmark regardless of whether ADA compliance is technically required.
- Cleft or split finish: highest grip, works in shaded or damp zones, slightly uneven surface may shift under heel strike if base isn’t solid
- Sandblasted finish: consistent texture, reliable traction, ages well in all-weather exposure
- Honed finish: smooth, elegant, best reserved for covered or sheltered path sections where wet accumulation is limited
- Tumbled finish: softened edges, worn appearance, suits cottage or informal garden styles
Drainage Design and Base Preparation
Drainage behavior is the unsexy part of landscaping with stepping stones ideas that determines whether a beautiful layout lasts eight years or twenty-five. In regions with heavy rain seasons, monsoon cycles, or periods of intense precipitation followed by drought, the ground underneath your stones is constantly expanding, contracting, and shifting. A base that isn’t designed to move water away from the stone contact layer will heave in freeze-thaw regions and sink in saturated clay zones.
The standard recommendation is a compacted crushed aggregate base of 4–6 inches, topped with a 1-inch bedding layer of coarse sand. But here’s what that guideline doesn’t specify: the aggregate layer needs a 2% slope away from structures or toward a defined drainage outlet. Without that slope, water pools beneath the bedding sand, and the stones above it are sitting in a shallow reservoir every time it rains. That standing water is what causes frost heave, mortar joint failure, and the gradual tipping that makes an otherwise well-set path look neglected within a few winters.
For sites with significant runoff risk — properties that slope toward the path from higher ground, or installations near downspout discharge zones — consider running a perforated drain line parallel to the path at the base of the aggregate layer. It adds a day to the installation but eliminates the most common long-term failure mode entirely.
- Minimum 4-inch compacted gravel base for clay and loam soils; 2–3 inches acceptable only in well-draining sandy soils
- Maintain a 2% cross-slope in the bedding layer — use a level and string line, not visual estimation
- In heavy-rainfall zones, install a perforated drain line at the base of the aggregate before filling
- Allow 24–48 hours of curing for any mortar-set stones before the installation is exposed to rain
- Recheck surface grade after the first full winter cycle — even well-set stones shift, and early correction is far easier than later releveling
Natural Stone Options for Stepping Stone Paths
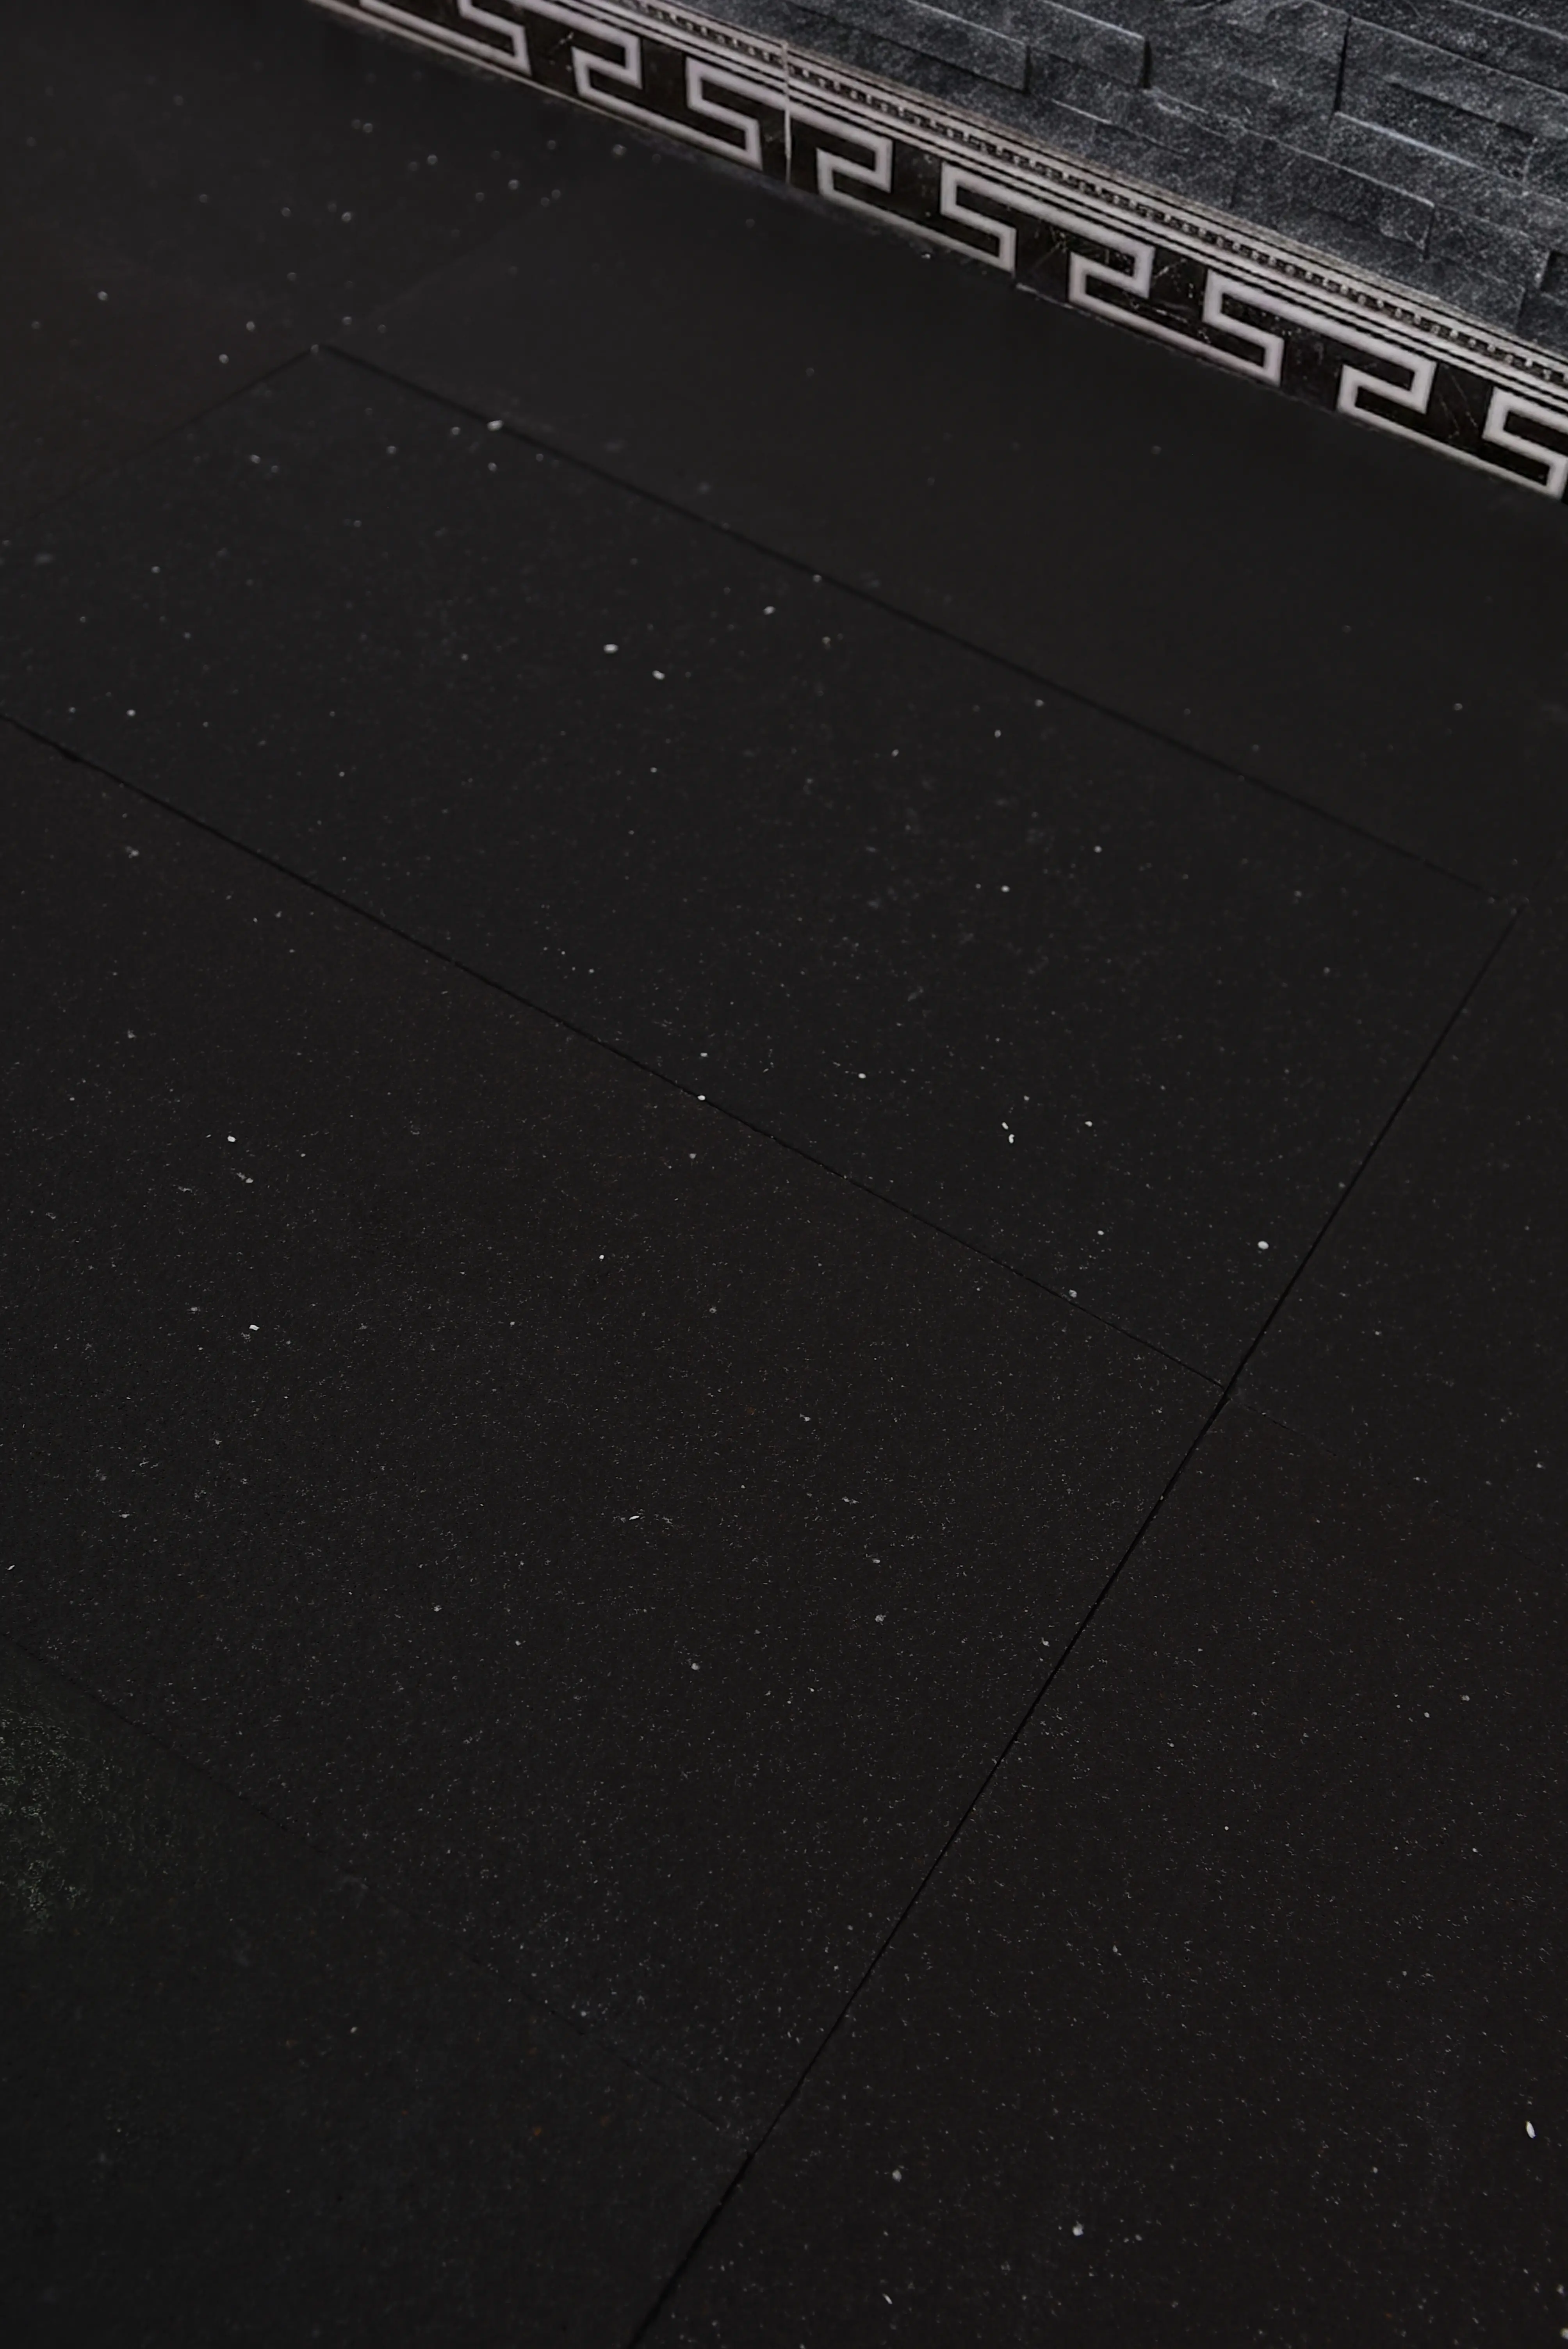
The material you choose sets the character of the entire landscape. Limestone delivers warm, creamy tones that pair naturally with cottage planting styles and formal English-garden layouts — it’s softer underfoot than granite and processes light in a way that makes a garden feel inhabited rather than manicured. Basalt and dark granite create a strong contrast against pale ground cover and gravel, and their density means they resist abrasion even in high-foot-traffic zones. Bluestone’s blue-grey range reads as contemporary and works well in minimalist designs where clean lines between stones and planting beds define the aesthetic.
For projects where sourcing consistency matters — matching all stones to a single quarry run for uniform color and thickness — Citadel Stone landscape stepping stones offers material from verified sources with consistent dimensioning that makes large-format and irregular installations far easier to execute without visible tonal variation across the path. At Citadel Stone, we conduct warehouse-level checks on each batch to confirm thickness tolerance is within ¼ inch across the full order, which prevents the rocking and lippage issues that plague mixed-source projects.
Natural Stone Institute technical data confirms that properly specified and installed natural stone pavers in outdoor landscape settings regularly achieve 30-plus-year service life when base preparation and surface drainage are correctly executed. That longevity justifies a higher material investment than precast concrete alternatives, which typically show surface degradation within 10–15 years under similar conditions.
Planting Between Stones: The Detail That Defines the Look
The space between stepping stones is as important as the stones themselves — possibly more. Low-growing ground cover planted in those joints is what separates a finished landscape installation from a utilitarian path. Thyme, creeping phlox, Irish moss, and Corsican mint all handle light foot traffic without complaint and provide fragrance, texture, and seasonal color that no gravel fill can match.
Your joint planting strategy depends on how much moisture the site retains. In consistently damp areas, moss establishes naturally and requires nothing more than keeping it from drying out. In drier conditions, thyme is more resilient — it handles drought cycles and bounces back quickly after dry spells. If the path runs through a shaded section transitioning to a sunny section, plan for two different species and establish the transition zone at a natural mid-path break, like a cluster landing pad.
- Creeping thyme: drought-tolerant, full sun, light traffic, fragrant when stepped on
- Irish moss: shade-tolerant, moderate moisture, creates a velvet appearance between stones
- Corsican mint: strong fragrance, handles partial shade, slightly more delicate underfoot
- Dymondia: excellent for hot, dry climates, flat growth habit, highly traffic-tolerant
- Blue star creeper: works in partial shade, produces small flowers in spring, handles moderate traffic
Practical Ordering and Project Logistics
Calculating material quantities for stepping stones in landscaping projects trips up even experienced installers. The error almost always runs in one direction: under-ordering. You need to account for waste from fitting cuts on irregular shapes, for any stones that arrive with edge damage, and for the design decisions you’ll inevitably make on-site that weren’t in the original plan. Add 10–15% to your calculated coverage area before placing a warehouse order.
Lead times from a warehouse stock order typically run 1–2 weeks for standard materials, but if you’re specifying a less common stone type or a particular quarry batch for color consistency, allow 3–4 weeks minimum. Truck access to the installation site is worth confirming before you finalize delivery. A standard flatbed truck delivering palletized stone needs a turning radius and approach clearance that narrow residential driveways or gate-restricted properties often can’t accommodate — in those cases, coordinate a street-side delivery with a plan for moving stone to the work area by hand truck or wheelbarrow in staged loads. Citadel Stone’s logistics team can advise on pallet configuration to make that kind of staged delivery more manageable.
Per the CDC NIOSH outdoor surface guidelines, surface irregularity and joint gaps above ½ inch are a measurable fall risk on pedestrian walkways. Keeping your joint width below that threshold isn’t just an aesthetic preference — it’s a safety standard worth building into your specification from the start.
Parting Guidance
Landscaping with stepping stones ideas rewards specificity. Every detail — stride spacing, base depth, cross-slope, joint planting, finish texture — compounds into either a path that feels effortless and looks settled into the landscape, or one that fights the site and shows its age quickly. The ideas that work consistently aren’t the most elaborate ones; they’re the ones grounded in how the site actually behaves and how real people actually walk through it. As you plan your path, also consider that stepping stones occasionally need releveling after a few seasonal cycles — for guidance on that process, resetting sunken stepping stones covers the practical approach to diagnosing and correcting settlement without disturbing the surrounding planting.
Blending Citadel Stone’s varied surface tones with low ground cover between joints produces a finished landscape look that feels considered rather than installed.
Related reading: Garden Stepping Stones Guide: Size, Shape & Material · How to Lay a Stepping Stone Walkway That Stays Level.