

Why River Stone Landscape Design Works So Well
River stone landscape installations earn their reputation not from aesthetics alone but from a performance profile that most decorative materials can’t match. The naturally tumbled surfaces arrive with rounded edges that shed water cleanly, resist chipping under foot traffic, and interlock loosely enough to allow genuine drainage — a detail that saves you from the hydrostatic pressure problems that crack rigid paving over time. According to Natural Stone Institute stone variety specifications, naturally rounded stones exhibit surface hardness and weathering resistance that make them well-suited for high-exposure outdoor environments.
You’ll find river stone performs differently depending on its parent geology. Basalt-origin river rock sits denser, darker, and harder — ideal for contemporary design schemes. Limestone-derived river stone tends lighter in color, with slightly higher absorption, which means it reads warmer tonally but demands a touch more attention in moist or shaded zones where moss colonizes pores. Knowing your stone’s origin before you spec it saves you from a mismatch between the look you want and the maintenance regime you’re willing to commit to.
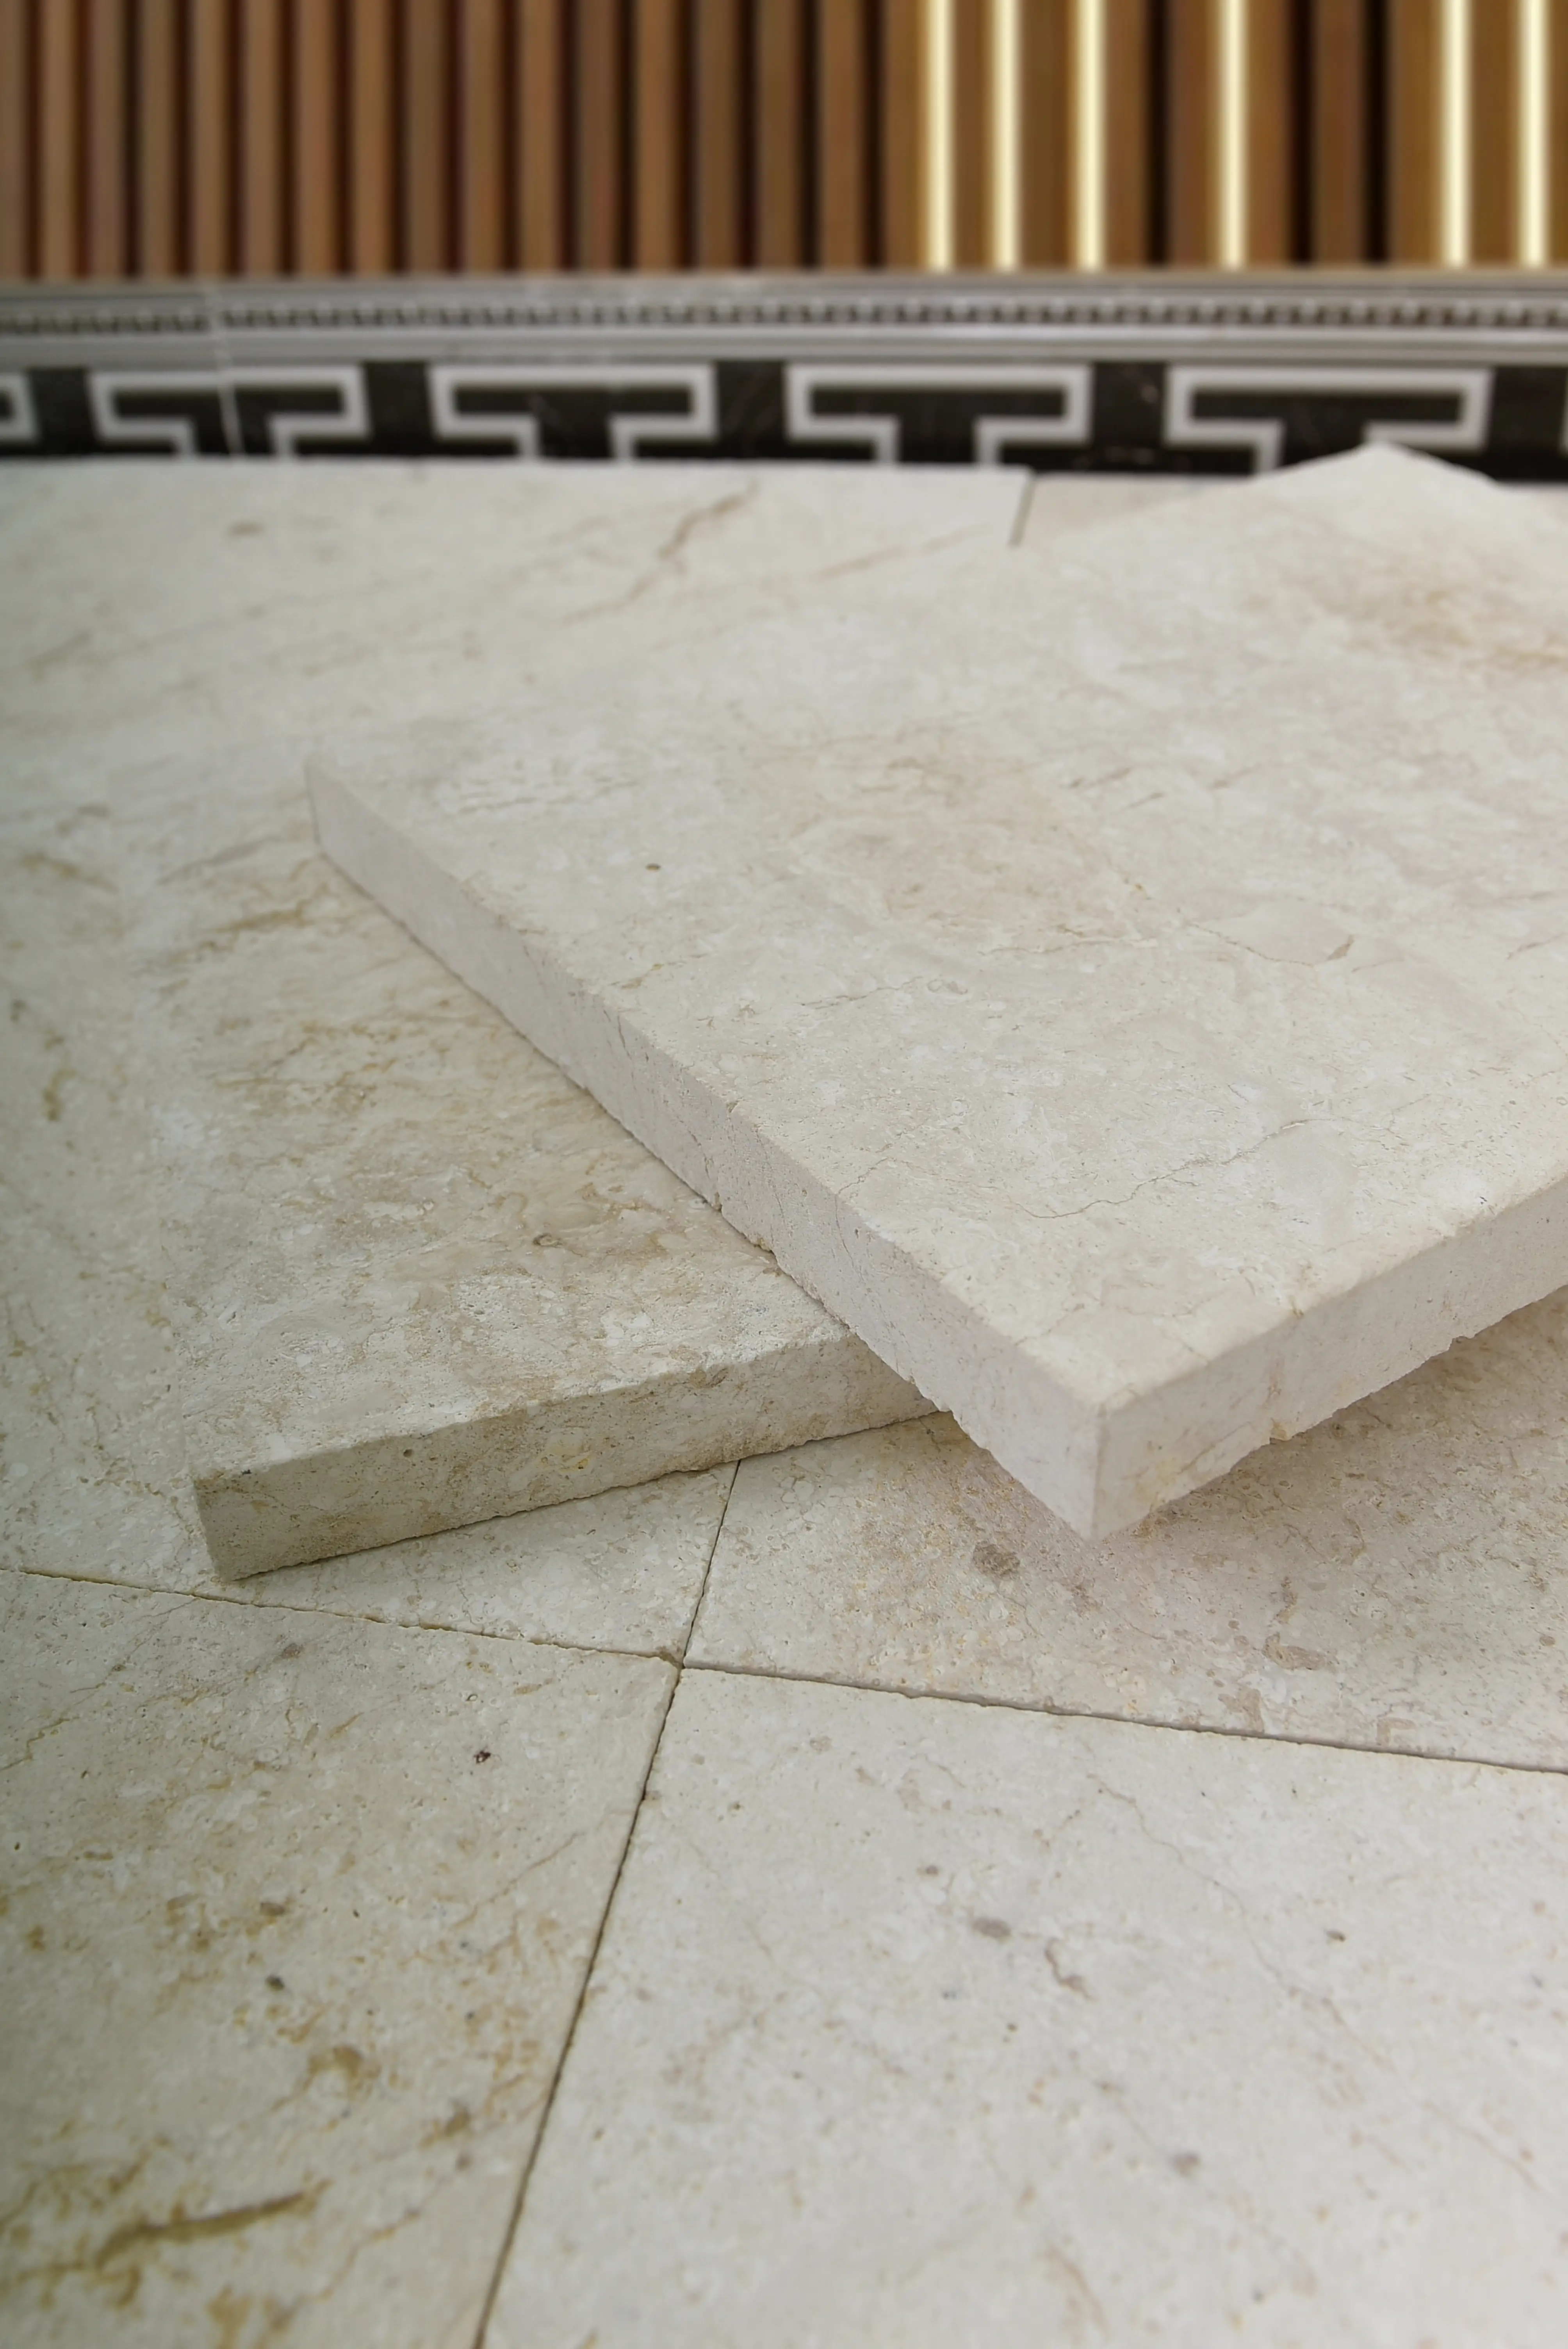
Popular River Stone Landscape Applications
The range of uses for river rock landscape stone is broader than most homeowners initially realize. Knowing which application fits your site conditions — slope, drainage direction, sun exposure, and intended traffic — will determine whether you’re selecting the right size range and depth.
- Dry riverbeds and drainage swales: 3–5 inch river rock redirects surface runoff naturally while eliminating erosion on slopes where turf won’t hold
- Mulch replacement around trees and shrubs: smaller cobbles in the 1–2 inch range suppress weeds without decomposing, maintain soil moisture, and prevent mower damage to trunks
- Japanese and minimalist garden ground cover: flat-laying river stones in the 2–4 inch range laid over landscape fabric create low-maintenance garden floors
- Pathway edging and border definition: linear arrangements of larger river cobbles — 4–6 inches — separate planting beds from lawn without requiring mortar or mechanical fasteners
- Feature boulders and focal points: oversized river stones at 12 inches or larger anchor garden designs the way sculpture anchors interior rooms
- Pond surrounds and water feature margins: river stone landscape elements here must be sized to resist displacement from water movement — go heavier than you think necessary
For pathway and edging work specifically, you should look at our smooth landscape rock options, which include material pre-sorted by size and rounded profile — saving you considerable sorting time on larger projects.
Selecting the Right Size for Each Application
Size selection in river stone landscape work trips up more designers than any other variable. The instinct is to go too small — small stones look proportionally appropriate in photos but disappear visually on large ground planes and shift underfoot constantly. Field performance consistently shows that a stone sized at 20–30% of its visual width in a photograph will read proportionally correct at scale.
Here’s a practical sizing framework based on application type:
- Ground cover under 500 sq ft: 1–1.5 inch pea gravel or small river rock, 3 inches deep minimum for weed suppression
- Large-area ground cover or mulch replacement: 2–3 inch river cobble at 3–4 inches depth gives visual weight without washing in heavy rain
- Dry riverbeds on moderate slopes (2–5%): 4–6 inch river rock prevents migration; anything smaller will travel downstream in a 2-inch rain event
- Steep slopes over 8%: jump to 6–9 inch river stone or combine smaller material with large anchor stones every 4–5 linear feet
- Formal edging or border work: 4–8 inch stones set partially embedded — at least one-third below grade — to resist displacement from mowing and foot traffic
The depth you install matters as much as the size you choose. A single layer of 2-inch river rock provides almost no weed suppression. Three to four inches of coverage is the practical minimum across any application, and going to five inches on high-traffic areas extends the service life significantly before you need to top-dress.
How to Design a Dry Riverbed That Looks Natural
Dry riverbed designs fail when the stone arrangement looks deliberate — uniform spacing, consistent sizing, and perfectly parallel edges read as artificial immediately. Natural riverbeds exhibit a logic you can replicate deliberately: larger stones cluster on the outer curves where water velocity increases, smaller material deposits in the slower interior curves, and the bed narrows at high points and widens at low points.
Your layout should follow the same physics, even when no water actually flows. Place your 6–9 inch anchor stones along the outside edge of every curve, transition to 3–5 inch mid-range cobbles in the center channel, and let 1–2 inch pea-sized material fill the inner curve transitions. This graduated sizing mirrors what USGS natural stone production and use data describes as the natural sorting behavior of waterborne stone — and it’s the detail that separates convincing dry riverbeds from obviously constructed ones.
Bury 10–15% of your feature stones partially in the soil. Stones that sit fully on the surface read as placed rather than settled, and any significant rainfall will shift them anyway. Partially embedded stones also anchor the surrounding smaller material, which reduces migration maintenance in the first two seasons after installation.
Budget, Freight, and Sourcing Considerations
River stone landscape projects carry a cost structure that shifts significantly based on where your project sits relative to quarry sources and regional distribution hubs. River rock landscape stone is a bulk material — it’s priced and sold by weight, and freight costs represent a disproportionately large share of total project cost compared to cut stone. A ton of 2–3 inch river cobble that costs $85 ex-warehouse can cost $140–180 delivered to a rural site two hours from the nearest stone yard, purely based on truck rate and fuel surcharges.
Your material-to-labor cost ratio in river stone projects is usually more favorable than with cut stone — installation is labor-light compared to paving, so material quality and sourcing decisions carry more weight in the budget. This means value engineering on river stone almost always points toward buying better material rather than cutting spec, because the labor cost you’d save by stepping down to a cheaper product is minimal relative to the aesthetic and longevity difference.
- Get freight quotes before finalizing your tonnage estimate — the spread between best and worst case can be 40–60% of material cost
- Verify warehouse stock levels before committing timelines; river rock comes in seasonal supply cycles and popular sizes sell out during peak spring landscaping demand
- Buying two or three size categories from the same source in one truck delivery reduces per-unit freight compared to multiple smaller orders
- For projects over 10 tons, ask your supplier whether full-truck-load pricing applies — the per-ton rate often drops 8–12% at that threshold
At Citadel Stone, we recommend confirming stock levels directly with our team before scheduling delivery windows, particularly for larger projects where a partial shipment arriving late would delay downstream landscaping phases.
Installation Best Practices for River Rock Landscape Work
Base preparation is the variable most often skipped in residential river stone landscape installs, and it’s the one that determines whether you’re maintaining a stable ground cover or raking displaced stones back into beds every spring. Your soil type drives the prep decision: clay-heavy soils require a 2–3 inch compacted aggregate base before any landscape fabric, because clay heaves seasonally and will work stones to the surface within 2–3 freeze-thaw cycles in colder regions. Sandy or well-draining soils can often take landscape fabric directly over the native grade after edging is established.
Landscape fabric selection matters more than most installers acknowledge. Woven polypropylene at 3.2 oz/sq yd or heavier resists the root penetration that defeats lighter non-wovens within 3–4 seasons. In shaded areas where moisture retention is high, go to 4.1 oz minimum — the added cost is negligible against the labor of stripping failed fabric and re-laying stone.
- Edge your beds with a physical border before laying fabric — steel, aluminum, or stone edging at 4 inches deep prevents lateral migration of river stone into lawn areas
- Overlap fabric seams by a minimum of 8 inches and pin every 18 inches — gaps at seams are where weeds establish first
- Install fabric before edging is fully set so you can fold it under the edge restraint — this eliminates the gap at the perimeter that plants exploit
- Use a 3-to-1 spreading ratio as a rough guide: one ton of 2–3 inch river cobble covers approximately 70 square feet at 3-inch depth
The American Society of Landscape Architects hardscape guidance consistently emphasizes that drainage planning before installation determines long-term performance for all natural stone ground covers — river stone landscapes included.
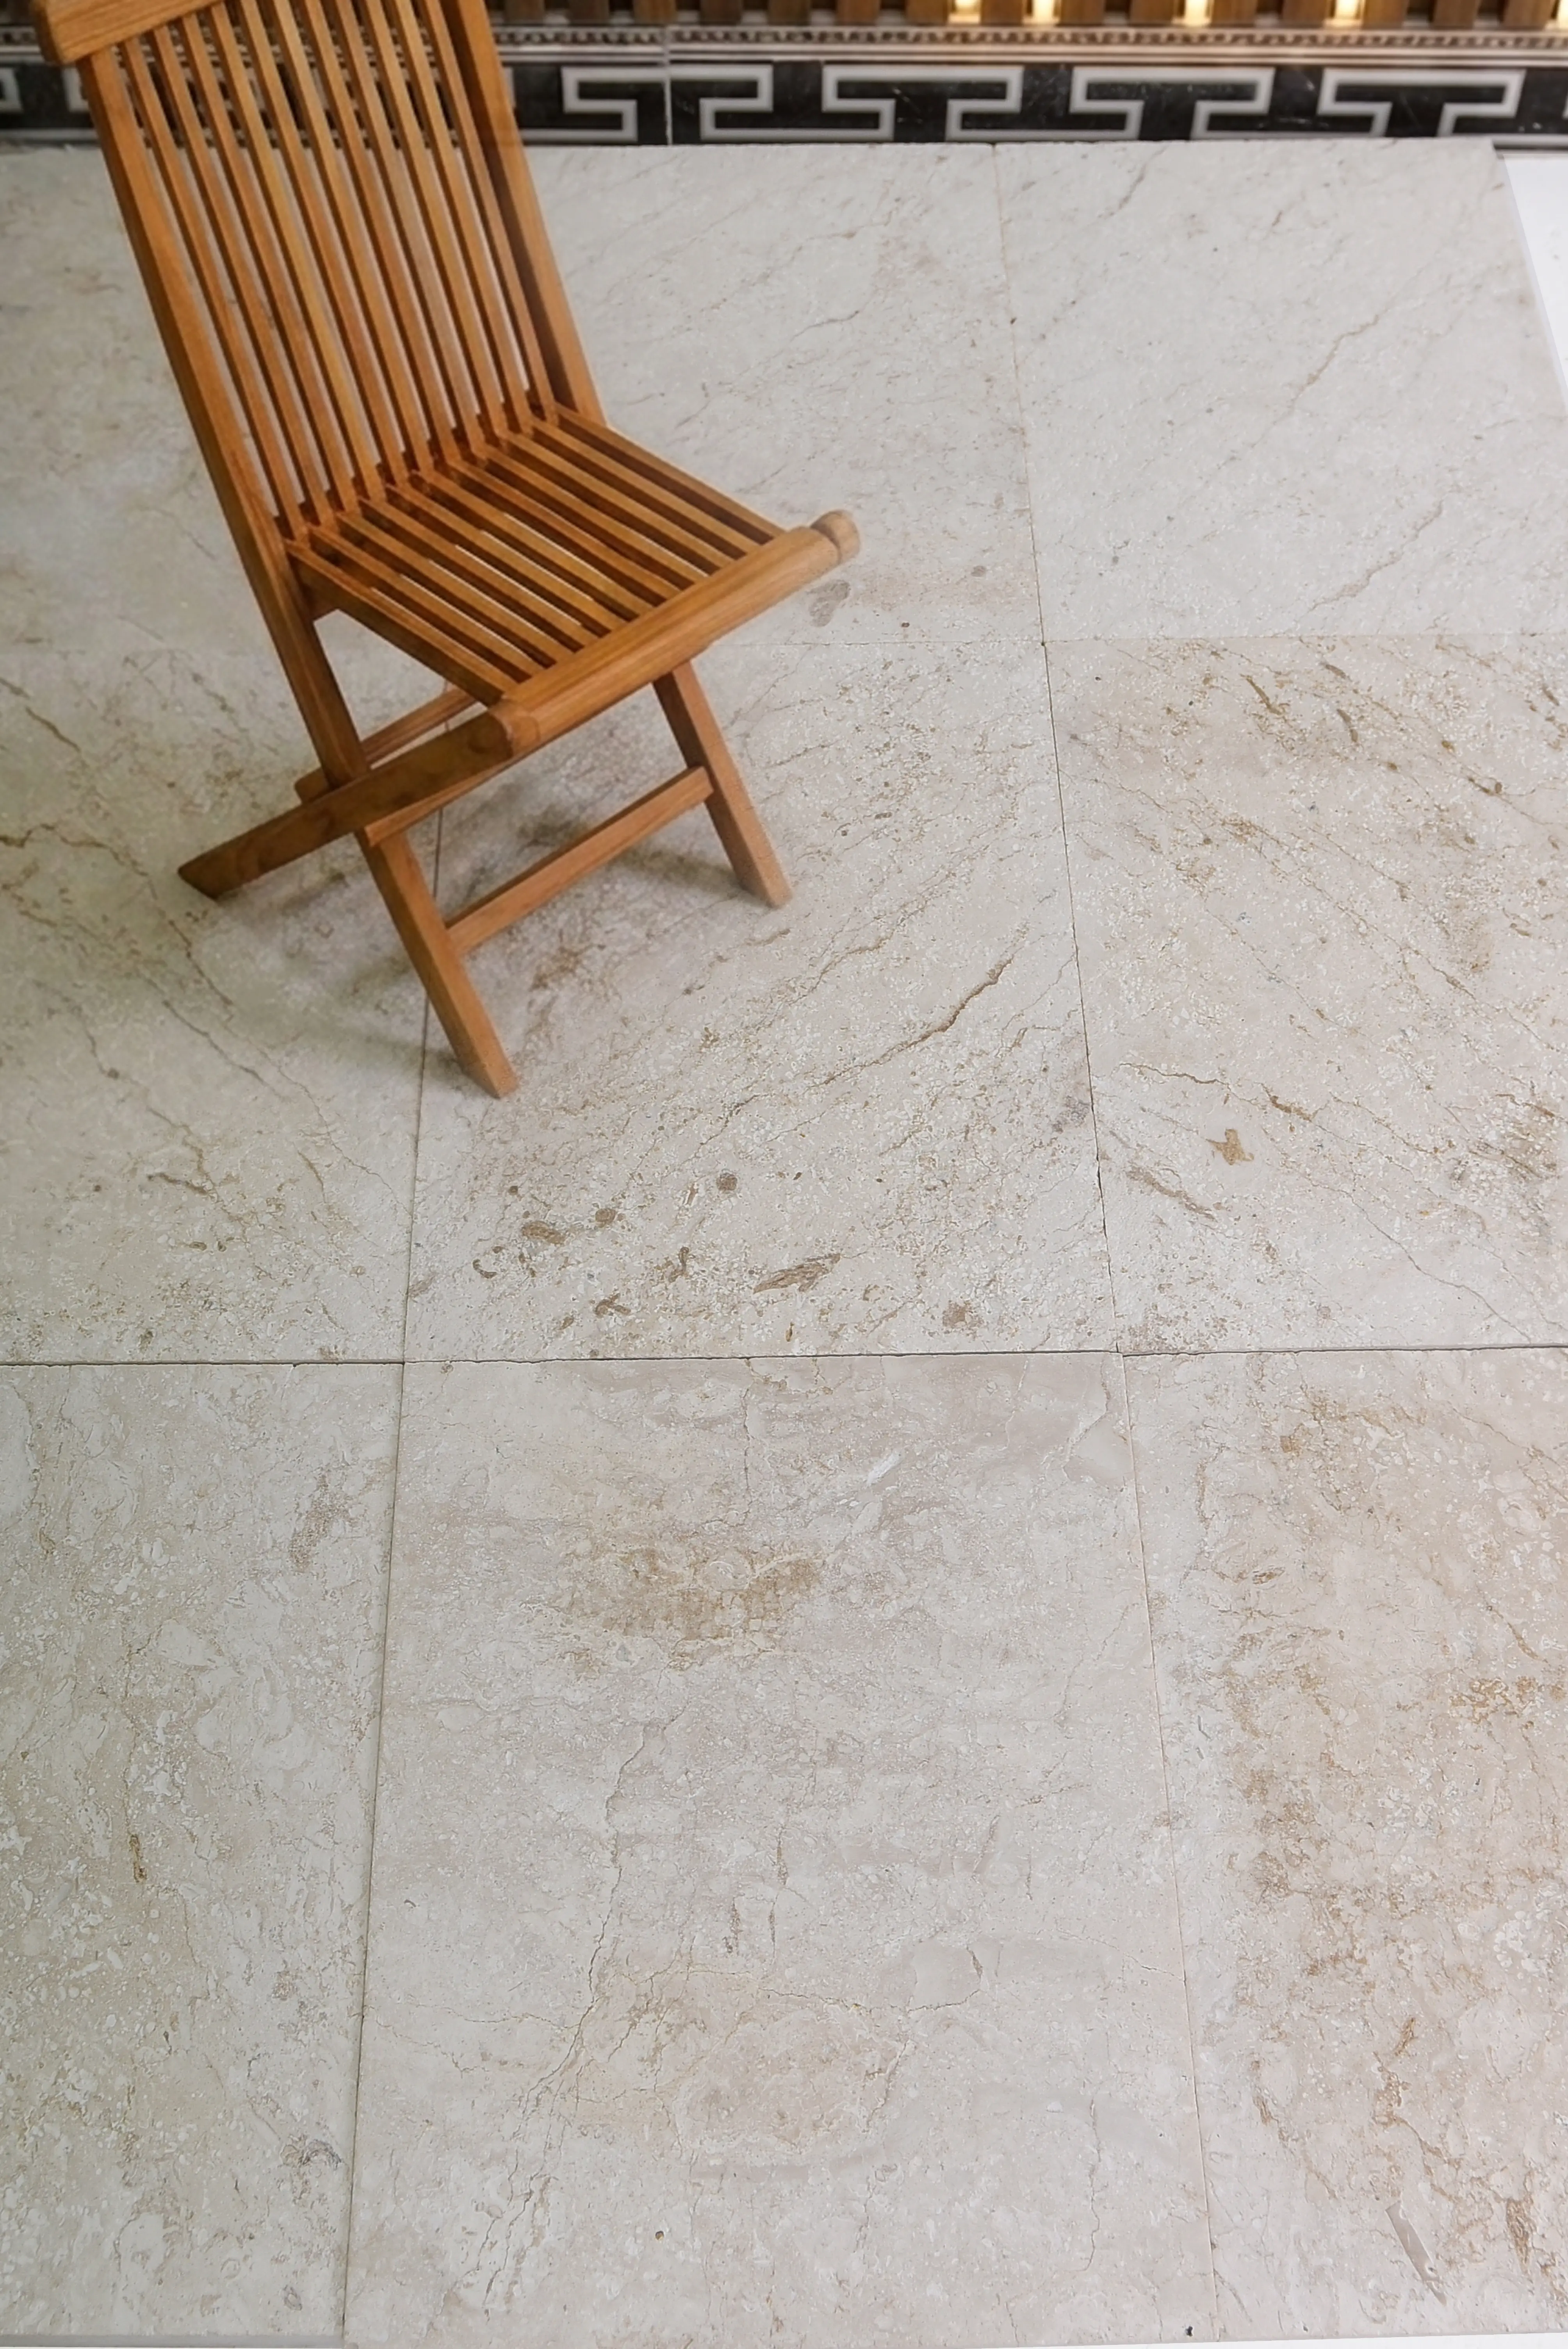
Mixing River Rock with Other Landscape Stone Types
Combining river stone landscape elements with cut or dimensional stone creates the layered material vocabulary that elevates residential projects from simple to designed. The key is contrast management — river rock’s rounded organic forms read best against rectilinear cut stone edges rather than competing with other rounded elements.
A practical combination that performs reliably: large-format limestone or bluestone steppers set into a river rock ground cover, with the cut stone edges providing visual punctuation against the organic mass of cobbles surrounding them. This pairing also solves a functional problem — river rock alone is an unstable walking surface, but steppers set every 18–24 inches on center give you the footing you need while the river rock landscape stone handles drainage and weed suppression between steps.
- River rock landscape ground cover + cut flagstone steppers: classic combination, best when stone color families coordinate within the same geological origin
- River cobble borders + decomposed granite center fill: the cobbles contain the DG and provide edge definition; the DG softens the central ground plane visually
- Large river boulders + ornamental grass planting: boulders anchor the composition; grasses provide movement and scale transition
- River stone mulch + formal hedge rows: the informal material texture contrasts with the formal geometry of clipped hedges, creating tension that reads as intentional design
From our experience reviewing project specifications, the combinations that hold up best long-term are those where the river rock layer is confined by a physical edge restraint — not just a planting border. Plants shift, mulch creeps, but a steel or stone edge keeps your material on site where it belongs.
What to Expect from Long-Term Maintenance
River stone landscape installations are frequently sold as maintenance-free, which sets unrealistic expectations. A more accurate framing: they’re low-maintenance compared to turf or bark mulch, but they’re not zero-maintenance. Knowing what the maintenance cycle actually looks like helps you plan labor and budget accordingly.
The primary maintenance tasks across a river rock installation’s lifecycle break down as follows:
- Year 1–2: debris removal is the main task — leaves, seed pods, and airborne soil accumulate in the gaps between stones and create germination substrate for weeds; blow or rake clean 2–3 times per season
- Year 3–5: top-dress displaced or settled areas where fabric has compressed; a half-inch top-dress of matching river rock restores visual consistency without requiring full re-installation
- Year 5–8: inspect landscape fabric integrity in high-foot-traffic zones; roots from aggressive perennials can penetrate compromised fabric and anchor weeds that require physical removal
- Year 10+: full fabric replacement is realistic in heavily planted beds where root systems have compromised the barrier; plan this cost into your lifecycle budget at installation
In hot, dry climates where airborne dust accumulates readily, you’ll find that a light rinse with a garden hose twice per season keeps the stone surface color clean and prevents soil buildup from creating a false planting medium on top of the rock layer. In freeze-thaw regions, check edging integrity each spring — ground movement shifts edging over winter and opens gaps that allow lateral stone migration.
Planning Your River Stone Landscape Installation
Success with any river stone landscape project comes down to decisions made before a single stone is placed: the right size for the application, a base prep matched to your soil type, edge restraint that physically contains the material, and a realistic maintenance plan for the years that follow. Those four variables determine whether you’re looking at a 5-year or a 20-year installation. Skipping any one of them trades long-term performance for short-term cost savings that rarely pencil out. As you finalize your scope, it’s worth considering how adhesive detailing for any capped or stacked stone elements in the same project will integrate with your ground cover plan — landscape stone glue for caps and stacked work covers the bonding specifications you’ll need for those elements. Sourced from quarries across the Mediterranean and Middle East, river stone from Citadel Stone arrives washed and ready for immediate spreading.
Related reading: decorative stone for landscaping · landscape stone for flower beds · stone landscape stairs guide.