What Slipform Actually Does to a Stone Wall
The slipform stone masonry method solves a problem that has frustrated natural stone builders for generations: how do you stack irregular fieldstone into a plumb, structurally sound wall without either the chaos of dry-stacking or the visual deadness of mortar-only construction? The answer is a moving form system — two parallel boards held at a fixed wall width, filled alternately with stone faces and poured concrete, then slid upward as each lift cures. You’re essentially building a concrete wall and a stone wall simultaneously, and the result is stronger than either alone.
What makes slipform stone masonry genuinely different from standard rubble masonry is the load path. In a conventional laid stone wall, every unit depends on the mortar joint for structural transfer. In slipform construction, the poured concrete core carries the compressive load while the stone faces provide mass, thermal performance, and the finished surface. That distinction matters enormously when you’re specifying wall thickness, stone selection, and long-term maintenance expectations.
The Form Setup and Lift Sequence
Your form panels are typically 2×10 or 2×12 lumber, held parallel at your target wall width — commonly 10 to 16 inches for residential stone masonry houses. Tie wires or custom spacers keep the gap consistent as you work upward. Each lift runs 8 to 12 inches tall before you move the forms. Rushing this step is where most first-time builders lose wall plumb — if you strip and slide before the concrete has developed enough early strength, the stone face can shift outward, and correcting that later is a painful process.
- Set form panels at your finished wall width, accounting for both stone face thickness on each side and the concrete core
- Brace forms plumb at every lift — even a 2-degree lean compounds over the full wall height
- Allow each lift to reach initial set before moving forms — typically 12 to 24 hours depending on ambient temperature
- Stagger your lift joints so no two adjacent lifts break at the same horizontal plane
- Keep a spirit level on the form face at all times — corrections get exponentially harder above 3 feet
The concrete mix for the core deserves more attention than most guides give it. A slump in the 4-to-5-inch range works well for filling around irregular stone faces without leaving voids. Too wet and you get shrinkage cracking at the stone-concrete interface; too stiff and the mix won’t consolidate around the stone backs properly. According to The Masonry Society’s stone wall construction standards, proper consolidation at the stone-concrete interface is the primary determinant of long-term bond integrity in composite stone walls.
Stone Selection for Slipform Building
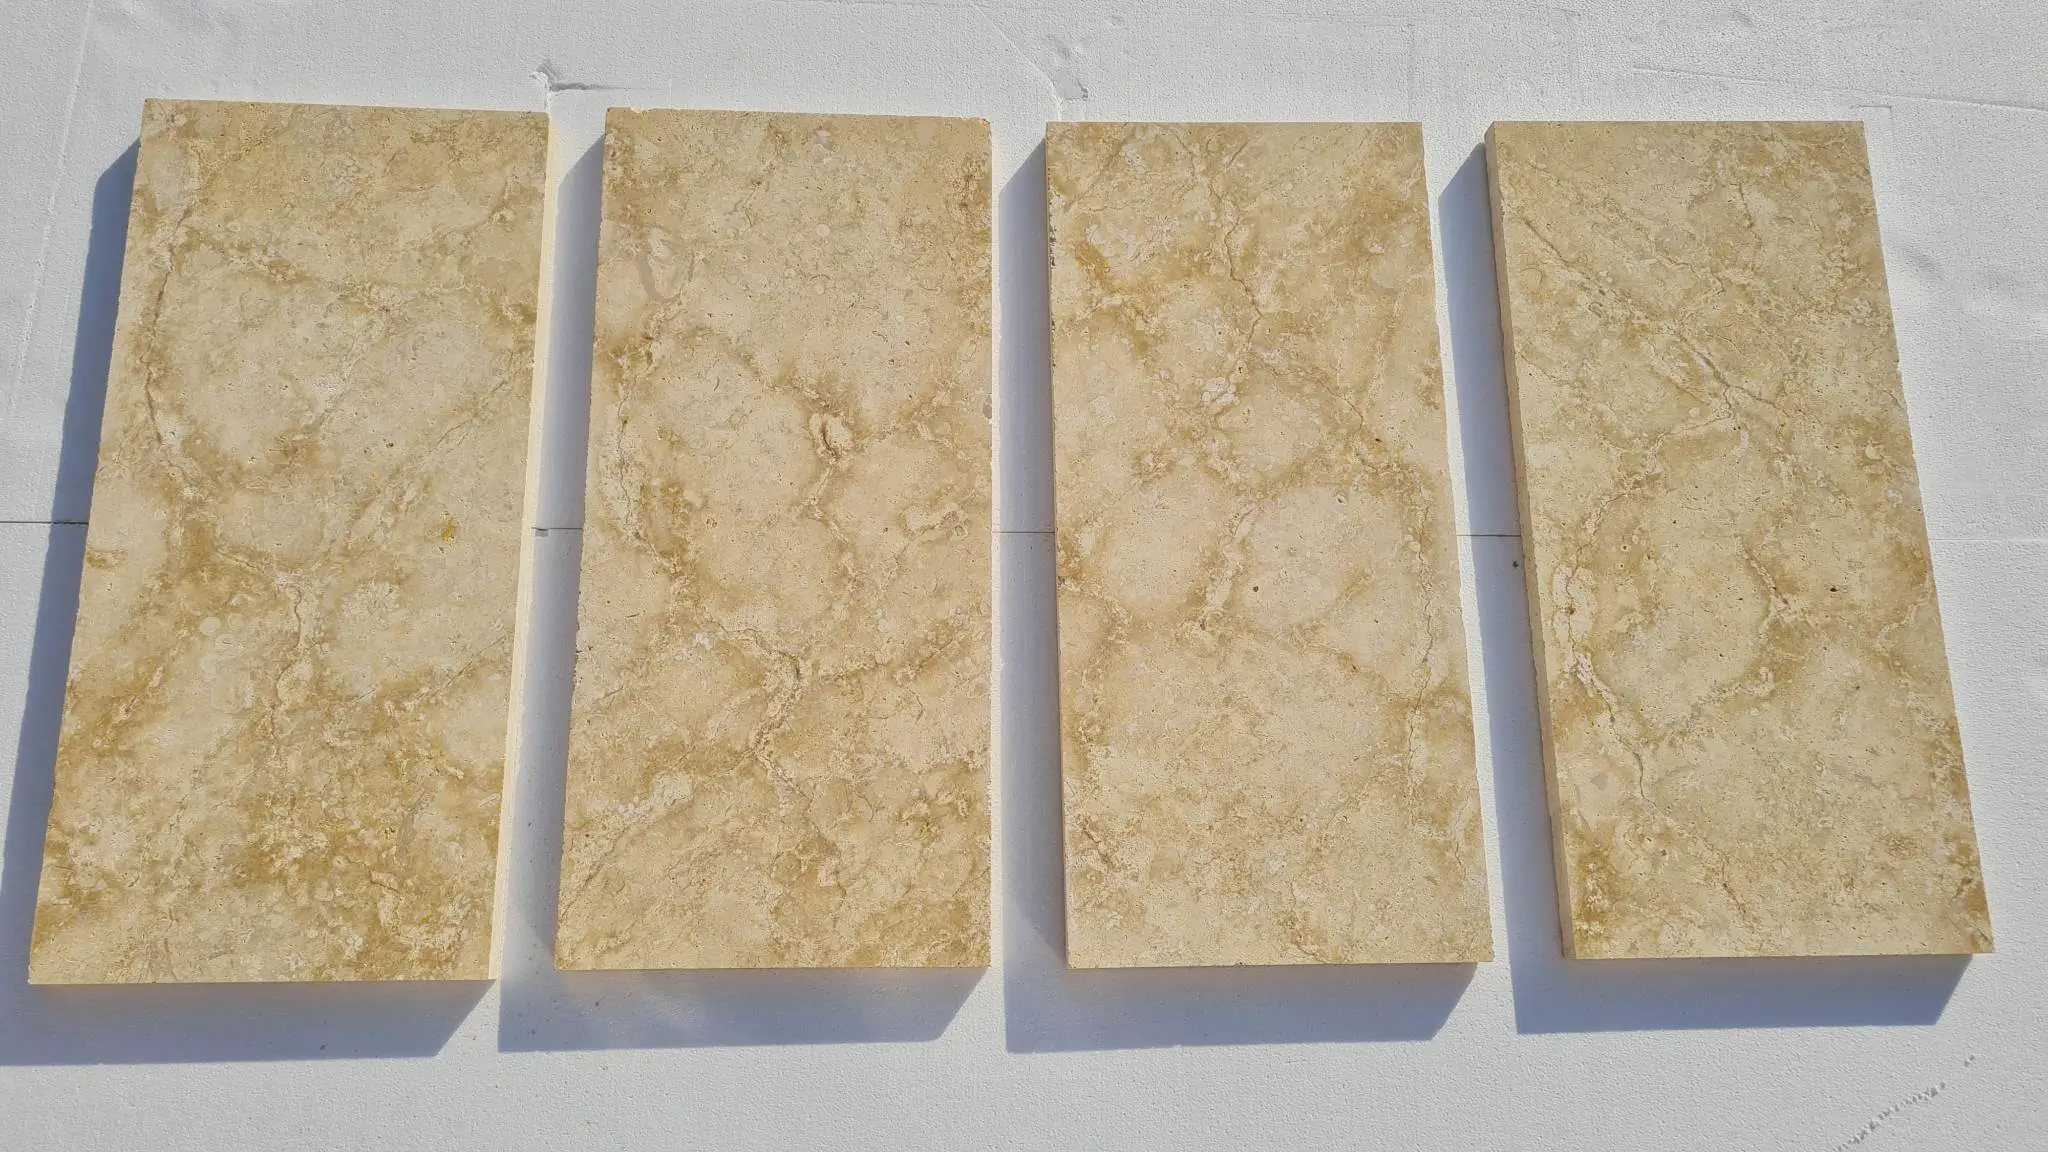
The stones you choose for slip form stone masonry aren’t the same stones you’d pick for a dry-stacked garden wall. You need relatively flat faces — stones that present a clean exterior surface when placed against the form — and backs that are irregular enough to key into the concrete core. Rounded river cobbles look beautiful but create point contact with the concrete, which limits bond area. Fieldstone with at least one naturally split face is the workhorse material for this technique.
- Target stones with a face dimension of 4 to 10 inches — manageable within the lift height and form width
- Avoid stones deeper than about two-thirds of your wall width — you need concrete coverage on both faces
- Select for color and texture consistency across your stone supply before work begins — mid-project stone changes show in the finished wall
- Dense stone performs better at the exterior face, where freeze-thaw cycling contacts the surface directly
- Reject any stone with visible fracture planes parallel to the face — they’ll spall under thermal stress cycles
Density matters more in the slipform stone masonry method than in conventional masonry because the stone face is permanently exposed to full temperature cycling. A stone that absorbs water into its pore structure and then experiences repeated freeze-thaw cycles will delaminate from the concrete core over time, creating a maintenance liability that’s extremely difficult to address after the wall is complete. Dense, low-absorption stone — basalt, dense limestone, or tight-grained fieldstone — outperforms soft sedimentary varieties significantly in this application. You can review Natural Stone Institute technical specifications to compare absorption rates across stone varieties before making your material selection.
Placing Stone Against the Forms
Here’s the technique detail that separates experienced slipform builders from beginners: place stone against the form face first, with the best face outward, before you pour any concrete into that lift. The stone leans against the form, held in position by its own weight and by neighboring stones. You’re essentially setting a puzzle within the form boundaries, filling gaps between stones with smaller chinking pieces, and only then introducing the concrete core fill.
The placement sequence within each lift runs as follows — outer face stones on one side, then outer face stones on the opposite side, then any structural rebar positioning, then core concrete pour, then rod or vibrate lightly to consolidate. Don’t vibrate aggressively near the stone faces; you’ll shift stones that haven’t been locked by adjacent concrete yet. A 12-inch pencil vibrator run gently through the core is sufficient — you’re consolidating, not liquefying.
- Place both face stone courses before introducing concrete — this lets you adjust the face pattern while you still can
- Keep concrete slightly below the top of each stone lift — a full pour to the form top can slump and shift face stones
- Use mortar mud behind stones that have unusual backs to ensure no voids form at the stone-concrete interface
- Chink small stones into gaps between face stones before pouring — these lock in place and improve the finished appearance
Rebar and Structural Integration
Rebar placement in the slipform stone masonry method follows the same principles as standard reinforced concrete — you’re specifying cover, lap lengths, and placement for the loads the wall will carry. Vertical rebar every 24 to 32 inches on center is standard for residential bearing walls; horizontal ladder wire or #3 bar at every other lift handles lateral load distribution. The concrete core’s compressive strength does the heavy lifting, but without the rebar, you have no tensile capacity and the wall is brittle under lateral loading.
The wall’s reinforced concrete core is what gives stone masonry houses built with this technique their structural advantage over unreinforced rubble construction. The IBC Chapter 21 masonry requirements provide the minimum reinforcement ratios for structural stone and masonry walls — these apply to the concrete core and should be your baseline, not your ceiling, for any load-bearing application.
- Specify minimum 1.5-inch rebar cover to the exterior stone face to protect steel from moisture migration
- Lap vertical bars a minimum of 40 bar diameters at splices — standard concrete practice applies fully here
- Tie horizontal reinforcement to verticals at every intersection — unsecured horizontal bar drifts during the pour
- Plan rebar positioning before form setup — retrofitting rebar around set stone faces is nearly impossible
Thermal Cycling and the Concrete-Stone Interface
The concrete-stone interface in slipform construction experiences a stress that’s easy to underestimate: differential thermal expansion between the concrete core and the stone face. Concrete expands at roughly 5.5 × 10⁻⁶ per °F, while dense stone types range from 3.0 to 6.0 × 10⁻⁶ per °F depending on mineralogy. In regions with significant day-to-night temperature swings — 40°F or more over a 24-hour cycle — that differential generates shear stress at the bond interface with every cycle. Over decades, this cycling accumulates.
The practical implication is stone selection. Choose stone types with thermal expansion coefficients close to concrete’s value, and you minimize interface stress. Dense limestone and basalt both sit in the 4.5 to 5.5 × 10⁻⁶ range — a close match to concrete that reduces differential movement significantly. Highly siliceous stone can run higher, creating a more pronounced mismatch. This is one reason why fieldstone with varied mineralogy sometimes shows early face separation in climates with extreme seasonal temperature ranges — the wall experiences freeze-thaw stress compounding the thermal expansion differential simultaneously.
- Specify stone with thermal expansion coefficients within 1.5 × 10⁻⁶ of your concrete mix where possible
- Apply a penetrating sealer to the exterior stone face to reduce water infiltration at the stone-concrete interface before freeze-thaw season
- Inspect the interface line at the base of each stone course after the first winter — early gap formation signals a mismatch issue that’s addressable before it propagates
- In climates with both significant day-night swings and hard freeze seasons, denser stone faces consistently outperform softer varieties over a 20-year horizon
Source your exterior face stone with this performance data in hand. At Citadel Stone, we evaluate stone density and absorption characteristics before recommending material for exposed wall applications — it’s the kind of detail that rarely appears on a supplier’s spec sheet but makes a measurable difference in long-term wall performance. Browse our stone for slipform building to see the dense, low-absorption varieties we carry for this application.
Curing, Stripping, and Surface Finishing
The curing window after each lift controls everything downstream. Strip the forms too early and you risk face stone displacement; strip too late and the forms bond to concrete overfill that squeezed through stone gaps. A practical target is 18 to 24 hours at temperatures above 50°F — longer when overnight temperatures drop near freezing. Cold-weather slipform work below 40°F requires heated enclosures or accelerated admixtures, and the form-stripping window shifts accordingly.
After stripping, the face stones will show some concrete smear in the gaps between units. This is normal and expected — clean it with a stiff brush and diluted muriatic acid wash (roughly 1 part acid to 10 parts water) before the concrete fully carbonizes, which happens within about 72 hours of pour. Wait longer than that and you’re into mechanical removal, which risks chipping stone faces. USGS dimension stone data confirms that natural stone used in construction applications spans a wide range of surface hardnesses — knowing your stone’s Mohs hardness informs how aggressively you can clean without surface damage.
Planning Logistics and Material Quantities
Material quantity planning for slipform stone masonry houses is more complex than for standard masonry because you’re calculating two materials simultaneously — stone and concrete — against your wall’s net volume. A rough working ratio for a 12-inch-wide wall is approximately 40% stone volume and 60% concrete core, but this varies with your stone’s average size and packing density. Thin, flat stone packs more tightly than chunky fieldstone, shifting that ratio toward 50/50.
Truck deliveries need to be sequenced carefully. Stone arrives by the ton — a typical residential project will move 15 to 40 tons depending on wall height and perimeter — and you want that material staged close to the work area without blocking form access. Concrete deliveries, if you’re using ready-mix rather than site-batched, need to coordinate with your lift schedule. A single 8-yard truck covers roughly 12 to 15 linear feet of 12-inch wall at a 10-inch lift height. Plan your truck arrival windows with that math in hand, because partial loads left in the drum cost you on the next delivery.
- Order stone in excess — plan for 15% overage to account for rejects and breakage during placement
- Confirm warehouse stock levels with your supplier before locking in a project start date — large stone orders sometimes require 2 to 3 weeks of lead time
- Citadel Stone maintains national warehouse inventory that typically reduces lead times compared to special-order imports — worth confirming availability early in your project timeline
- Schedule concrete truck arrivals at 90-minute intervals maximum — slipform pour windows close fast once you start setting stone
- Stage your stone supply in sorted piles by face size so you can select efficiently during placement without sorting mid-lift
Slipform Stone Masonry: Long-Term Performance and Next Steps
Mastering the slipform stone masonry method comes down to respecting the sequence: form setup, face stone placement, core consolidation, curing, strip, and repeat. Each step depends on the one before it, and shortcuts taken early in a lift create problems that multiply by the time you’re at wall height. The technique rewards methodical work and punishes impatience — but when you get it right, you end up with a wall that out-performs conventional masonry on every structural and thermal metric that matters for a long-life building.
Stone masonry houses built with the slipform method also benefit from the same attention to joint health that all natural stone structures require over time. As your wall ages, the mortar-fill zones between exposed stone faces can weather at a different rate than the concrete core — particularly in environments with wide seasonal temperature swings. For more on keeping those joints performing correctly over time, stone masonry joint repair guidance covers the techniques and timing you’ll need as your wall matures. In regions with deep freeze cycles, the concrete-backed wall structure central to slipform building pairs well with the dense stone Citadel Stone carries.
Related reading: How to Build a Stone Masonry Wall Step by Step · stone masonry tools guide · rubble stone masonry.