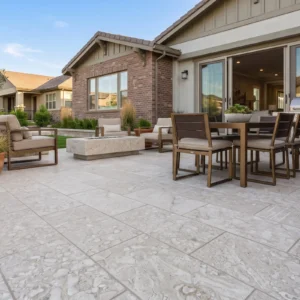
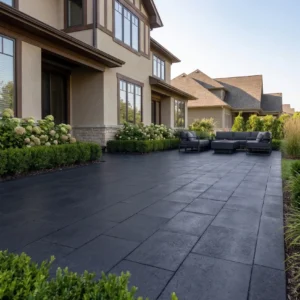
Most stone masonry tools guide discussions stop at listing hammer weights and chisel shapes — but the real specification work starts when you match tool geometry to stone fracture planes. Dense igneous stone like basalt demands a completely different striking sequence than sedimentary limestone, and getting that pairing wrong doesn’t just slow progress; it introduces micro-fracturing that won’t show up until the wall is under load. Understanding the mechanical logic behind each tool category is what separates a specification document that holds up in the field from one that creates expensive callbacks.
How Stone Type Drives Tool Selection
Your first specification decision isn’t which hammer to buy — it’s understanding the cleavage behavior of the stone you’re working. Sedimentary stones split along bedding planes with relatively modest force. Metamorphic stones like slate cleave cleanly along foliation lines. Igneous stones don’t follow predictable fracture planes at all, which means your tools need to apply controlled, repeated impact rather than a single decisive strike.
Stone hardness on the Mohs scale gives you a starting framework, but field behavior diverges from lab classification more often than most specs acknowledge. Limestone quarried from different strata can range from 3 to 5 on the Mohs scale within the same deposit, meaning the stone masonry tools guide you’re applying to one shipment may need adjustment for the next. Always verify grain structure and absorption rate against your warehouse delivery before committing to a full-scale tool setup.
- Soft sedimentary stone (limestone, sandstone): hand tools with moderate hammer weights (2–4 lb) perform well without over-splitting
- Medium-hard metamorphic stone (slate, schist): light to medium tungsten-tipped chisels matched to foliation plane orientation
- Hard igneous stone (granite, basalt): carbide-tipped tools, heavier striking hammers (4–6 lb), and more frequent edge dressing
- Travertine and shell limestone: careful chisel angle to avoid void collapse — often 10–15° shallower than standard sedimentary approach
Striking Hammers: Weight and Face Geometry
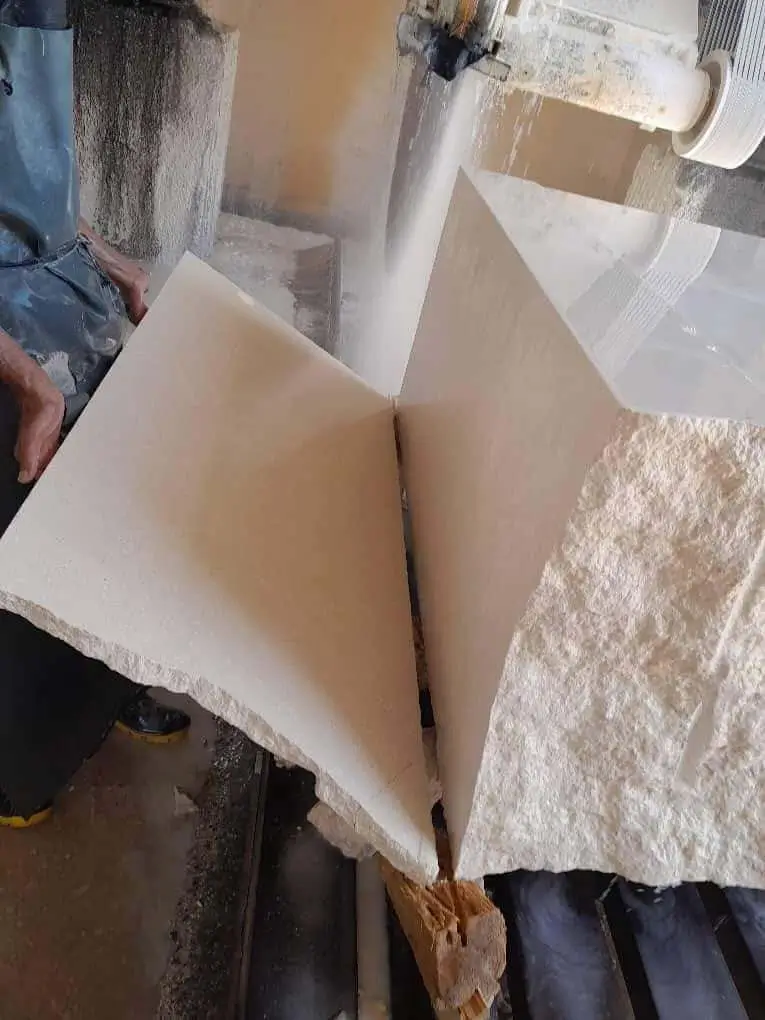
The hammer is the engine of every stone masonry operation, and weight selection is a genuine engineering decision rather than a personal preference. Too light and you’re relying on repeated micro-strikes that fatigue the stone surface without achieving clean fracture — you get crushed grain instead of a true split face. Too heavy and you introduce shock waves that travel through the stone and create interior cracking the eye won’t catch until a freeze-thaw cycle opens the gap.
For most hand-tool stone masonry, a 2.5 lb brick hammer covers limestone, sandstone, and softer flagstone work efficiently. Move to a 3.5–4 lb club hammer when you’re driving cold chisels through granite or basalt. For splitting work — where you’re establishing a scoring line before a clean break — a long-handled 6 lb stone splitter hammer gives you directional control that lighter tools can’t match. The face geometry matters as much as weight: a rounded poll distributes force evenly across a chisel head, while a flat-faced hammer delivers more concentrated energy, which is what you want for precision scoring.
- 2–2.5 lb brick hammer: general sedimentary stone shaping, trimming, and joint work
- 3.5–4 lb club hammer: driving cold chisels in hard stone, breaking larger pieces to rough dimension
- 6 lb stone splitter hammer: long-axis splitting, establishing quarry-face breaks in thick slabs
- Bushing hammer (multi-point face): texturing surfaces, bush-hammered finishes on granite and limestone
- Scaling hammer (long narrow poll): removing loose scale and dressing rough stone faces before setting
Handle material affects fatigue tolerance across a full work day. Fiberglass-core handles absorb more vibration than hardwood hickory, which matters when you’re doing repetitive striking work on hard granite or dense basalt. For tools for stone masonry that see daily heavy use, fiberglass is worth the premium — the vibration reduction translates directly into fewer grip and elbow injuries over a season.
Chisel Profiles for Stone Masonry
Chisel selection is where most stone masonry specifications get vague, and that vagueness costs time on site. There are five chisel profiles that cover the full range of stone masonry work, and each has a specific mechanical purpose tied to stone behavior under concentrated load.
The stone masonry chisel category most specifiers reach for first is the cold chisel — a flat, tapered tool that works by wedging into a surface crack and propagating a fracture plane. It’s effective on sedimentary stone where bedding planes are close to the surface, but on igneous stone it tends to deflect rather than penetrate unless the edge is kept sharp and the strike angle is held consistently at 20–25° from vertical. According to Natural Stone Institute professional design guidance, tool geometry matched to stone type is a primary variable in achieving consistent cut quality and avoiding surface damage that compromises structural integrity.
- Cold chisel (flat): general fracture work, joint cutting, removing excess material from faces — most versatile profile for sedimentary stone
- Point chisel (moil point): breaking into hard stone, establishing start points for fracture lines in granite and basalt
- Pitching chisel (wide bevel): controlled removal of large stone sections, rough dressing of face stone — the bevel creates a predictable break angle
- Tooth chisel (claw chisel): intermediate dressing between rough and finish work, creating texture for mortar adhesion on ashlar faces
- Drove chisel (boaster): final surface dressing, establishing flush plane on ashlar work — used with light taps rather than heavy strikes
Edge geometry degrades faster than most site schedules account for. A stone masonry chisel that was sharp at 8 a.m. is deflecting rather than cutting by midday on hard stone. Your tool specification should include a dressing schedule — typically every 90–120 minutes of active use on granite, every 3–4 hours on softer limestone. Ignoring edge maintenance doesn’t just slow the work; a deflecting chisel is unpredictable and the primary cause of uncontrolled stone fracture on high-visibility face work.
Masonry Drill Bits for Stone: Specification and Selection
Drilling into natural stone requires matching bit geometry, carbide grade, and rotation speed to stone hardness — and the specification diverges dramatically depending on whether you’re working in soft limestone or dense basalt. Standard masonry drill bits for stone rely on carbide tips that fracture the stone through percussive action in rotary hammer mode, but tip geometry and carbide grade determine whether you’re drilling cleanly or glazing the hole surface and generating excess heat.
For limestone and sandstone, a standard two-flute carbide tip in the 5–12mm range handles most anchor bolt and tie-back applications efficiently. Granite and basalt require a premium carbide grade — typically cobalt-blended tips with four-flute geometry that maintains more cutting edges in contact with the face simultaneously. Rotation speed matters more than most field specifications capture: too fast on hard stone overheats the tip and glazes the carbide; too slow on soft stone loads the flutes with dust and reduces cutting efficiency. A general rule that holds across most natural stone: 800–1,200 RPM with consistent moderate pressure on hard igneous stone, 1,500–2,000 RPM on soft sedimentary stone.
- SDS-plus bits (up to 12mm): standard masonry and anchor work in limestone and softer stone, compatible with most mid-range rotary hammers
- SDS-max bits (12mm+): heavy anchor setting in granite and basalt, structural through-bolting in wall stone applications
- Core drill bits (diamond-bonded): clean-bore holes in finished stone faces where spalling can’t be tolerated — wet cutting only
- Hollow drill bits with vacuum extraction: dust management in enclosed spaces, required under many jobsite air quality standards
Hole depth accuracy matters when you’re setting expansion anchors in wall stone — particularly in structural and load-bearing applications where building code requires embedment depth to meet minimum pull-out values. Under IBC Chapter 21 masonry requirements, anchor embedment in stone veneer and wall stone must satisfy the lateral load transfer values specified in the structural engineer’s documents. Drilling short on depth is a common field shortcut that fails inspection and creates genuine structural liability. Set your depth stop on the rotary hammer, verify it against the anchor spec sheet, and check every fifth hole with a depth gauge during production drilling.
Power Tools for Stone Masonry Cutting
Hand tools establish the craft language of stone masonry, but power tools determine whether a project meets its schedule. The specification decisions around power cutting equipment are less about brand preference and more about blade type, guard configuration, and dust management — three areas where under-specification creates both safety and quality problems.
Angle grinders with segmented diamond blades handle the majority of stone masonry cutting work — trimming pavers to dimension, cutting expansion joints, and shaping coping. Blade selection tracks directly to stone hardness: soft-bond diamonds are needed for hard granite (the softer matrix exposes new cutting edges faster), while hard-bond blades suit softer limestone where a soft matrix would wear too quickly. Running the wrong bond on your stone type halves blade life and degrades cut quality. You can verify ASTM dimension stone testing standards to cross-reference stone hardness classifications against appropriate abrasive tool specifications.
- 4.5″ angle grinder with segmented diamond blade: trim cuts on pavers, edge profiling on coping, joint widening
- 7″ or 9″ angle grinder: larger slabs, deeper cuts through full-thickness wall stone and thicker flagstone
- Wet table saw with continuous-rim blade: precision dimensioning of tiles, ashlar blocks, and uniform coping — mandatory for work where split tolerance is under 2mm
- Circular saw with diamond blade: field cutting of natural stone pavers and flagstone where table saw access isn’t feasible
- Concrete saw (walk-behind): full-depth cutting of large format pavers and thick wall stone — critical for projects where tools for stone masonry can’t achieve the required section depth by hand
Dust management isn’t optional on modern jobsites. Crystalline silica generated during stone cutting is a documented occupational health hazard, and OSHA’s silica standard (29 CFR 1926.1153) requires either wet cutting, vacuum extraction, or respiratory protection. Your tool specification should identify which dust control method applies to each cutting operation — this isn’t a site safety afterthought, it’s a specification line item that affects tool selection, water supply logistics, and waste management planning from the project outset.
our stone masonry material range
Setting and Jointing Tools
The setting phase of stone masonry work involves a different tool set than cutting and shaping — and it’s where precision on small tools directly translates to long-term durability of mortar joints and coursing alignment. Rubber mallets, levels, and pointing tools are unglamorous, but their quality and correct application determine whether the wall remains plumb and watertight through decades of service.
For setting natural stone pavers and wall stone into mortar beds, a rubber mallet in the 32–40oz range gives you enough mass to seat the stone firmly without the impact energy of a metal face. A dead-blow rubber mallet is the right choice specifically for dense stone — the shot-filled head eliminates rebound that can unseat adjacent pieces already set. Standard pointing irons come in three profiles: bucket trowel for loading, margin trowel for bed preparation, and a dedicated pointing iron (or jointing raker) for joint finishing.
- 32–40oz rubber mallet: seating pavers and wall stone into mortar beds without surface damage
- Dead-blow rubber mallet: dense stone applications where rebound from standard mallets destabilizes surrounding work
- Margin trowel (5″ blade): mortar bed preparation, cleaning joint faces, back-buttering individual stones
- Pointing iron or joint raker: finishing mortar joints to specified profile — rodded, flush, or struck
- 4′ and 6′ spirit level: coursing alignment during wall construction — shorter levels for individual stone checks, longer for overall plane verification
- Mason’s line and corner blocks: horizontal reference line for coursing, essential for maintaining consistent bed joint thickness
Building Code Compliance and Structural Tool Requirements
Tool selection doesn’t exist in isolation from the structural requirements governing the project. Building codes in most jurisdictions specify minimum mortar joint widths, embedment depths for anchors and ties, and in seismic design categories, the mechanical fastening methods for stone veneer and wall stone. These code requirements feed directly into your tool specification — a narrower joint requires a finer pointing iron profile; deeper anchor embedment mandates a longer SDS-max bit with a rotary hammer capable of sustaining torque at depth.
The Masonry Society’s technical masonry construction standards address required joint tolerances, tie spacing, and the structural behavior of natural stone assemblies under lateral and gravity loads. In seismic design categories C through F, stone veneer installations require positive mechanical attachment — which means your masonry drill bits for stone must accommodate the anchor diameter and embedment depth the structural engineer has specified, not the generic anchor sizes most field crews default to. Verify the frost line depth for your project location as well: deeper frost lines require more substantial base preparation under stone paving, and the equipment needed to verify base compaction belongs in your extended tool specification.
- Rotary hammer torque rating: must match the anchor bolt diameter and embedment depth specified in structural documents
- Bit length: minimum 50mm longer than required embedment depth to allow for chip clearance during drilling
- Mortar joint gauge rod: for verifying consistent bed joint thickness against code-required minimums (typically 3/8″ nominal for most jurisdictions)
- Plumb bob and laser level: structural wall alignment verification — laser levels with IP54 dust rating or better for active masonry sites
Tool Maintenance and Site Logistics
A stone masonry tools guide that doesn’t address maintenance is half a specification. Field performance of hand tools degrades with use, and the schedule at which you dress, sharpen, and replace consumables determines whether your crew’s output rate holds through the project’s duration or drops off in the second week as edges dull and bits glaze.
Chisel maintenance on a busy site means dedicated dressing time — typically 15–20 minutes at the start and end of each shift for the chisels in active rotation. A bench grinder with a medium-grit aluminum oxide wheel restores cold chisel geometry quickly; avoid silicon carbide wheels for high-carbon steel chisels, as they generate more heat and risk drawing the temper from the tool tip. Diamond blade inspection should happen every 30–40 linear feet of cutting in hard granite — look for segment loss, core warping, and glazed segment faces. A glazed blade cuts slower, not faster, and applying more pressure to compensate accelerates core stress.
- Inspect carbide drill bit tips every 20–25 holes in hard stone — replace when tip geometry shows visible rounding
- Dress cold chisels every 90–120 minutes of active striking in hard igneous stone, every 3–4 hours in soft sedimentary applications
- Check diamond blade segments for glazing every 30–40 linear feet in granite; break the glaze by cutting a soft abrasive block
- Calibrate rotary hammer torque settings against the manufacturer’s spec after every 50 hours of use — slip clutch wear affects anchor embedment consistency
- Verify warehouse inventory on consumable tool items (diamond blades, SDS bits, chisel tips) before mobilization — back-ordering mid-project is the most common avoidable delay on stone masonry work
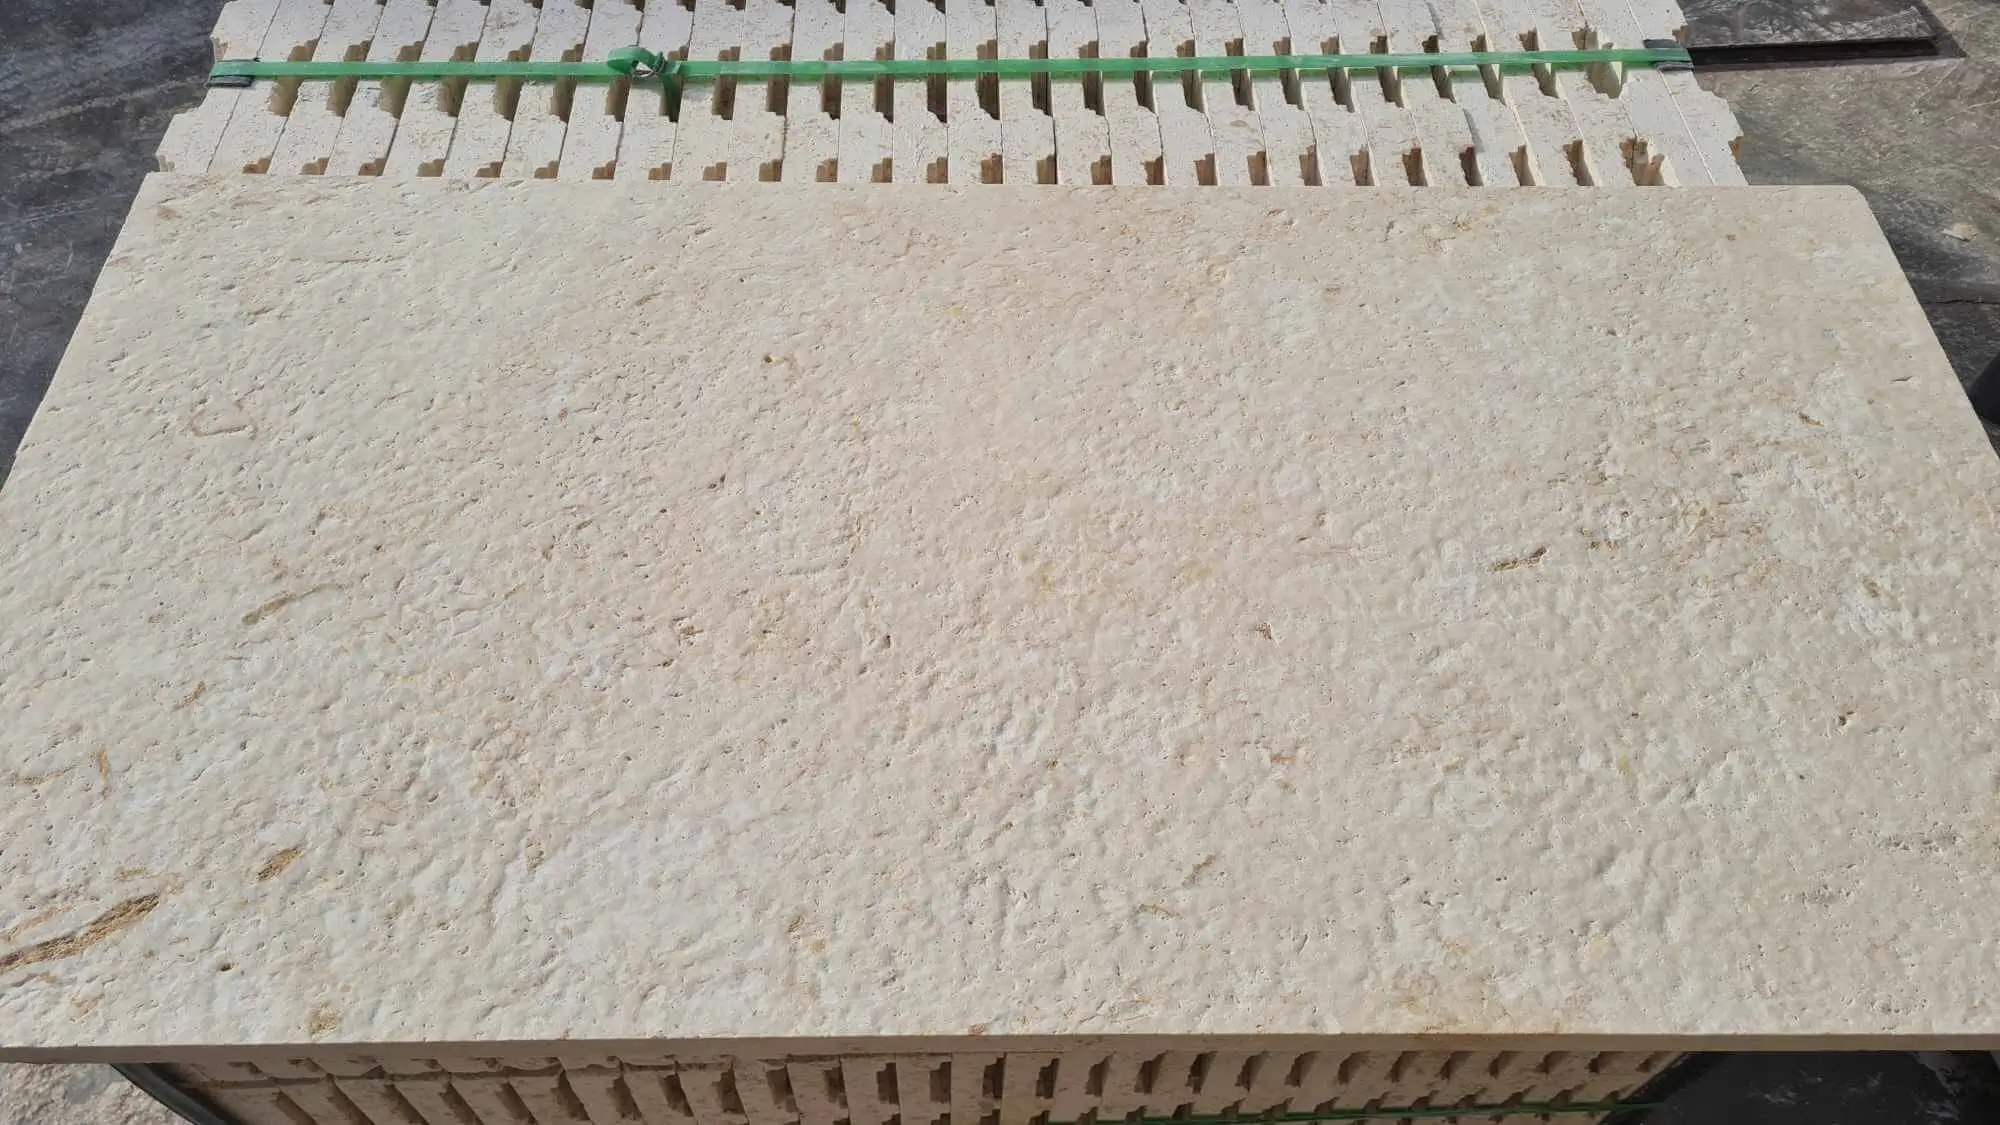
Delivery logistics for stone masonry projects also benefit from tool coordination. Citadel Stone ships material nationwide with lead times that typically run 1–2 weeks from warehouse to site, which gives you a defined window to complete tool procurement, sharpening service scheduling, and equipment calibration before the first stone arrives. Planning your tool readiness against confirmed truck delivery dates eliminates the lost-day scenario where material is on site before the crew has verified that drill bits, blades, and hammers are all in spec.
Your Stone Masonry Tools Action Plan
Pulling together a complete tools for stone masonry specification means working backwards from the stone type, the structural requirements, and the project schedule — not forwards from a generic tool list. Start with a material data sheet on the stone you’re specifying: hardness, absorption, and grain structure determine hammer weight, chisel profile, and drill bit carbide grade. Layer in the structural engineer’s anchor and embedment requirements to confirm that your power tool selection can actually achieve the specified penetration depth and torque. Then build a maintenance and consumable schedule that holds tool performance constant across the project duration rather than letting it decay as deadlines compress.
Your stone masonry project scope will also benefit from reviewing the associated structural work sequence. For a detailed look at the wall construction process that these tools support, building a stone masonry wall step by step walks through the construction sequence with the same level of technical detail this guide applies to tool selection. The two resources together give you the full specification picture — tools and technique aligned before the first stone is lifted.
At Citadel Stone, we work with project teams at the specification stage to match tool requirements against the specific material grades being supplied — because the stone masonry tools guide that works for a dense quartzite flagstone spec doesn’t automatically translate to a soft limestone ashlar application. Getting those details resolved before delivery saves both time and rework. Choosing the right hammer weight and chisel profile for your stone type is a detail that Citadel Stone’s sourcing team can help clarify before work begins.
Related reading: Rubble Masonry Explained: Strength, Cost & Look · Types of Masonry Stone: Rubble, Ashlar & More.