Base failure accounts for the majority of stone masonry wall collapses that happen within the first decade — and most of those failures trace back to decisions made before a single stone was set. Understanding how to build a stone masonry wall demands a level of structural precision that surface-level guides consistently underestimate. Your bond pattern, mortar mix ratio, and footing depth all interact with each other in ways that only become visible years after the project is complete. Getting these decisions right from the start is the difference between a wall that outlasts the building it supports and one that leans, cracks, and crumbles before its time.
Understanding Stone Masonry Wall Construction
Stone masonry wall construction is one of the oldest structural disciplines in the built environment, but that history doesn’t make it simple. The core principle — using stone units bonded by mortar or their own mass to create load-bearing or decorative structures — requires you to think simultaneously about compression, drainage, thermal movement, and bond integrity. Each of these variables pulls the design in a slightly different direction, and your specification decisions need to reconcile them before excavation begins.
There are two broad categories of stone masonry: dry-laid and mortared. Dry-laid walls rely entirely on gravity, mass, and carefully selected stone geometry. Mortared masonry wall construction uses a cement-based mortar to lock units in place and is typically required for taller walls, load-bearing applications, or any structure that will carry dynamic loads. Most residential and commercial projects you’ll encounter will specify mortared construction, which is what this guide focuses on in detail.
- Dry-laid walls suit low garden borders and retaining walls under 18 inches in height
- Mortared masonry is required for walls exceeding 24 inches or carrying structural loads
- Veneer masonry differs from structural masonry — it transfers no load and anchors to a backing wall
- Rubble masonry uses uncut or minimally shaped stone; ashlar masonry uses precisely cut, coursed units
Tools, Materials, and Stone Selection
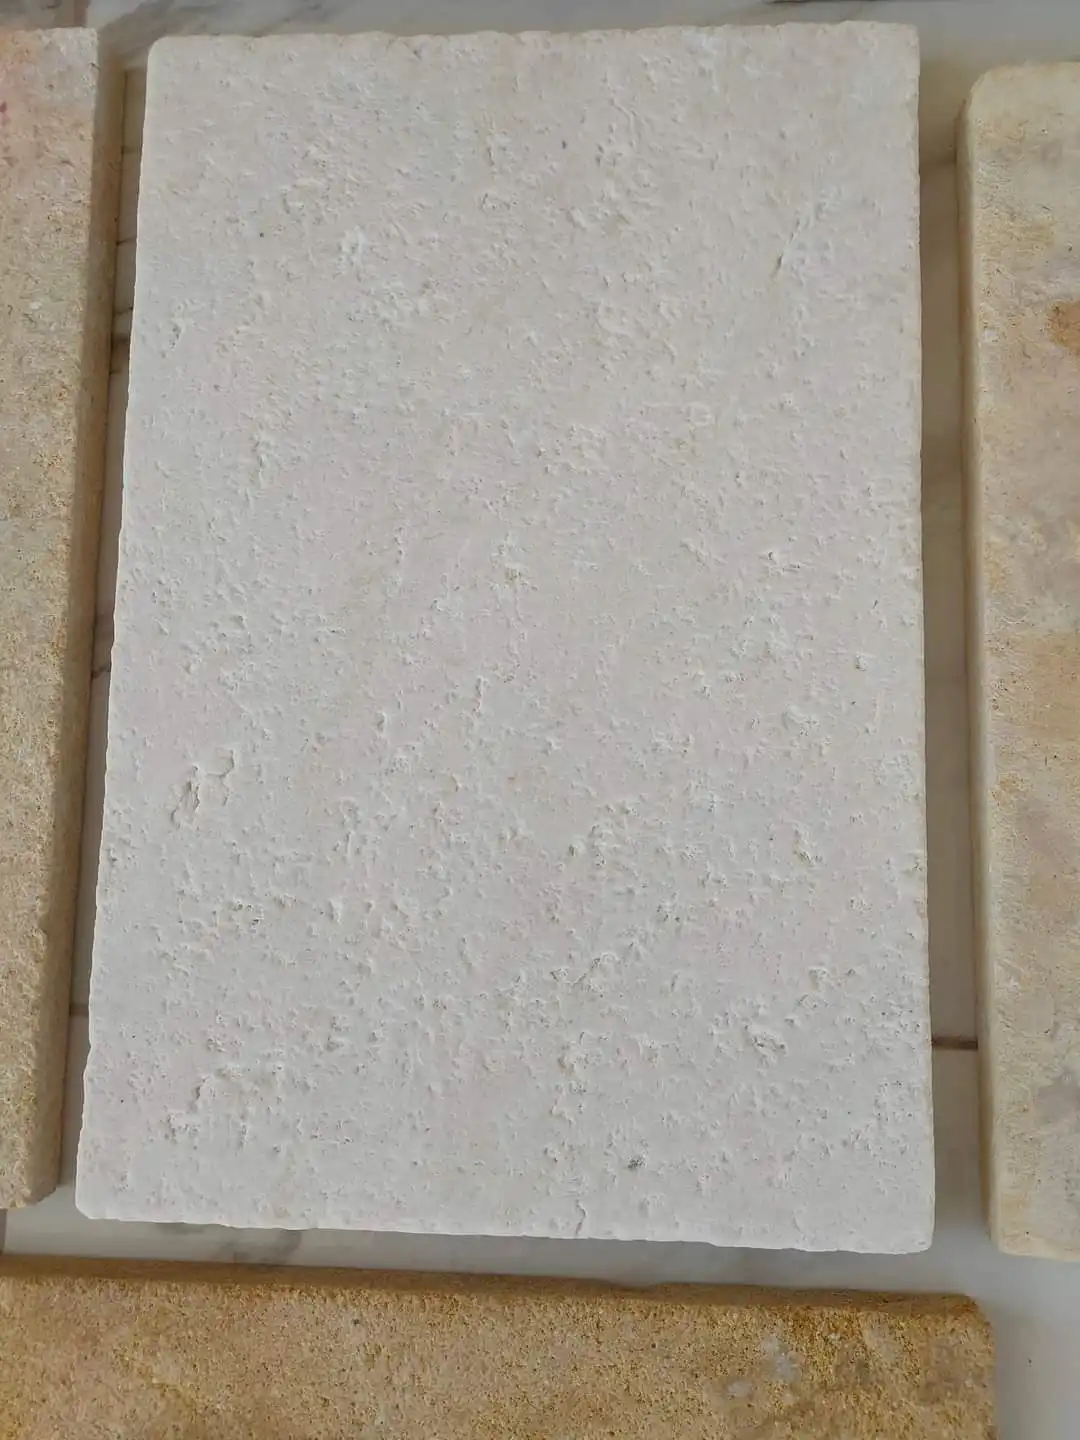
Your material selection sets the ceiling on everything that follows. The compressive strength of the stone you choose needs to match or exceed the compressive strength of the mortar — a common specification error is pairing high-strength mortar with soft sedimentary stone, which causes the mortar to fracture the stone face rather than flex with it. For structural masonry wall construction, specify stone with a minimum compressive strength of 4,000 PSI; for heavily loaded applications, 8,000 PSI or above is more appropriate.
Natural stone masonry wall projects benefit significantly from stone that has been quarried and sorted for consistent bed depth. At Citadel Stone, we evaluate stone for consistent bed depth and surface integrity before it ships, because inconsistent unit sizing is the single biggest source of installation delays and bond-line irregularities in the field. Requesting pre-sorted stone saves considerable time on the wall face.
- Mason’s hammer and cold chisel for rough shaping and splitting
- Angle grinder with diamond blade for precise cuts on ashlar units
- Line level and string line — non-negotiable for maintaining course alignment
- Tuck-pointing trowel and margin trowel for joint finishing
- Mixing paddle and mortar tub for consistent batch preparation
- Rubber mallet for seating stone without fracturing face surfaces
- Jointing iron for compressing and tooling mortar joints
According to Natural Stone Institute wall stone installation guidance, proper stone selection for masonry includes evaluating absorption rate, freeze-thaw resistance, and bed plane orientation — factors that directly determine long-term bond integrity and weathering performance.
Footing and Base Preparation for Setting Stone Masonry
No element of setting stone masonry matters more than the footing. Your footing depth must reach below the local frost depth for any mortared wall — a point that’s non-negotiable regardless of wall height. Footings for mortared stone masonry walls should be poured concrete, with a minimum width of twice the wall thickness and a minimum depth of 12 inches. For walls exceeding 4 feet in height, consult a structural engineer — load calculations become site-specific at that height.
The footing bearing surface needs to be level and consolidated. A single low corner in the footing translates directly into a canted first course, and correcting it with thickened mortar beds compounds rather than solves the problem. Pour your footing at least 48 hours before beginning masonry work — 72 hours in cooler conditions — and check for level across both axes before laying the first stone.
- Minimum footing width: 2× wall thickness (e.g., 16 inches wide for an 8-inch wall)
- Minimum concrete compressive strength for footings: 3,000 PSI at 28 days
- Rebar specification: No. 4 bars at 12-inch spacing for standard residential walls
- Allow full cure time before imposing any masonry load on the footing
- Install a moisture barrier or waterproof membrane at the footing-to-wall interface in areas with high water tables
Mortar Mix Ratios and Joint Preparation
Mortar selection for the construction of stone masonry is a technical decision that most guides treat as a footnote — it shouldn’t be. The wrong mortar type causes more premature masonry failures than poor stone selection. Type S mortar (1 part Portland cement, 0.5 parts lime, 4.5 parts sand) is the standard for exterior stone masonry walls because it provides the right balance of strength, bond, and flexibility. Type N mortar (1 part cement, 1 part lime, 6 parts sand) suits interior applications and soft stone where Type S would be too rigid.
Avoid Type M mortar for most natural stone applications. Its high Portland cement content (3,500 PSI compressive strength) exceeds what most natural stone can flex against during thermal cycling, which causes spalling at the stone face rather than micro-cracking within the mortar joint where you’d want failure to occur if it must occur at all.
- Type S mortar: best all-around choice for exterior stone masonry, high bond strength
- Type N mortar: appropriate for interior walls, soft stone, and below-grade veneers
- Type M mortar: reserve for below-grade foundations and paving applications only
- Pre-mixed bagged mortar: convenient but verify the mix type matches your application
- Lime content improves workability and self-healing of micro-cracks — don’t skip it
- Water ratio is critical: mortar should hold its shape when squeezed, not slump
The Masonry Society natural stone wall construction standards provide detailed guidance on mortar property requirements for different exposure conditions, including compressive strength, water retentivity, and air content — specifications that your project architect or engineer should reference when writing the formal specification document.
Bond Patterns and Course Layout for Stone Masonry
Bond pattern selection determines both the structural performance and the visual character of your masonry wall. The running bond — where each unit overlaps the joint below by at least one-third of its length — is the minimum structural requirement for mortared masonry. Shorter overlaps create what masons call a stack bond, which has almost no shear resistance and is only appropriate for non-load-bearing veneer panels backed by a structural wall.
For rubble stone masonry wall construction, the rule of “one stone over two, two stones over one” captures the core bonding logic: every vertical joint in one course must be covered by a solid stone in the course above it. This interlocking geometry is what transfers load laterally through the wall and prevents progressive collapse. Throughstones — long units that span the full wall thickness — should appear at regular intervals, approximately every 4 to 6 feet horizontally and every 24 to 30 inches vertically.
- Running bond: standard for coursed ashlar, minimum one-third overlap
- Random rubble: requires careful fitting but achieves excellent structural interlocking
- Coursed rubble: sorted by height into rough horizontal bands, more predictable setting
- Ashlar: precisely cut units in regular courses — highest visual quality, highest material cost
- Throughstones: essential for stability in walls over 12 inches thick
Drainage and Water Management in Masonry Wall Construction
Water is the primary long-term threat to any stone masonry wall, and managing it requires deliberate design decisions that happen before the first stone is placed. Retaining walls must include weep holes — 3-inch diameter drainage ports at the base course, spaced no more than 6 feet apart horizontally — to relieve hydrostatic pressure that builds up behind the wall during heavy rainfall events. Without these, a saturated backfill exerts lateral loads that exceed the design capacity of most residential masonry walls.
Your drainage aggregate specification matters as much as the weep hole placement. Use clean, washed gravel (typically No. 57 or No. 2 crushed stone) packed in a continuous column directly behind the wall face, extending from footing level to within 12 inches of grade. In areas that experience high-intensity or prolonged rainfall, extending that drainage column to within 6 inches of finished grade provides meaningfully better protection. A geotextile fabric layer between the drainage aggregate and the native backfill prevents fine particles from migrating into and clogging the drainage layer over time.
- Weep holes at base course: minimum 3-inch diameter, maximum 6-foot spacing
- Drainage aggregate: No. 57 washed gravel or equivalent free-draining material
- Geotextile fabric: required at the aggregate-to-native-soil interface
- Cap the wall top with a slope: 1/4 inch per foot minimum to shed surface water
- Seal mortar joints on the exposed face to limit water infiltration into the core
- In freeze-thaw regions, drainage behind the wall is critical — ice lensing in saturated backfill exerts destructive lateral pressure
For your stone supply from Citadel Stone, discussing your drainage design requirements at the time of ordering allows our technical team to recommend stone units with appropriate absorption rates and surface finish for your specific exposure conditions.
Laying Stone Courses: Step-by-Step Process
The first course is the most critical in the entire wall. Start by dry-laying the full bottom course — no mortar — to test your stone selection, confirm fit, and adjust the layout before anything is locked in. This dry run allows you to identify stones that need trimming, spot gaps that will require unusually thick mortar joints, and verify that your bond pattern works across the full wall length. Only after the dry layout is confirmed should you begin mixing mortar and setting stone permanently.
Apply mortar to the footing surface in a full, even bed approximately 1 inch thick. Seat each stone firmly into the mortar with a slight twisting and pressing motion — this collapses air voids and ensures full contact between the stone bed face and the mortar. Tap with a rubber mallet to final position. Mortar should squeeze out slightly at the joints; if it doesn’t, your bed is too thin or your mortar too stiff. Knowing how to build a stone masonry wall correctly at this stage — with deliberate stone placement and consistent joint filling — determines whether the finished structure performs under load or develops progressive settlement over time.
- Step 1: Excavate and pour footing to specification; allow full cure
- Step 2: Dry-lay the first course; adjust stone selection and sequence
- Step 3: Mix mortar to Type S specification; test workability before proceeding
- Step 4: Apply full mortar bed to footing; seat first course stones with firm pressure
- Step 5: Check level across the entire first course in both directions before proceeding
- Step 6: Apply head joints (vertical mortar between stones); fill completely, no voids
- Step 7: Lay subsequent courses, maintaining bond pattern and string line alignment
- Step 8: Tool joints when mortar reaches thumbprint hardness — typically 30 to 45 minutes after placement
- Step 9: Install throughstones at specified intervals as courses progress
- Step 10: Cap the wall with a continuous coping course bedded in full mortar
Curing, Jointing, and Finishing the Masonry Wall
Mortar curing is not passive — it requires active management, especially in hot, dry climates where rapid moisture loss weakens the cement hydration process. Cover finished sections with damp burlap or plastic sheeting for the first 48 to 72 hours if ambient temperatures exceed 85°F or if low humidity is accelerating surface drying. Under-cured mortar achieves only a fraction of its rated compressive strength and will begin dusting and crumbling within the first winter cycle.
Joint tooling is both a finishing step and a waterproofing step. A concave tooled joint (also called a rodded joint) compresses the mortar surface, densifying it against water infiltration and creating a slight overhang at the stone edges that channels water outward. Flush joints look clean but leave the mortar surface exposed and porous — they’re acceptable for interior applications but underperform outdoors. Raked joints are purely decorative and actively collect water; avoid them on any exterior masonry wall exposed to precipitation.
- Concave joint: best weathering performance, recommended for all exterior masonry
- Flush joint: acceptable for interior walls and sheltered applications only
- Raked joint: decorative only, poor water resistance — avoid for exterior use
- Allow mortar to cure for a minimum of 28 days before applying any sealer or waterproof coating
- Clean stone faces with a stiff brush and water after tooling — remove mortar smears before they harden
According to IBC Chapter 21 masonry requirements, natural stone masonry construction must comply with minimum mortar joint thickness and bond overlap requirements — specifications that your project documents should explicitly reference to ensure code compliance at inspection.
Common Mistakes and Field Troubleshooting
The most consistent field error in masonry wall construction is attempting to compensate for an unlevel footing with oversized mortar beds. Mortar is not a leveling compound — beds thicker than 1.5 inches have poor compressive performance and will compress unevenly under load, causing the wall to develop a lean that worsens over time. If the footing is off, grind it or add a concrete topping before laying any stone.
Cold-weather work presents a separate set of risks. Fresh mortar is damaged by freezing before it has achieved sufficient strength — typically within the first 24 hours of placement. In cold conditions, tent the work and use heated enclosures if necessary. Adding accelerating admixtures is an option, but they don’t eliminate the need for temperature management — they reduce curing time, not freeze susceptibility.
- Thick mortar beds used to correct level issues: will compress and cause wall lean
- Dry stone faces before applying mortar: dust and debris prevent bond formation
- Skipping the dry layout: leads to poor stone fit and excessive joint thickness
- Mortar joints left open or incompletely filled: water infiltration point and frost damage risk
- Capping neglected: most water entry occurs at the wall top — always install a coping course
- Laying in rain: fresh mortar washed by rain loses surface cement and weakens the joint face
Warehouse inventory availability can significantly affect your project timeline. You should confirm warehouse stock levels before finalizing your construction schedule, particularly for larger masonry projects requiring consistent stone lot matching across multiple deliveries. Stone from different production batches can vary enough in color and texture to create visible inconsistencies in the finished wall face.
Stone Masonry Wall Build Quality: Final Considerations
Building a stone masonry wall rewards the specifiers and installers who sweat the preparatory details — footing depth, mortar type, bond geometry, and drainage design — rather than those who rush to the visible work of setting stone. The construction of stone masonry that performs across decades is almost always the result of decisions made at grade level and below, before the wall face becomes the dominant visual. Every hour spent on base preparation and layout verification pays back tenfold in reduced maintenance and avoided remediation costs. As you move forward with your project, related material decisions can also inform your overall stone specification strategy — quartzite classification and buyer considerations is worth reviewing if your project scope includes multiple stone types or you’re evaluating alternatives for specific wall sections. Proper foundation preparation and bonding pattern selection are the two steps where the stone sourced through Citadel Stone makes the most visible difference.
Related reading: types of masonry stone · rubble masonry explained.