Edge restraint failure is the most common—and most avoidable—cause of paver migration, and it almost always traces back to decisions made before the first spike goes into the ground. Knowing how to install patio paver edging correctly means understanding the load path from the paver surface down through the bedding layer and into the restraint itself. Get that sequence right, and your field stays locked for decades. Miss it, and you’ll be watching the border creep outward within a couple of freeze-thaw seasons.
Why Edge Restraint Is the Load-Bearing Spine of Your Patio
Pavers don’t fail from the top down—they fail from the edges inward. Without a properly anchored perimeter, lateral pressure from foot traffic, vehicle loading, and soil movement pushes the outermost course outward. That tiny gap becomes a joint-sand escape route, and once the sand goes, the whole field loses interlock. Your base preparation might be perfect, but none of it matters if the edge is unsecured.
The restraint system carries the cumulative horizontal load of every paver in the field. Think of it as a compression ring: each paver pushes slightly outward under load, and the restraint absorbs that distributed force. On a 400-square-foot patio with 2-inch pavers, that’s a meaningful lateral force concentration at the perimeter—especially in the corners, which see force vectors from two directions simultaneously.
Choosing the Right Edge Restraint Material for Your Application
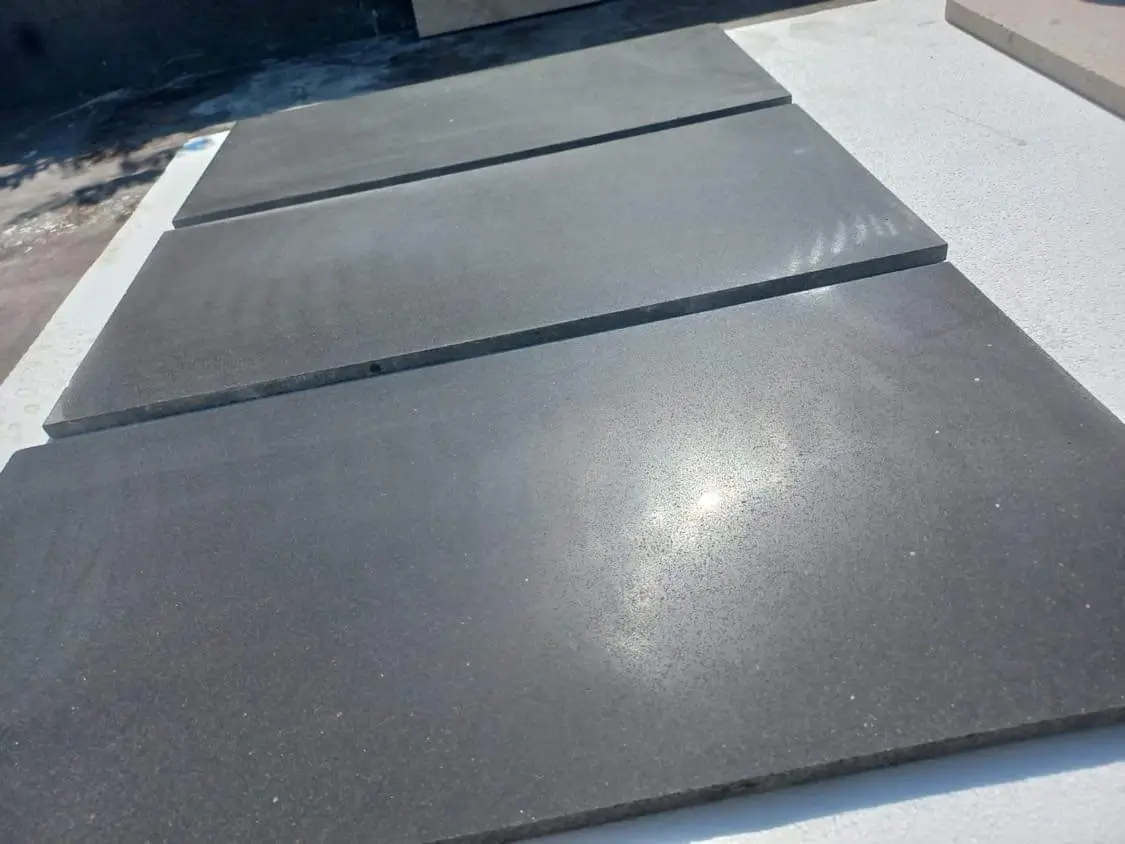
Plastic flexible restraints, aluminum, steel, and natural stone border courses each suit different conditions. Flexible plastic works well on curved layouts and residential patios with moderate foot traffic. Aluminum restraints offer corrosion resistance in wet climates and handle more complex geometries without cracking at cold temperatures. Steel—hot-dipped galvanized—is the right call for raised paver patio configurations where the restraint doubles as a structural retaining element along a grade change.
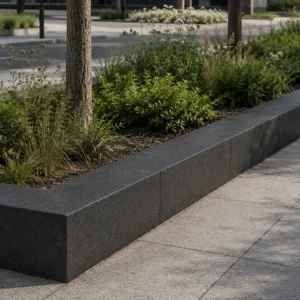
Natural stone border courses function as integrated edge restraints when they’re set in concrete rather than the sand-set field. A 4-inch-wide limestone or bluestone border unit set in a continuous concrete haunch gives you a monolithic perimeter that no flexible system can match for rigidity. The trade-off is that you’re committing to that layout permanently—repositioning a concrete-set border is a full demolition exercise.
- Flexible plastic: best for curves, residential patios, light foot traffic applications
- Aluminum: corrosion-resistant choice for wet environments and complex curved geometries
- Galvanized steel: suited for grade-change edges and raised paver patio perimeters
- Natural stone border set in concrete haunch: highest rigidity, permanent configuration
- Precast concrete edging: budget-friendly on straight runs, less effective on curves
For patio paver edging installation on natural stone paver fields, the material of your restraint should match the stiffness of your base. A well-compacted dense-graded aggregate base paired with a flimsy plastic restraint creates a stiffness mismatch—the base wants to hold, but the edge flexes, allowing progressive joint opening. Match rigid bases with rigid restraints.
Base Preparation: What Has to Happen Before Restraint Installation
The restraint anchors into the base material, not into the bedding sand. This is the detail that separates installations that hold from ones that migrate. Your aggregate base—typically 4 to 8 inches of compacted dense-graded aggregate depending on application—needs to be fully compacted and trimmed to final grade before any restraint goes in. Spiking into uncompacted material gives you false confidence; the spike will pull out under the first significant lateral load cycle.
Compaction targets matter here. Industry practice calls for 95% standard Proctor density on the aggregate base for residential patio applications, and 98% for any area that will see occasional vehicle loading. You can verify this with a nuclear densometer or estimate it from compaction passes, but if you’re working with clay-heavy subgrades, add a geotextile separation layer before your aggregate. Clay pumping under the base will undermine your restraint spike depth over time regardless of how well the surface looks on installation day.
- Compact aggregate base to 95% standard Proctor for foot-traffic patios, 98% for mixed-use areas
- Install geotextile fabric on clay or silty subgrades to prevent base contamination
- Trim base to final grade—restraint sits on top of aggregate, never on bedding sand
- Ensure base extends 6–8 inches beyond the planned paver field edge to support the restraint flange
- Check for drainage slope (1–2% minimum) before restraint placement—changing this after is a rebuild
According to Natural Stone Institute stone paving specifications, proper base preparation is the single most influential factor in long-term paved surface performance—more impactful than material selection or surface finish. Getting this stage right is non-negotiable.
Spike Depth, Spacing, and Soil Condition Variables
Spike selection isn’t one-size-fits-all. The standard 10-inch spike works in most compacted aggregate conditions, but evaluate your soil before defaulting to it. Sandy soils and expansive clay soils both create spike resistance challenges, just through different mechanisms—sand offers low lateral resistance, while expansive clay subjects spikes to heave forces during wet-dry cycles.
Spacing discipline matters as much as spike length. Twelve-inch intervals are the standard for straight runs on residential patios, but drop to 8-inch spacing at corners and anywhere the restraint changes direction by more than 30 degrees. The force concentration at direction changes is significantly higher than along a straight run, and the standard spacing simply isn’t adequate there. Staggering spikes slightly—alternating 2 inches inside and outside the centerline of the restraint flange—creates a wider resistance footprint in the base material.
- 10-inch spikes: standard in compacted aggregate and firm native soils
- 12-inch spikes: required in loose sandy soil, soft fill, or expansive clay conditions
- 12-inch spacing on straight runs, 8-inch spacing at corners and direction changes
- Stagger spike placement to widen base resistance footprint
- Pre-drill pilot holes in frozen ground to prevent restraint deformation during installation
- Avoid driving spikes at angles—vertical installation maintains full shear resistance
How to install patio paver edging correctly on natural stone paver fields requires that the spike engage the aggregate base, not just the bedding sand layer. If your spike bottoms out at 6 inches and you’re hitting sand the whole way, you haven’t seated the restraint in anything with meaningful resistance. Reassess your base depth.
Building Code Considerations for Edge Restraints and Base Depth
Most residential patio installations don’t require a permit, but that doesn’t mean codes are irrelevant. Local building authorities increasingly reference ICPI (Interlocking Concrete Pavement Institute) or similar standards when they inspect landscaping work that alters drainage patterns or sits adjacent to a structure’s foundation. If your patio abuts the house within 10 feet of the foundation, some jurisdictions require a drainage plan review regardless of paver type.
Frost line depth is the structural variable that most directly affects your restraint specification. In freeze-thaw regions, your aggregate base must extend below the local frost depth—which ranges from a few inches in mild climates to over 4 feet in colder regions. A restraint anchored into a base that heaves seasonally will lose spike engagement every spring. The solution is a deeper base in freeze-thaw zones, not longer spikes—you need the aggregate itself to be frost-stable, which means it’s below the frost line.
Large retaining wall stones integrated into a raised patio edge create a different code concern entirely. Walls over 30 inches of retained height typically require engineered plans in most jurisdictions, and the connection between the wall structure and the patio field’s edge restraint system needs to be detailed. The restraint can’t rely on the wall for lateral support unless the wall is designed and permitted to provide it. These are the specification gaps that cause problems during final inspections on high-value projects.
The IBC Chapter 21 masonry and wall construction requirements provide the structural baseline for any stone element—including large retaining wall stones—that functions as part of a paved surface’s perimeter system. Reviewing these requirements before design finalization saves costly field modifications later.
Edge Restraint on a Raised Paver Patio: The Grade Change Problem
A raised paver patio introduces a vertical face that changes the entire load calculation for your perimeter restraint. You’re no longer just managing horizontal migration—you’re also containing the bedding and base material at an exposed edge that’s subject to lateral earth pressure from the fill behind it. Standard flexible plastic restraints are not adequate for this application.
The right approach for a raised paver patio perimeter combines a structural edge element—either a poured concrete edge beam or large retaining wall stones—with the standard paving restraint installed at the top of that structure. The paving restraint manages paver migration at the surface; the structural element handles the retained fill below. These are two separate systems doing two separate jobs, and conflating them is a common field error on residential patio projects.
- Determine retained height before selecting edge restraint system—above 6 inches, you need structural support
- Concrete edge beam: cast-in-place at the patio perimeter, 8–12 inches wide, extends to frost depth in freeze-thaw regions
- Large retaining wall stones: gravity-based system, appropriate for retained heights up to 24–30 inches without engineering
- Install paving restraint at the top of the structural element, not as a substitute for it
- Provide weep holes or drainage aggregate behind any solid retaining element to prevent hydrostatic pressure buildup
For projects using natural stone patio paver edging with a retaining component, verify that your stone supplier maintains adequate warehouse inventory of both the field paver and the edge/border unit in matching material. Sourcing mismatches between field stone and border stone from different warehouse batches can produce noticeable color variation at the perimeter—which is exactly where it’s most visible.
Setting the Restraint Flush, True, and Stable
The top of your edge restraint should sit at or fractionally below the finished paver surface—never proud of it. A restraint that telegraphs above the paver surface becomes a trip hazard and catches debris that accelerates edge deterioration. The target is flush to 1/8 inch below finished paver height, which positions the restraint to hold the paver course without being visible in the finished installation.
String lines are your alignment tool. Run a taut string at finished paver height along the intended restraint line before setting anything. The restraint top edge should track consistently below that string by your bedding sand depth (typically 1 inch nominal). Check with a straightedge every 4–6 feet on straight runs, more frequently on curves. Restraints that wander vertically create an irregular paver surface at the perimeter that’s difficult to correct without pulling the entire border course.
You can review our stone patio edge restraints for compatible perimeter products designed to work with natural stone paver fields at the dimensions most residential and commercial projects require.
Joint Sand Management at the Perimeter: Where Most Installations Fail
The paver-to-restraint joint is the weakest sand retention point in any installation. The restraint itself doesn’t interlock with adjacent pavers the way pavers interlock with each other, so joint sand at the perimeter edge migrates faster than interior joints—especially with water flow along the edge. Polymeric sand is not optional at the perimeter; it’s the specification minimum.
Standard polymeric sand applied to the full field is good practice, but the perimeter joint needs additional attention. Pack the paver-to-restraint joint with polymeric sand before the final compaction pass, then add a second application after compaction and immediately before wetting. The compaction pass will settle the sand, and the second application fills the gap created by that settlement. Skipping the second application leaves a visible void that will expand as water works its way in.
- Use polymeric sand throughout—standard joint sand is acceptable for interior joints only if drainage is excellent
- Apply polymeric sand to the perimeter joint in two passes: before and after final compaction
- Keep polymeric sand off the paver surface during activation—residue hazes are difficult to remove from textured stone
- Allow full cure time (typically 24 hours minimum, longer in humid conditions) before foot traffic
- Inspect perimeter joints at 6 months and reapply sand to any settled areas
According to USGS dimension stone production and paving data, natural stone paving systems in general commercial and residential use consistently demonstrate that joint material maintenance is the primary factor distinguishing installations that require repair within 10 years from those that perform for 25 or more.
How Natural Stone Paver Weight Affects Edge Restraint Specification
Natural stone pavers are substantially heavier than concrete pavers of the same dimension—a 2-inch limestone or bluestone paver at 12×12 inches runs roughly 18–22 lbs per unit, compared to 12–14 lbs for a typical concrete paver. That additional mass changes your restraint specification in two ways: it increases the lateral load the restraint must absorb under deflection, and it reduces the tendency of individual pavers to migrate under light traffic because the interlock forces are higher.
Understanding how to install patio paver edging on a natural stone field means recognizing that you can typically use restraint products one category stiffer than the project size alone would suggest. A mid-size residential patio—say 300 to 500 square feet—with natural stone pavers benefits from aluminum or galvanized steel restraint rather than standard plastic, not because the patio is large, but because the stone mass creates higher edge loads under concentrated foot traffic at the perimeter. The heavier the stone, the more the restraint earns its keep.
Mistakes That Cost You the Installation
Restraint installation failures follow predictable patterns. Recognizing them before the project is underway saves the far more expensive process of diagnosing them after the patio has been in service for two years.
- Spiking into bedding sand instead of aggregate base—the spike has no resistance and will pull under load
- Using straight restraints on curves, creating a segmented perimeter with gaps between restraint sections
- Omitting the concrete haunch on raised patio perimeters and expecting the restraint to handle retained fill pressure
- Installing restraint after the paver field instead of before—this forces you to work around set pavers and compromises spike angle and depth
- Skipping corner connections—restraint sections that aren’t properly joined at corners act independently and migrate apart
- Relying on a single restraint run at a grade change without a structural backing element
The installation sequence matters more than most guides acknowledge. Your restraint goes in after base compaction and before bedding sand placement. This is non-negotiable if you want the spike in aggregate. Setting restraint after bedding sand means your spike travels through the entire sand layer before hitting aggregate—and at that point, you’ve compromised both the bedding sand depth and the spike engagement simultaneously.
Patio Paver Edging: The Details That Determine Long-Term Performance
Getting patio paver edging right comes down to three commitments: restraint anchored in aggregate (not sand), spike spacing tightened at every direction change, and perimeter joints filled with polymeric sand in two passes. Skip any one of these, and you’re managing a slow-motion migration problem that compounds with every season. Citadel Stone carries compatible patio paver edging installation products and natural stone pavers matched for weight, thickness, and perimeter detailing—verified at the warehouse level before they ship, so you’re not reconciling size tolerances on site. As you plan your overall hardscape, complementary layout decisions also shape long-term performance—paver pattern options for your patio explores how pattern choice affects both edge load distribution and visual cohesion at the perimeter. When spiking edge restraints alongside Citadel Stone pavers, 10-inch spikes at 12-inch intervals are generally recommended in sandy or expansive soil conditions.
Related reading: dolomitic limestone · Limestone Sinks: What to Know Before Buying · Paver Patio Base Preparation: Get the Foundation Right.