

What Base Depth Really Means for Limestone Border Edging
Limestone border edging demands more from its base than most garden guides acknowledge. The real performance variable isn’t the stone itself — it’s the interaction between your sub-base depth, the frost line beneath it, and the lateral load the edging resists over time. Get that geometry wrong and you’ll watch perfectly good limestone border edging shift out of alignment within two or three seasonal cycles, regardless of how well you set it initially.
Your local building jurisdiction may have specific minimum base depth requirements for hardscape edging, particularly in freeze-thaw regions where frost heave displacement is a documented structural concern. In many colder climates, edging installations are expected to meet the same sub-base minimums as pathway pavers — typically 4 to 6 inches of compacted aggregate below the setting bed. These aren’t arbitrary numbers; they’re engineered thresholds derived from frost line data and soil expansion coefficients specific to that jurisdiction.
Tools and Materials Before You Start
Before a single piece of limestone border edging goes into the ground, your material list needs to be complete. Missing one item mid-installation is how setting beds dry out, alignment drifts, and the whole job loses consistency.
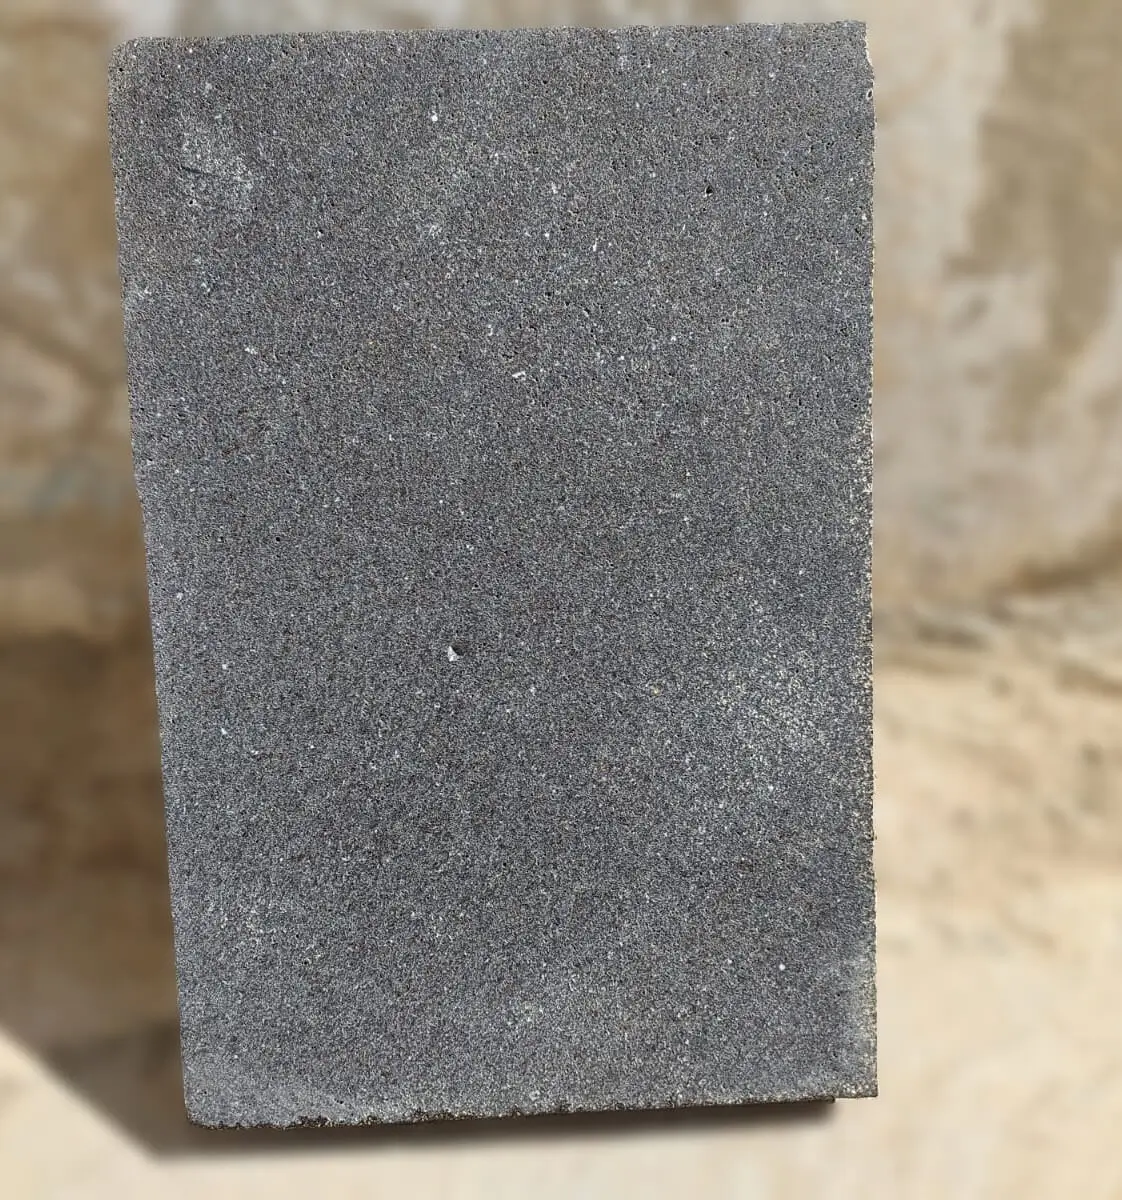
- Limestone edging pieces in your chosen profile — flat-topped rectangles (typically 8–12 inches long, 4–6 inches tall, 2–3 inches thick) are the most practical for garden borders
- Crushed stone aggregate (¾-inch clean crush) for the sub-base layer
- Coarse concrete sand or grit sand for the 1-inch setting bed
- Rubber mallet for tapping stone without surface damage
- String line and stakes to maintain grade and alignment
- Plate compactor or hand tamper for sub-base consolidation
- Level and measuring tape
- Landscape fabric (optional — useful if you’re managing root intrusion along bed borders)
Regarding the limestone itself — confirm warehouse stock before committing to a project timeline. Limestone edging profiles can be cut to specific dimensions, and if your job requires a particular thickness or a dressed-face finish, lead times from the warehouse may run 1–2 weeks for standard stock or longer for custom cuts. Ordering 10–15% overage is standard practice; natural stone carries inherent variation, and some breakage during cutting and installation is normal.
Excavating and Grading the Trench
Your trench needs to be deeper than the stone is tall — that’s the fundamental rule most first-time installers underestimate. For a limestone edging piece that stands 5 inches above finished grade, you’re excavating 9 to 11 inches from the surface: 5 inches of exposed stone, 1 inch of sand setting bed, and 4 to 5 inches of compacted aggregate base. That base depth keeps the border stone edging stable across seasonal ground movement and handles the minor lateral pressure from adjacent lawn or planting bed soil.
Cut your trench cleanly using a flat spade — ragged walls make it harder to maintain consistent stone alignment. Keep the trench width tight, roughly 1 to 2 inches wider than the stone, so you’re working with a stable, defined channel rather than a wide excavation where stone can wander during placement. Grade the trench bottom with a slight fall of 1 in 80 away from any structure or lawn edge where water pooling would be a problem.
Compact the trench bottom before placing aggregate. Loose native soil beneath the base layer is the most common cause of long-term settlement in limestone border edging installations. Even a single pass with a hand tamper makes a measurable difference in the stability achieved at the surface.
Sub-Base and Setting Bed Preparation
Spread your crushed aggregate in the trench and compact it in layers — never all at once. A single uncompacted 5-inch pour will compact unevenly, leaving soft spots you won’t detect until the stone starts to sink six months later. Work in 2-inch lifts, compacting each before adding the next. This approach takes slightly more time but produces a base with consistent load-bearing capacity across the full trench length.
According to NSI limestone technical data, limestone’s compressive strength typically ranges from 4,000 to 19,000 PSI depending on formation density — which means the stone itself is rarely the weak link. The base almost always fails first. Investing an extra 20 minutes in base compaction is the highest-return action in the entire installation process.
Once your aggregate base is consolidated and level, screed a 1-inch layer of coarse sand across the top. This setting bed provides the fine adjustment layer where you bed each stone into final position. Use screed rails or timber guides to pull the sand to a consistent depth, then leave the surface undisturbed until you’re ready to set stone. Footprints or tool marks in the screeded sand create high spots that disrupt stone alignment.
Setting Limestone Border Edging Step by Step
Start at a fixed reference point — a corner, a gate post, or a point where a different material meets your limestone border edging. Work outward from there rather than starting in the middle of a run, which makes alignment adjustments harder as you approach fixed endpoints.
- Set your string line at the intended top-of-stone elevation, offset 1–2 inches from the face of the edging to keep it clear of the stone as you work
- Place each limestone edging piece onto the screeded sand without sliding — set it straight down to avoid disturbing the bed beneath
- Check level and height against the string line before tapping into final position
- Use the rubber mallet to seat the stone firmly — you’re embedding it 3–5 mm into the sand surface, not just resting it on top
- Check the face alignment after every 3–4 pieces; small deviations compound quickly over long runs
- Where pieces meet end to end, maintain a joint of 2–5 mm — this allows for minor thermal movement without cracking
The ASLA landscape edging and permeability guidance highlights the value of maintaining permeable joints in stone edging systems, particularly where runoff management is a design consideration. For landscape edging with stone positioned between planted beds and lawn, an open-jointed system allows excess moisture to pass through rather than pool against the stone face, which protects both the edging and the adjacent planting.
Handling Curves and Corners
Straight runs of landscape edging with stone are straightforward — curves require a different approach. For gentle curves, you can fan rectangular edging pieces slightly at the joints, opening a modest gap at the rear of each joint while the front face remains tight. This technique works well up to a radius of about 3 feet. Tighter curves than that require either purpose-cut curved pieces or the use of round edging stones, which are specifically designed for curved garden borders and eliminate the fanning geometry altogether.
Round edging stones — the globe or half-ball profiles found in period garden designs — are installed in a continuous run with minimal jointing. Their shape means each stone self-aligns to the curve once the string line is set correctly. They do require a slightly wider trench since the base footprint of a round stone differs from a rectangular profile, and you’ll want to pack the aggregate tightly around each stone’s base before moving to the next.
Corners are best handled with mitered cuts if your limestone supplier can execute them, or by setting two stones at a true 90-degree butt joint with a tight, mortared intersection. A mortared corner on a dry-set border isn’t ideal — it creates a rigid node in a flexible system — but it’s often the cleaner visual solution for formal garden designs where a visible joint would stand out.
Cutting Limestone Edging to Length
Most border runs will require cutting at least a few pieces to complete the job cleanly. Limestone border edging cuts well with an angle grinder fitted with a dry-diamond blade or a wet-cut tile saw. Either tool produces clean edges, but the wet saw generates significantly less dust and creates a finer face finish if the cut edge will be visible.
Score and snap works on thinner limestone pieces (under 1.5 inches), but for standard edging profiles at 2–3 inches thick, rely on a power tool. Mark your cut line with a chalk pencil or wax crayon, which reads clearly on limestone’s typically light surface without permanent marking. Make the cut in a single confident pass — hesitating mid-cut increases the risk of chipping at the stone’s natural bedding plane.
Dispose of cut offcuts and dusty material carefully. Limestone dust has a high pH and can affect soil chemistry if it accumulates in planting beds adjacent to your border stone edging. Sweeping waste away from planted areas during and after cutting is standard practice on any quality installation.
Backfilling and Finishing the Installation
Once all limestone edging pieces are set and leveled, backfill the rear of the trench — the soil-side edge — firmly. Tamping the backfill in layers prevents the edging from tilting forward over time under soil pressure from the planting bed. The front face — the lawn side — should be backfilled and compacted to lawn grade, leaving the top face of the edging exposed at the height you planned.
At Citadel Stone, we recommend brushing dry kiln-dried sand into any joints between edging pieces once the installation is complete. This locks adjacent stones laterally without a rigid mortar bond, maintains the permeable nature of the installation, and can be refreshed easily if joints open slightly over time. For border stone edging in formal settings where an absolutely clean joint is required, a pointing mortar in a natural grey tone is the alternative — but budget for occasional joint repairs as the system moves seasonally.
Explore our limestone garden edging range to review profile dimensions, surface finishes, and standard lengths before finalising your order quantities. Matching profiles and consistent dimensions across a full project run matter more in edging than in field paving, since every piece is visible and any mismatch in height or face texture reads immediately in the finished border.
Code Compliance and Structural Considerations
Building codes rarely address decorative garden edging directly, but the structural principles underlying code requirements for hardscape apply equally here. ASTM standards for dimension stone — which cover compressive strength, absorption, and modulus of rupture — provide the technical baseline for specifying limestone border edging that will perform across freeze-thaw cycles without spalling or fracturing.
The specific threshold to reference is ASTM compressive strength and durability standards for dimension stone, which classifies limestone by absorption and strength grades suited to exterior exposure. For landscape edging with stone that will experience regular freeze-thaw conditions, specify limestone with a maximum water absorption rate of 3% and a minimum compressive strength of 7,500 PSI. Stone above those thresholds carries adequate density to resist frost expansion within its pore structure without surface spalling.
Frost line depth is the structural variable that most directly affects your base specification. In regions where the frost line reaches 30 inches or deeper, a 4-inch compacted aggregate base is genuinely inadequate — you’re still leaving significant frost heave potential beneath the installation. Consult your local building department or geotechnical reference for jurisdiction-specific frost depth data, then design your sub-base to extend below that line where site conditions allow. For edging, this often means over-excavating and placing insulating aggregate rather than taking the base to full frost depth, which is a practical engineering compromise that performs well in most residential applications.
Sealing and Ongoing Maintenance
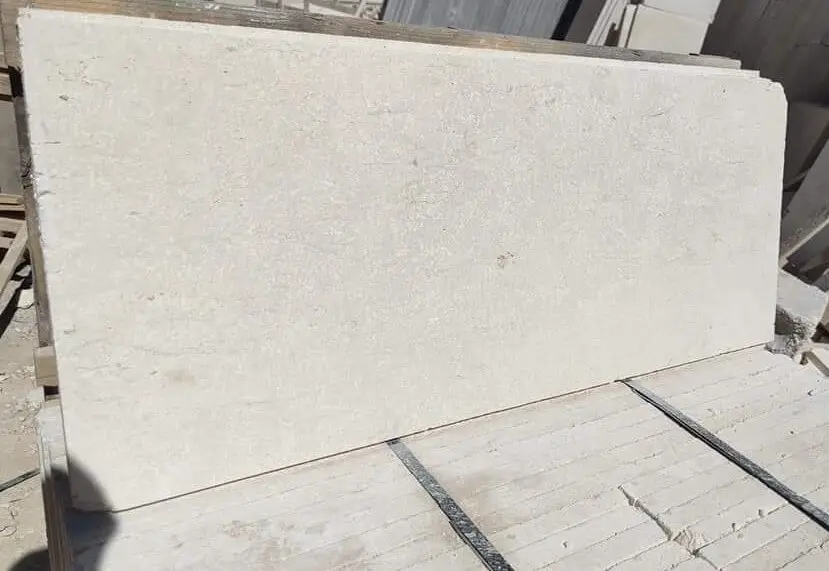
Limestone border edging benefits from a penetrating sealer applied after installation and before the adjacent soil or mulch is replaced. A quality impregnating sealer reduces the stone’s natural absorption rate — which for exterior-grade limestone typically sits between 1.5% and 4.5% — and slows the staining process from organic material, soil contact, and moisture cycling. It doesn’t waterproof the stone; it reduces the rate at which contaminants penetrate the surface.
- Apply sealer to clean, dry stone only — residual installation moisture or surface dust blocks penetration and leaves a patchy result
- Use a low-pressure pump sprayer or lint-free applicator pad for even coverage
- Allow 24 hours of dry weather before and after application
- Re-seal every 2–3 years depending on exposure conditions and the degree of organic contact from adjacent planting beds
- Avoid oil-based sealers on limestone — they can yellow light-coloured stone over time and are difficult to remove without abrading the surface
For round edging stones and rectangular profiles alike, check sealer compatibility with your water chemistry where irrigation spray contacts the stone regularly. High-mineral water accelerates calcium carbonate deposition on the stone face — efflorescence that appears as white haze and is effectively impossible to prevent without managing the water source directly. A breathable penetrating sealer helps, but it won’t eliminate the issue entirely in high-mineral water environments.
Limestone Border Edging Specification Decisions
The difference between limestone border edging that looks the same after fifteen years and edging that shifts, stains, and fades within five comes down to decisions made before the first stone goes in the ground. Sub-base depth, material specification against ASTM absorption and strength thresholds, and joint management strategy are all set before installation begins — and none of them are correctable once the project is complete without pulling the edging and starting over.
Citadel Stone ships limestone edging nationwide, and our team is available to help you work through specification decisions before your order is finalised — including profile selection, finish options, and quantity calculations based on your border dimensions. If you’re also weighing tone and finish options for your limestone border, white limestone edging tones and finishes covers how surface colour and texture interact with landscape context, light, and adjacent materials — a useful reference before committing to a specific stone. Cut direct from quarries in Turkey, the Mediterranean, and beyond, this border edging sets neatly into a compacted sand base.
Related reading: limestone driveway edging · limestone stepping stones guide · bullnose limestone edging explained.