Why Edge Profile and Stone Geometry Determine Long-Term Performance
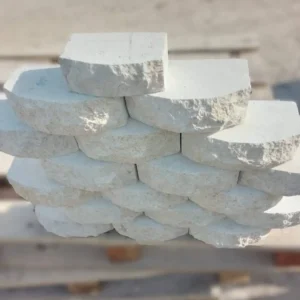
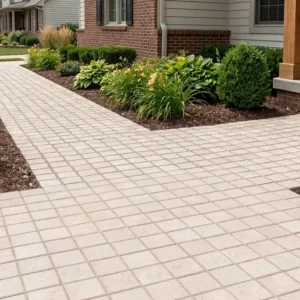
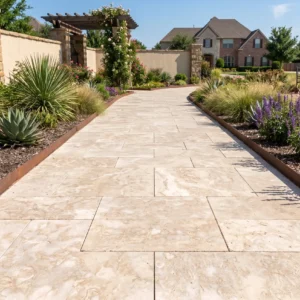
Limestone driveway edging fails far more often from poor profile selection than from material weakness — and that’s a distinction most buyers miss entirely until they’re relooking at a cracked border two winters later. The edge geometry you choose governs how point loads from vehicle tyres distribute laterally into the surrounding base, and natural limestone handles that load transfer very differently depending on whether you’ve specified a square-sawn profile or a tumbled, radiused one. Square-sawn edges concentrate stress at the arris, which is exactly where freeze-thaw cycling and thermal expansion create the highest fatigue risk. A tumbled or chamfered profile distributes that same load across a broader contact zone, reducing peak stress at the most vulnerable cross-section by a meaningful margin.
You’ll also want to think carefully about nominal thickness before anything else. For a standard residential driveway with passenger vehicles, 2-inch nominal limestone driveway edging sits in the right range. Introduce light truck or SUV traffic onto unpaved shoulders and you need to move to a 3-inch minimum, particularly if your subgrade has any clay content. Clay soils expand and contract seasonally in ways that a thin edging stone simply can’t accommodate — the stone doesn’t fail, the bedding beneath it does, and the result is lateral displacement that looks like material failure but is actually a specification error.
Natural Limestone vs Sandstone and Granite Edging Stones
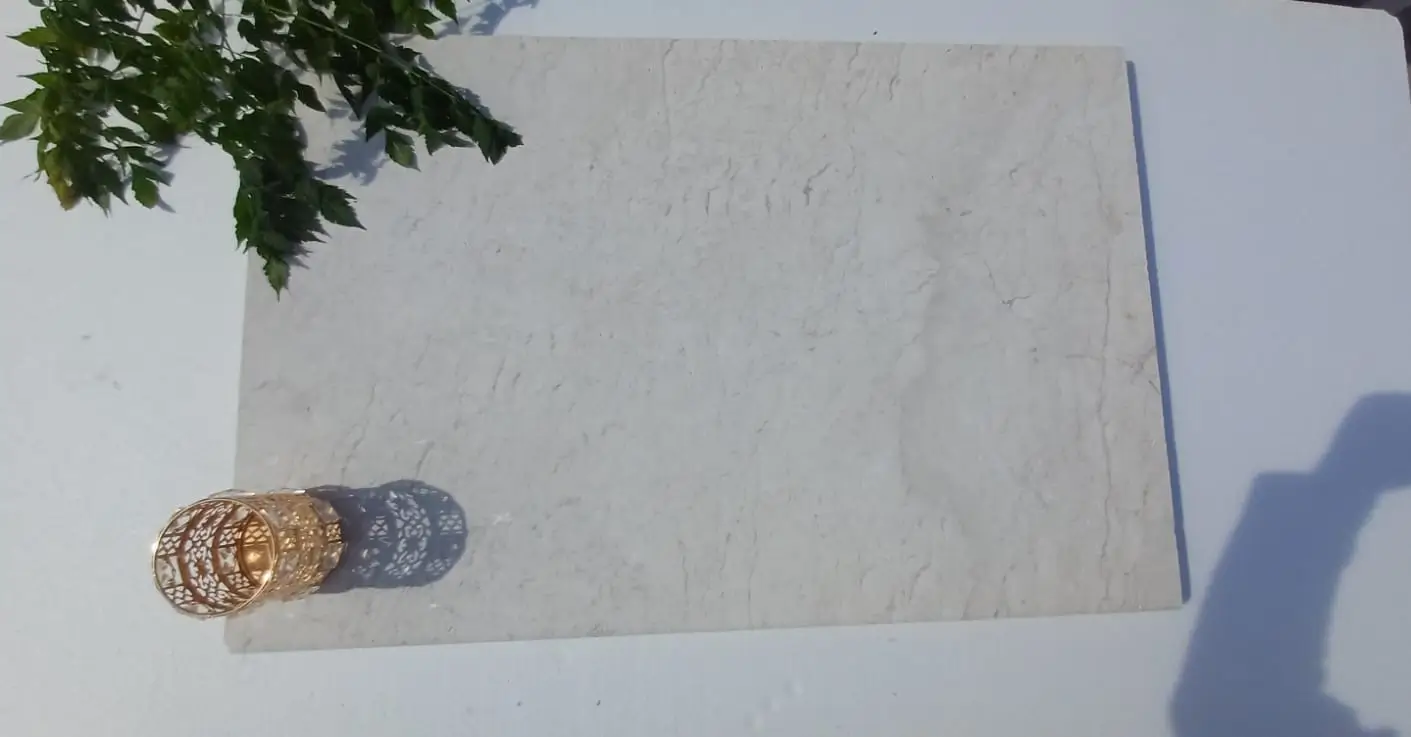
The limestone vs sandstone debate comes up constantly in driveway edging specifications, and it deserves a direct answer. Sandstone is softer and more variable in density — compressive strength ranges from roughly 3,000 to 9,000 PSI depending on the deposit, whereas quality natural limestone edging typically lands between 8,000 and 18,000 PSI. That variance in sandstone means you’re buying performance range, not performance certainty. For driveway edging, where tyre contact and soil pressure are ongoing stresses, that variability is a real risk over a 15-to-20-year horizon.
Granite edging stones occupy the opposite end of the spectrum. Compressive strengths above 20,000 PSI make granite practically highly resistant to surface abrasion and edge chipping, but that hardness comes at a cost: granite is significantly denser and harder to cut for curved radius work. If your driveway has sweeping curves — and most residential drives do — granite setts require precision wet-saw cutting at custom angles, which adds both labour time and waste material costs. Natural limestone edging, by contrast, can be dry-cut to tight radius profiles more readily, which is why it remains the preferred specification for curved edging runs. According to NSI limestone technical data, the material’s characteristic cleavage planes also make it more workable for bespoke profiles without sacrificing structural integrity.
Here’s the honest trade-off matrix worth keeping in mind:
- Limestone offers the best balance of workability, aesthetics, and structural performance for residential driveway edging
- Sandstone suits low-traffic garden edging where appearance matters more than load-bearing capacity
- Granite edging stones deliver maximum durability for commercial or high-vehicle-frequency applications where budget accommodates premium fabrication costs
- Limestone ages more gracefully than concrete alternatives, developing a patina that suits both formal and informal landscaping styles
- Granite’s dense surface resists staining but requires professional cutting equipment for any curved layout
Base Preparation: The Foundation That Determines Everything
Your limestone driveway edging is only as stable as the 150–200mm of compacted aggregate beneath it — and this is where most DIY and mid-tier contractor installations go wrong. The bedding layer must be a crushed angular aggregate (20mm or finer), not pea gravel and certainly not sand alone. Angular aggregate locks under compaction; rounded particles migrate under load. You’ll achieve the lateral stability limestone edging needs only when the base material interlocks mechanically rather than just sits under weight.
Compaction matters in layers. Never compact more than 100mm of aggregate at a time — deeper layers don’t compact uniformly, and you’ll end up with a hard crust over a loosely compacted core that eventually settles unevenly. Each 100mm lift should be compacted to at least 95% Modified Proctor density before the next layer goes down. If you’re specifying this for a contractor, include that density requirement explicitly in your scope document. It’s the detail that separates a 20-year installation from one that needs relevelling at year seven.
For projects in heavy-rainfall regions or areas with pronounced wet-dry cycles, extend the compacted base to a minimum of 200mm and consider a geotextile separation fabric between native subgrade and aggregate. That fabric prevents fines migration — the gradual pumping of clay or silt particles upward into your aggregate layer under hydraulic pressure. Once fines contaminate a granular base, you’ve lost compaction permanently without a full dig-out. It’s a small material cost that prevents a large remediation cost.
Drainage Design and Water Management for Limestone Edging
Water management is genuinely relevant to limestone driveway edging specification, because it’s one of the hardscape elements most exposed to sustained moisture. Natural limestone is a sedimentary calcium carbonate stone with an open pore structure that absorbs water when unprotected. USGS limestone composition data confirms absorption rates typically ranging from 1–8% by weight depending on formation density, which means water ingress management is a real design consideration, not a theoretical one.
Your drainage strategy should begin with edge gradient. Limestone edging installed perfectly level will collect standing water in the joint gaps between stones — especially in layouts using tight butt joints. Build a minimum 1.5% fall away from the driveway surface into the planted border or drainage channel on the outer edge. This directs surface runoff away from the edging’s bedding plane rather than into it.
In climates with intense seasonal rainfall — heavy summer storm events, extended wet winters, or pronounced wet-season precipitation — hydrostatic pressure beneath the edging can become a genuine uplift force. The fix is a gravel-filled French drain running parallel to the edging line at a depth of 300mm, discharging to a catch pit or soakaway. This is standard practice on projects with compacted clay subgrades where drainage through the base is minimal. Consider these specific details when planning drainage alongside natural limestone edging:
- Minimum 1.5% transverse fall across the edging surface to direct surface water outward
- Joint gaps of 5–8mm allow minor drainage while maintaining lateral stone stability
- A geotextile-wrapped gravel layer at base level prevents uplift in high-water-table conditions
- In drought-cycle regions, allow for subgrade shrinkage gaps by using a slightly flexible bedding mortar rather than rigid set throughout the run
- Deep freeze-thaw regions require a minimum 150mm frost-free depth below the bedding plane — check your local frost depth data before specifying base thickness
Installation Specifications for Natural Limestone Edging
Getting the bedding mortar mix right is one of those details that field experience teaches you faster than any specification manual. A standard 3:1 sharp sand to cement ratio at a semi-dry consistency works well for limestone driveway edging in most conditions — stiff enough to hold the stone at grade during setting without slumping, but plastic enough to allow minor adjustment for 20–30 minutes after placement. Avoid over-watering the mix in warm conditions; a wet bedding mortar shrinks on cure and creates voids beneath the stone that become pivot points under load.
Joint filling deserves equal attention. For natural limestone edging with tight profiles, a dry brush-in jointing compound (kiln-dried sand or a proprietary polymeric mix) outperforms wet-pointed mortar for several reasons. It accommodates thermal expansion without cracking, it drains freely rather than trapping water at the joint face, and it’s repairable without chipping out hard mortar. Polymeric jointing compounds do harden over 24 hours after activation by water, so make sure you’ve finished any minor stone adjustments before wetting the joints.
For the edging stones themselves, you should ensure that our limestone edging stone is laid with a minimum of 50% of the stone’s depth in the bedding layer — so for a 100mm-deep edging stone, at least 50mm should be embedded below finished grade. This depth governs lateral resistance. Exposed edging stones with insufficient embedment depth rotate outward under repeated tyre contact, especially at driveway entry points where the turning radius creates lateral thrust forces.
Sealing Protocols and Long-Term Maintenance
Natural limestone edging benefits significantly from an impregnating sealer applied within the first two weeks after installation — before the stone has had extended exposure to tyre rubber, oil residue, or organic matter from adjacent planting. An impregnating (penetrating) sealer works by filling the pore structure below the surface rather than forming a film on top of it. That distinction matters because a surface film sealer on an exterior edging stone will eventually delaminate under UV exposure and foot traffic, trapping moisture behind the film in the process. Penetrating sealers don’t have that failure mode.
Resealing frequency depends on traffic exposure and UV load. For a typical residential driveway, a biennial resealing cycle maintains adequate protection. For a high-frequency application with daily multi-vehicle use, annual resealing is the more defensible specification. You can test seal effectiveness simply — drop water on the stone surface. If it beads, protection is active. If it absorbs, you’re overdue.
Here’s what maintenance actually looks like in practice:
- Pressure washing at low to medium pressure (below 1500 PSI) removes biological growth without opening the stone’s pore structure
- Avoid acid-based driveway cleaners on limestone — the carbonate matrix reacts with acids, etching the surface permanently
- Re-bed any stones showing movement within the first season — early intervention prevents progressive displacement
- Check joint fill annually and top up with dry jointing compound as needed
- Clear leaf debris from around the edging in autumn; decomposing organic matter accelerates biological staining on porous limestone
Ordering, Logistics, and Project Planning
Calculating your material requirement for limestone driveway edging is straightforward but benefits from a buffer. Measure the total linear run of edging required, then add 10–12% for cuts, wastage, and any future repair stock. For curved sections of tight radius, increase that buffer to 15% — curved cuts produce more off-cut waste than straight runs, and having matching material on hand years later is genuinely valuable when a single stone needs replacing.
Lead times from a warehouse holding national stock are typically 1–2 weeks for standard profiles. If you’re specifying a custom-cut profile or a non-standard dimension, factor in an additional 2–4 weeks for fabrication. Truck delivery logistics are worth confirming before you finalise your schedule — standard flat-bed trucks require clear access to within approximately 20 metres of the installation point, and kerb weights for natural stone can run to 800–1,200kg per pallet. Confirm your site access constraints with your supplier early, particularly if the driveway approach involves a narrow gate or a low-clearance overhead structure.
Citadel Stone maintains national warehouse inventory of natural limestone edging, which means you’re drawing from held stock rather than waiting on an import cycle. That typically reduces project lead times meaningfully compared to sourcing directly from overseas. It’s worth confirming warehouse availability for your preferred profile before locking in your installation start date — stock levels for popular profiles can move quickly during peak spring and autumn installation seasons.
Choosing the Right Surface Finish for Your Driveway Edging
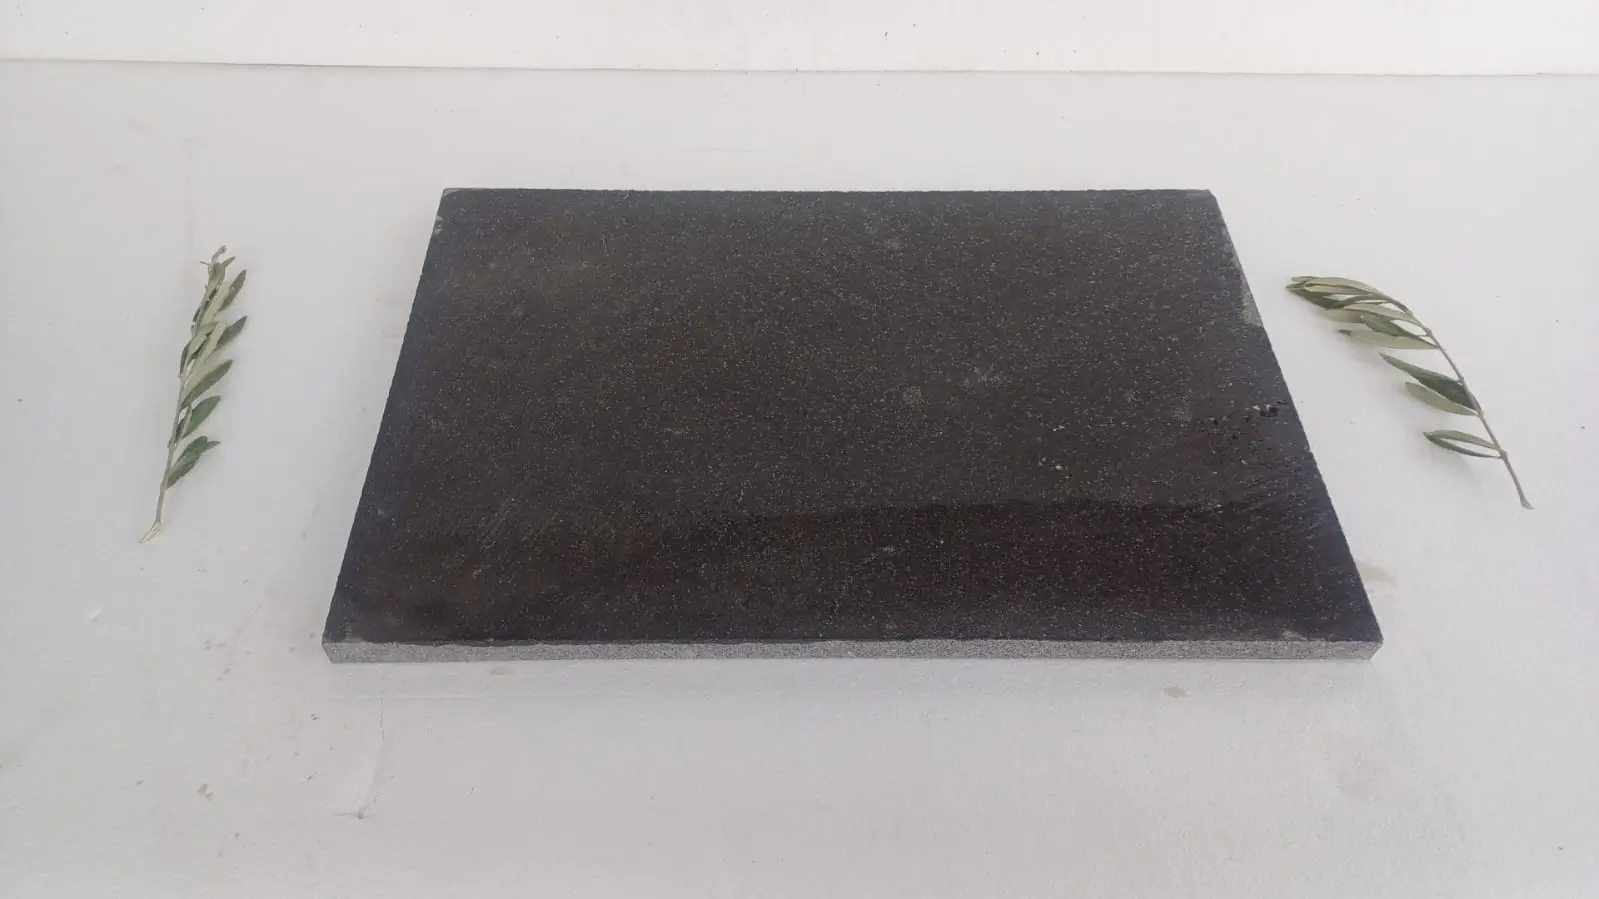
Surface finish selection for limestone driveway edging is where aesthetics and slip performance intersect — and getting it right requires you to think about the edging not just as a visual border but as a surface people and vehicles interact with at an oblique angle. Sawn and honed finishes produce a smooth, flat face that looks clean and refined but becomes slippery when wet along the top arris, particularly if the edging is wide enough to be stepped on at a driveway entry. A textured or hand-pitched face finish maintains better wet grip and also disguises minor surface marks and tyre scuffs over time.
Tumbled limestone edging presents a different performance profile. The rounded edges and worn face look naturalistic and informal — ideal for cottage-style or rural property driveways — but the tumbled process slightly reduces the precise dimensional consistency of each stone. You’ll see minor variation in height along a tumbled edging run that a sawn product would not show. Whether that variation is acceptable depends on your project aesthetic; for formal symmetrical driveway designs, sawn is almost always the better choice.
According to ASTM compressive strength and durability standards for driveway paving stone, surface finish doesn’t significantly affect the compressive performance of natural stone — but it does affect abrasion resistance ratings. A polished or honed finish on an exposed edging top face will show wear more visibly over time than a bush-hammered or flamed equivalent, because the polished surface has less texture depth to absorb minor abrasion before it becomes visually apparent.
Common Specification Errors Worth Avoiding
The most frequently repeated mistake in limestone driveway edging specification is undersizing the edging depth relative to the driveway surface thickness. Your driveway surface — whether natural stone pavers, asphalt, or concrete — has a specific structural depth. Your edging stone must be at least as deep as that surface layer, ideally 20–30mm deeper, to function as a genuine lateral restraint rather than a cosmetic border. An edging stone shallower than the adjacent pavement will be pushed outward by the cumulative lateral force of the pavement expansion, particularly in hot periods.
A second common error is using rigid mortar bedding across an entire long edging run without any expansion provision. Natural limestone has a thermal expansion coefficient of approximately 4–6 × 10⁻⁶ per °F. Over a 30-metre run in a climate with a 60°F seasonal temperature swing, that translates to roughly 7–11mm of cumulative movement. Without planned expansion joints every 8–10 metres, that movement has nowhere to go except into the mortar joints, which crack, or into the stones themselves at the weakest cross-section.
- Never bed limestone driveway edging directly on native soil — always use a compacted aggregate layer
- Avoid solid mortar joints in full-length runs without expansion gaps every 8–10 metres
- Do not specify edging stone depth shallower than the adjacent driveway surface thickness
- Resist the temptation to use rapid-set mortar in cold conditions — cure kinetics below 5°C produce a weaker bond matrix than slow-set mixes
- Don’t assume all natural limestone edging profiles are dimensionally consistent — verify tolerances with your supplier before specifying tight-fit layouts
Final Recommendations for Limestone Driveway Edging
The specification decisions that define a successful limestone driveway edging installation come down to four fundamentals: correct profile depth for your specific load scenario, a compacted angular aggregate base of adequate thickness, planned drainage provision that accounts for your rainfall patterns, and a surface finish matched to both the project aesthetic and realistic maintenance expectations. Get those four elements right and you’re looking at a 20-to-30-year installation life without significant remediation. Miss any one of them and you’re likely revisiting the project within a decade.
Your material sourcing decision carries equal weight. At Citadel Stone, we work directly with selected quarries across the Mediterranean and Middle East, which gives our technical team genuine oversight of formation consistency and dimensional tolerances before material leaves the quarry — not just a specification sheet reviewed at the warehouse. That quarry-level quality visibility is the difference between a consistent edging run and one that reveals dimensional variation only after you’re mid-installation. For limestone projects where long-term performance is non-negotiable, specification precision and supply chain transparency both matter. As you plan related stone elements for your property, our limestone planter care and drainage guide covers how limestone performs in other moisture-exposed applications worth considering alongside your driveway edging project. Sourced from quarries across the Mediterranean and Middle East, Citadel Stone offers driveway edging cut for tight radius curves.
Related reading: curved limestone edging ideas · How to Install Limestone Flower Bed Edging That Stays Level · types of limestone rock for edging.