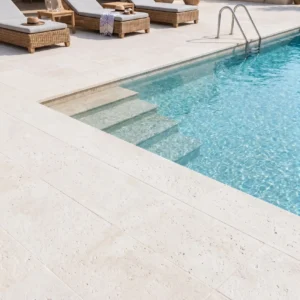
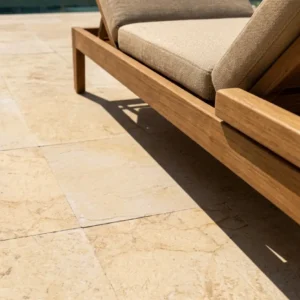
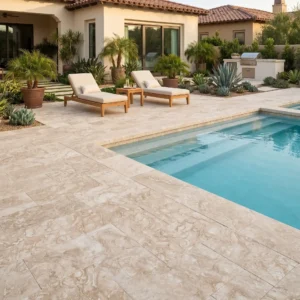
Why Curve Radius Changes Everything
Curved limestone edging ideas live or die on a single upstream decision: the radius specification. The specific radius you choose determines far more than aesthetics — it controls how individual pieces seat against each other and whether the line holds its geometry over time. Tight radii below 24 inches require shorter individual edging segments, typically 6–8 inches per piece, to prevent gapping at the outer face. Wider sweeping curves in the 48–72 inch range allow you to use longer stones with minimal visible joint variation. Getting that radius decision right before you order is the step most projects skip — and it’s the one that shows up in the finished line.
Scalloped vs. Smooth Edge Profiles
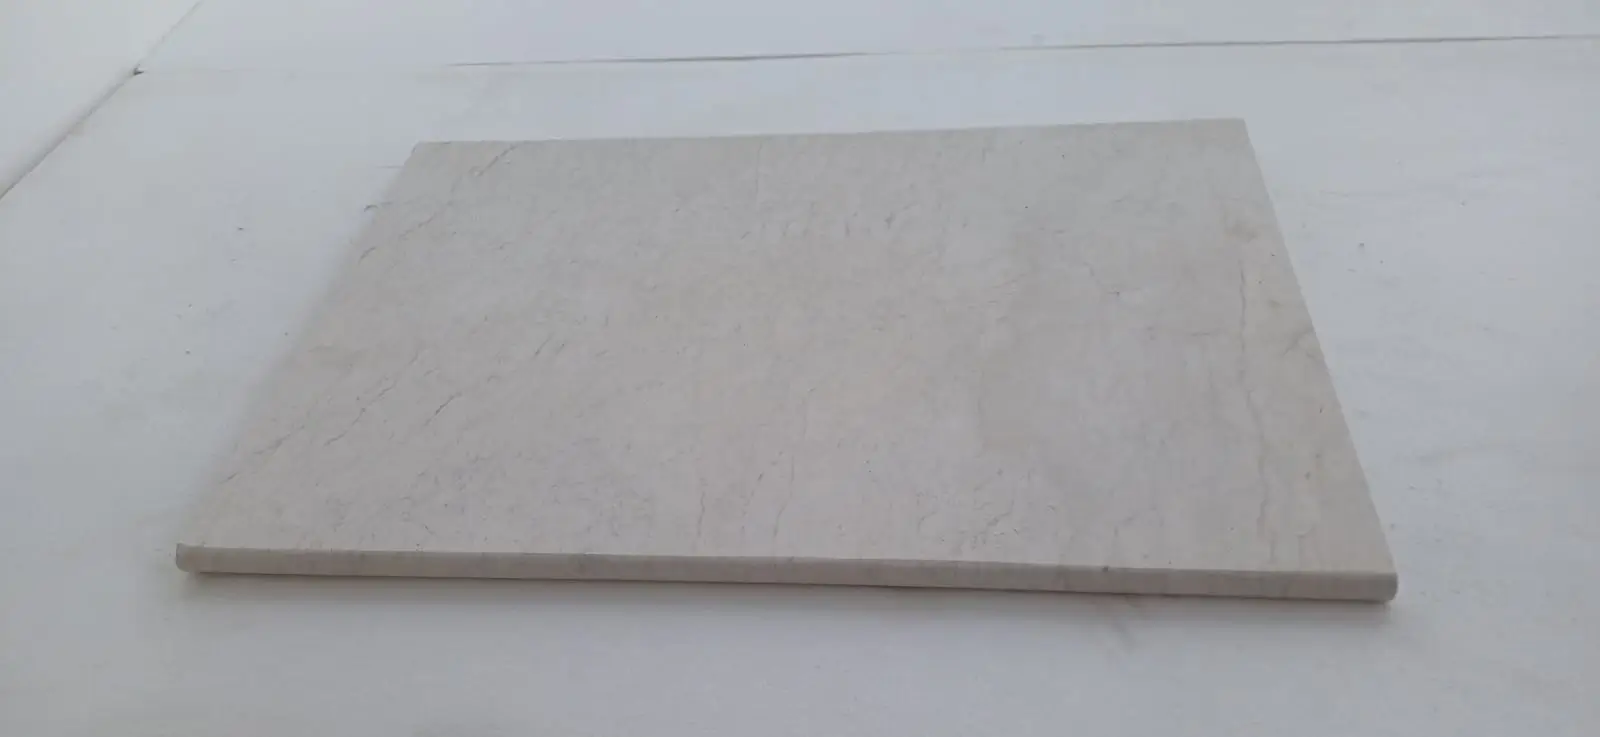
Choosing between a scalloped and a smooth-face limestone edging profile is primarily a rhythm decision. Scalloped edging stones create a repeating visual beat along the border — a gentle undulation that suits cottage-style planting beds and informal lawn contours. Smooth profiles, by contrast, read as a clean continuous line, which works better for contemporary or geometric garden layouts even when the overall path curves.
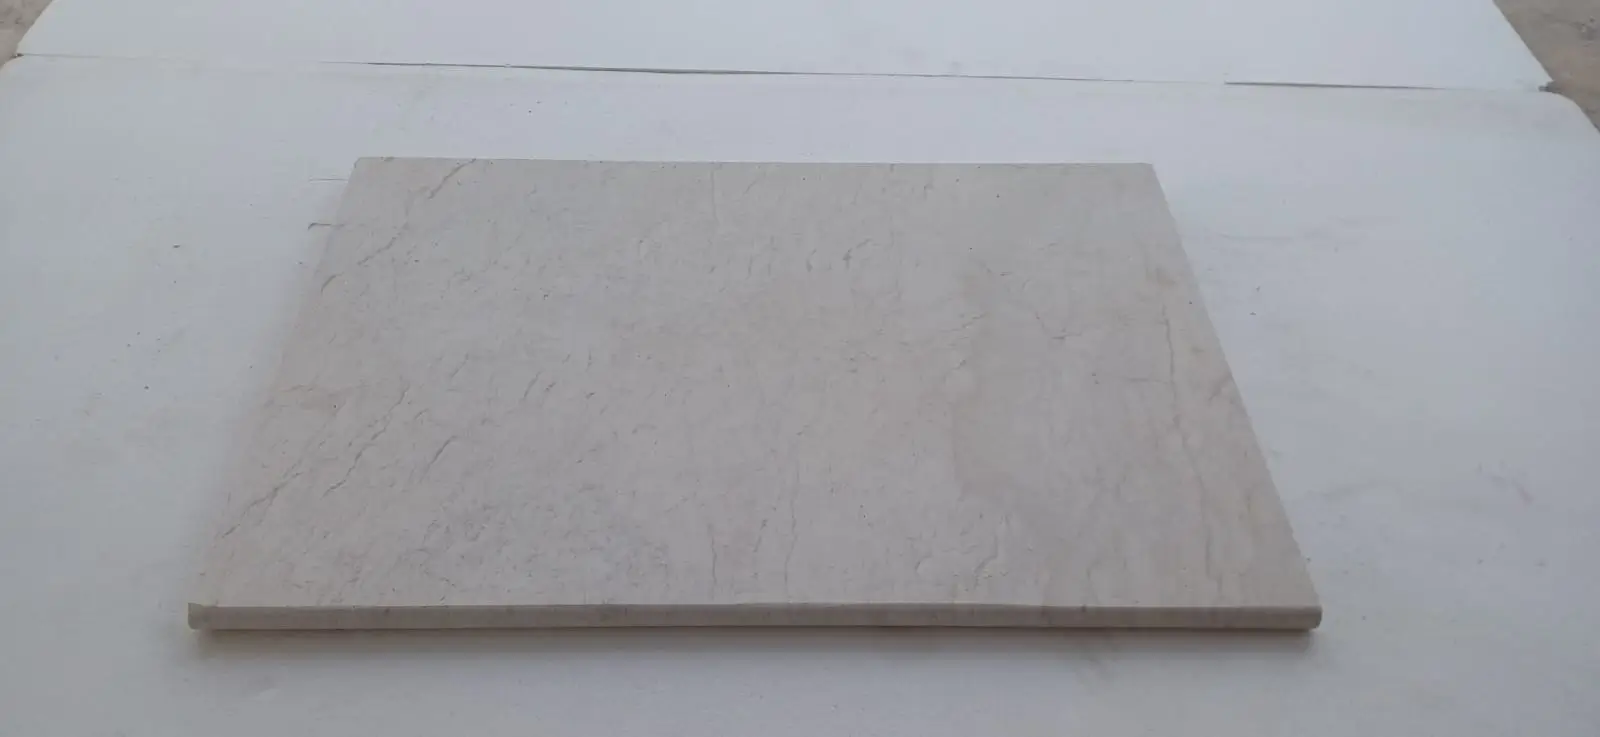
The practical difference extends beyond looks. Scalloped edging stones have a slightly higher unit weight-to-footprint ratio because of the reduced flat bearing surface, so your compacted sub-base needs to be levelled more precisely — typically to within a quarter-inch across any 24-inch span. Smooth-faced limestone edging tolerates a bit more base irregularity without telegraphing through to the surface. Both profiles are available through our scalloped limestone edging range, which covers radius-specific piece sizing for standard garden applications.
Natural Stone Edging Ideas for Planting Beds
Curved limestone edging ideas for planting beds fall into four broad design approaches, each with distinct specification requirements:
- Single-course flush edging — one row of limestone set level with or just above lawn grade, ideal for low-maintenance beds where mowing clearance matters
- Raised lip edging — set 2–3 inches proud of grade to contain mulch or gravel without requiring a separate retaining structure
- Double-stacked edging — two courses of thinner-profile pieces laid with a running bond, increasing visible height to 4–6 inches and improving soil retention on sloped sites
- Informal random-curve edging — irregularly spaced limestone pieces following a loose curved line, suited to naturalistic or wildflower planting zones
For most residential planting beds, the raised lip configuration is the most durable performer. You get enough height to hold 2–3 inches of mulch while keeping the limestone face visible. Flush edging works beautifully visually, but mulch migration becomes a maintenance issue within the first season unless you back it with a buried plastic or metal restraint.
Curved Edging Stone for Lawn Borders
Curved edging stone along a lawn border faces a different stress profile than bed edging. Foot traffic, mower impact, and the continual push-pull of grass root expansion all work against the installation over time. Limestone performs well in this context because its moderate density — typically 140–150 lbs per cubic foot — gives it enough mass to resist displacement without requiring deep mechanical anchoring on stable soil.
The specification that matters most here is the base depth. For lawn border edging, you should trench to a minimum of 6 inches, fill the bottom 4 inches with compacted angular gravel, and bed your limestone edging pieces in the upper 2 inches of compacted sand. That base setup handles the cyclical wetting and drying that turf zones experience without the pieces rocking or rotating. According to NSI limestone specifications, properly bedded limestone edging maintains dimensional stability across a wide range of surface moisture conditions when drainage is designed correctly.
Slope and Terrain Considerations for Curved Edging
Elevation changes introduce a variable that flat-site curved limestone edging ideas often don’t account for — the tendency of pieces to migrate downhill over a single freeze-thaw or wet season. On any gradient above 3%, you need to anchor each edging piece mechanically. The standard field fix is a 12-inch galvanised steel stake driven 8–10 inches into undisturbed subgrade at the back of each unit, leaving 2 inches of stake embedded in the gravel base.
For steeper slopes, terraced edging lines outperform a single continuous curve. You break the grade into 8–12 inch vertical steps, each step edged with a separate curved limestone run, which converts a problematic drainage path into a series of stable horizontal planes. This also improves water management — each terrace acts as a micro-retention zone that slows sheet flow and reduces erosion between planting beds. The engineering here isn’t complex, but it does require you to survey the grade accurately before you lay out your curve geometry. A 2-foot builder’s level and a tape measure give you enough data to plan the step intervals correctly.
On low-lying sites with a high water table or slow drainage, the calcite matrix of limestone edging can absorb chronic moisture and begin to soften along the bedding face. In those conditions, a 6-inch gravel drainage trench running parallel to and below the edging line — connected to a daylight outlet or a perforated drain pipe — is worth the extra half-day of excavation.
Stone Edging Ideas That Add Design Variety
Beyond the basic curved run, there are several stone edging ideas that add genuine character to a landscape without complicating the installation:
- Alternating heights — mixing 3-inch and 5-inch tall pieces in a rhythmic pattern along the same curved run, creating a stepped skyline effect when viewed from the garden
- Corner accent clusters — grouping 3–5 larger limestone pieces at the apex of each curve to create visual anchors, with smaller edging pieces completing the run between clusters
- Integrated stepping connections — extending one or two edging pieces outward from the bed line to form informal stepping stones, integrating the border with a path
- Split-face texture contrast — combining smooth-sawn limestone edging with a split-face finish on feature pieces at entry points to planting areas
The most underused approach is the corner accent cluster. Specifiers typically try to run a uniform line, but the points where a curved bed changes direction are natural focal points. Reinforcing those points with a slightly larger or differently textured limestone piece gives the eye a place to rest and makes the curve read as intentional rather than accidental.
Sizing and Ordering Curved Limestone Edging
Ordering curved limestone edging involves a calculation step that flat edging doesn’t require. Because pieces follow an arc rather than a straight line, the quantity you need is based on the arc length — not the chord distance between two endpoints. Most project managers make the mistake of measuring point to point and come up short by 12–18% on curved runs. Use the arc length formula (π × diameter × arc angle ÷ 360) or simply walk the intended line with a flexible measuring tape held at grade.
From a supply standpoint, Citadel Stone maintains consistent warehouse inventory of curved and scalloped limestone edging profiles, which means you can typically confirm availability and receive material within 1–2 weeks from order — significantly faster than the import lead times most specialty stone projects face. Add 8–10% to your calculated arc length for cutting waste and breakage, and always confirm the specific piece radius your order covers, since a piece designed for a 36-inch radius will gap visibly on a 20-inch curve. According to USGS limestone data, limestone’s consistent geological composition makes it one of the more dimensionally stable natural stones for precision-cut edging profiles, which is why radius-specific fabrication produces reliable results.
Installation Sequence for Curved Limestone Edging
The installation sequence for curved limestone edging runs differently from standard paver work. Start by spray-painting or marking out your full curve geometry at grade before any excavation — that line is your reference for every decision that follows. Trench along the marked line, set your gravel base, and compact in two lifts before you introduce any sand.
Place your limestone edging pieces dry first, walking the full run to check the radius uniformity and joint consistency. This dry-fit stage takes 30–45 minutes on a typical residential bed border, and it routinely reveals where pieces need trimming or swapping for shorter units to tighten a curve. Only after you’re satisfied with the dry layout should you commit to bedding. The ASLA landscape edging guidance reinforces the value of this staged approach — confirming geometry before permanent bedding consistently reduces waste and rework on curved installations.
- Mark full curve at grade before excavation
- Trench 6 inches minimum, compact 4-inch angular gravel base in two lifts
- Dry-fit all pieces and confirm joint spacing before final bedding
- Bed pieces in 2 inches of compacted sand, checking plumb and level on each unit
- Backfill and compact behind the edging line before mulching or turf infilling
Getting Curved Limestone Edging Specifications Right
Curved limestone edging ideas succeed or fail based on decisions made before the first piece hits the ground — curve geometry, base depth, piece sizing for the intended radius, and drainage planning for your specific site grade. The aesthetic result depends almost entirely on the precision of those upstream choices. At Citadel Stone, our technical team works with specifiers and installers to confirm the right piece profile and radius specification for each project before material ships, which eliminates the most common source of on-site adjustments. For a different but complementary perspective on how Citadel Stone’s limestone performs in interior applications, limestone sink selection and care covers a related dimension of material performance worth reviewing alongside your landscape planning. Designers working with organic garden layouts often specify Citadel Stone’s curved limestone pieces to achieve smooth transitions between lawn and planting beds.
Related reading: limestone stepping stones guide · bullnose limestone edging explained.