Why Spacing Defines the Path
A limestone stepping stones guide that skips the spacing math is leaving you with the most consequential variable unresolved. Stride length — not aesthetics — determines whether your path feels effortless or forces every walker into an awkward shuffle. The standard rule of thumb puts center-to-center spacing at 24 inches for a relaxed adult stride, but that number assumes flat grade and unhurried movement. Adjust it to 21–22 inches for paths that climb or descend, where people naturally shorten their stride for balance.
Spacing also affects how much stone you actually need. A 40-foot path at 24-inch centers requires 20 stones. Shift to 22-inch centers and you’re placing 22. That two-stone difference sounds trivial until you’re sourcing matched flagstone pieces — at that point, having warehouse stock confirmed before you start excavating becomes essential to keeping the project on schedule.
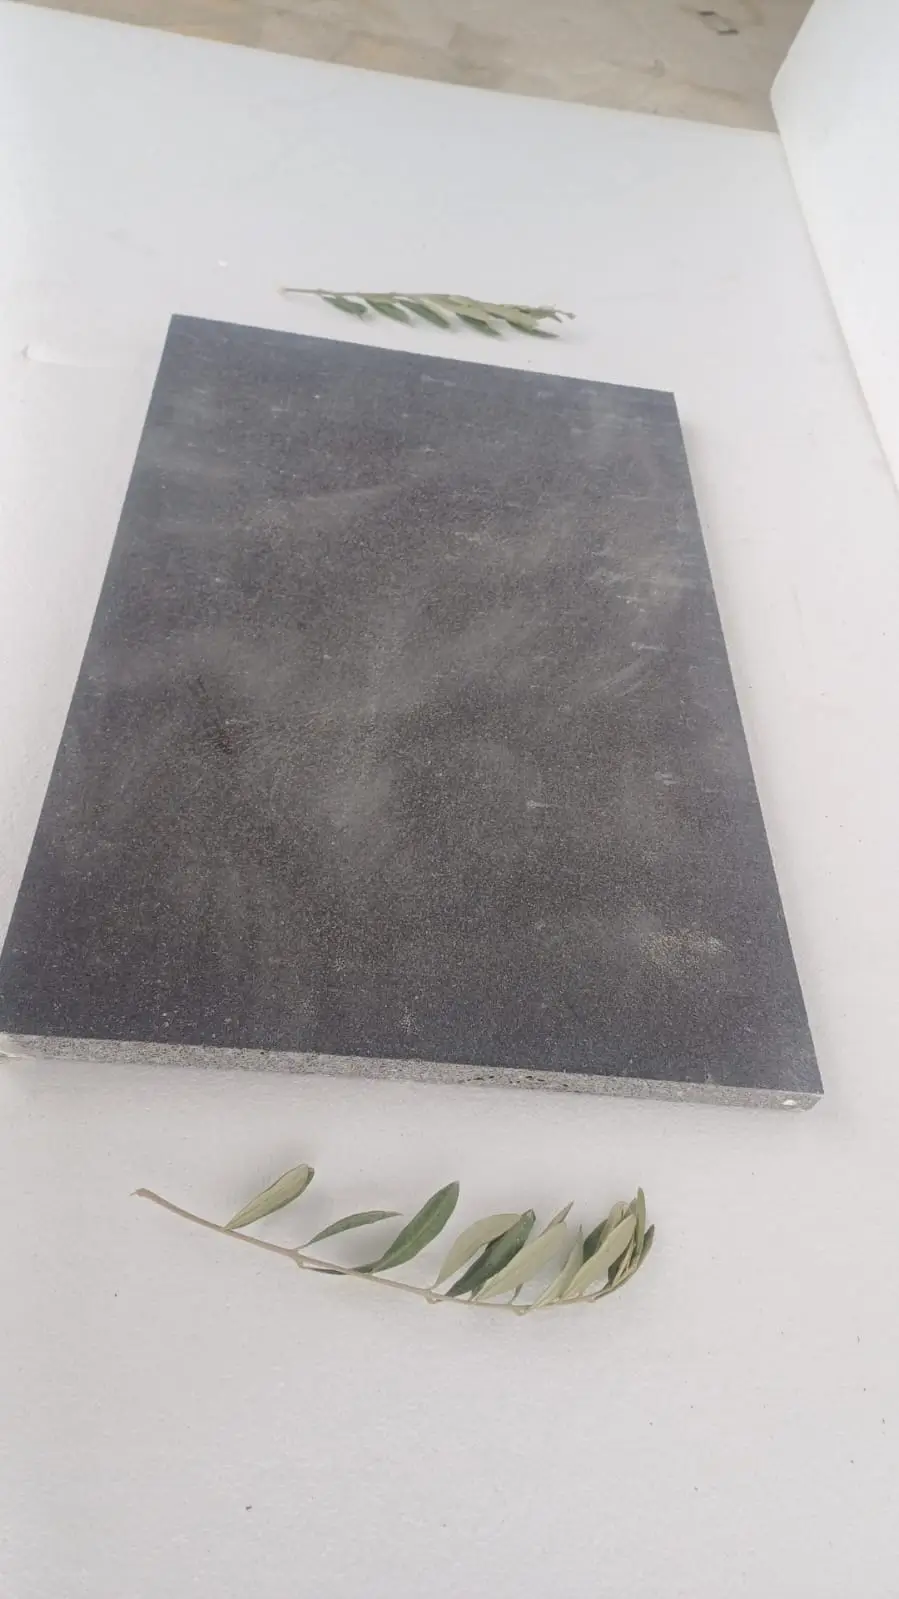
Choosing Limestone for Stepping Stones
Limestone’s compressive strength typically ranges from 4,000 to 12,000 PSI depending on density classification, which makes it more than adequate for foot traffic on a residential or light-commercial path. What matters more in a stepping stone context is surface texture and thickness. You want a honed or natural-cleft finish that delivers a static coefficient of friction above 0.60 when wet — a threshold that matters far more underfoot than it sounds in a specification sheet. According to NSI limestone technical data, limestone’s calcium carbonate matrix also responds well to aging outdoors, developing a patina that improves grip over time rather than degrading it.
Thickness is the other non-negotiable. For stepping stones set in compacted aggregate or mortared on a concrete substrate, a minimum 1.5-inch nominal thickness resists flexural cracking under point loads. For stones set directly in prepared soil or decomposed granite, step up to 2 inches. Thinner pieces — particularly irregular flagstone cuts below 1.25 inches — will fracture along natural bedding planes when load is concentrated at the edges.
- Honed finish: good all-weather grip, easier on bare feet, slightly more maintenance-intensive
- Natural cleft (split-faced): best grip, highly textured, more irregular thickness requires careful bedding
- Tumbled finish: rounded edges soften the aesthetic, appropriate for informal garden paths
- Polished finish: avoid for exterior stepping stones — slip risk is significant when wet
Limestone Versus Flagstone and Sandstone for Paths
The flagstone for stepping stones category covers a broad range — bluestone, quartzite, slate, and limestone all qualify. What separates limestone from its flagstone relatives is absorption rate. Limestone sits in the 3–7% absorption range, which is moderate. Quartzite sits below 1%, meaning it sheds water faster. Sandstone, by contrast, can exceed 10% absorption, which matters in freeze-thaw regions — that trapped moisture expands and works against the stone’s integrity cycle after cycle.
Sandstone stepping stones have a warmer, more textured visual character, and they’re often less expensive per square foot. The trade-off is longevity. In climates with pronounced wet-dry or freeze-thaw cycling, sandstone surfaces can delaminate at the face within 10–15 years without consistent sealing. Limestone in the same setting, properly sealed every 2–3 years, routinely reaches 25-year performance. The ASLA natural stone walkway guidance reinforces this comparison — denser sedimentary stones consistently outperform higher-porosity options on outdoor walking surfaces over time.
- Limestone: moderate absorption, strong long-term durability, wide availability in uniform thicknesses
- Bluestone flagstone: low absorption, high strength, more expensive, limited regional supply
- Sandstone stepping stones: warm aesthetic, cost-effective, higher maintenance cycle required
- Quartzite: exceptional durability, very low absorption, harder to cut to consistent dimensions
Base Preparation: The Variable That Decides Longevity
Base preparation is where most stepping stone failures originate — not in the stone itself. A stone that rocks, sinks, or cracks within two seasons almost always traces back to an under-prepared or inconsistently compacted base. Your minimum aggregate base for limestone stepping stones in stable soil is 4 inches of compacted crushed stone (angular, not river rock). In clay-heavy or expansive soils, extend that to 6 inches and add a layer of landscape fabric below the aggregate to prevent fines migration upward.
The bedding layer above the aggregate base should be 1 inch of coarse concrete sand or stone dust. Do not use fine play sand — it shifts laterally under repeated loading. Set each stone, check it for rock, and add or remove bedding material until the stone is stable in all four corners. A stone that pivots diagonally under foot pressure will work loose within months regardless of how level it looks the day it’s set. According to USGS limestone composition data, the density and weight of natural limestone actually work in your favor here — heavier units resist lateral movement better than lighter synthetic alternatives.
- 4 inches minimum compacted angular crushed stone base (6 inches in expansive clay soils)
- 1 inch coarse concrete sand or stone dust bedding layer — avoid fine sand
- Check each stone for movement in all four diagonal corners before finishing
- Use a level to confirm no more than 1/8-inch cross-fall for drainage — never perfectly flat
- Allow 48 hours minimum before walking the path after final placement
Terrain and Elevation Effects on Stepping Stone Paths
Flat-grade installations are the forgiving scenario. The real specification work starts when your path crosses a slope, navigates a hillside, or manages transitions between elevations. On grades steeper than 5%, your base preparation strategy shifts significantly — you need to think about water movement along and beneath the path, not just under it.
On sloped terrain, each stepping stone acts as a minor flow interrupter. Water traveling downhill will deflect around and beneath stones, which gradually undermines the aggregate base from the downhill side. Counter this by cutting a shallow channel on the uphill side of each stone during base preparation — approximately 1/2 inch lower than the finished stone surface — so water is encouraged to route away laterally rather than undercutting the bed. On hillside installations, this detail extends stone life by preventing the cyclic erosion that eventually destabilizes even well-set units.
For paths descending more than 18 inches of total elevation change, consider stepping the base rather than grading it uniformly. Each stone can be set level on its own prepared bed, with the overall elevation change distributed across the spacing intervals. This keeps every stone individually stable rather than relying on a continuous sloped base that can shift as a unit in wet conditions. The ADA walkway surface standards provide a useful engineering anchor here — even for non-ADA projects, the cross-slope maximums (2% perpendicular to travel) translate directly to safe, drainable stepping stone geometry on any grade.
Path Layout Patterns and Design Geometry
Straight stepping stone paths read formally and work well connecting defined points — a front entry to a gate, a garage to a side door. Curved paths feel more organic and suit garden settings, but they require more planning because each stone’s orientation needs to follow the curve’s tangent rather than remaining parallel to a fixed axis. A common mistake is setting curved-path stones at a fixed orientation regardless of curve direction, which leaves wedge-shaped gaps that collect debris and create an unfinished appearance.
Pairing your limestone stepping stones with complementary edging creates a finished edge that also stabilizes the path’s lateral boundary and reduces turf encroachment. Explore Citadel Stone stepping stone options to find edging profiles that coordinate with your chosen stone finish and thickness. Consider the width of each stone relative to the path’s intended use — a single-file garden path works at 16–18 inches of stone width, while a main entry path that two people might walk side by side reads better with stones in the 20–24 inch range.
- Single-file paths: 14–18 inch wide stones, 21–24 inch center-to-center spacing
- Entry and primary paths: 20–24 inch wide stones, 24–26 inch center-to-center
- Curved paths: orient each stone tangentially to the curve direction, not at a fixed angle
- Mixed-size layouts: anchor the eye with consistent large stones; fill with smaller accent pieces at edges
Sealing and Long-Term Maintenance
Your sealing schedule directly determines whether your limestone stepping stones deliver 15-year or 25-year performance. Limestone’s calcium carbonate base responds to acidic inputs — organic acids from decomposing leaves, fertilizer runoff, or even rainfall in areas with elevated atmospheric acidity will etch an unsealed surface over time. A penetrating impregnator sealer (silane-siloxane chemistry, not a topical film) applied after installation and refreshed every 2–3 years prevents this without altering the stone’s natural appearance.
Surface maintenance is simpler than most people expect. Sweep or blow debris off regularly — the main threat from leaves and organic matter is the tannin staining and acid exposure, not physical abrasion. For established staining, a pH-neutral stone cleaner used with a stiff natural-bristle brush is the correct tool. Avoid pressure washing at high PSI — it strips joint material, particularly in mortared applications, and can dislodge bedding sand in dry-set installations. Occasional re-leveling of any stones that have shifted by more than 1/4 inch is a 20-minute maintenance task that prevents the progressive destabilization that eventually requires full resetting.
Ordering, Logistics, and Project Planning
Sourcing matching limestone stepping stones requires attention to batch consistency — color variation across quarry pulls is normal for any natural stone, and receiving two different batches can produce a visually inconsistent path. Order 10–15% overage to account for cuts, rejections, and future repairs. Citadel Stone maintains national warehouse inventory across multiple stone classifications, which typically means confirmed lead times of 1–2 weeks rather than the 6–8 week import cycle that smaller specialty orders often face.
Truck delivery logistics need to match your site access. A standard flatbed delivers palletized stone efficiently to a driveway or staging area, but if your path location is set back from vehicle access, factor in hand-carry or equipment time to move stone to the work area. Pallets of 2-inch limestone stepping stones typically run 800–1,200 lbs — that’s a two-person lift operation for individual pieces in the larger format sizes. Confirm your truck delivery access point with the site before finalizing your order to avoid staging complications on delivery day.
- Order 10–15% material overage for cuts, rejects, and future repair matching
- Confirm batch consistency — request material from a single quarry pull where possible
- Verify truck access to your delivery staging area before ordering
- Plan for stone movement from staging to installation point — larger format pieces require two-person handling
- Check warehouse stock availability before committing your installation date to avoid schedule gaps
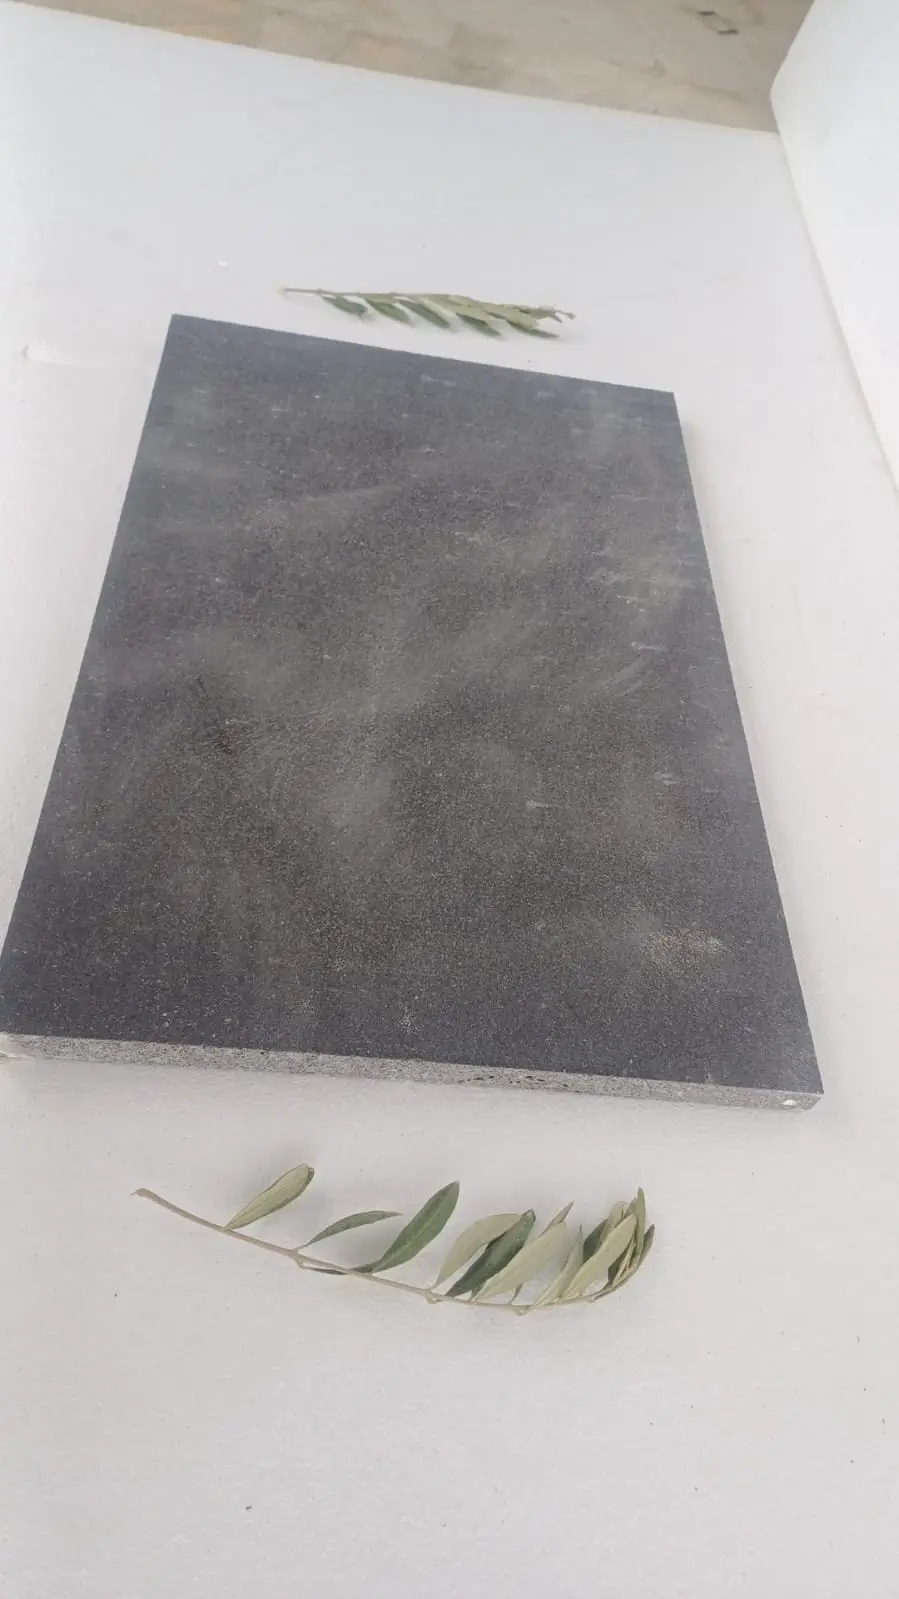
Decision Points
Every limestone stepping stones guide ultimately converges on a handful of decisions that are harder to reverse after installation begins. Stone thickness and base depth are set in the first hour of work — getting them right costs nothing extra. Spacing is established before the first stone is placed permanently. Sealing chemistry is chosen before moisture penetrates the surface. These aren’t finishing details; they’re the foundational variables that determine whether the path performs well for decades or requires remediation within a few seasons.
Choosing between limestone, flagstone for stepping stones, or sandstone stepping stones also locks in your long-term maintenance commitment. Limestone in the mid-density range — properly specified, sealed, and set on a competent base — represents the most practical balance of durability, availability, and maintenance cost across varied terrain and climate conditions. If your project extends beyond the path itself into driveways or other hardscape elements, understanding your full material budget upfront makes sense — crushed limestone driveway costs is a useful next reference for projects that include vehicle-access areas alongside pedestrian paths. When comparing settling behavior across stone types, Citadel Stone’s thicker limestone units tend to resist frost heave better than thinner sandstone alternatives.