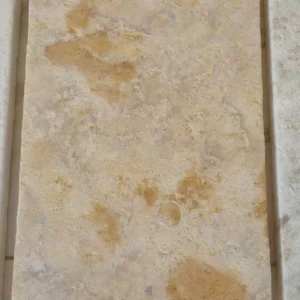
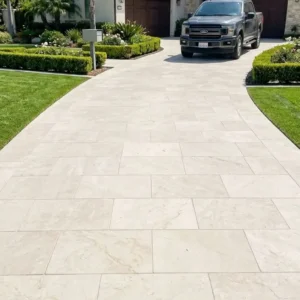
The base preparation window is the make-or-break variable in any limestone flower bed edging installation — get it wrong and you’ll be resetting stones within two growing seasons. How to install limestone flower bed edging correctly starts well below the surface: your trench depth, compaction method, and aggregate choice determine whether those stones hold their line for a decade or shift with the first hard frost. Most installations that fail don’t fail at the stone — they fail at the 4 inches of material nobody sees.
What You Need Before You Start
Pulling together the right materials and tools before you break ground saves you the frustrating mid-project stop. Limestone flower bed edging installation requires more prep than most homeowners expect, and skipping any of these items creates real problems downstream.
- Chopped limestone edging pieces in your chosen thickness — 2-inch nominal is the standard for residential garden borders
- Crushed gravel or decomposed granite for the base layer (not sand — sand migrates)
- Plate compactor or hand tamper for consolidating the base
- Mason’s string line and stakes to establish a consistent grade reference
- Rubber mallet and a 4-foot level for setting individual stones
- Landscape fabric optional — useful in clay-heavy soils to prevent base contamination from below
- Marking paint or a garden hose to define your edging line before excavation
Your stone quantity calculation should include a 10% overage for cuts, breakage, and end pieces. Ask for the lead time when you place the order: material is cut to your specification at our selected quarries, and the schedule is quoted with it.
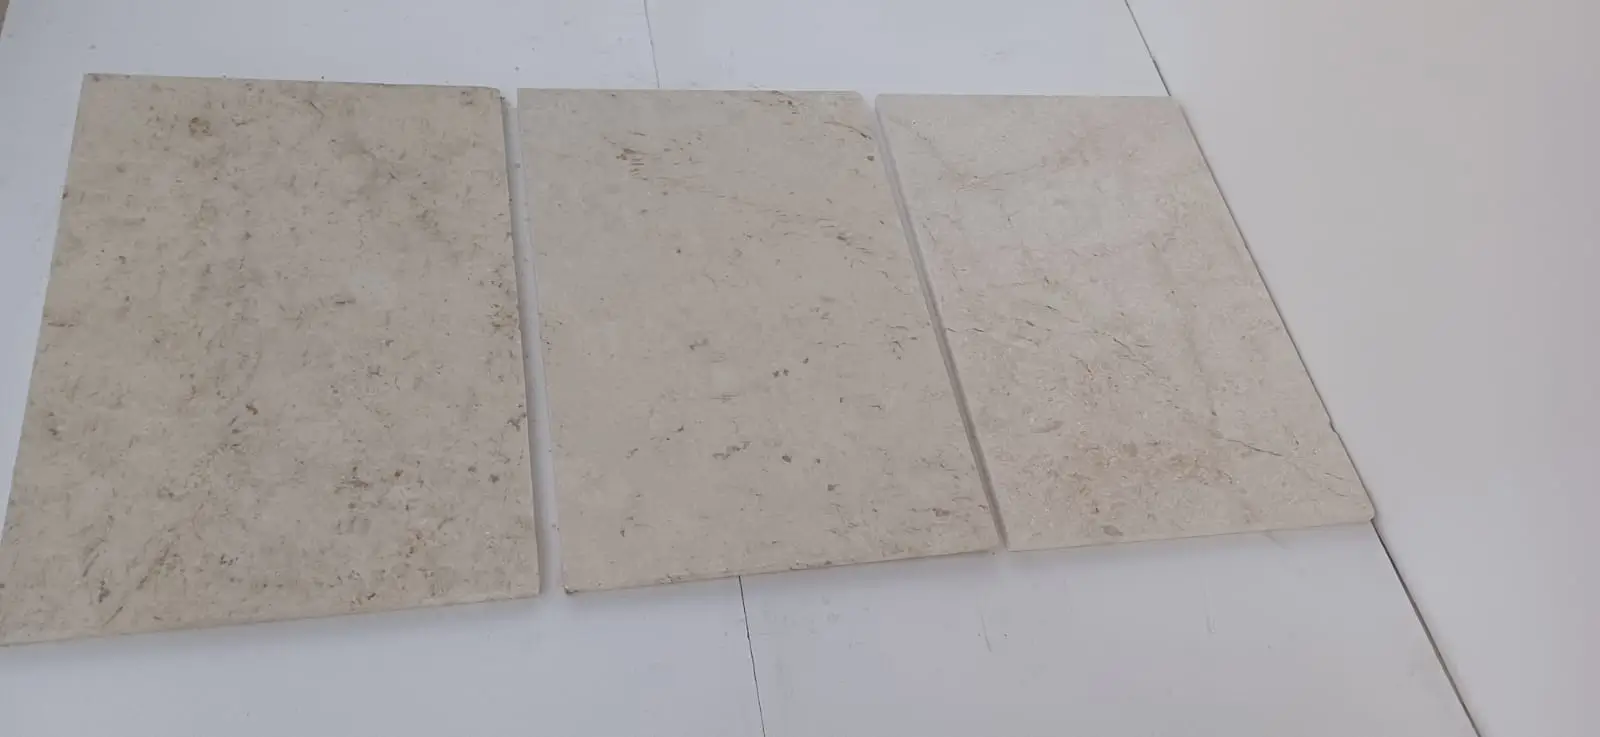
Excavation and Trench Preparation
Your trench needs to be deeper than the stone’s thickness — plan on 4 to 5 inches total depth for a 2-inch edging piece, leaving room for a 2.5- to 3-inch compacted gravel base beneath. That base is doing the real work: it distributes load, drains water away from the stone’s bottom face, and resists frost heave in freeze-thaw regions far better than a sand bed ever could.
Trench width should match your stone width plus about an inch on each side. Too narrow and you lose the ability to adjust alignment; too wide and you’re backfilling against loose material that won’t hold. For curved beds, cut the trench in short, overlapping arcs rather than trying to sweep a continuous curve — you’ll get cleaner edges and more consistent depth.
- Trench depth: stone thickness + 2.5 to 3 inches of base material
- Trench width: stone width + 1 inch per side for adjustment clearance
- Remove all organic material from the trench floor — roots and leaf matter compress and create settlement voids
- In clay soils, add landscape fabric to the trench floor before gravel to prevent clay migration into your base layer
- Check trench depth every 18 inches with a ruler — inconsistent depth creates a wavy top line no matter how carefully you set the stones
According to NSI limestone specifications, proper drainage beneath limestone is critical to long-term dimensional stability — standing water at the base accelerates weathering along the bottom face and undermines set positions over time.
Building the Gravel Base That Holds Its Position
The gravel base is where your installation either locks in or fails. Use 3/4-inch crushed gravel — not pea gravel, which rolls under load, and not coarse river rock, which bridges and leaves voids. Crushed aggregate has angular faces that interlock under compaction, creating a stable platform that resists lateral shift from soil movement and root pressure.
Add your gravel in two layers of roughly 1.5 inches each, compacting between layers. A single thick pour doesn’t compact evenly — the bottom stays loose while only the top tightens. That hidden looseness is exactly what allows stones to rock or tilt after a winter freeze cycle.
- Use 3/4-inch crushed limestone or recycled concrete aggregate — angular faces compact into a locked matrix
- Compact each layer to at least 95% Proctor density if you have access to a plate compactor
- Hand tamping works for residential projects — use firm, overlapping strikes across the full trench width
- Check base level with a long straightedge before setting any stone — a 1/4-inch variance in the base shows as a 1/4-inch variance at the top line
- In areas with high clay content, extend the base slightly beyond the trench walls to prevent edge softening after rain
Limestone flower bed edging set on a properly compacted gravel base performs measurably better in clay-dominant soils than edging set directly on native ground or sand. The drainage path the gravel creates keeps moisture from dwelling against the stone’s bottom face — a detail that separates 20-year installations from 8-year ones.
Setting the Limestone Pieces: Alignment and Level
Set your string line first — drive stakes at each end of the run, pull the line taut at your target finished height, and use it as your reference for every stone. You’ll adjust individual stones to the line, not to each other. Trying to eyeball alignment stone-to-stone without a reference creates a gradual drift that becomes obvious from 20 feet away.
Place each piece of chopped limestone edging into the trench dry before finalizing its position. Check level across the stone’s width and along its length. For a natural, slightly pitched look that sheds water toward the bed, a 1/8-inch drop toward the bed side is intentional and functional — it prevents pooling along the joint line.
- Set all pieces dry before any adjustment — find your problem spots before you’re committed
- Use a rubber mallet to tap stones down; metal hammers crack limestone along natural cleavage planes
- Check level every third stone across the full run — small deviations compound quickly
- Keep joint spacing between 1/4 and 1/2 inch — tight enough to look intentional, wide enough to allow minor thermal movement
- For corners, cut stones at 45-degree mitered angles where the edging makes a turn sharper than 30 degrees — blunt butting looks sloppy and is more prone to displacement
For projects using Citadel Stone flower bed edging stone, the consistent thickness tolerances mean your base-level prep translates directly to a uniform top line — you spend less time shimming individual pieces and more time focusing on the overall run alignment.
Seasonal Installation Timing and Temperature Windows
Timing your limestone garden edging installation around temperature windows isn’t about comfort — it’s about material performance and base stability. The optimal ground temperature for compacting a gravel base falls between 45°F and 85°F. Below that range, clay-rich soils are often still frost-locked or saturated from snowmelt, meaning your compacted base can heave and relevel itself within weeks of installation.
Spring installation works well once the ground has fully thawed and surface moisture has drained — typically 3 to 4 weeks after last frost in cold-winter regions. Fall installation is equally effective and often preferable: the soil is dry, ground temperatures are stable, and the edging can settle over winter before spring planting puts lateral pressure on it from root expansion. Summer installations in prolonged dry periods can leave clay soils cracked and contracted, which means your edging may shift slightly when autumn rains re-saturate the soil and the ground expands back to its normal volume.
- Avoid installation on frozen or saturated ground — compaction results are unreliable and the base layer will re-settle
- Morning installation is preferable in warm months — cooler ground temperatures allow longer working time and more precise adjustments before the soil surface dries and firms
- Post-installation watering of the surrounding soil (not the base) helps clay-heavy ground re-consolidate around the stone edges in dry conditions
- In freeze-thaw regions, complete installation at least 6 weeks before first expected hard frost — the base needs time to settle before freeze cycles stress it
- Rainy-season installs can work but require covered aggregate storage — wet gravel compacts poorly and creates a false-dense surface that loses density once it dries
Backfilling and Finishing the Installation
Backfilling is the step most DIY installations rush, and it’s where long-term stability gets compromised. Your goal is to lock the outward-facing side of the edging against lateral movement — the same force that gardens, lawn equipment, and expanding soil apply all season long.
Backfill against the garden-side face first using the native soil you excavated. Work it in layers of 3 to 4 inches, tamping each layer with a hand tamper or the heel of a shovel. Avoid using a plate compactor against the stone face — the vibration transfers laterally into the stone and can shift your alignment. Once the garden-side is packed, backfill the lawn side, mounding slightly to allow for 1/4-inch settling over the first growing season.
- Pack soil in 3- to 4-inch lifts — single-fill tamping leaves loose pockets that compress unevenly under root pressure
- Garden-side first, then lawn-side — you want the inward pressure locked before you apply outward pressure
- Leave the top 1 inch of the joint between stones unfilled initially — this allows joint sand or fine aggregate to be swept in after settlement
- Tamp by hand along the stone face, not with power equipment that creates vibration-driven movement
- Water the backfilled soil lightly and check alignment 48 hours later — minor corrections are easy at this stage, difficult after the soil has set
Long-Term Maintenance for Limestone Garden Edging
Limestone flower bed edging is a low-maintenance system, but it isn’t a no-maintenance one. The two annual checks that prevent small issues from becoming full reinstalls are worth building into your seasonal routine.
Each spring, walk the full edging run and check for heaved or tilted stones. Freeze-thaw cycles push stones vertically even when the base is well-prepared — the physics of water expanding in soil pores during freezing simply moves things. Resetting a heaved stone takes 10 minutes; ignoring it for two seasons means resetting a run of 6 stones that progressively displaced each other.
- Annual spring check: probe for heaved stones and reset any that shifted more than 1/4 inch out of grade
- Joint sand refresh every 1–2 years: sweep polymeric joint sand into open joints and activate with water to prevent weed intrusion and joint erosion
- Moss growth on limestone is a surface effect only — remove with a stiff brush and diluted white vinegar; avoid pressure washing which erodes the natural surface texture
- Limestone sealing is optional for garden edging — an unsealed surface weathers to a natural patina that most homeowners prefer over the look of sealed stone in this application
- Root intrusion from aggressive shrubs or trees is the most common cause of long-term displacement — a root barrier strip installed during initial setup prevents 90% of this issue
According to USGS limestone composition data, limestone’s calcium carbonate matrix weathers slowly under normal environmental conditions — surface patina develops gradually and doesn’t compromise structural integrity when base drainage is maintained.
Chopped vs. Cut Limestone: Which Format Works Best
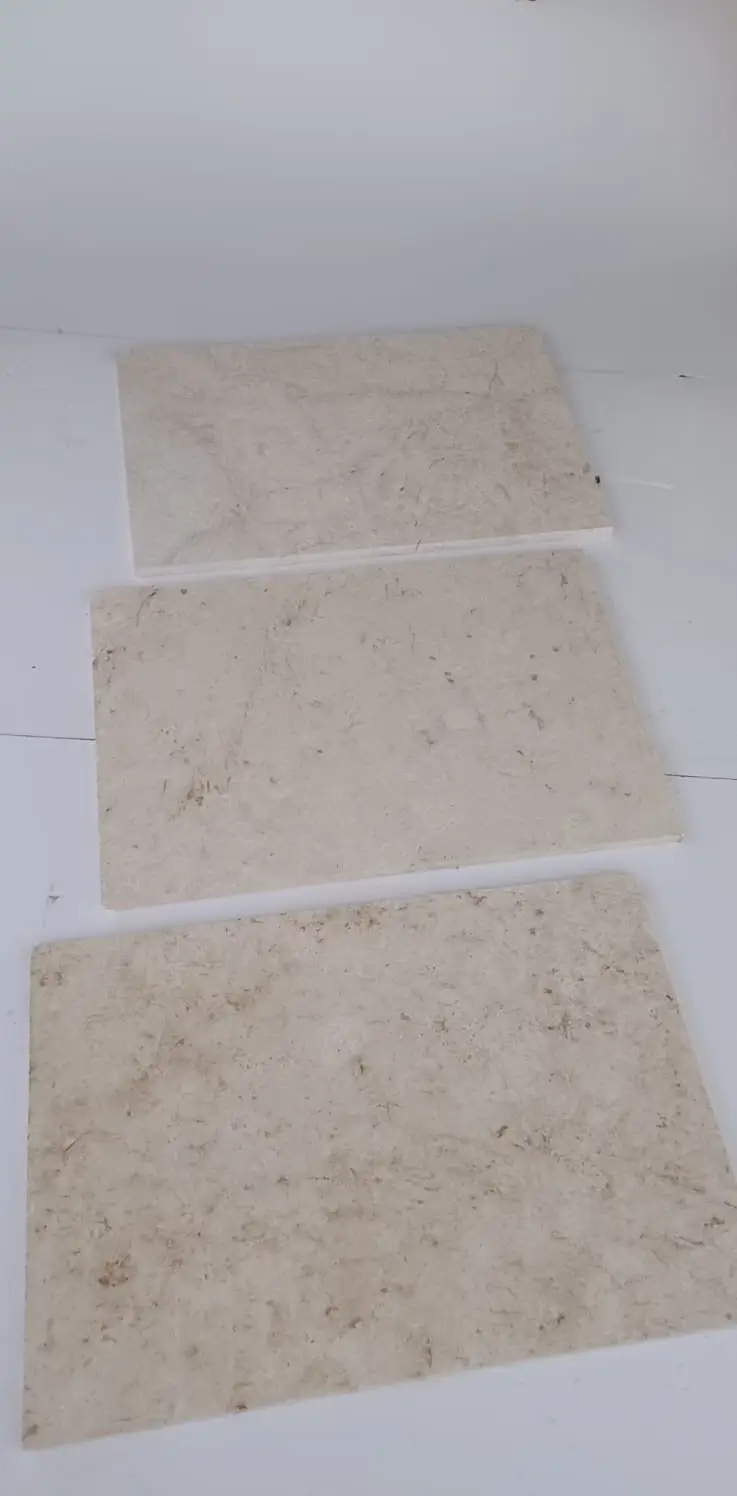
The choice between chopped limestone edging and saw-cut dimensional pieces affects more than aesthetics — it changes how you handle the installation itself. Chopped pieces have natural, irregular face edges that add visual texture and tolerate minor alignment imprecision better than clean-cut stock. Saw-cut dimensional pieces are consistent in thickness and length, which makes alignment faster but demands a more precise base — a 1/4-inch base variance that disappears under chopped stone reads clearly against a clean-cut top edge.
For curved beds, chopped limestone edging handles the geometry more naturally. The natural variation in edge profile allows you to articulate curves without cutting every piece — you simply select pieces whose natural angles work with the curve direction. Saw-cut pieces require deliberate mitered cuts at every change in direction beyond very gentle curves.
- Chopped limestone: natural edges, faster layout on curves, more forgiving base tolerances, traditional aesthetic
- Saw-cut limestone: consistent sizing, faster linear runs, precise corner details, contemporary aesthetic
- Thickness tolerances on chopped pieces vary ±1/4 inch — account for this in your base prep by fine-grading with bedding sand for the final 1/2 inch under each piece
- For formal garden designs with geometric beds, saw-cut stock delivers tighter geometry and cleaner shadow lines
- Both formats benefit equally from the same gravel base system — the base choice doesn’t change with stone format
The ASLA landscape edging design guidance confirms that natural stone edging with permeable base systems outperforms solid concrete borders in drainage performance and soil health — a meaningful consideration for planted beds where root zone drainage matters.
Getting Your Limestone Flower Bed Edging Installation Right
Knowing how to install limestone flower bed edging correctly comes down to respecting the base system as much as the stone itself. The visual result — that clean, grounded line between lawn and bed — only holds if the 4 inches beneath it were built right. Compacted gravel, consistent trench depth, a leveled string reference, and patient backfilling in lifts: these aren’t optional refinements, they’re the foundation of an installation that lasts through seasonal movement, root pressure, and freeze-thaw cycles without requiring annual correction.
Your project planning should account for seasonal timing — fall and spring installations in stable ground conditions consistently outperform rushed summer or late-winter work when soil saturation and temperature extremes compromise compaction. Order your stone with enough lead time to verify warehouse availability and allow for a 10% overage cut — limestone flower bed edging installed with the right material volume and base preparation rarely needs revisiting for a decade or more. As you develop the overall hardscape design for your property, curved limestone edging design ideas explores how to bring sweeping, organic bed shapes into the same specification framework covered here. Using Citadel Stone’s limestone garden edging with a compacted gravel base generally prevents lateral shift even in soils with high clay content or seasonal moisture swings.
Related reading: Limestone Stepping Stones Guide: Paths, Spacing & More · Bullnose Limestone Edging Explained: Profiles & Safety.