

Drainage Is Where Limestone Planter Care Starts
A solid limestone planter care guide begins not with cleaning products or sealers, but with water management — because standing water is the single fastest way to shorten a limestone planter’s service life. Limestone is a calcium carbonate material with an interconnected pore structure that draws moisture inward when surface water has nowhere to go. Once that moisture cycles through wet and dry phases repeatedly, you start seeing salt efflorescence, surface scaling, and eventually structural weakness at the planter wall base. The drainage hole placement, diameter, and aggregate layer beneath the soil are decisions you make once — and they govern performance for the next 20 years.
Understanding Limestone Porosity and Why It Matters for Planters
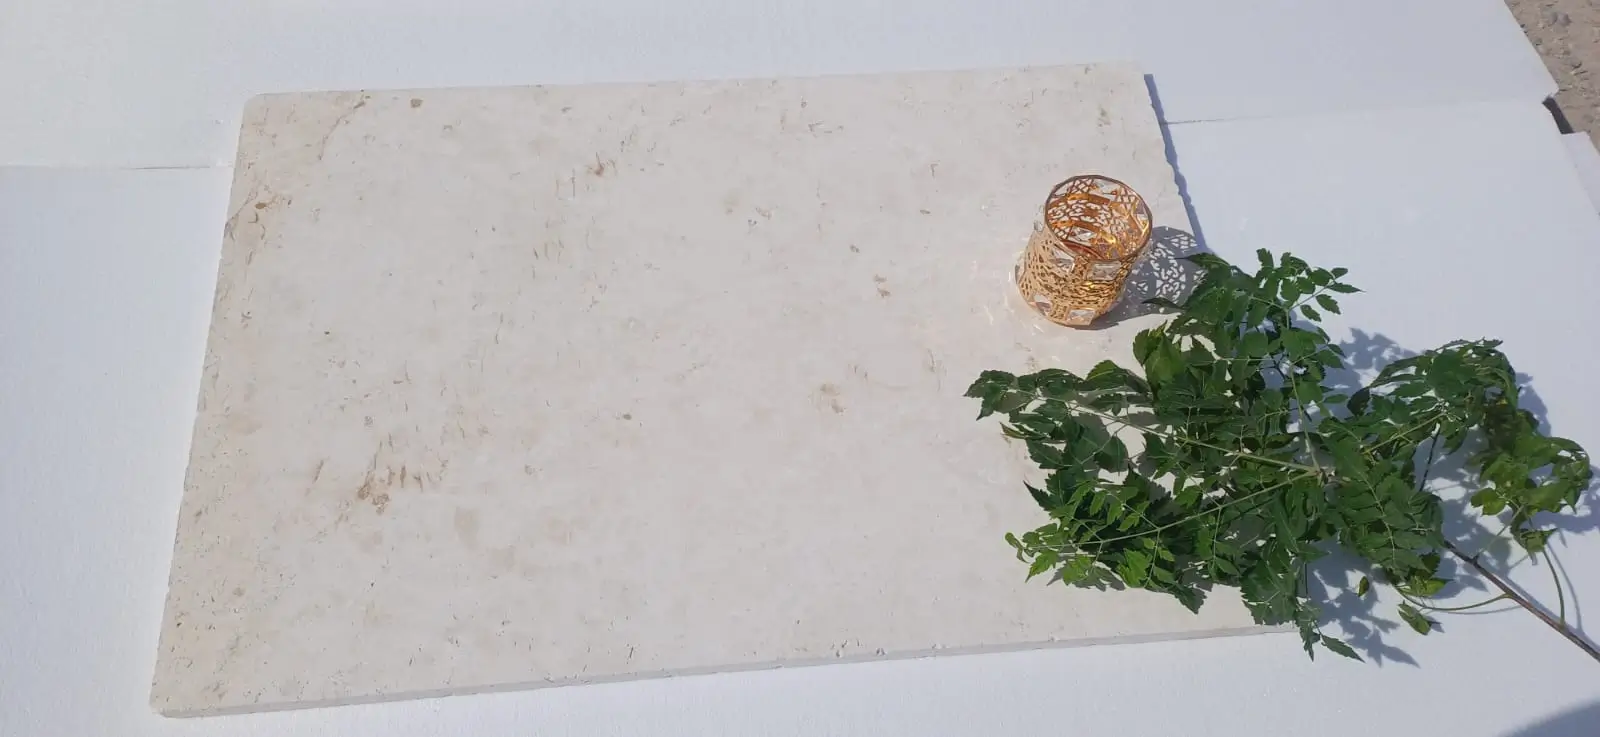
Limestone’s porosity typically ranges between 5% and 20% depending on formation density and quarry source — a range wide enough that two planters cut from nominally the same material can behave quite differently in moisture-heavy conditions. Denser, lower-porosity limestone handles irrigation runoff with more resistance to staining, while higher-porosity material demands a stricter maintenance routine to prevent mineral migration. According to NSI limestone properties and technical specifications, absorption rate is one of the defining performance variables when specifying limestone for outdoor planters and garden applications.
Your planter’s wall thickness plays directly into this equation. Thicker walls — 3 inches or more — act as a buffer, slowing moisture penetration to the outer face. Thinner decorative planters under 1.5 inches give moisture a much shorter path to travel, which means staining and scaling appear faster when drainage is compromised. Understanding this relationship is what separates a limestone planter installation that looks pristine at year five from one that shows heavy streaking by year two.
How to Size and Position Drainage Holes Correctly
The diameter of your drainage holes should correspond to the wall thickness of the planter itself — a detail that most limestone planter care guide resources skip entirely. For planters with walls between 2 and 3 inches thick, a minimum 1-inch diameter drainage hole per 6 inches of base width gives water a clear exit path without creating a pressure differential that draws soil fines through the opening. Going undersized on drainage holes is one of the most common causes of chronic waterlogging in outdoor stone planters, and the damage it causes is gradual enough that most people attribute it to the wrong source.
- Position drainage holes at the lowest point of the base, not centered — this prevents a shallow water table from forming beneath the soil column
- For large planters over 24 inches wide, use multiple holes rather than a single large opening to distribute outflow evenly
- Line drainage holes with coarse mesh or a small stone cover to prevent soil migration without restricting water flow
- Recheck hole clearance seasonally — root growth and compacted soil can partially block openings over time
Base Aggregate, Soil Conditions, and Long-Term Stability
Your planter’s drainage performance doesn’t exist in isolation — the ground or surface beneath it matters considerably. Outdoor stone planters placed directly on compacted clay soil or caliche-heavy subgrade will drain poorly regardless of how well the planter itself is designed, because the surrounding ground can’t accept outflow fast enough. Expansive clay soils create an additional challenge: they shift seasonally as moisture content changes, and that movement transfers stress to the planter base, accelerating cracking at corners and drainage apertures. On sandy or rocky subgrades, you’ll see the opposite problem — rapid drainage that can leave planters unstable on an uneven surface.
Placing a 2-to-3-inch layer of crushed aggregate directly beneath the planter base creates a buffer zone that manages outflow regardless of the native subgrade conditions underneath. For planters sitting on paved surfaces, ensure the paving has a slight slope away from the planter so overflow doesn’t pool against the limestone base. According to USGS limestone composition and construction data, calcium carbonate minerals are particularly reactive when in prolonged contact with organically acidic water — exactly the kind of runoff that accumulates when drainage is blocked by poor subgrade conditions.
Stain Prevention: The Maintenance Layer That Protects Your Investment
Staining in outdoor stone planters comes from three main sources: iron-rich water (which leaves orange-brown streaks), organic runoff from decomposing plant material (which creates dark surface stains), and mineral migration from within the planter soil itself, particularly if you’re using fertilizers with high phosphate or iron content. Your limestone planter maintenance routine needs to address all three — and the most effective tool in your kit is a penetrating silicone or fluoropolymer-based impregnator applied before the planter goes into service.
- Apply a penetrating impregnator to dry limestone — moisture content above 4% prevents proper penetration, so check for dryness after 48 hours of no rainfall
- Reapply every 18 to 24 months for planters in high-irrigation environments, and every 3 years for low-moisture settings
- Avoid topical coatings that form a film on the surface — they trap moisture beneath and accelerate the exact scaling they’re meant to prevent
- For iron staining specifically, a diluted oxalic acid solution applied with a soft brush and rinsed thoroughly is the most reliable field remedy
- Organic stains respond well to a poultice of baking soda and water left in contact for 24 hours before gentle scrubbing
Explore our natural limestone planter range to see the material options and surface finishes that work best across different maintenance regimes and garden conditions.
Sealing Limestone Planters: What Works and What to Avoid
Sealing is one of those topics where the limestone planter care guide conversation gets muddied by conflicting advice. The critical distinction is between penetrating sealers and topical coatings — and for outdoor stone planters, penetrating impregnators are the clear choice every time. Topical coatings sit on the surface and create a barrier that looks good for 6 to 12 months before thermal cycling and UV exposure cause flaking, which then requires stripping and reapplication at significant cost and effort.
Penetrating sealers work by bonding to the stone matrix below the surface, leaving the stone’s natural breathability intact. This matters enormously for planters because the soil inside is a constant source of moisture vapor — and that vapor needs a path out. A non-breathable topical coating traps that vapor, creating pressure beneath the surface that eventually causes spalling. The Natural Stone Institute consistently emphasizes breathability as the defining factor in sealer selection for outdoor limestone applications, and that guidance holds especially true for planters where internal moisture loading is continuous.
Integrating 4×4 Limestone Edging Around Your Planter Layout
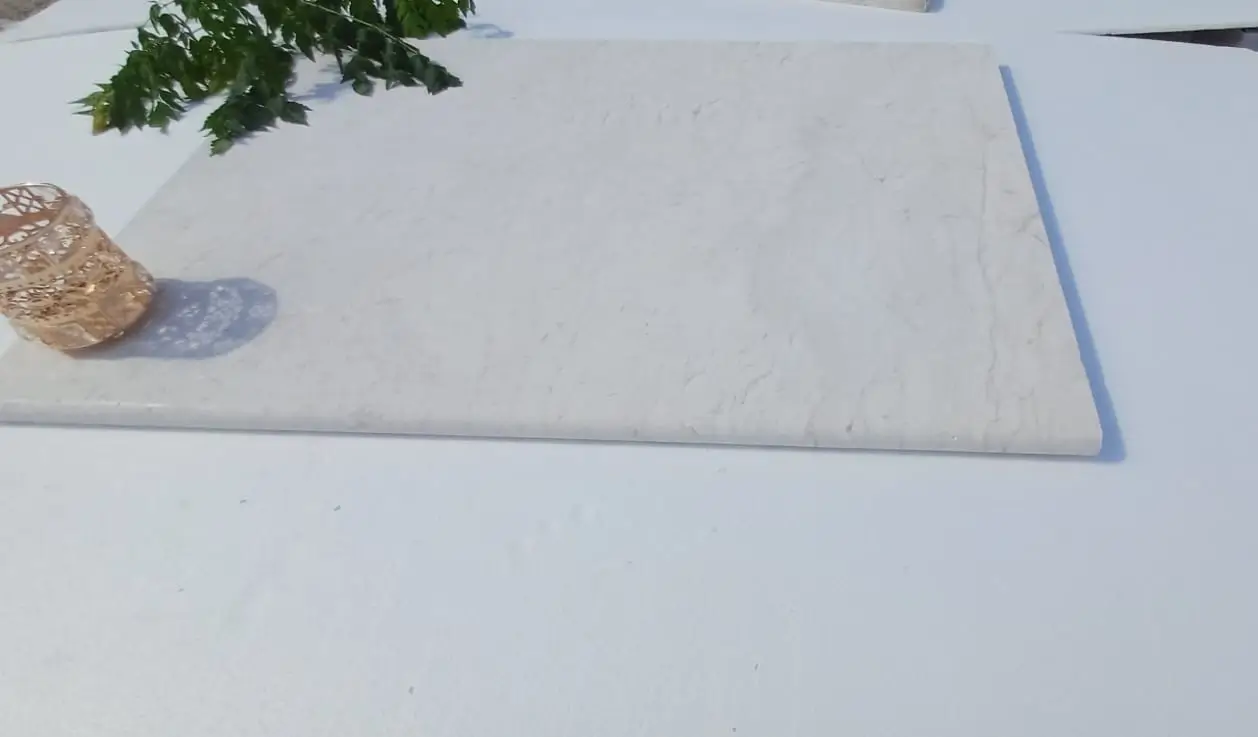
Planters rarely exist as isolated elements — they’re typically part of a broader garden layout that includes borders, raised beds, and pathway transitions. Using 4×4 limestone edging to define the zone around your planters creates a visual frame that also serves a functional purpose: it channels surface runoff away from the planter base and prevents soil migration from adjacent garden beds onto the limestone face.
The detail that most landscape plans omit is a slight outward grade on the 4×4 limestone edging installation — just 1 to 2 degrees away from the planter — to redirect water rather than concentrate it. Limestone edging in the same material family as the planter also simplifies your sealing and maintenance schedule, since both elements respond to the same products and the same application intervals. From a specification standpoint, matching edging and planter material also prevents differential staining patterns that become noticeable over time when two different limestones weather at different rates.
Cleaning Routine for Outdoor Stone Planters Through the Seasons
A consistent cleaning routine is the lowest-effort, highest-return maintenance decision you can make for outdoor stone planters. The goal isn’t cosmetic — it’s preventative. Organic debris that accumulates in joints and along the base ledge retains moisture and provides a growth medium for biological staining agents like algae and lichen, which etch into limestone surfaces if left untreated for more than a season.
- Spring: Remove all soil and debris from the base perimeter, inspect drainage holes for blockage, and apply a pH-neutral stone cleaner to the full exterior surface
- Summer: Check for early signs of efflorescence — white powdery deposits on the surface — which indicate moisture is moving through the stone and depositing dissolved salts on the outer face
- Autumn: Clear decomposing leaf litter from contact with the limestone face immediately — tannins in decomposing leaves are acidic and will etch limestone within a few weeks of prolonged contact
- Winter: In freeze-thaw regions, ensure drainage holes are fully clear before temperatures drop — trapped water that freezes inside the planter body creates internal pressure that can crack walls from the inside out
According to Britannica’s overview of limestone formation and characteristics, the calcium carbonate structure that gives limestone its aesthetic appeal also makes it reactive to acidic compounds — a chemistry that governs every cleaning product decision you make for limestone planter maintenance.
Ordering, Warehouse Stock, and Project Planning Considerations
Citadel Stone maintains consistent warehouse inventory of limestone planter stock and coordinating edging products, which typically means lead times of one to two weeks rather than the six to eight weeks you’d face sourcing through import channels. For large projects or phased installations, it’s worth confirming warehouse availability before finalizing your installation schedule — material consistency across multiple planters in the same garden setting depends on sourcing from the same production batch where possible.
Truck access to the delivery site is a logistics factor worth planning early. Limestone planters in the 3-foot-and-above range carry significant weight per unit, and a delivery truck that can’t access the installation zone directly adds handling cost and introduces risk of edge chipping during manual relocation. At Citadel Stone, we recommend confirming truck access dimensions when placing your order so delivery can be coordinated for the closest possible drop point to the final installation location.
Expert Summary
Effective limestone planter care comes down to three interlocking decisions: drainage geometry, sealer selection, and a seasonal maintenance rhythm that addresses organic and mineral staining before either becomes structural. Get the drainage holes sized correctly for your wall thickness, use a penetrating impregnator before the planter goes into service, and clear debris from the stone surface at the start of each season. Those three habits, maintained consistently, are what separates a limestone planter that looks as good at year fifteen as it did at installation from one that requires costly remediation within five years. Your ground conditions matter too — outdoor stone planters sited over expansive clay or poorly draining subgrade need a crushed aggregate buffer beneath the base to prevent chronic waterlogging and stress cracking at the planter base. For projects that extend beyond planters into broader garden edging and raised bed definitions, limestone landscape border blocks offer a natural complement to planter installations using the same material family and the same maintenance protocol. Matching drainage hole diameter to a planter’s wall thickness is a detail Citadel Stone recommends to prevent standing water that accelerates staining and surface scaling over time.
Related reading: limestone stepping stones guide · bullnose limestone edging explained · curved edging stone.