Dimensional precision in 600 x 300 tile sizing isn’t just a spec sheet detail — it’s the variable that determines whether your grout joints align, your cuts waste material, or your installation timeline slips. Most specifiers focus on finish and color, but the dimensional tolerance range of a tile in this format can swing by ±0.5 mm to ±1.5 mm depending on the production method and quarry controls. That gap might sound trivial, but across a 50-square-meter floor, it compounds into visible joint inconsistency that no amount of skilled laying can fully correct.
What 600 x 300 Tile Sizing Actually Tells You
The 600 x 300 format — often called a 2:1 ratio tile — is one of the most versatile rectangular formats in natural stone specification. Your 600 mm long dimension runs along the primary sight line, which is why this format is so commonly used in hallways, kitchen floors, and exterior pathways. The 30 cm width keeps the tile manageable for single-person placement without mechanical assist, unlike 900 x 600 formats that almost always need a second installer or vacuum lifter on site.
The ratio itself matters for pattern. A true 2:1 tile lets you run stacked bond, offset bond, and herringbone without cutting — every pattern resolves cleanly at the edges with whole tiles or predictable half-cuts. That’s a significant scheduling and material advantage over non-ratio formats like 600 x 400, where edge resolution requires custom cuts at nearly every termination point.
Natural stone 600 x 300 tile sourced from quality quarries in Turkey and selected quarries from the Middle East typically comes calibrated to within ±0.5 mm on length and width, with thickness tolerances around ±1 mm. Always request the dimensional tolerance certificate from your supplier before placing a large order — this is the document that tells you whether you’re buying a precision tile or a nominal-size tile.
Calibrated vs. Rectified: Why It Changes Your Installation
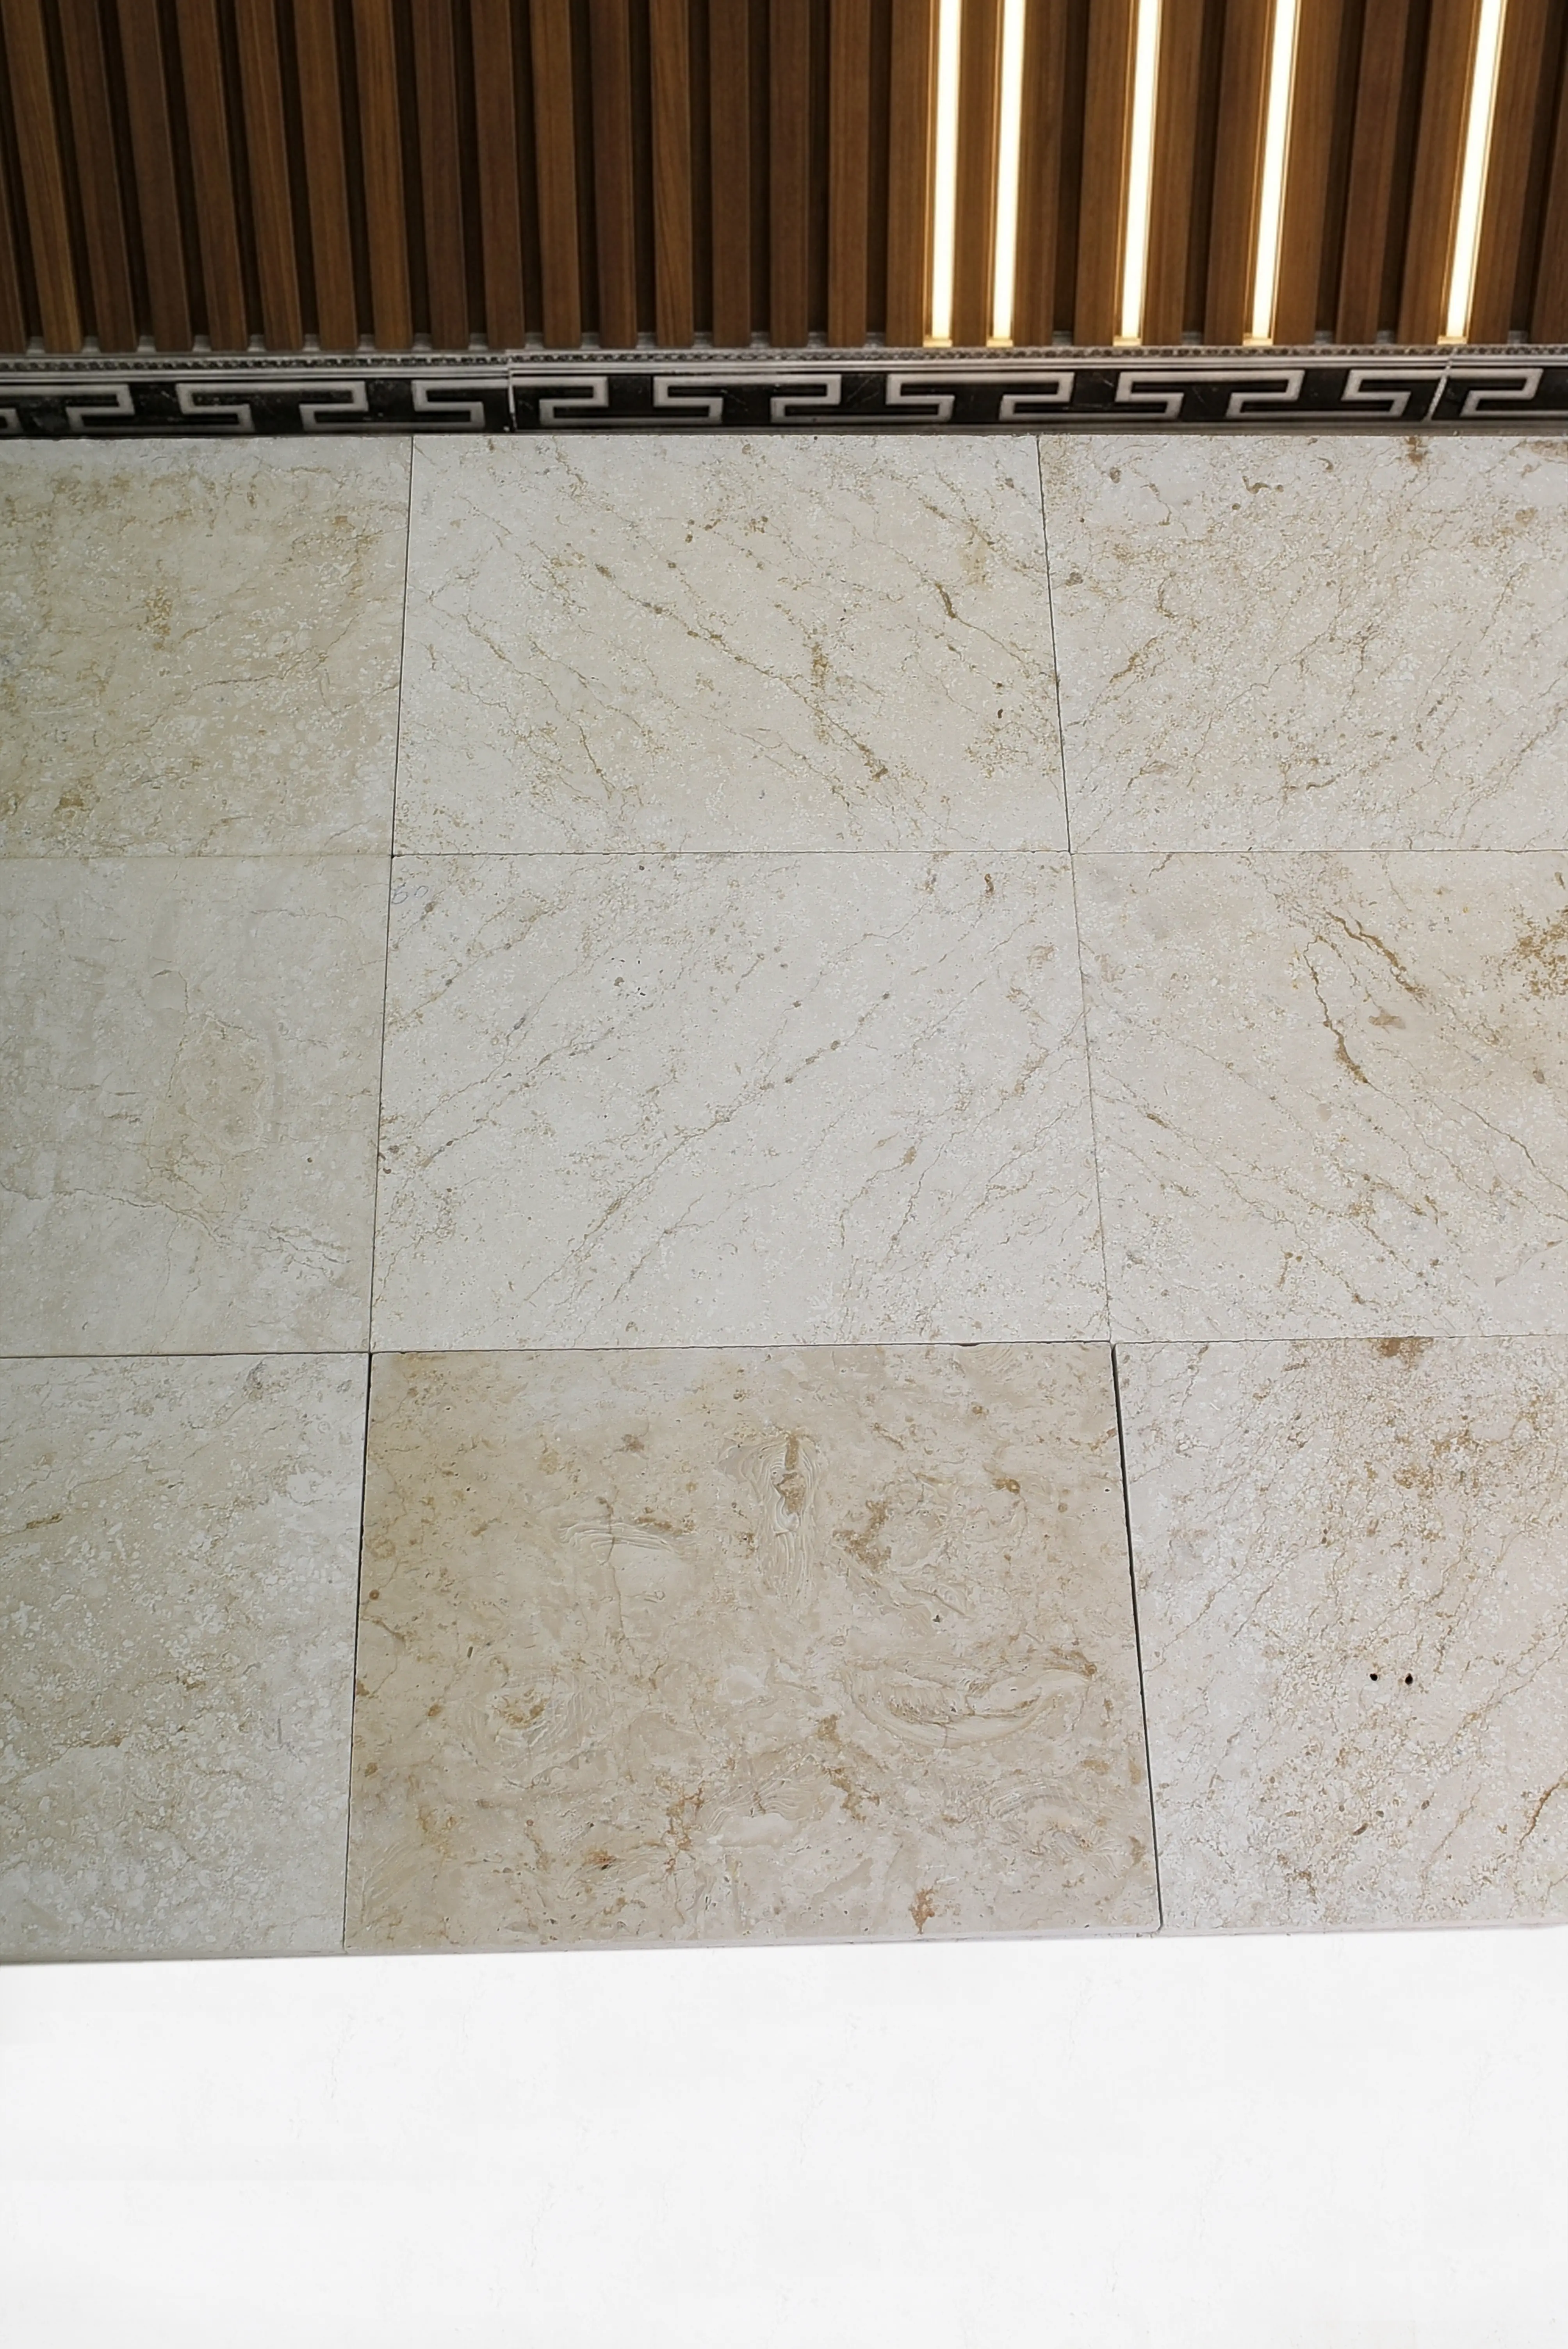
Here’s a distinction that trips up a surprising number of project managers — calibrated and rectified are not interchangeable terms, and the difference matters a great deal in the 600 x 300 format. Calibrated stone has been mechanically ground on the underside to achieve a consistent thickness across a batch, but the face edges remain at the natural cut tolerance. Rectified stone has been precision-cut on all four edges after firing or cutting, bringing dimensional accuracy to within ±0.3 mm or tighter.
Your grout joint specification flows directly from this distinction. With calibrated 600 x 300 tile, you’ll typically need a minimum 3 mm joint to absorb the face-edge variation across the batch. Rectified tiles in this format can accept joints as tight as 1.5 mm — a look that reads as contemporary and sharp, especially in lighter stone tones. Pushing a calibrated tile into a 1.5 mm joint creates lippage at every edge where tolerances stack in opposite directions.
- Calibrated: ground underside, natural face edges, minimum 3 mm joint recommended
- Rectified: precision-cut all four edges, accepts joints from 1.5 mm
- Tolerance certificates differ — request both thickness and face-dimension data
- Batch consistency matters as much as individual tile precision — mix batches cautiously
- Rectified 600 x 300 tile demands a flatter, more precisely prepared substrate
According to Natural Stone Institute ASTM tile specifications, dimensional tolerances for natural stone tile are tested under ASTM C1528, and understanding the standard helps you interpret supplier data sheets with confidence rather than relying on marketing language alone.
Substrate Preparation That the Format Demands
The 600 mm span of this tile format places real demands on your substrate flatness. A 3 mm deviation across 600 mm — which is actually within some older flooring codes — will crack a natural stone tile in this format when load is applied to the unsupported mid-span. Your substrate must meet a maximum of 3 mm variation per 3 m straight-edge measurement, but in practice, you should target 2 mm or better for stone in this size class.
Screed preparation is where most tile failures in the 600 x 300 format originate. A floor that tests fine before tiling can develop high spots as the screed cures unevenly — particularly in large pours over 40 square meters. Self-leveling compound applied at 6–10 mm depth gives you a much more predictable surface than hand-floated screed for this format. It’s an upfront cost that eliminates a disproportionate share of crack callbacks.
- Target substrate flatness: 2 mm per 3 m for natural stone 600 x 300 tile
- Full bed or medium-bed adhesive coverage must reach 95% contact minimum
- Back-buttering is not optional on stones above 10 kg per square meter
- Expansion joints at every 4–5 m in both directions — not negotiable in heated or outdoor applications
- Allow screed a minimum of one day per millimeter of depth before tiling
Adhesive Selection and the Seasonal Installation Window
Adhesive performance for 600 x 300 tile sizing is closely tied to ambient temperature during installation — and this is where scheduling decisions can make or break a project. Cementitious adhesives classified as C2TE (improved adhesion, reduced slip, extended open time) are the correct specification for natural stone in this format. Standard C1 adhesives don’t provide the open time needed to accurately position a 600 mm tile before the skin forms, particularly in warm-season installations.
The practical installation window is tighter than most timelines assume. In warmer months — particularly mid-summer — adhesive open time on exposed substrates can drop from the labeled 20–30 minutes to as little as 10–12 minutes when working in direct sun or on a slab that has been heating since morning. Your most reliable installation period is the early-morning window, typically between 6 AM and 10 AM, before slab surface temperature climbs above 35°C. Afternoon sessions in peak season frequently produce hollow-sounding tiles because the adhesive skins before full contact is achieved.
- Specify C2TE-class adhesive for natural stone 600 x 300 tile as a minimum
- Work early in warm-season installations — morning light gives you full open time
- In cooler months, extended-cure adhesives maintain workability without early skin formation
- Check pot life on winter jobs — low temperatures extend pot life but also delay cure, which affects foot-traffic timing
- Never install below 5°C substrate temperature with standard cementitious adhesive
- Shade the working area and dampen the substrate in high-heat conditions to extend your effective open time
For a reference point on stone tile installation standards across adhesive classes and substrate conditions, TCNA installation standards for natural stone tile provide the industry benchmark that most specification writers defer to when determining adhesive classification requirements.
Thickness Options and Load Considerations for This Format
Natural stone 600 x 300 tile is typically produced in 10 mm, 12 mm, 15 mm, and 20 mm nominal thicknesses. Your correct selection isn’t aesthetic — it’s structural. A 10 mm tile in this format installed over an in-floor heating system on a screed substrate is a different specification conversation than a 20 mm tile going into an exterior commercial pavement application.
For residential interior floors — kitchens, hallways, living areas — 10 mm or 12 mm calibrated stone in this format performs reliably when the substrate preparation is correct. The tile’s self-weight isn’t the challenge; it’s the unsupported span response. A 10 mm limestone 600 x 300 tile will deflect measurably under point loads if adhesive coverage drops below 85% — the tile becomes a mini-bridge, and the weakest point is always the center of the long axis.
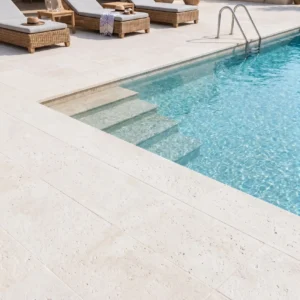
Exterior paving in this format — terraces, pool surrounds, commercial walkways — should be specified at 20 mm minimum. The 20 mm thickness provides the flexural strength to resist thermal cycling and the incidental impact loads that outdoor applications generate. At this thickness, the tile also becomes a candidate for dry-lay installation over a compacted aggregate base, which is a method used by many commercial landscapers for large-format terracing projects where access to mixing equipment is limited. Detailed sizing guidance across stone formats is available in the Citadel Stone sizing guide, which covers thickness and format compatibility across multiple stone types.
Pattern Layouts That Work With This Format
The 2:1 dimensional relationship in 600 x 300 tile sizing opens up layout options that aren’t available with square formats — and a few that seem appealing on paper but create installation headaches in practice. Understanding which patterns genuinely work saves you from a costly redesign after the first day of laying.
Brick bond — with each tile offset by half its length — is the standard layout for this format and for good reason. It distributes grout joints evenly, minimizes lippage risk, and is forgiving of the small dimensional variations that exist even in well-calibrated batches. The only critical detail here is maintaining a consistent 50% offset. Anything less than 45% offset and you start to see the dreaded three-point joint — a T-intersection where three tile corners meet — which telegraphs any dimensional inconsistency in the batch.
- 50% brick bond: most forgiving, best for calibrated tiles with natural tolerance ranges
- Herringbone: requires perfectly square cuts at perimeters — budget 15–20% extra material for waste
- Stacked bond: highlights any deviation in linearity — use only with rectified tiles
- Running bond variants (33%, 40%): check for three-point joints before committing to layout
- Diagonal layout: increases material waste to 25–30% — factor this into your order quantity
Ordering, Logistics, and Warehouse Planning
Coordinating 600 x 300 tile orders requires more lead-time planning than most residential buyers anticipate. Natural stone in this format is batch-produced, and color consistency across batches is controlled by shade coding — typically ranging from shade 1 (lighter) to shade 4 (darker) on most producer grading systems. Your entire project quantity should come from the same shade code and, ideally, the same production batch. Splitting an order across two batches is the most common cause of color-step issues that appear midway through a large floor.
Citadel Stone maintains warehouse stock across multiple formats and stone types, which reduces the typical lead time significantly compared to ordering direct from quarry. For 600 x 300 tile in high-demand stone types, warehouse availability typically means you can receive material within one to two weeks rather than waiting on a full import cycle. That logistics advantage matters considerably on projects with tight milestone timelines, especially when a tile installation sits on the critical path before other finishes can proceed.
Delivery truck access is a practical constraint that project managers sometimes forget to flag until the last minute. A pallet of 20 mm natural stone 600 x 300 tile weighs approximately 900–1,100 kg depending on stone density. A standard truck delivery requires either a site with direct pallet access or a crane-offload arrangement. Flag your truck access conditions when placing the order — tight urban sites or upper-floor installations need crane lift or manual carry plans coordinated well in advance, and the warehouse team can help you configure pallet quantities to suit your lift equipment’s safe working load.
Sealing and Finish Performance for Natural Stone in This Format
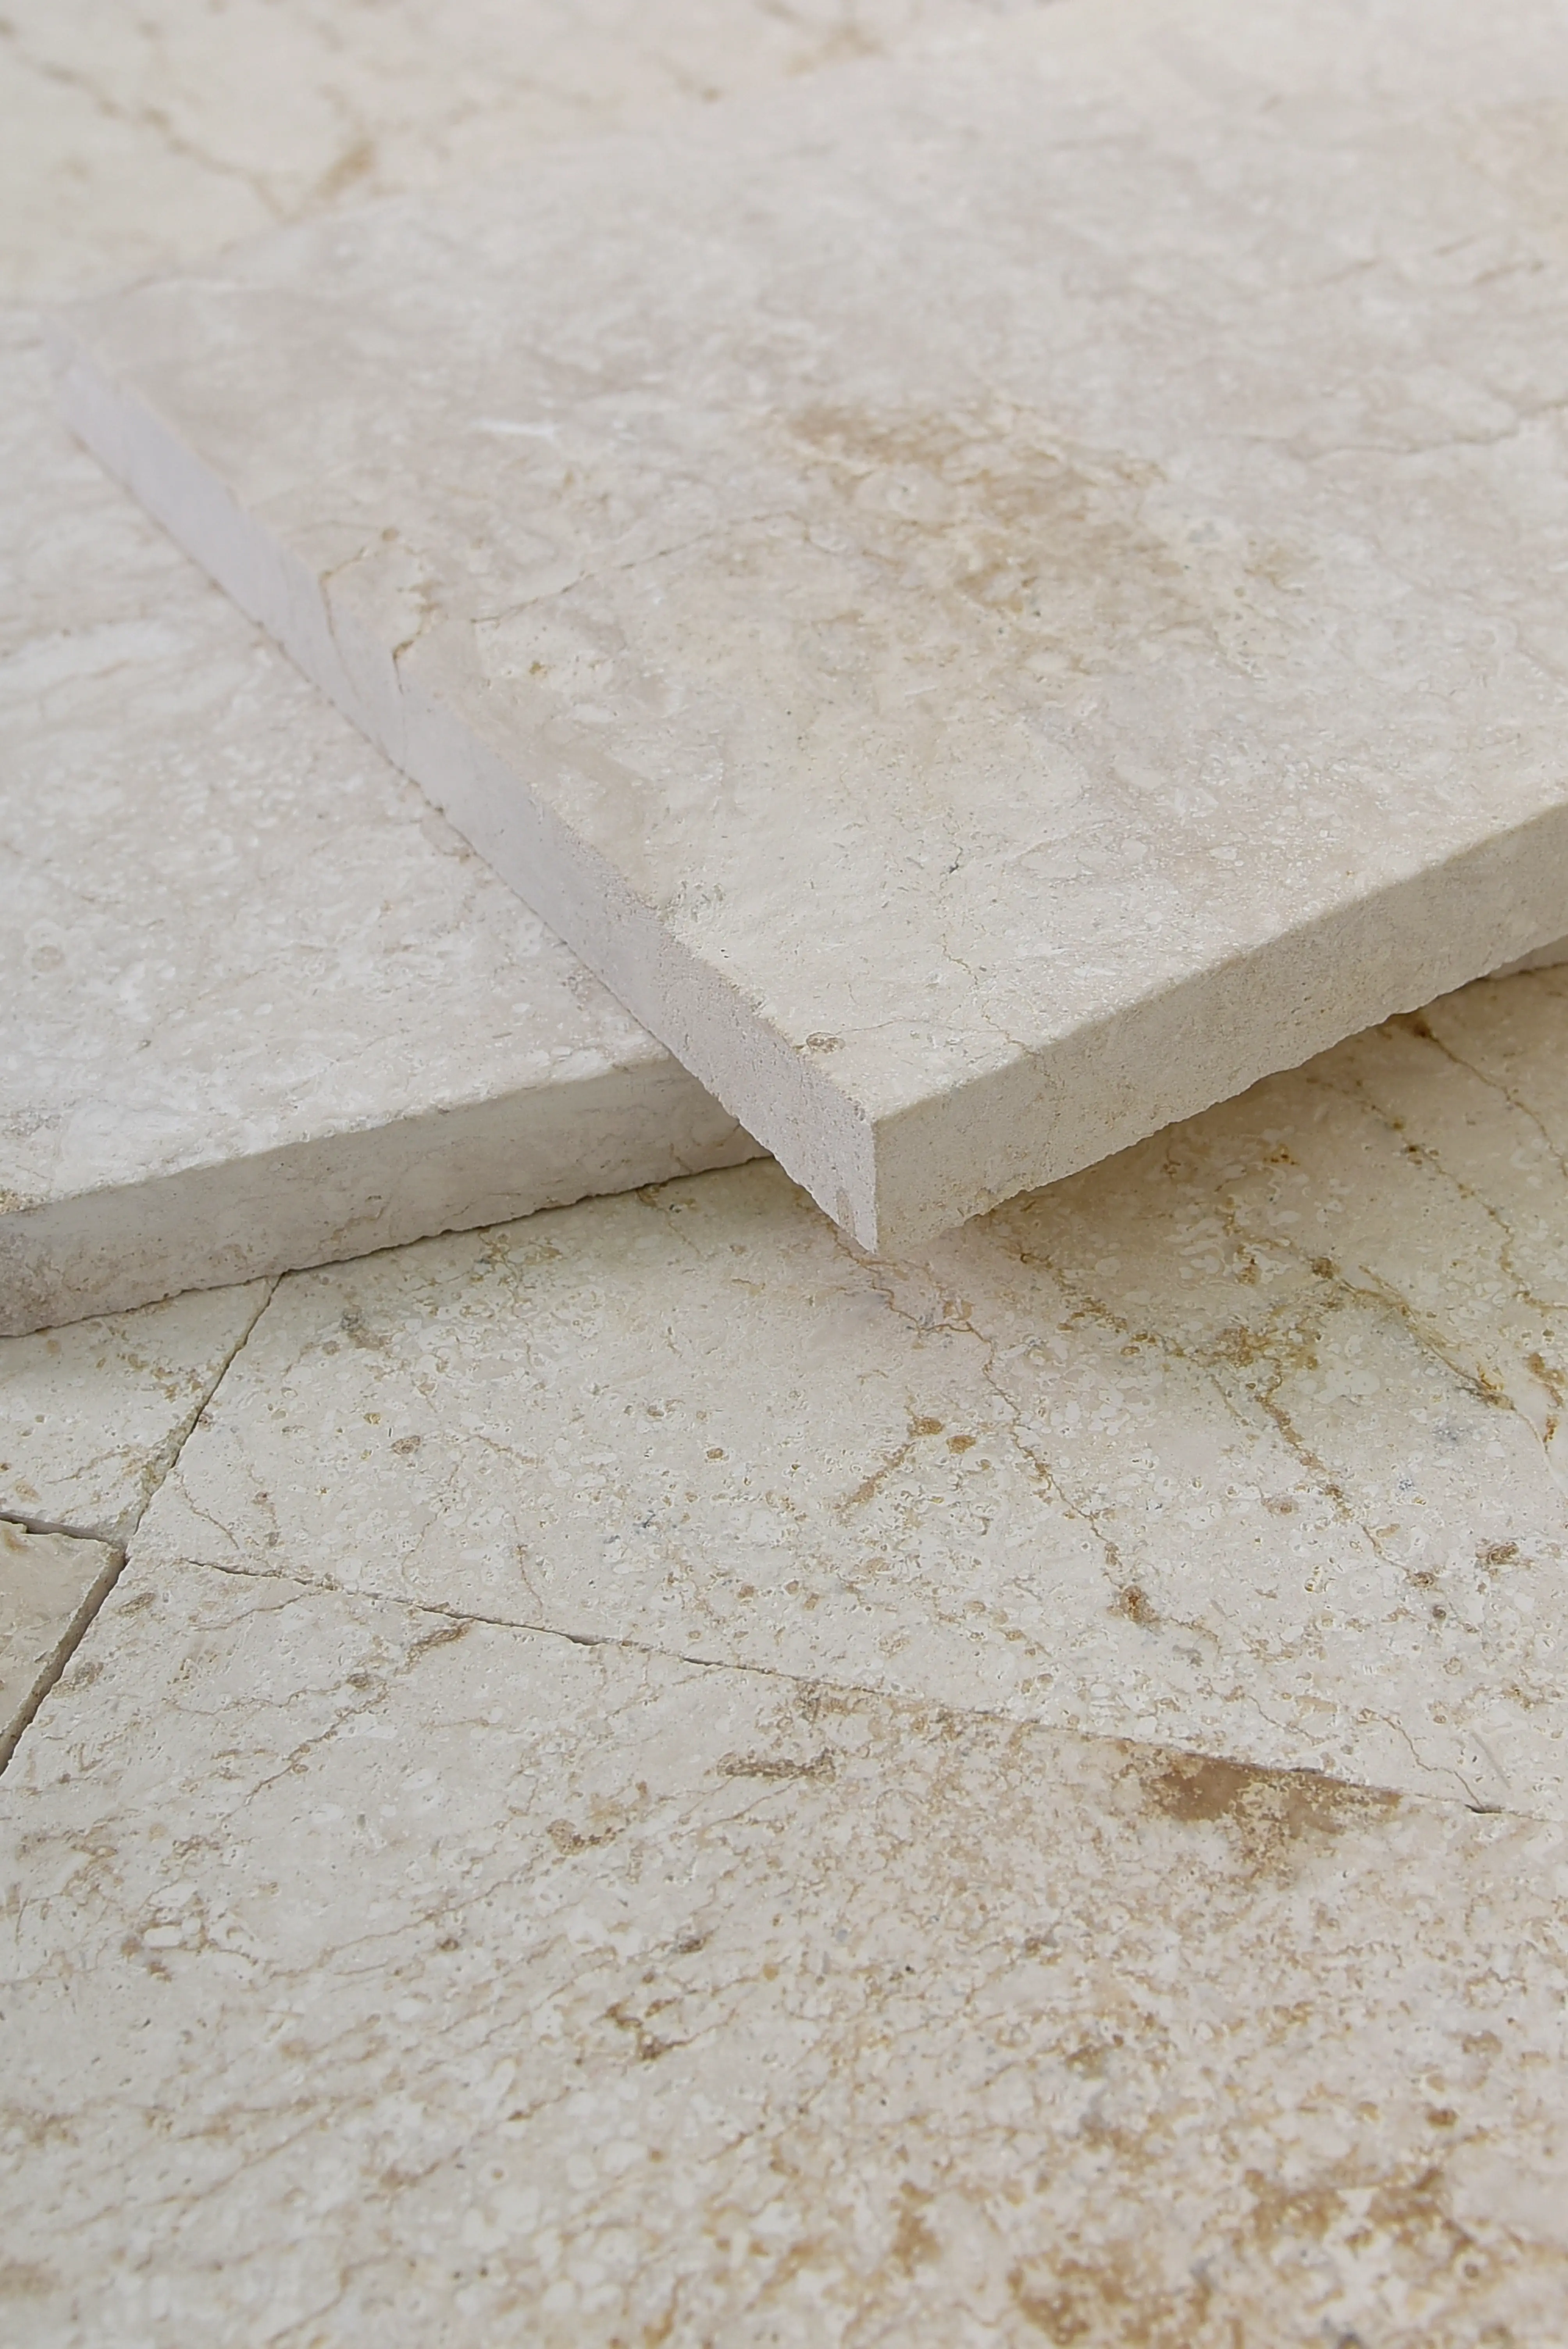
Your sealing specification for natural stone 600 x 300 tile depends on two intersecting variables: porosity of the stone and the finish type. A honed limestone in this format has measurably higher absorption than the same stone in a polished finish — the grinding process closes the surface pores, reducing absorption by 30–40% in most calcium carbonate stones. That difference changes both your sealer type selection and your application frequency.
Penetrating impregnator sealers — not topical coatings — are the correct product class for natural stone tile in interior and exterior applications. Topical sealers build a film on the surface that traps moisture migrating from below, which eventually leads to delamination and whitening, particularly in exterior applications where freeze-thaw cycling occurs. Penetrating sealers occupy the pore structure without forming a surface layer, allowing the stone to breathe while providing water and stain resistance. For honed finishes in kitchen or bathroom environments, plan for reapplication every 18–24 months. Polished finishes in low-traffic areas can extend to 36 months between treatments.
Per ASTM natural stone tile absorption and strength testing standards, absorption rates for natural stone tile are tested under ASTM C97, and understanding your stone’s tested absorption value gives you the technical basis for selecting the right sealer product class and maintenance interval rather than relying on general rules of thumb.
Using 600 x 300 Tile in Outdoor Applications
Outdoor use of 600 x 300 tile introduces performance demands that don’t apply indoors — UV stability, freeze-thaw cycling resistance, wet-slip management, and thermal expansion accommodation all come into the specification simultaneously. Natural limestone and travertine in this format perform well in outdoor settings provided the finish selection and installation details match the exposure conditions.
Slip resistance is non-negotiable in outdoor wet zones. A honed finish on limestone 600 x 300 tile leaves a smoother face — workable for covered exterior zones, but the wrong starting point for fully exposed pool surrounds or terraces that see rain. A brushed or tumbled finish on the same material leaves a deeper texture; the current benchmark for fully exposed wet applications is the ANSI A326.3 exterior wet DCOF minimum of 0.55; the standard also sets 0.50 for interior wet plus areas and 0.42 for interior wet. Product classifications are manufacturer-declared. The finish choice in this context isn’t aesthetic preference — it’s a safety specification decision.
Thermal expansion is the variable that most outdoor tile specs underestimate. Natural limestone expands at approximately 8 × 10⁻⁶ per °C. Across a 600 mm tile length, a 40°C temperature swing — common on a sun-exposed slab between early morning and afternoon peak — generates approximately 0.19 mm of linear movement per tile. Across 20 tiles in a continuous run, that’s nearly 4 mm of cumulative movement, which is exactly why expansion joints at 4–5 m intervals aren’t optional in this format for exterior use. Eliminating those joints to preserve a clean aesthetic is the specification decision that drives the most tile cracking callbacks in warm climates.
- Specify brushed or tumbled finish for fully exposed wet outdoor zones
- Place expansion joints every 4–5 m — both directions, outdoors without exception
- Use flexible adhesive mortar (S1 or S2 class) for exterior 600 x 300 tile over heated slabs
- In freeze-thaw regions, specify stone with absorption below 0.75% to reduce freeze-cycle damage
- Allow morning installation windows in summer to avoid adhesive open-time compression
Final Recommendations for 600 x 300 Tile Sizing
Specifying 600 x 300 tile well comes down to a chain of decisions where each link depends on the one before it. Your stone selection determines your sealing protocol. Your finish selection determines your slip resistance classification. Your substrate quality determines your adhesive coverage requirement. And your dimensional tolerance specification — your 600 x 300 tile sizing decision — determines your minimum grout joint. None of these decisions exist in isolation, which is why reviewing the full chain before ordering protects you from the kind of mid-project specification conflict that forces expensive corrections.
Material selection for adjacent stone applications can also inform your 600 x 300 project — if you’re comparing stone types across your property’s hardscape, how granite and travertine compare as tile materials covers the key performance and aesthetic differences worth understanding before you finalize your stone specification.
At Citadel Stone, we work directly with quarry-sourced material and conduct dimensional checks on incoming stock before it reaches our warehouse floor — which means the tolerance data we provide reflects actual measured product, not published nominal specifications. Our technical team is available to help you confirm shade codes, batch availability, and truck delivery logistics before you commit to an order schedule. From premium quarries in Turkey and the broader Middle East region, Citadel Stone supplies 600 x 300 tile with steady dimensional accuracy.
Related reading: small travertine tile installation problems · rectangular travertine tile patterns · 6×12 tile cost.