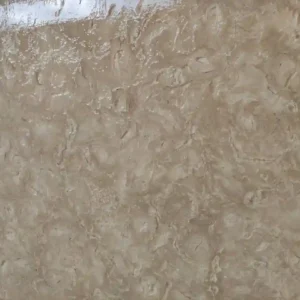
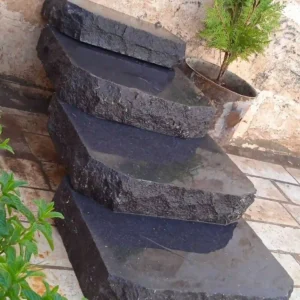
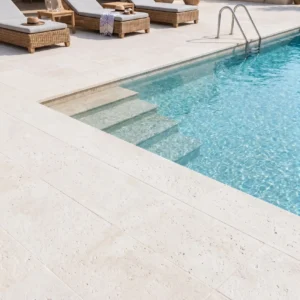
Travertine tile backsplash ideas tend to succeed or fall flat based on one decision that happens before a single tile is set — finish selection. The difference between a honed travertine and a tumbled travertine in a kitchen backsplash environment isn’t just aesthetic; it determines your grout joint width, your cleaning protocol, and how the surface responds to the steam and grease that accumulate behind a range. Getting that decision right up front is what separates a backsplash that looks as good in year ten as it did on install day from one that starts showing wear by year three.
Why Travertine Works as a Backsplash Material
Travertine’s open-pore calcium carbonate structure gives it a natural warmth that ceramic and porcelain struggle to replicate — there’s a depth to the surface that changes with light throughout the day. That same structure does require some attention: unfilled travertine will trap kitchen grease in its voids over time if you don’t apply a penetrating sealer before grouting. Filled-and-honed travertine eliminates that concern and is the specification most installers default to in high-use cooking areas. According to Natural Stone Institute travertine properties and outdoor suitability, the material’s absorption characteristics are manageable with proper sealing, making it a practical choice for kitchen environments when specified correctly.
7 Travertine Tile Backsplash Ideas Worth Considering
Your choice of format and layout pattern shapes how the backsplash reads in the room more than the stone color does. Here are seven travertine tile backsplash ideas that range from understated and classic to bold and textural — each with specific specification notes that affect how you install them.
Idea 1: Classic Subway Stack in Honed Travertine
The 3×6 or 4×12 subway format in filled-and-honed travertine delivers a clean, transitional look that works in both modern and traditional kitchens. Horizontal stacking is the most forgiving layout for slightly imperfect wall planes — you’ll get better grout line consistency than with a running bond when the wall has minor undulation. Specify a 1/16″ grout joint for a tight contemporary feel, or open it to 3/16″ if you want the warm grout tone to read as part of the design.
Idea 2: Tumbled Mosaic for Rustic Character
Tumbled travertine mosaic sheets — typically 1×1 or 2×2 chips on mesh backing — create a heavily textured surface with rounded edges and naturally irregular color variation. This format reads as genuinely artisanal, which works well in farmhouse, Mediterranean, and Tuscan-influenced kitchens. The texture does mean a slightly more demanding cleaning routine behind the range, so position this one on side walls and window surrounds rather than directly behind the cooktop if low-maintenance is a priority.
Idea 3: Large-Format Vertical Panels
A 12×24 or 16×24 travertine tile installed vertically elongates the backsplash wall and makes ceilings read as taller. This is one of the more technically demanding kitchen travertine tile applications because the substrate flatness requirement tightens considerably — ANSI A108.02 specifies a maximum variation of 1/8″ over 10 feet for large-format tile, and travertine’s weight means lippage becomes visible at any gap that concrete backer tolerates easily with smaller formats. Flatten the wall with a skim coat of polymer-modified mortar before setting if you can’t hit that tolerance.
Idea 4: Herringbone Layout in a 2×4 Format
Herringbone adds dynamic visual movement without changing the material — you’re getting a fundamentally different backsplash feel from the same travertine tile just by rotating the layout. The 2×4 format is the most practical for herringbone in kitchens because cut complexity stays manageable at inside corners and around outlets. Budget extra tile — herringbone typically generates 12–15% waste compared to 8–10% for straight-set layouts, due to the angled cuts at the field perimeter.
Idea 5: Travertine Field with Contrasting Listello Trim
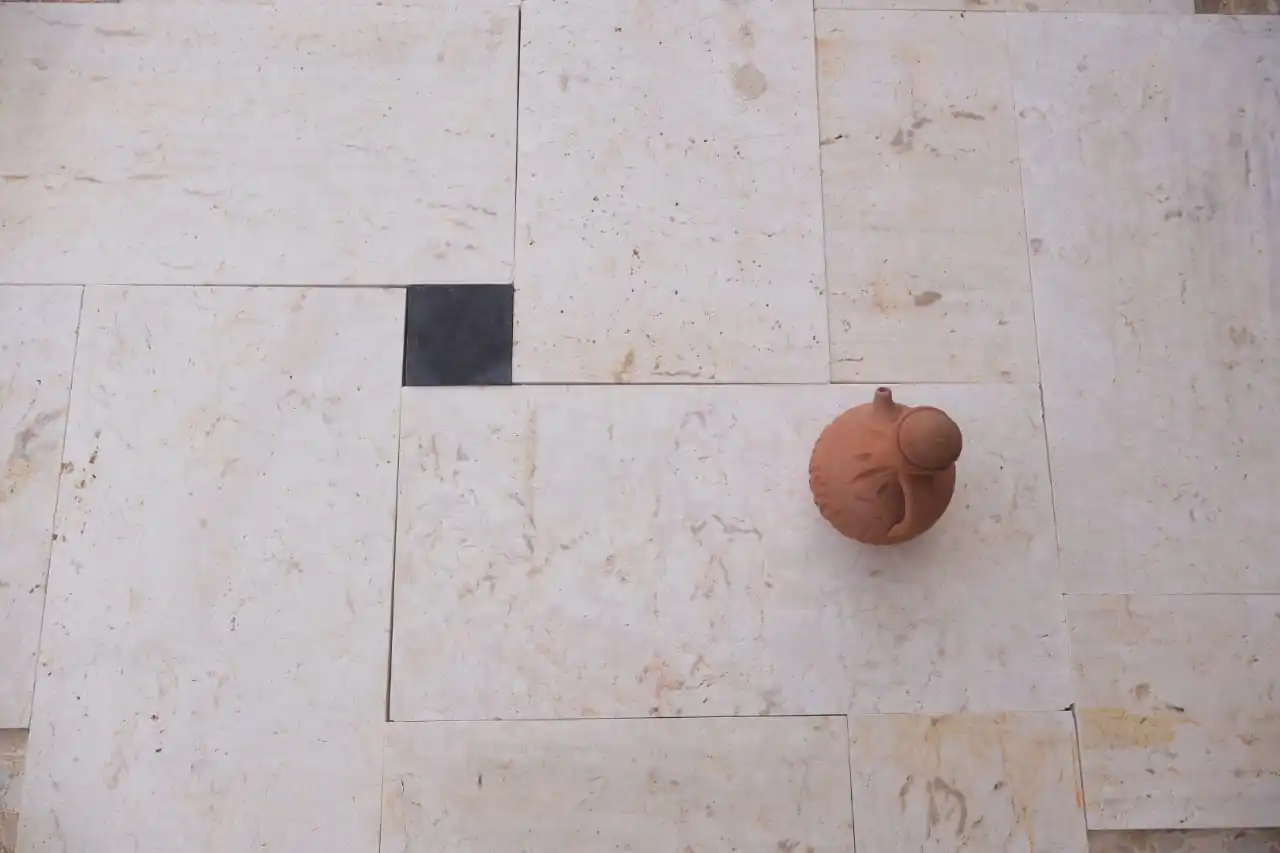
Running a dark marble or limestone listello strip through a travertine tile backsplash creates a strong horizontal datum that anchors the design. This approach works particularly well when you’re trying to bridge a lighter upper cabinet finish with a darker countertop — the listello does the visual heavy lifting. Match your mortar color to the travertine body rather than the trim piece; a shared mortar color unifies the field and lets the trim read cleanly.
Idea 6: Offset Brick Pattern in Warm Ivory Travertine
A classic running-bond offset at 1/3 or 1/2 tile in ivory or classic travertine tones gives kitchens with white or cream cabinetry that layered, tonal warmth that feels deliberate without being overdone. The key specification detail here is keeping your offset consistent — a 1/3 offset looks more refined than a true 50% running bond in larger-format tiles above 4″ in width, because it avoids the mechanical, factory look that a centered offset creates.
Idea 7: Split-Face Mosaic as a Focal Accent
For a range hood surround or a single focal wall behind an island, split-face travertine mosaic creates dimensional texture that commands the room. Split-face tiles have fractured, projecting surfaces that cast micro-shadows — the effect shifts noticeably between morning and evening light, which makes the wall feel alive. This is not a behind-the-cooktop specification for practical reasons; split-face surfaces are harder to degrease. Use it on the hood surround, ceiling panel, or dining nook accent wall where thermal exposure is minimal.
Finish Selection and Setting Specifications
Your finish choice drives every subsequent specification decision for a travertine tile backsplash. Honed and polished finishes require filled travertine — the voids are grouted at the factory, giving you a closed surface that seals predictably. Tumbled and brushed finishes are typically unfilled; you’ll need to fill the voids yourself with non-sanded grout before sealing, or accept the open-pore aesthetic and seal heavily with a penetrating impregnator rated for absorption above 0.50 g/m² per ASTM C97.
- Honed travertine: 220-grit smooth surface, fills factory-grouted, best for behind-range applications
- Polished travertine: high-gloss reflective finish, shows fingerprints and water spots more readily in kitchens
- Tumbled travertine: rounded edges, rustic texture, unfilled void structure typical — seal before grouting
- Brushed travertine: lightly textured with directional grain, mid-point between honed and tumbled in maintenance demand
- Split-face: dimensional projecting surface, strictly decorative accent application in kitchen contexts
For any travertine tile used as a kitchen backsplash, apply a water-based penetrating sealer 24 hours before grouting and again 72 hours after grout cure. This two-stage sealing schedule prevents grout haze from bonding into the stone’s micro-surface and gives you a maintainable barrier against kitchen oils.
Installation Essentials for Backsplash Travertine
Travertine tile for backsplash applications is lighter in section than floor tile — most backsplash formats run 3/8″ to 1/2″ nominal thickness — which means wall adhesion relies entirely on your mortar coverage. Target 95% back-butter coverage for travertine on walls; the TCNA specifies 80% minimum for standard wall tile, but travertine’s density and thermal movement make the higher coverage target the right call in kitchen environments. According to TCNA installation standards, back-buttering is specifically recommended for natural stone tile to achieve full-contact adhesion on vertical surfaces.
- Use a polymer-modified thin-set rated for natural stone — standard cement mortars lack the flexibility travertine needs
- Comb your trowel at 45 degrees to the tile edge to maximise mortar contact across the full tile back
- Allow 24 hours of set time before grouting — travertine is heavier than ceramic and slides if grouted too early
- Maintain a 1/8″ expansion joint at all changes of plane: counter-to-wall transitions and inside corners
- For mosaic sheets, confirm the mesh backing won’t telegraph through the tile face — peel and stick mesh can create mirror-image mesh patterns on thinner travertine chips if adhesive bleeds
You can source consistently calibrated kitchen travertine from Citadel Stone with verified thickness tolerances, which makes large-format vertical installations significantly more manageable than working with uncalibrated quarry-direct slabs.
Building Code and Structural Considerations
Kitchen backsplash installations fall under interior tile work in most residential codes, but a few structural factors matter if you’re working above a range hood or tiling a full-height wall to the ceiling. Tile weight per square foot for 3/8″ travertine runs approximately 3.5–4.5 lbs/sq ft — well within the 15 lb/sq ft limit most wall substrates handle — but the substrate itself needs to be evaluated. Standard 1/2″ drywall is not the right backer for a behind-range application; specify cement board or an uncoupling membrane system per ASTM natural stone tile absorption strength and slip resistance testing requirements for thermally stressed wall applications.
Seismic zones add a wrinkle for full-height backsplash walls — in seismic design categories C through F, large-format tile installations above 8 feet may require lateral anchorage review under IBC Chapter 12. This is uncommon for standard backsplash heights, but if you’re tiling a 10-foot kitchen wall to the ceiling with 12×24 travertine in a high-seismic region, a brief structural review is worth the call. The expansion joints at changes of plane also do double duty in seismic applications — they allow differential movement between the wall and the counter without cracking the grout field.
Grout Selection and Joint Sizing
The grout joint width for a travertine tile backsplash affects the entire visual register of the installation. Tight joints at 1/16″ read as contemporary and architectural; wider joints at 3/16″ to 1/4″ reinforce the traditional, Mediterranean character of the stone. Your grout color choice is equally consequential — a close match to the travertine body minimizes visual interruption and makes the tile field read as continuous, while a contrasting dark grout defines each tile individually and creates a grid pattern that emphasizes format over material.
- Non-sanded grout for joints up to 1/8″ — use with polished and honed travertine
- Sanded grout for joints 1/8″ to 1/2″ — appropriate for tumbled and brushed finishes
- Epoxy grout is highly resistant to kitchen oils and staining, but requires faster working time and careful temperature management during application
- Avoid acid-based grout cleaners with travertine — use pH-neutral stone cleaners only
Ordering and Lead Time Planning
Backsplash projects have a deceptively tight material window — kitchens go offline during installation, so a delayed stone delivery is disruptive in a way that a driveway paver delay isn’t. Citadel Stone maintains warehouse stock of core travertine tile for backsplash formats, which typically reduces lead time to one to two weeks rather than the six to eight weeks common with import-direct orders. Verify warehouse availability for your chosen format before your countertop installation is scheduled — material needs to be on-site and acclimated 48 hours before setting.
Order 10–15% overage above your measured square footage. Travertine is a natural material with genuine color variation between quarry lots, and matching a partial reorder months later is unreliable. Keep your cut-off pieces from inside corners and around outlets — they’re useful for future repairs and you won’t find an identical match in a second order.
Specifying Your Travertine Tile Backsplash Correctly
Getting your travertine tile backsplash right comes down to three decisions made before installation begins: finish type, format and layout, and substrate preparation. Every performance variable downstream — how well it seals, how it wears, how easy it is to clean — traces back to those three specifications. For travertine used in wet or steam-adjacent applications beyond the kitchen, the waterproofing and membrane requirements shift considerably — our guide on travertine waterproofing for shower walls covers those details if your project scope extends into bathroom applications. A split-face mosaic format from Citadel Stone’s travertine line adds dimensional texture to backsplash walls that flat subway tiles cannot replicate.
Related reading: porcelain tile that looks like travertine · how to seal travertine tile · pH Neutral Travertine Tile Cleaner: Why It Matters.